
Gallery Of Homes: Spear


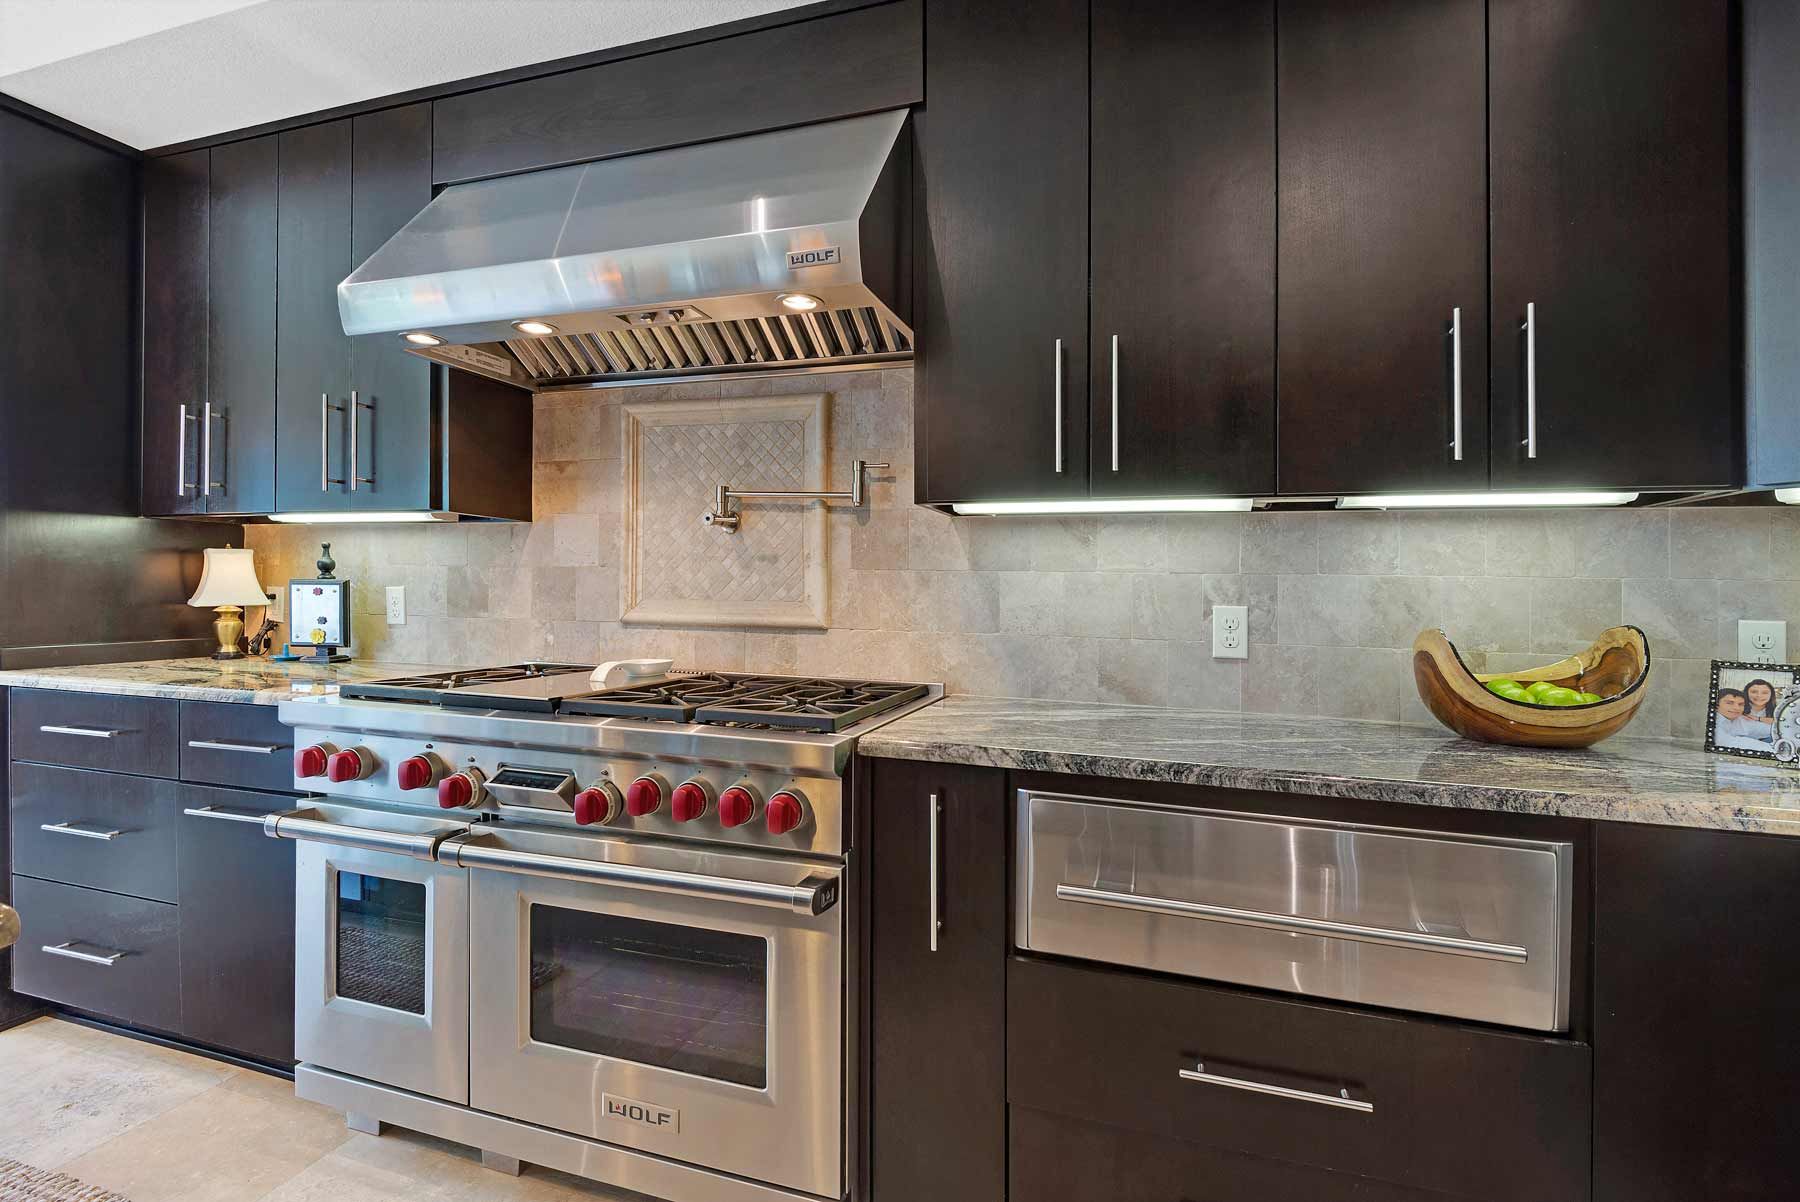


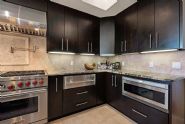
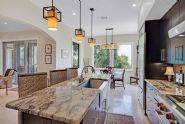
Wolf range, hood, and warming drawer.
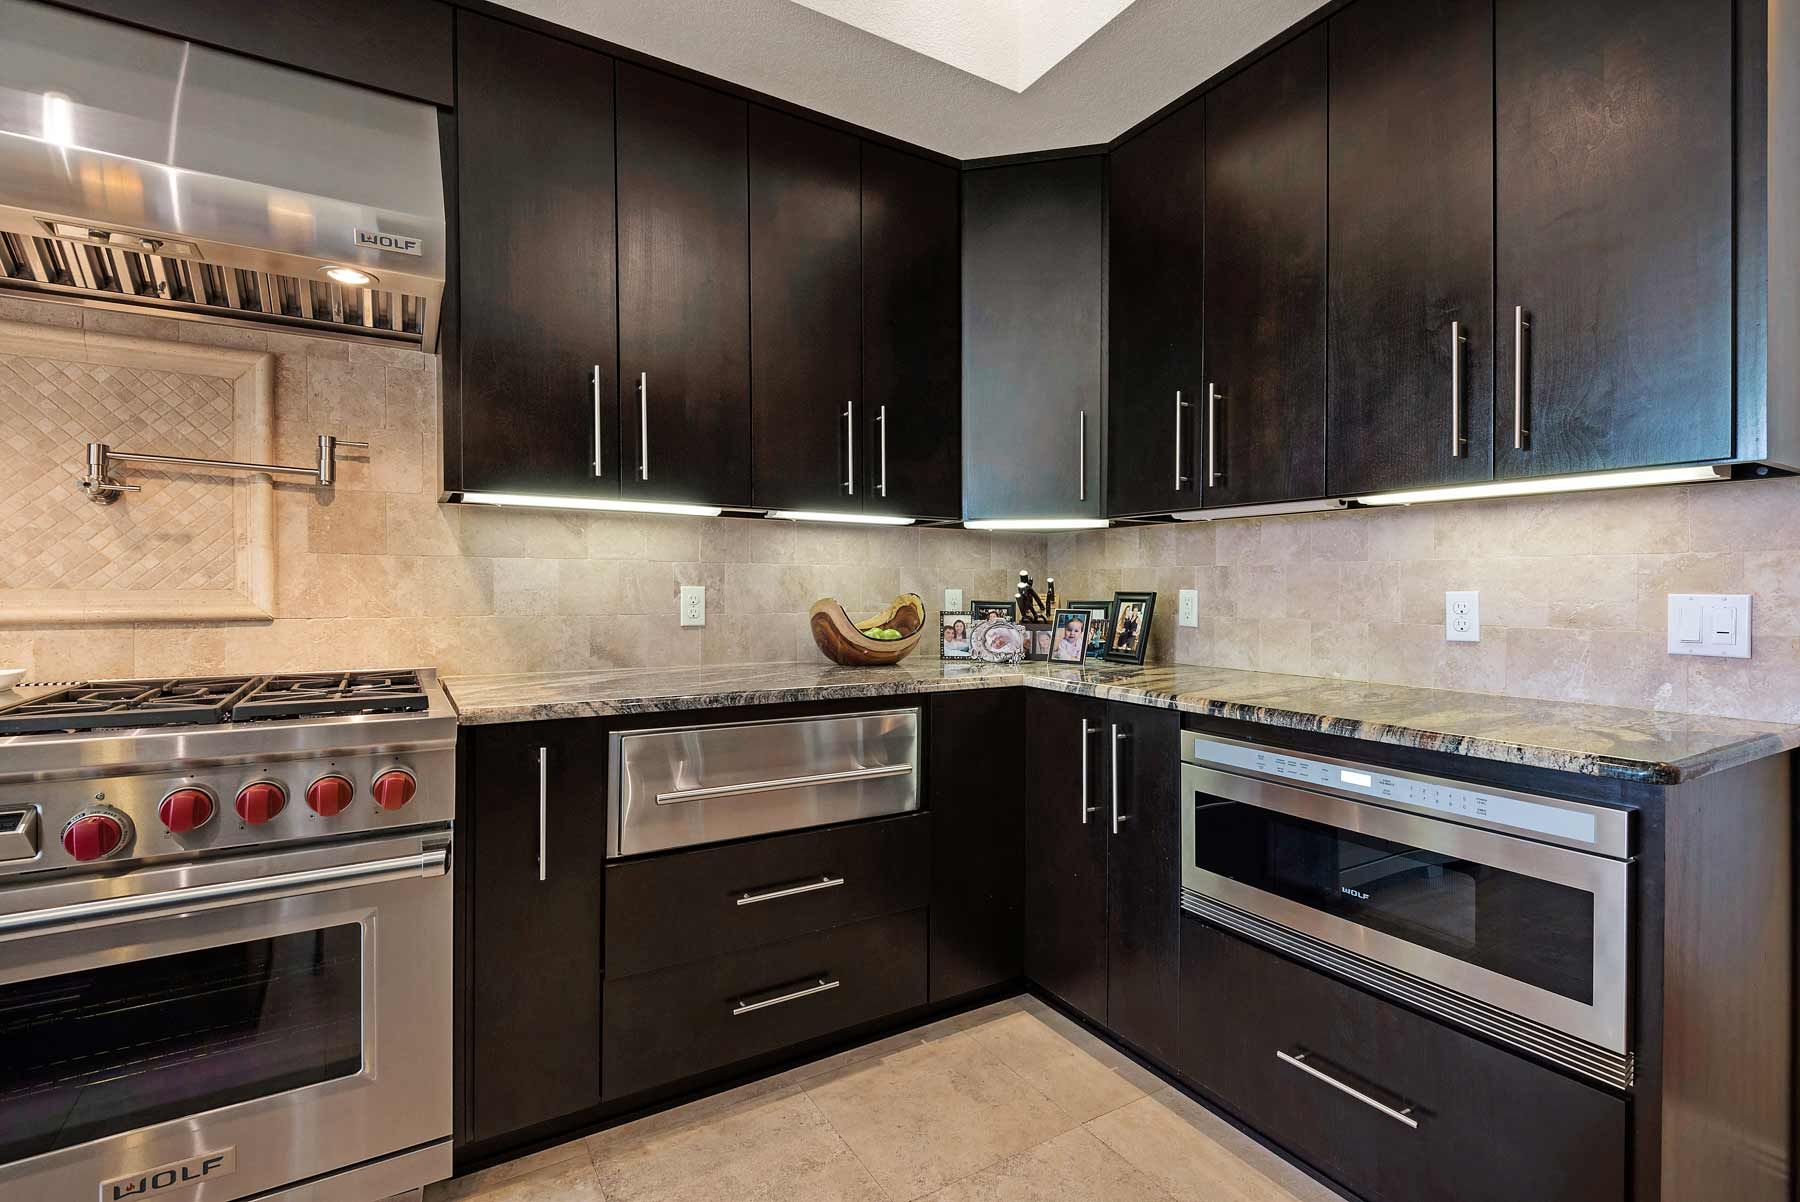
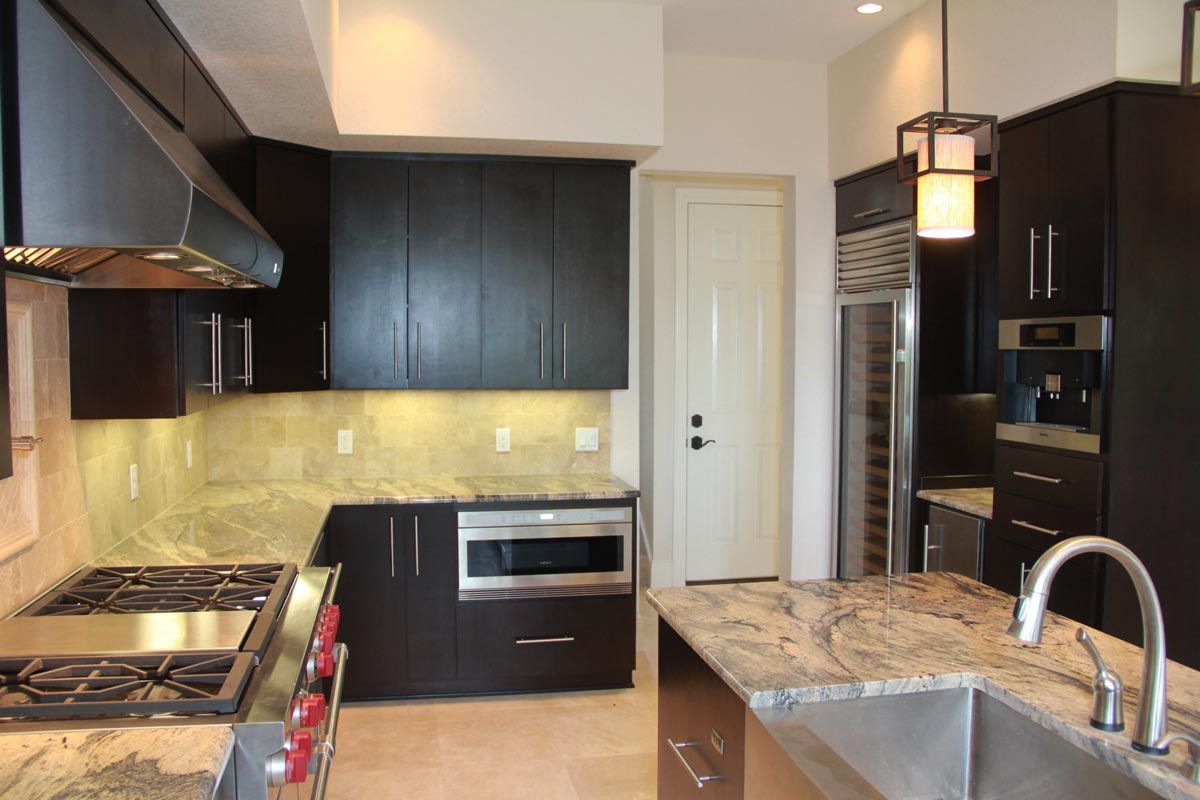
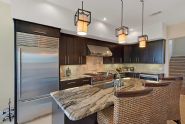
Wolf range, hood, warming drawer, and microwave drawer.
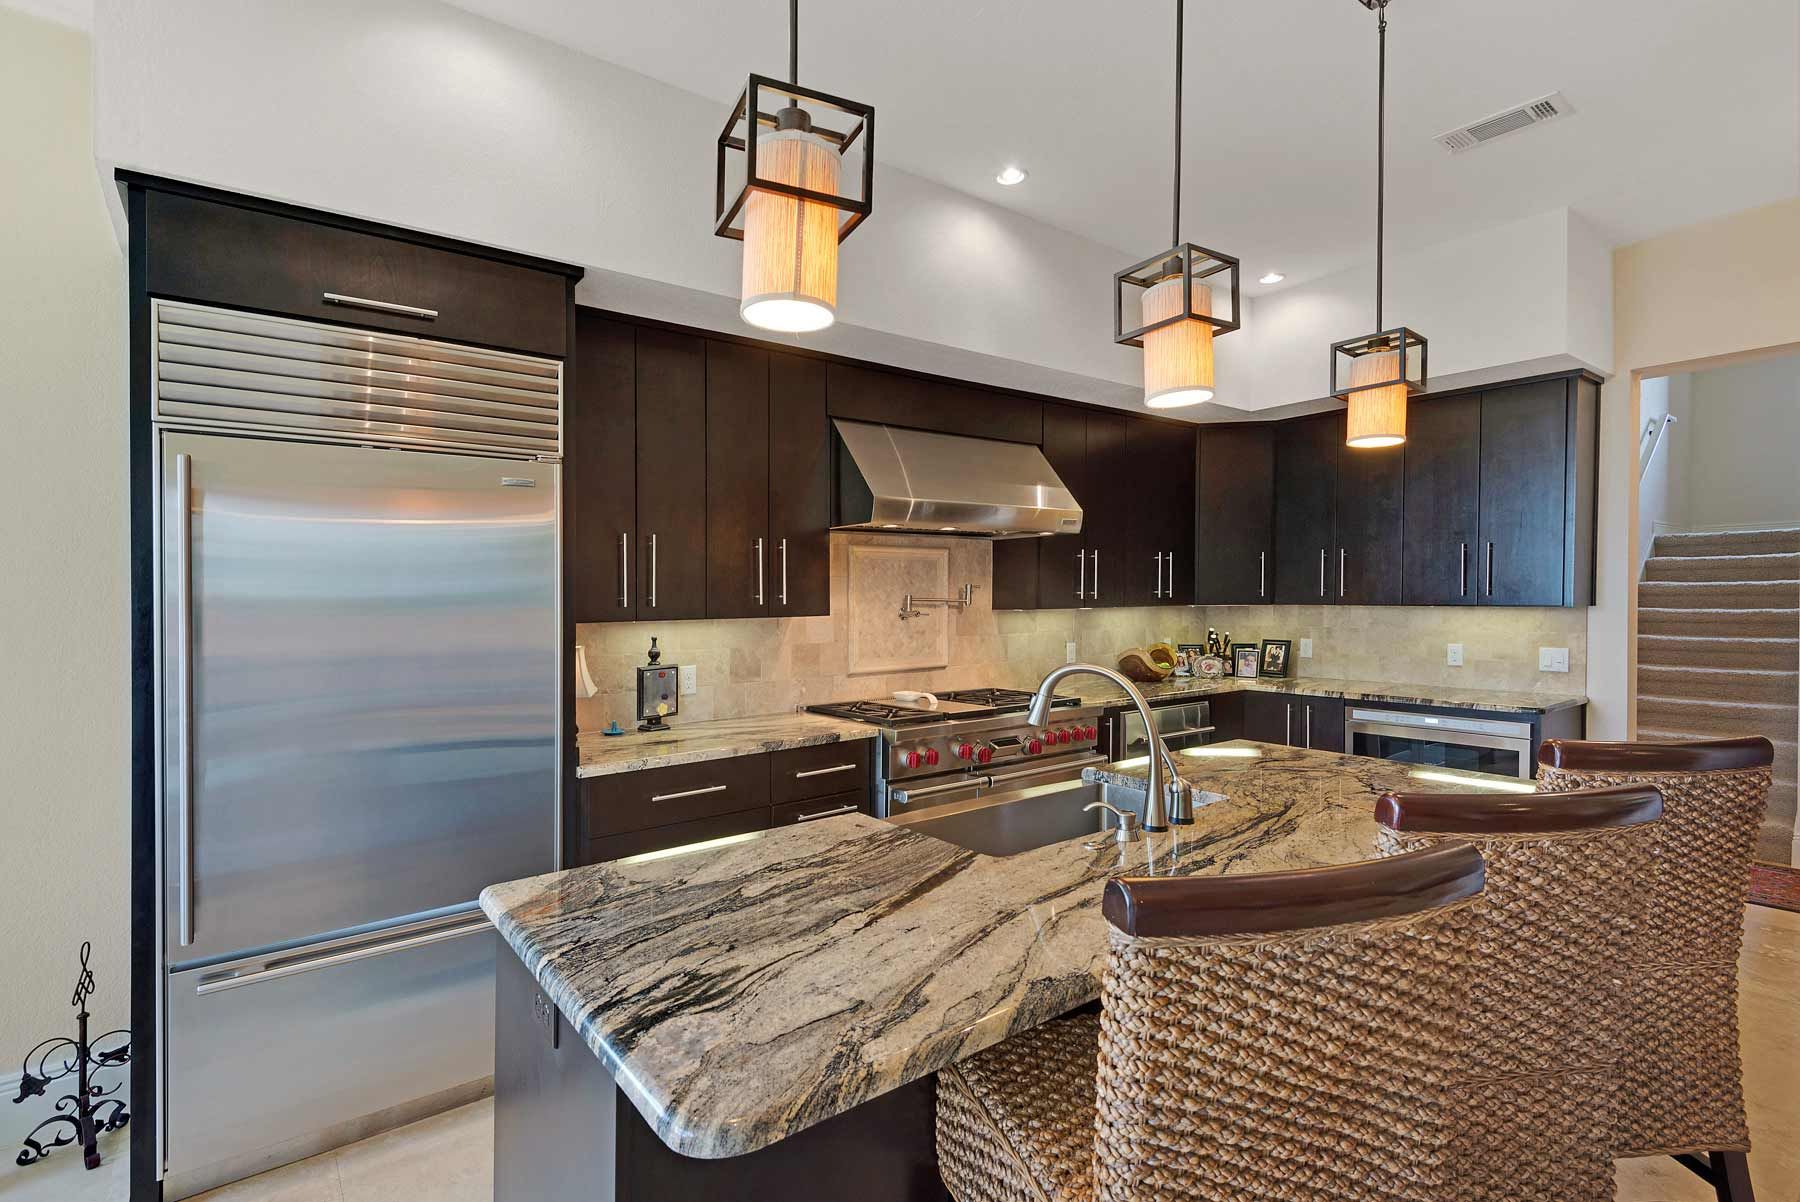
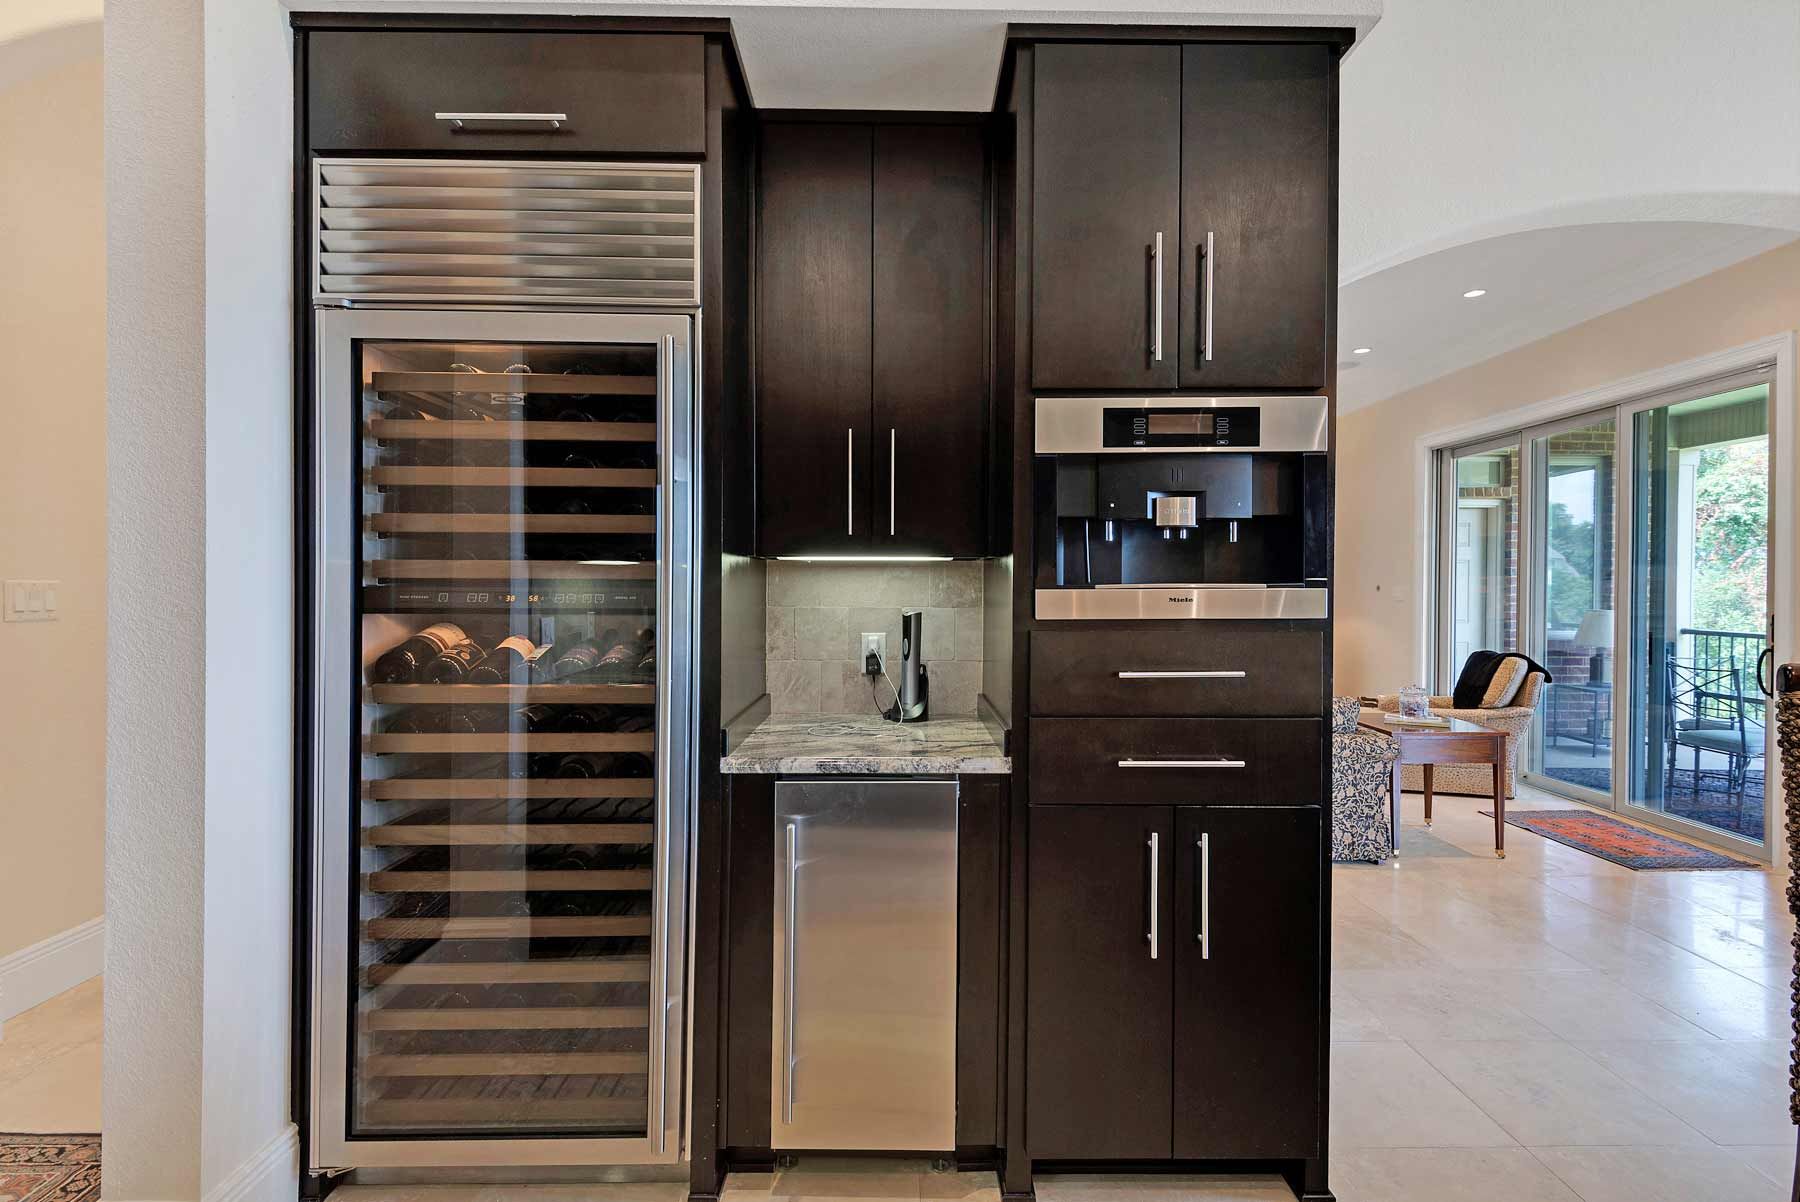
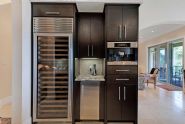
Wolf wine cooler, ice maker, and Miele coffee maker.
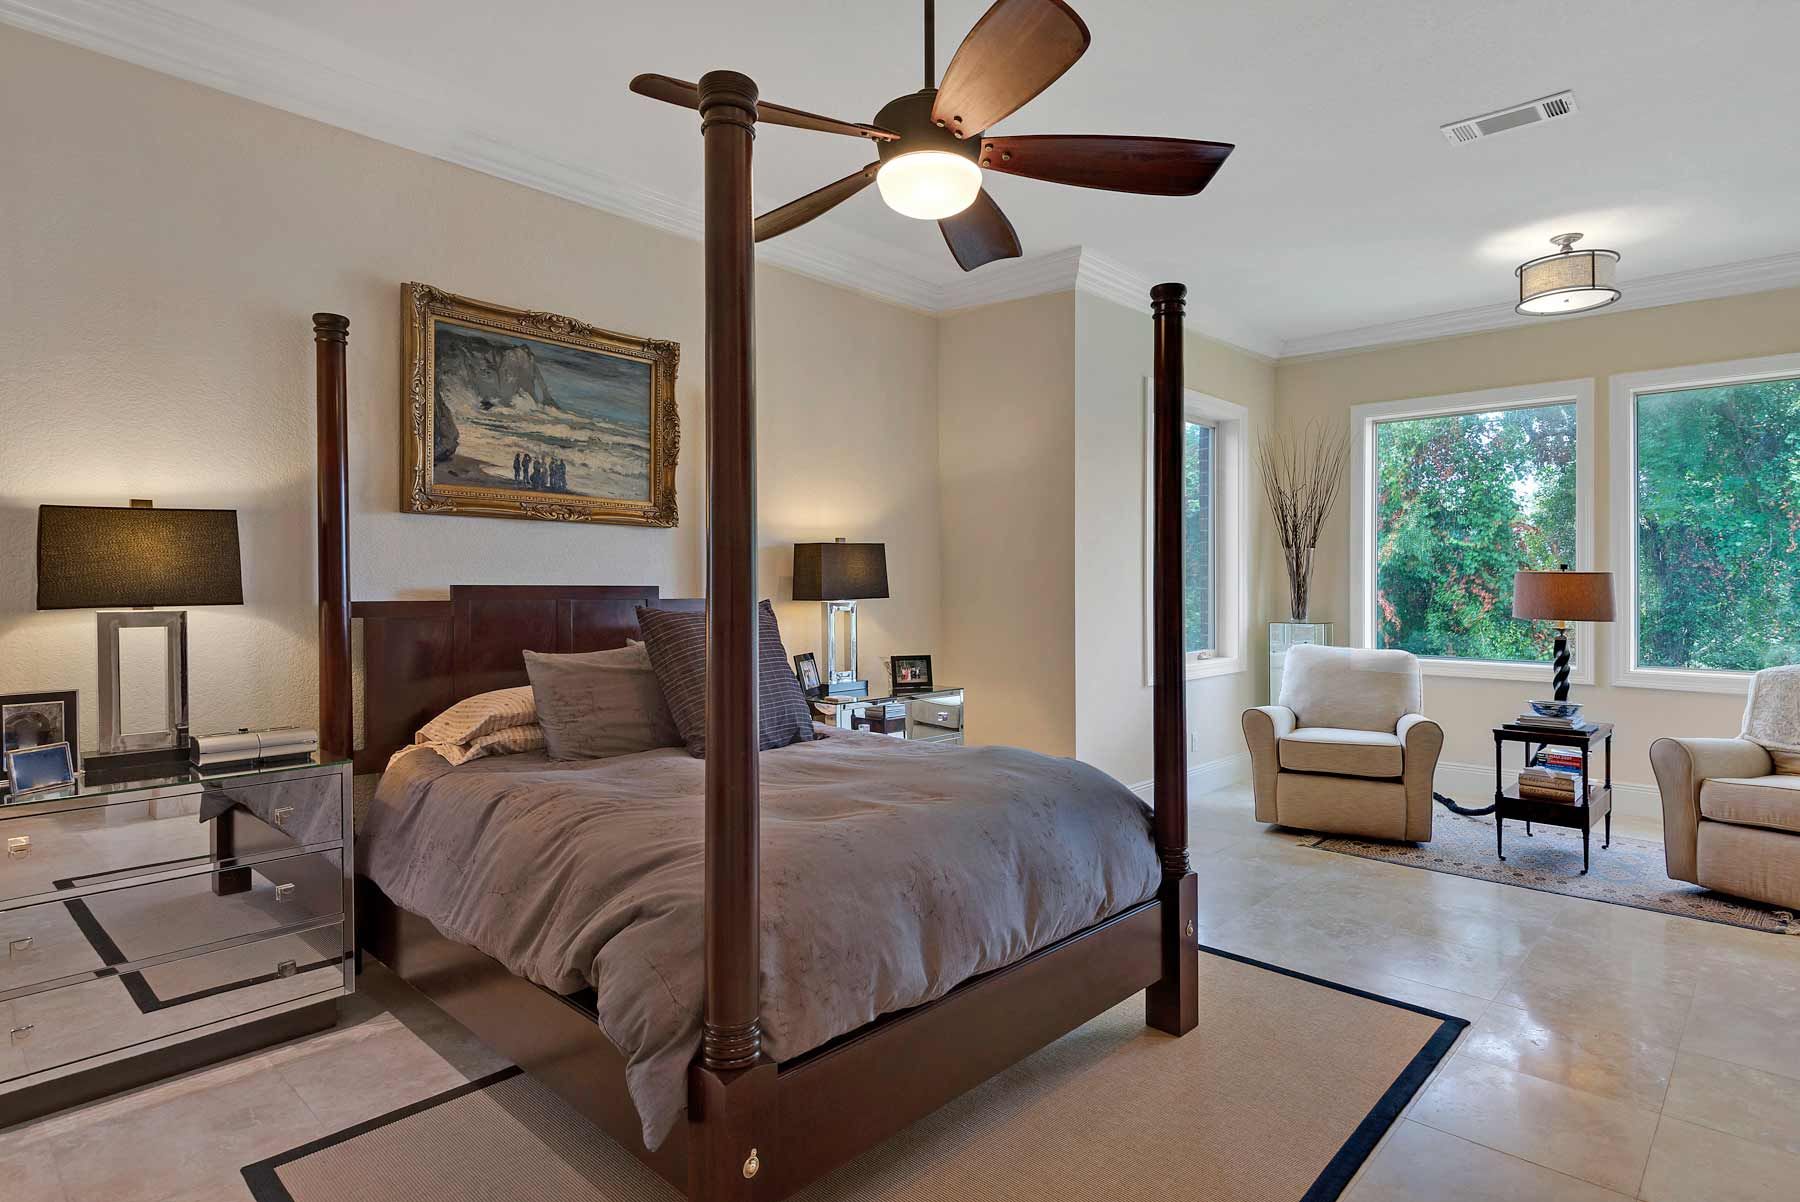
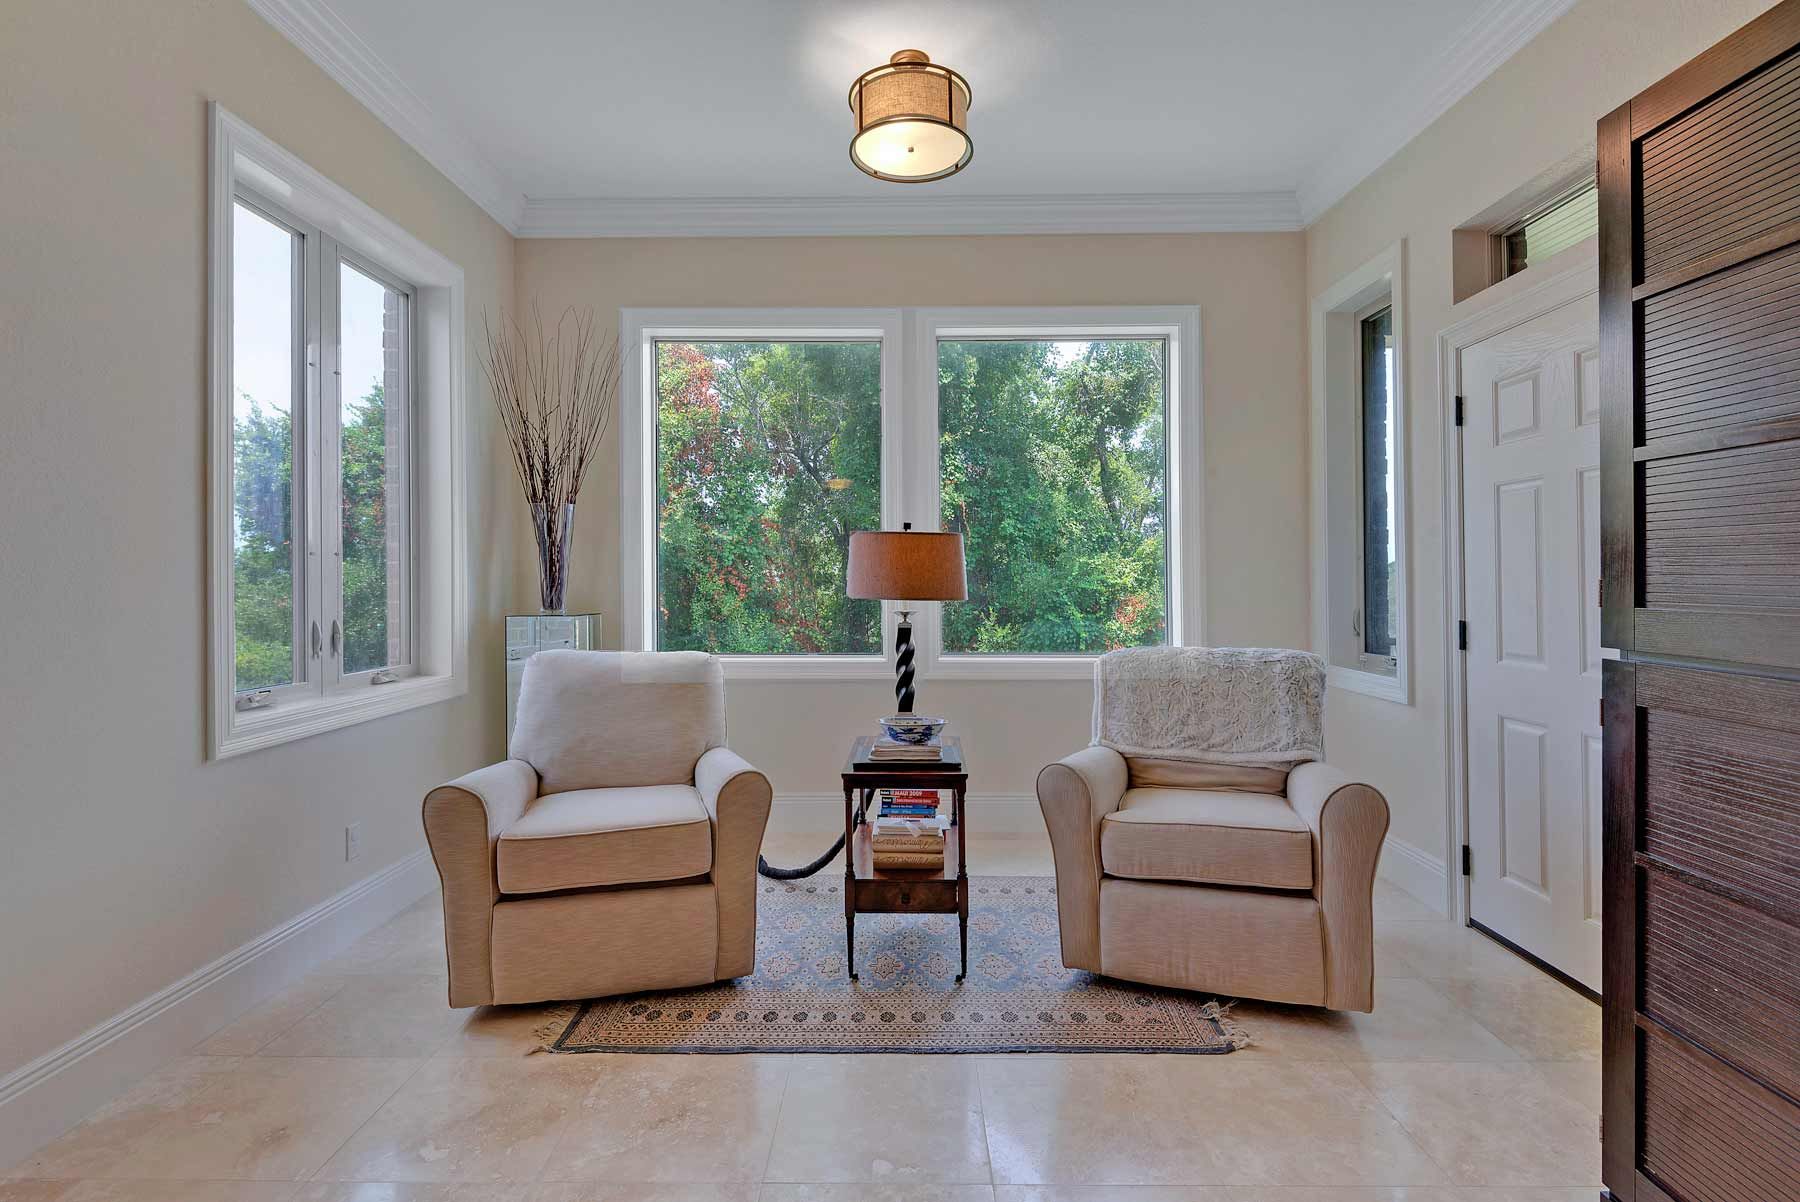
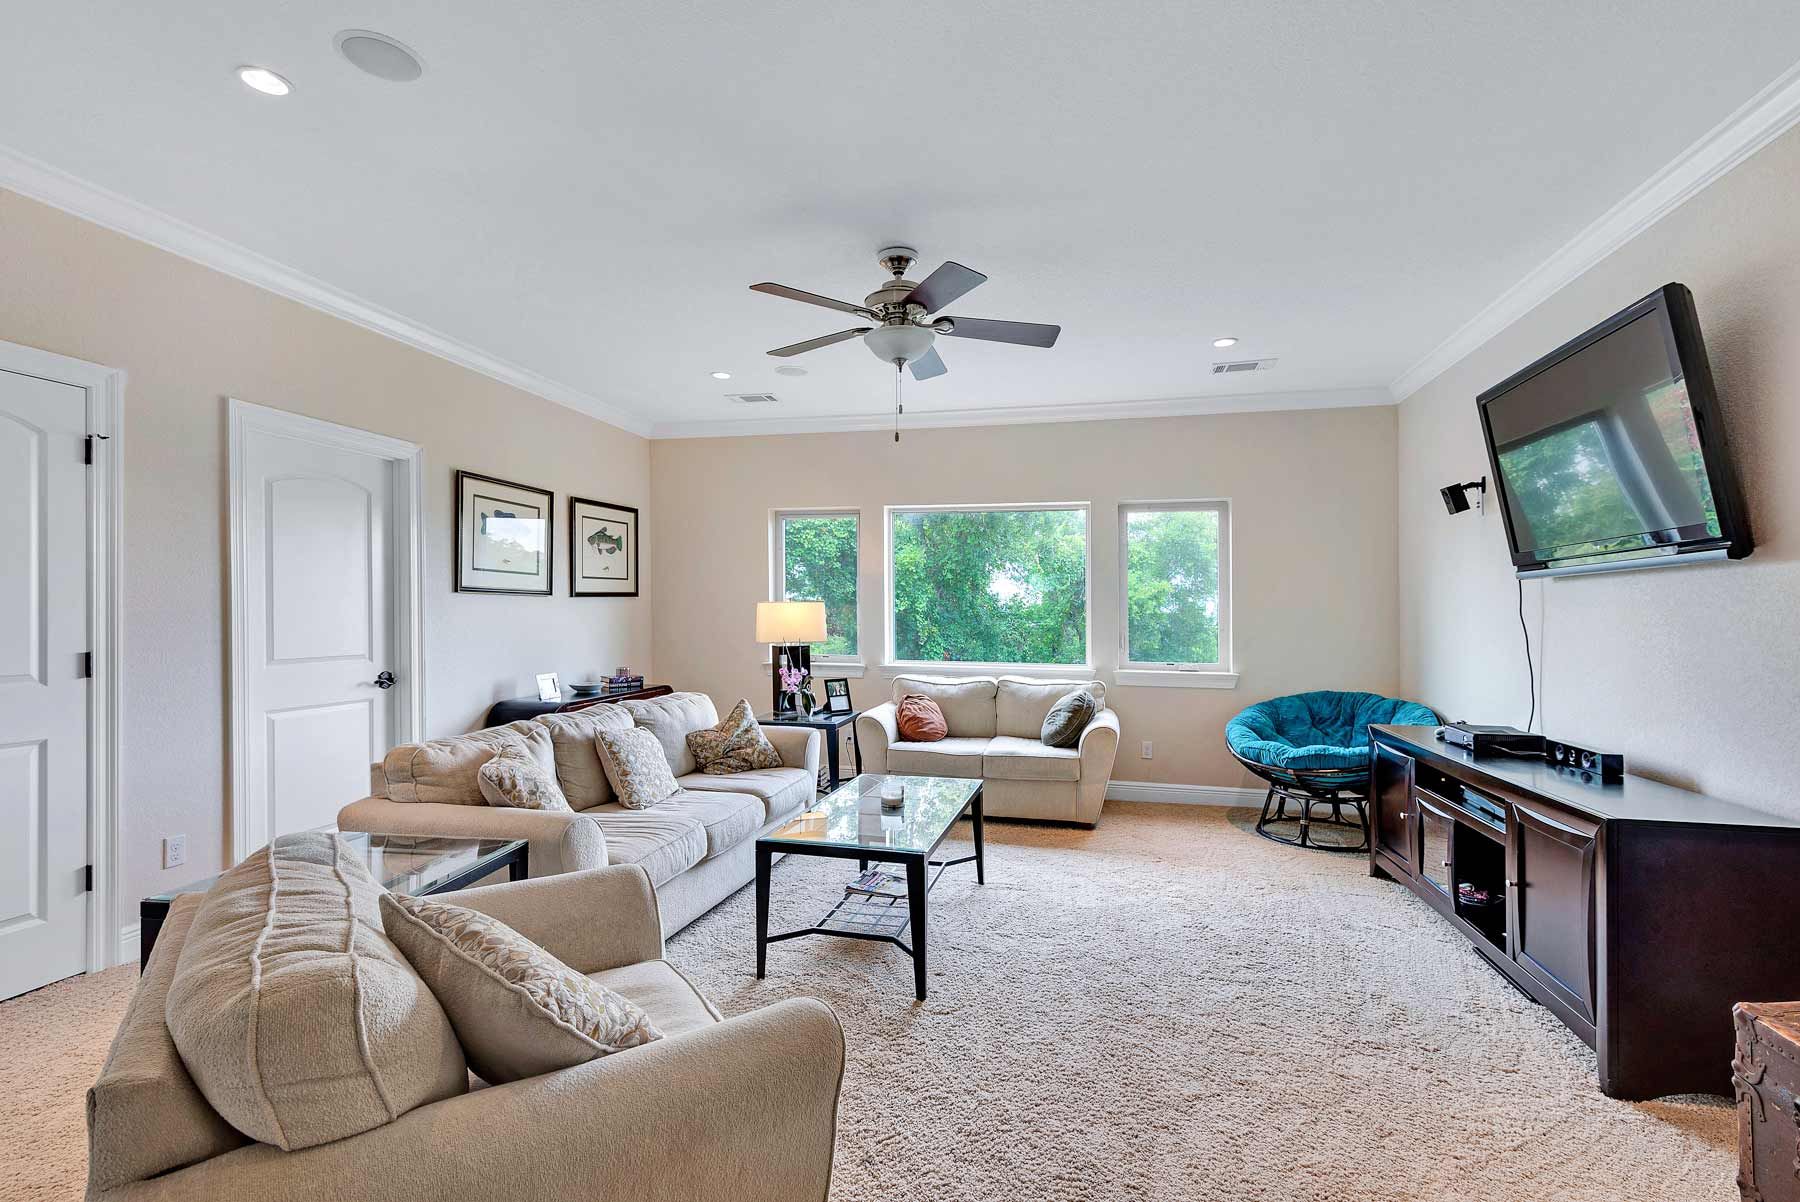
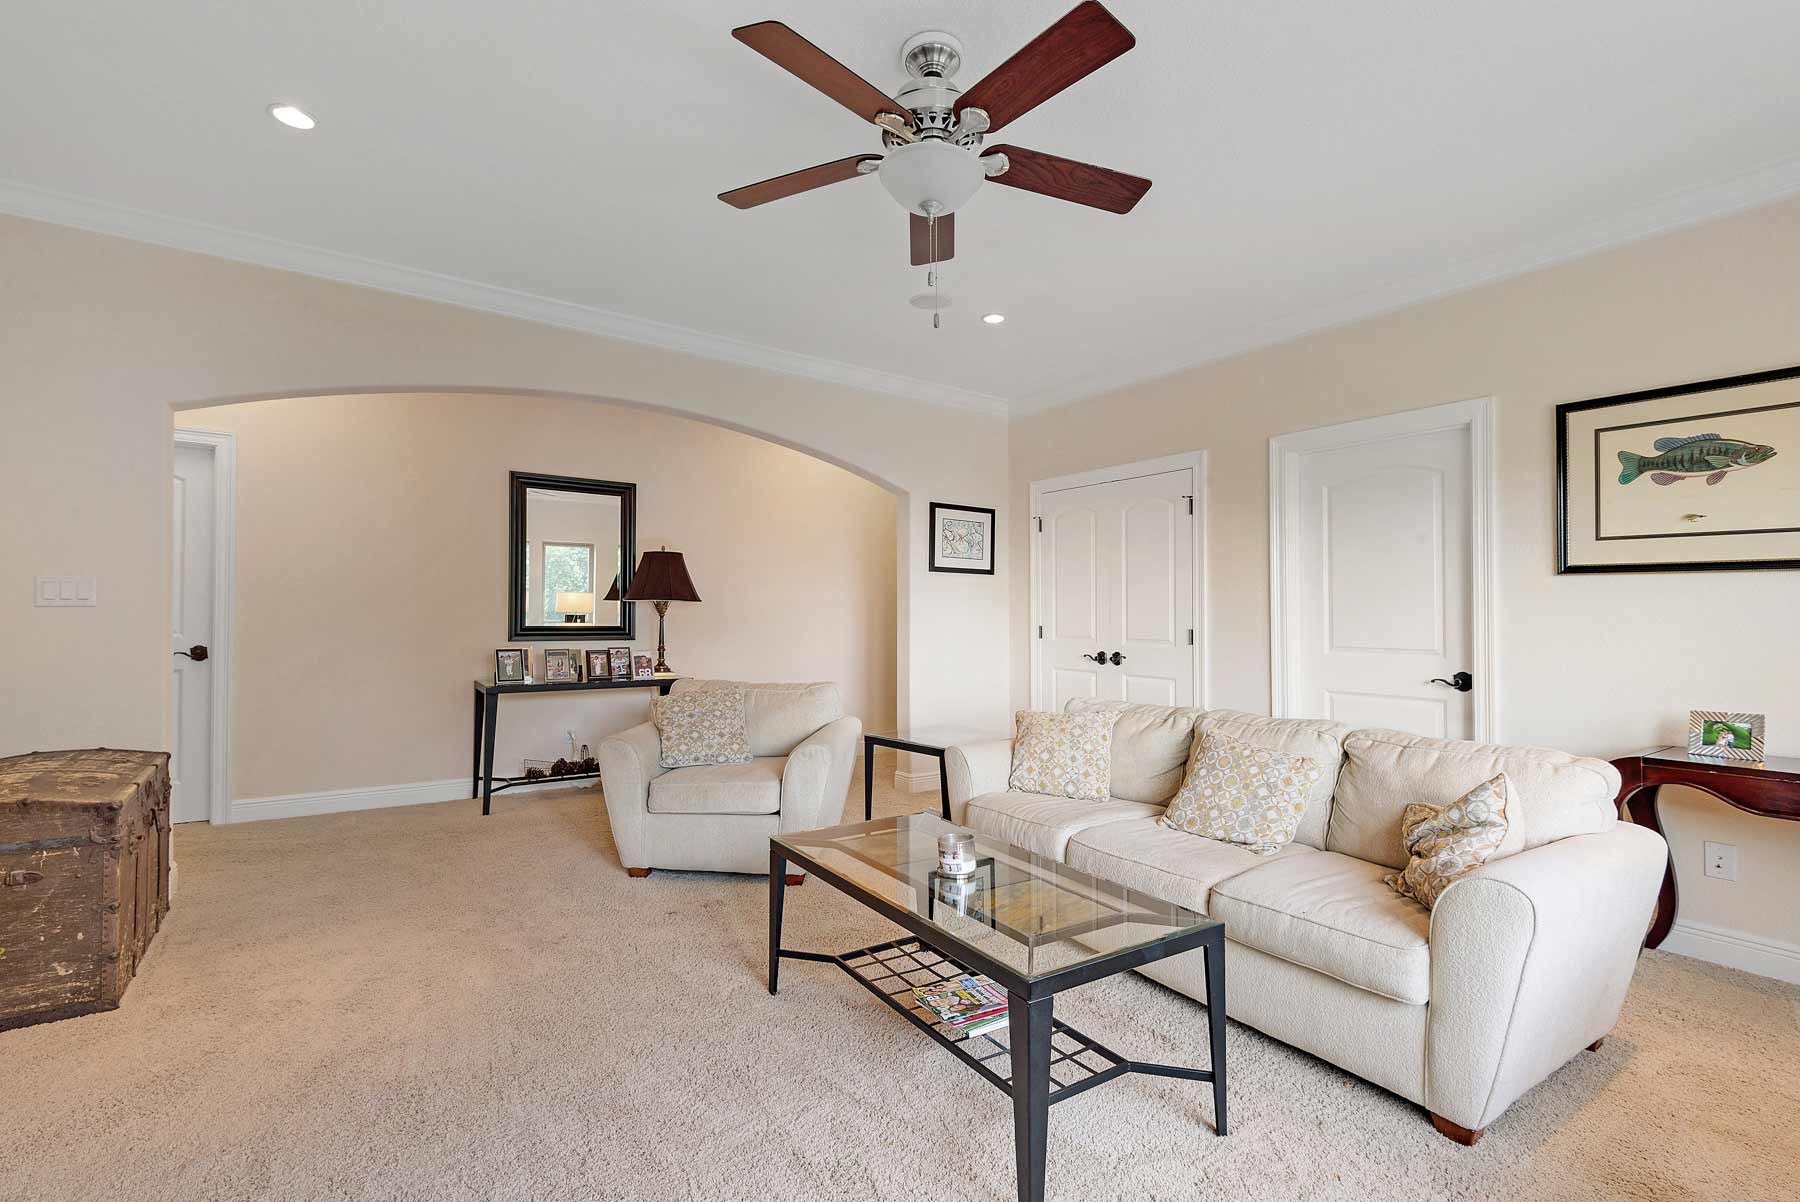
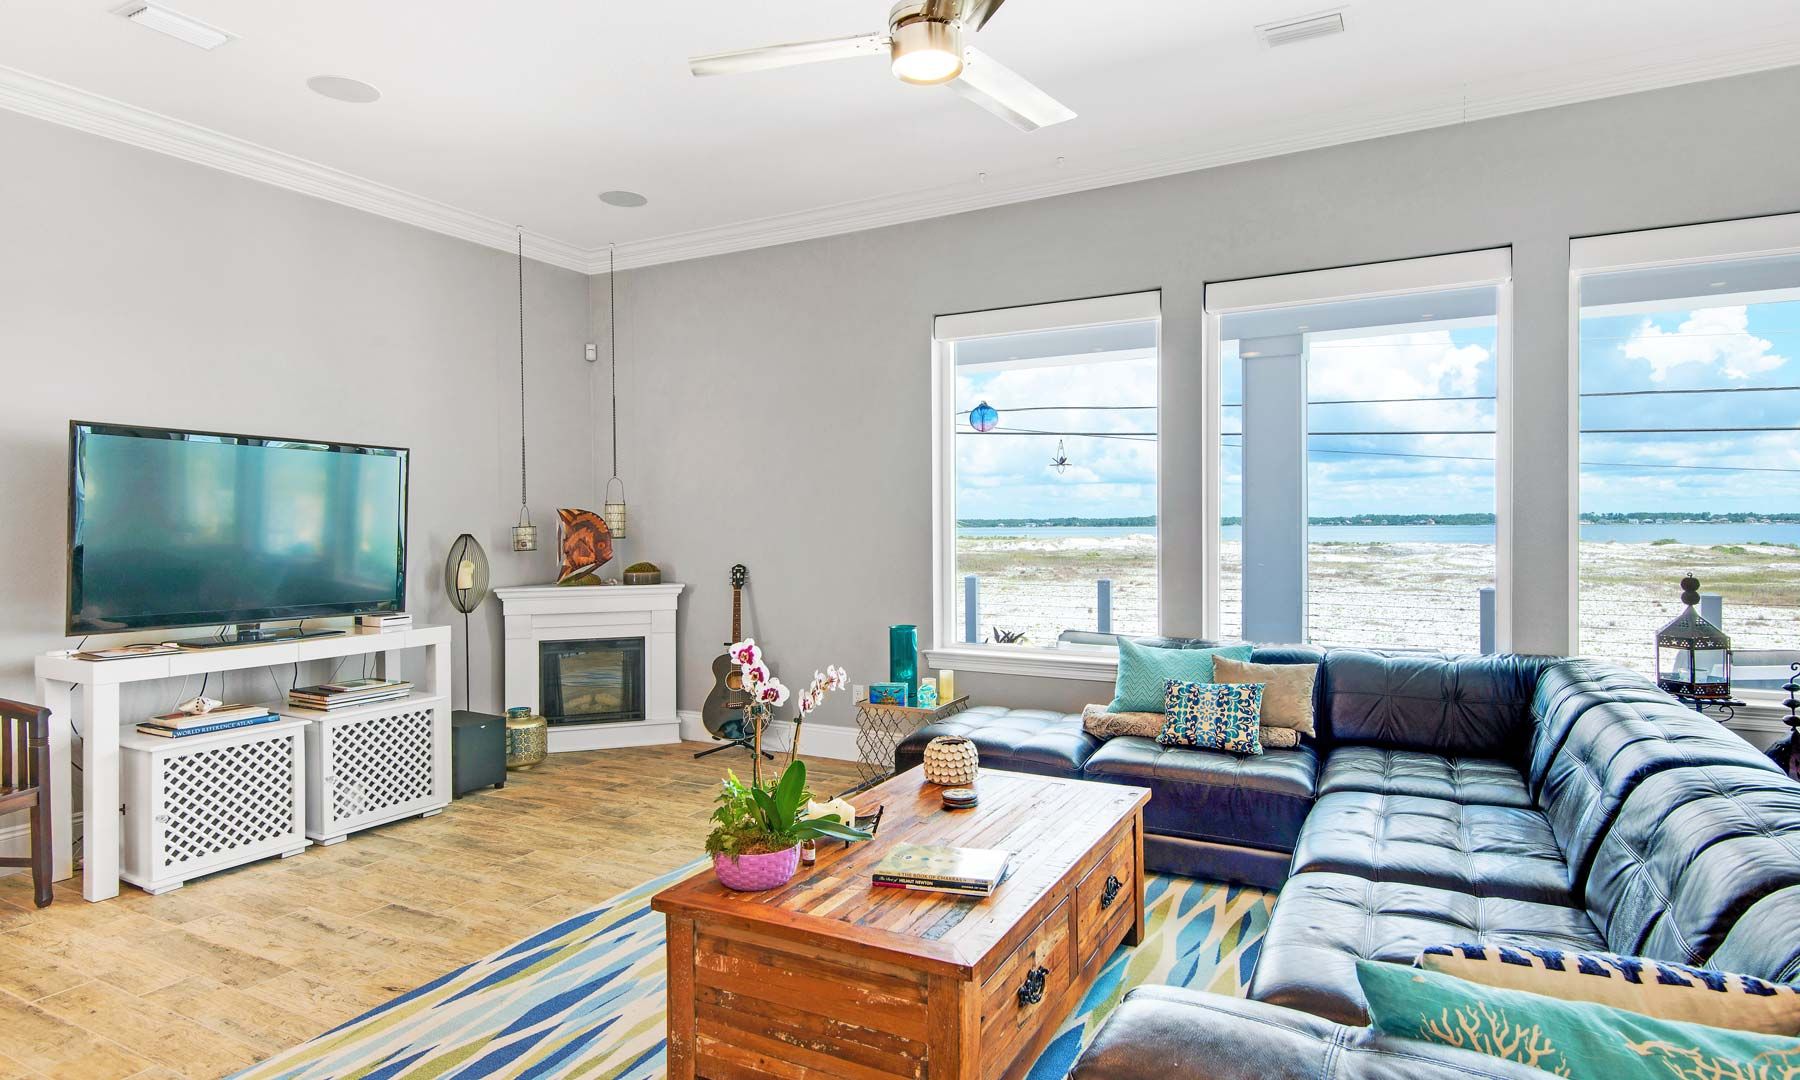
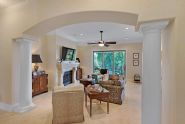
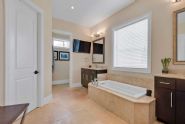
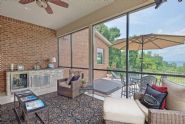
Master BR sitting space.
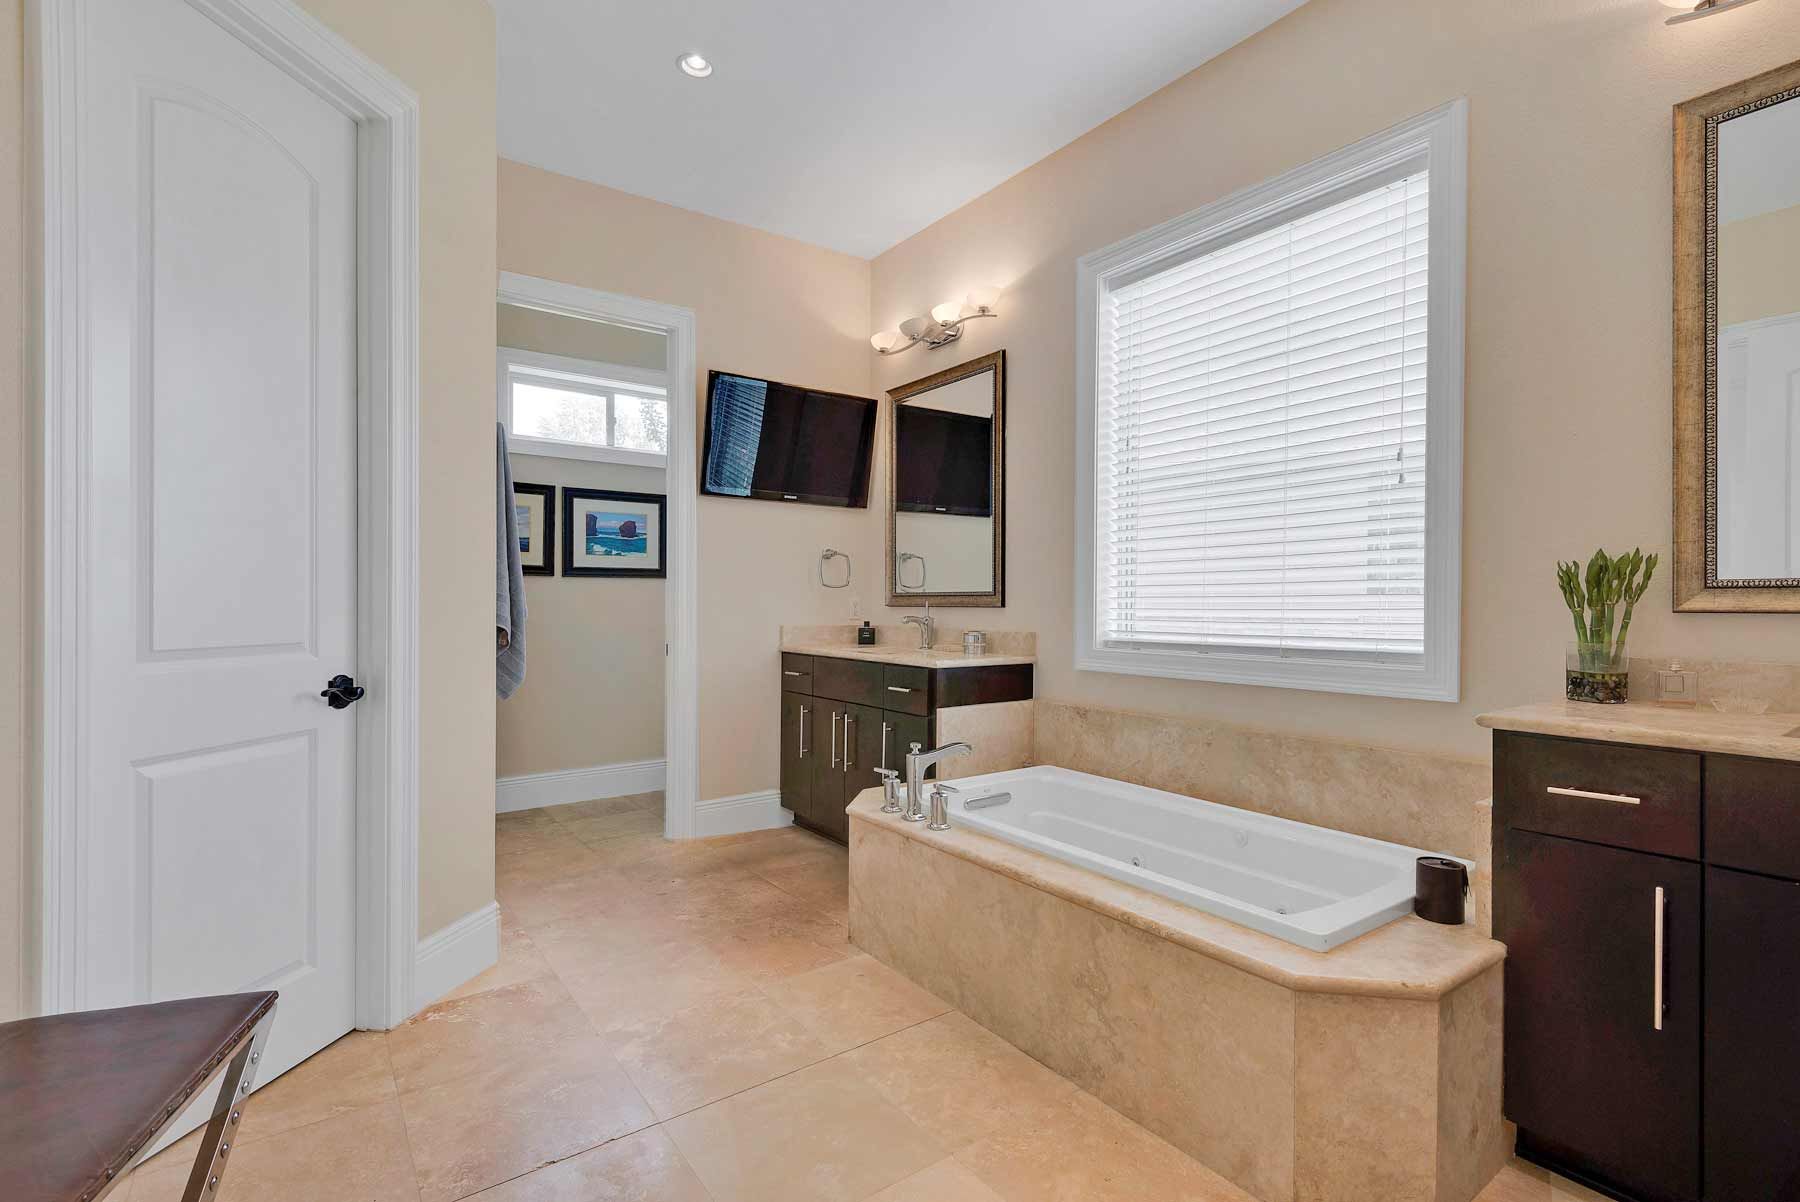
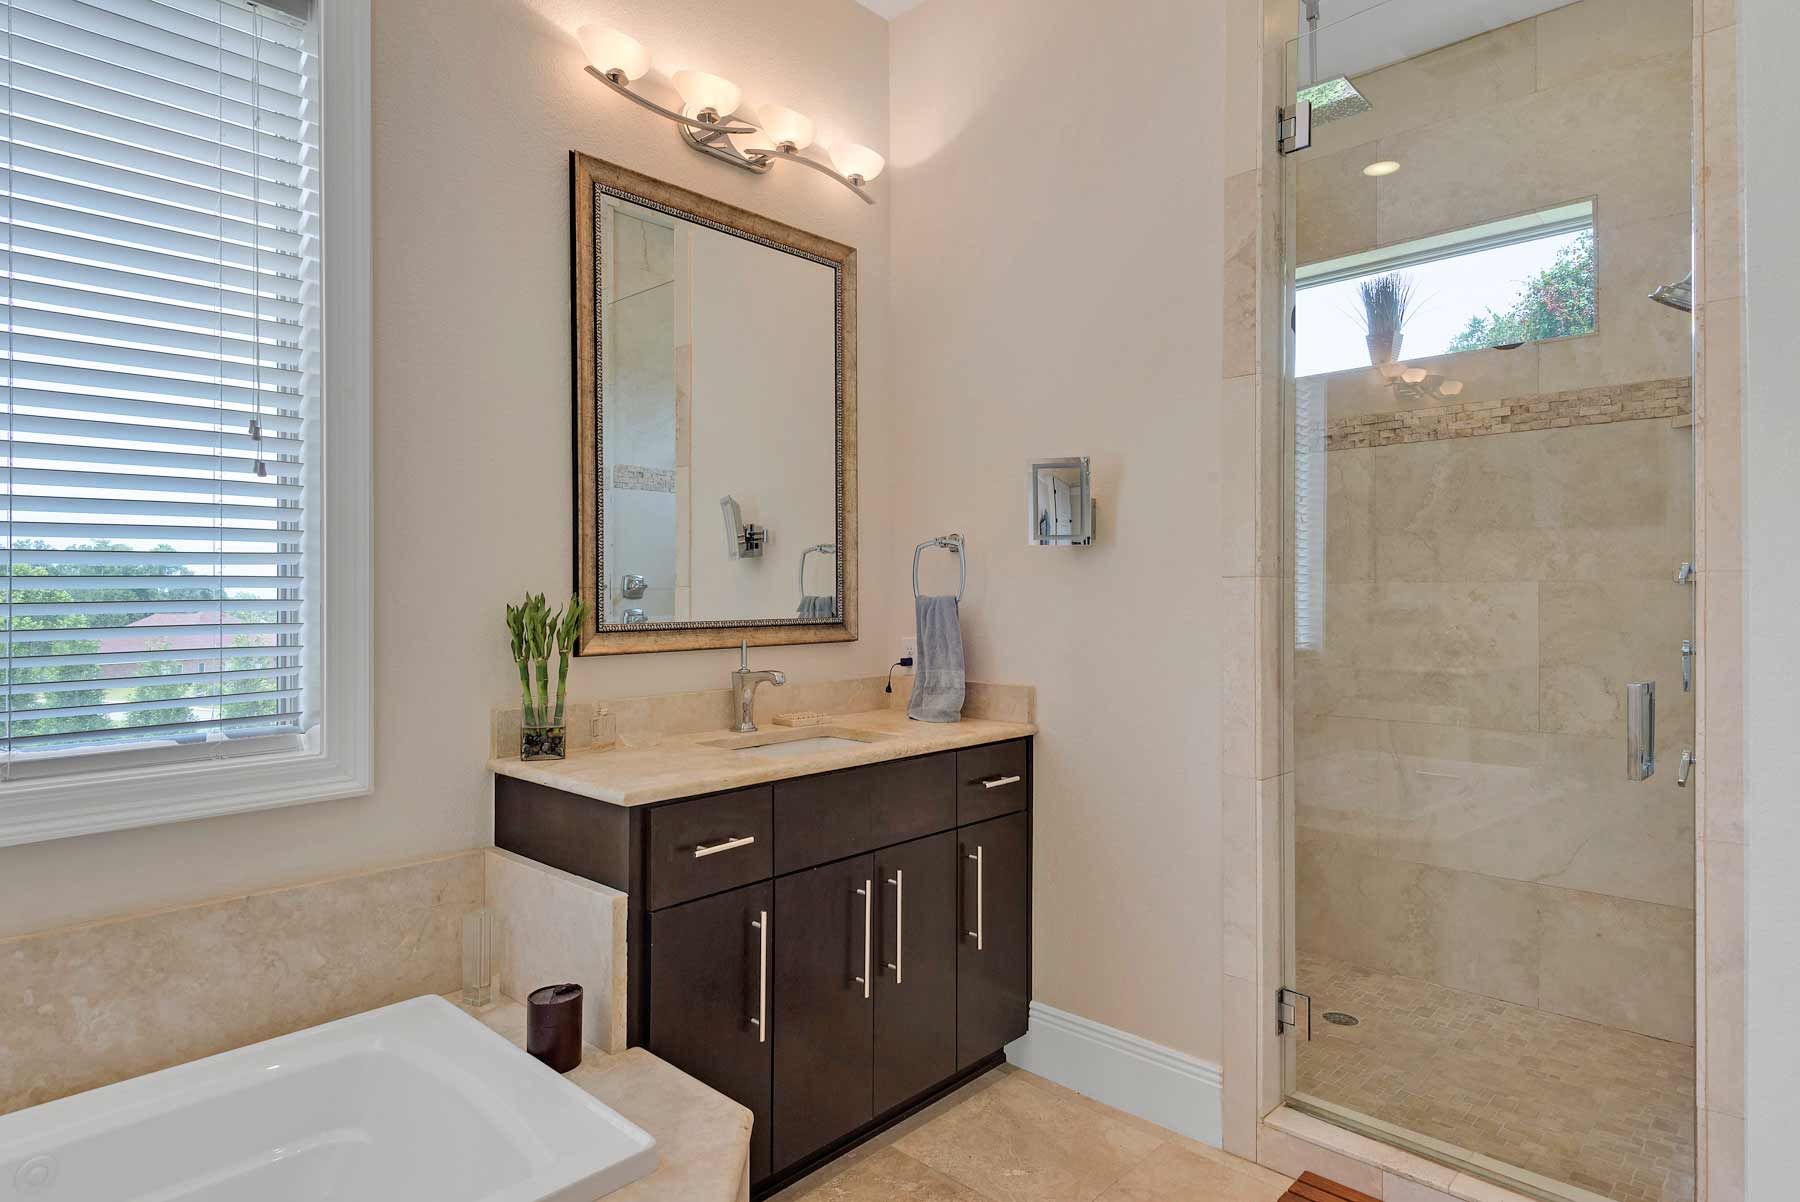
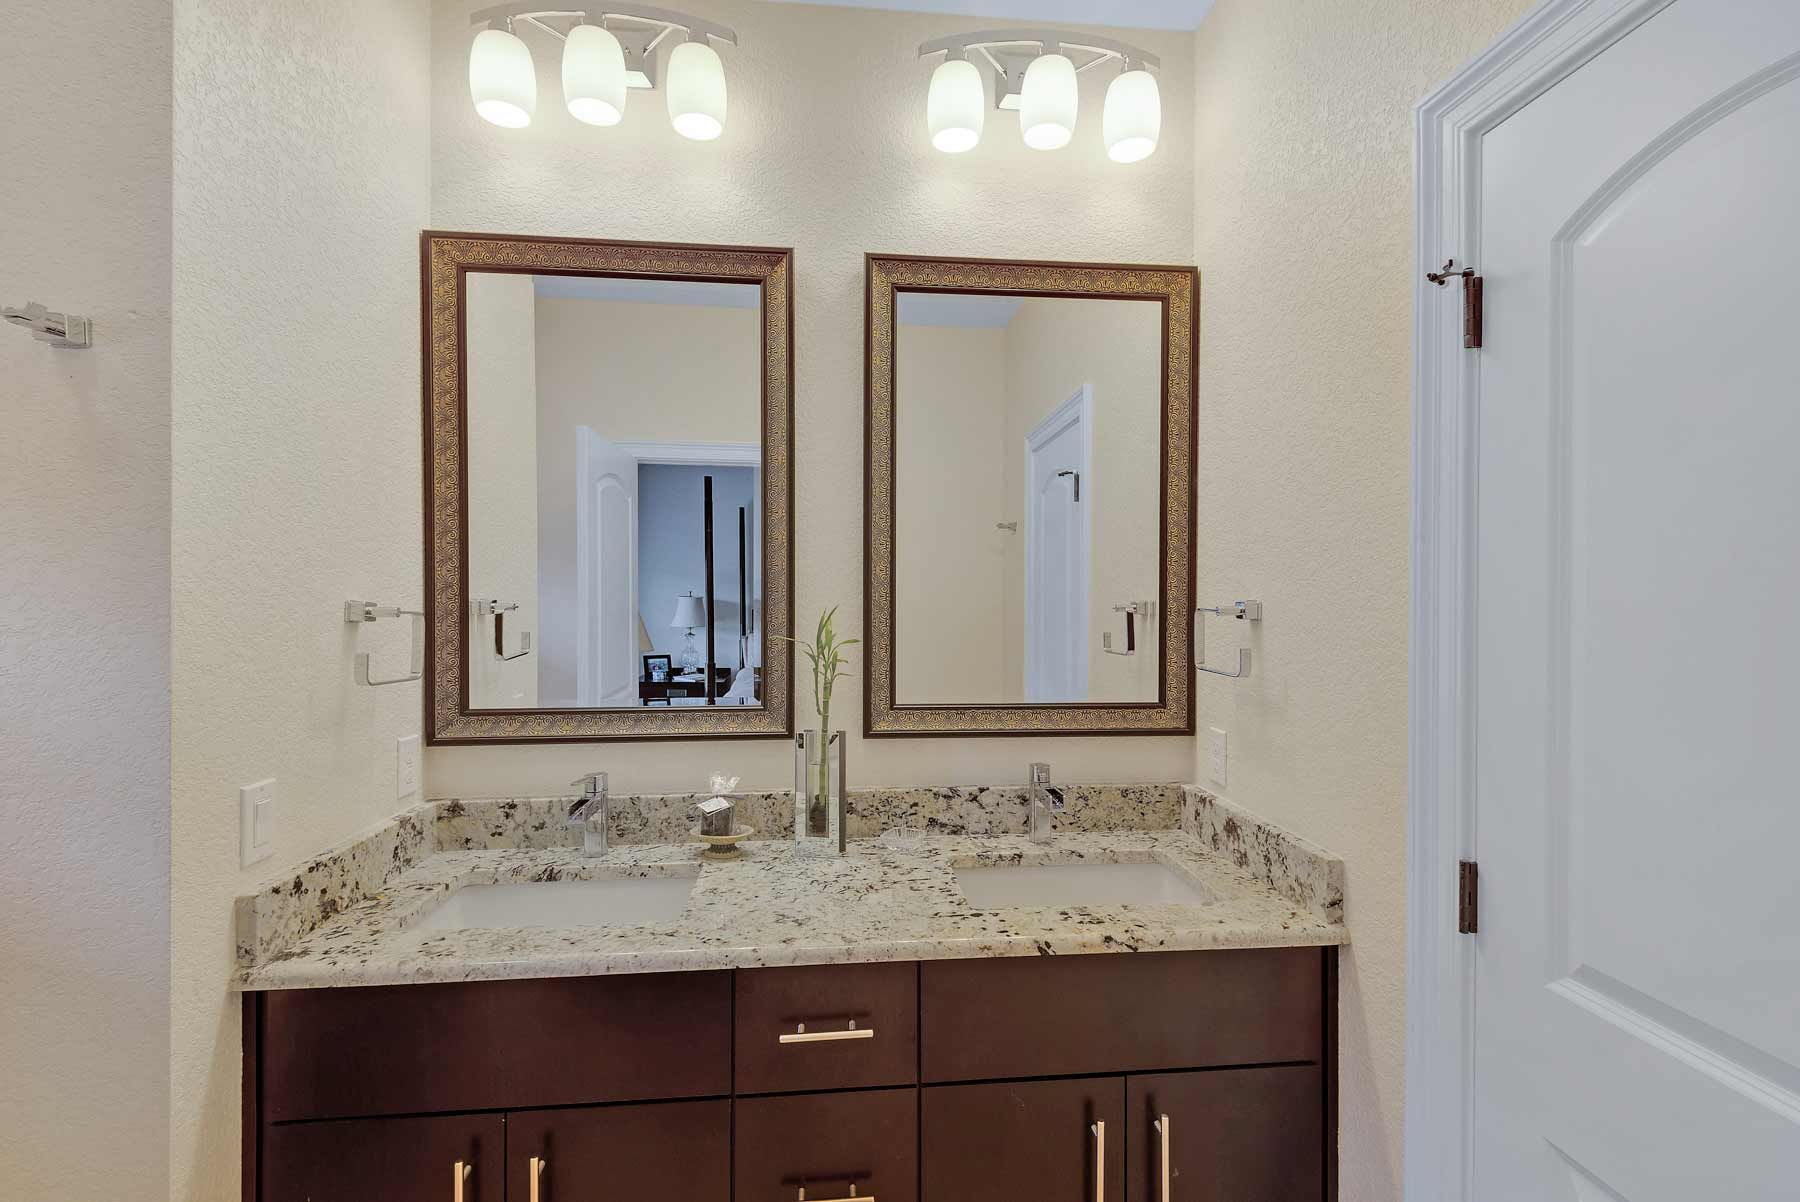
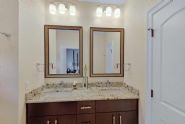
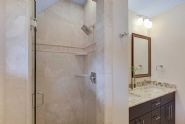
Limestone tub platform and vanity tops.
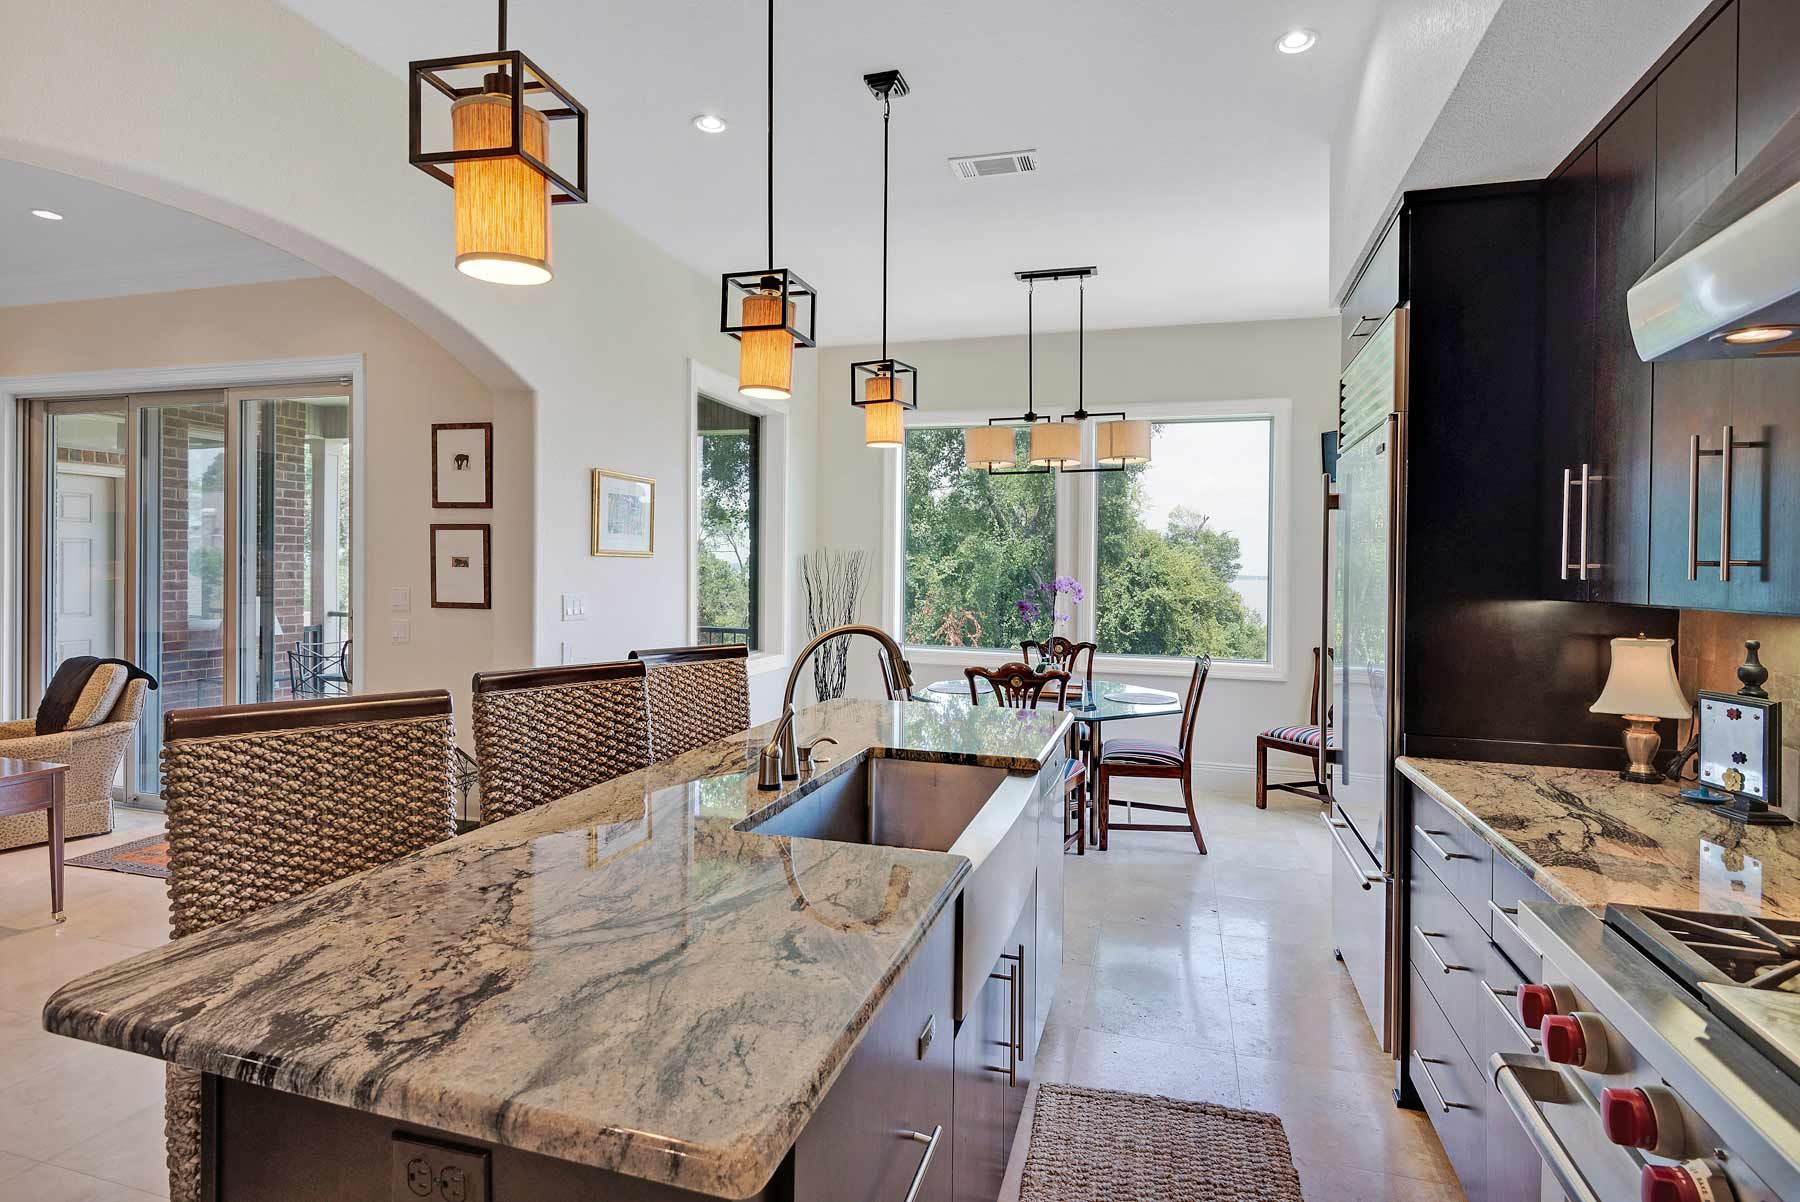
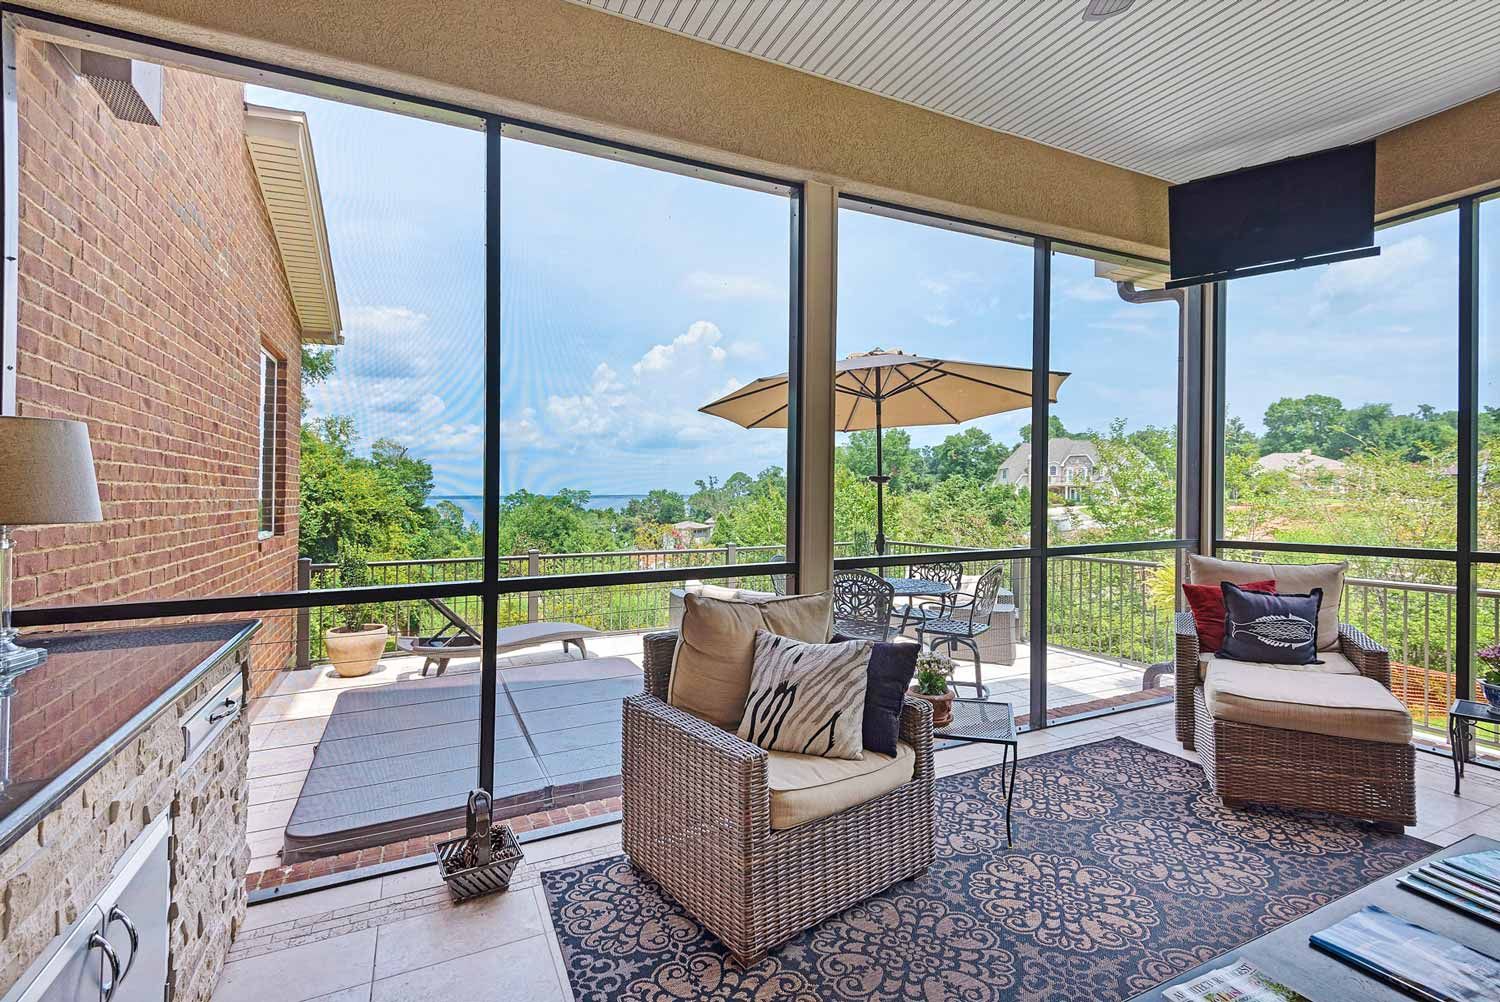
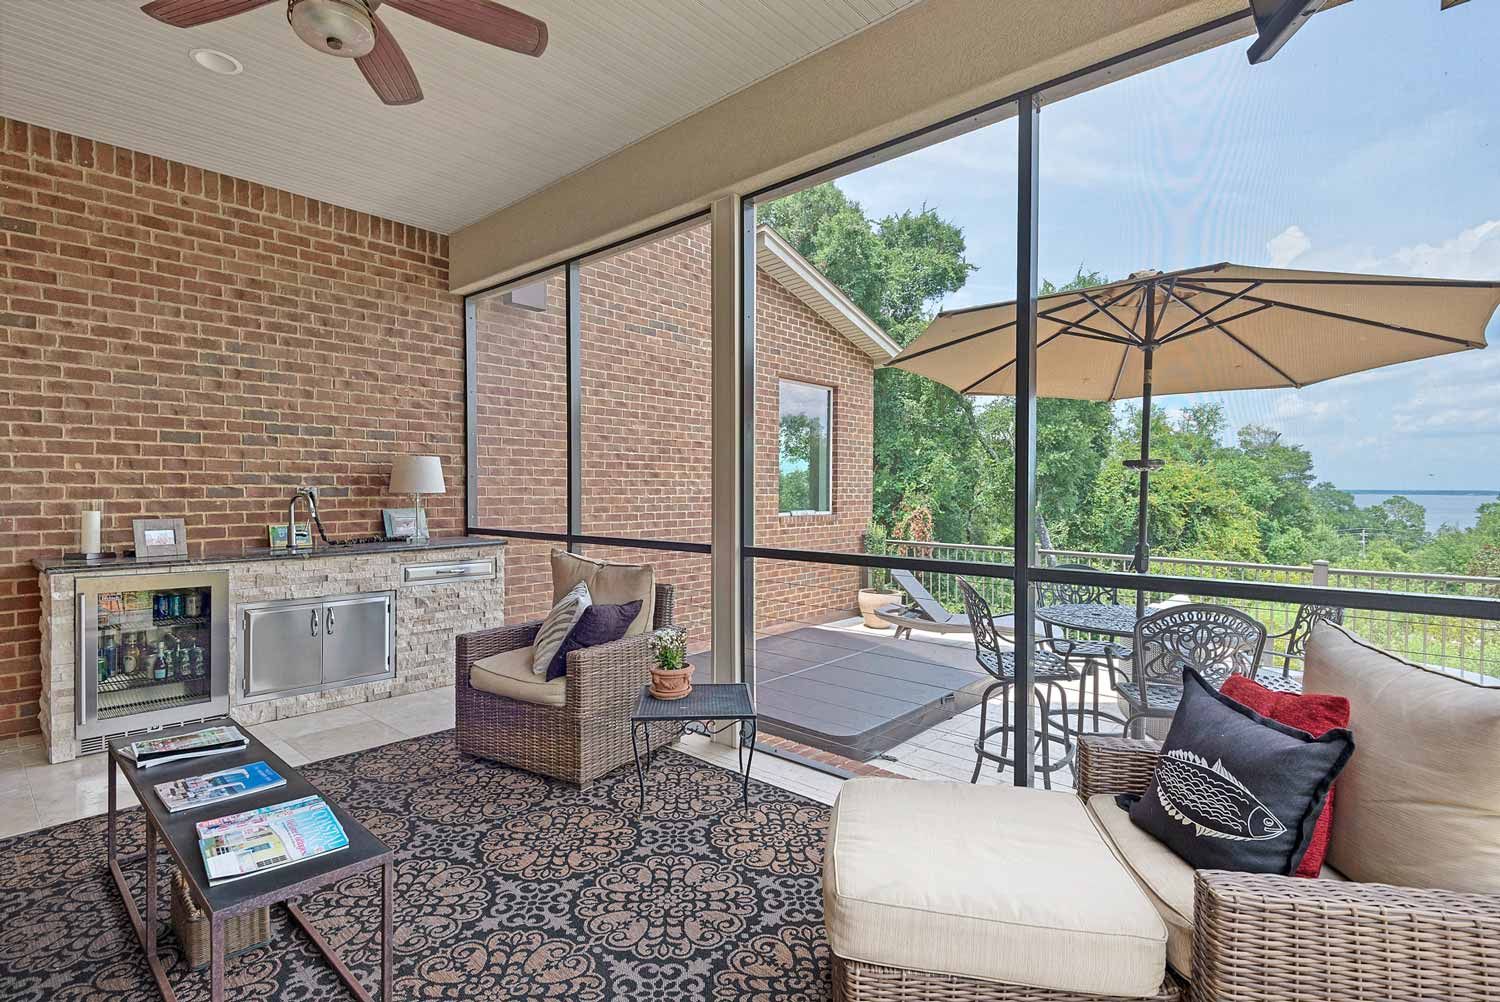
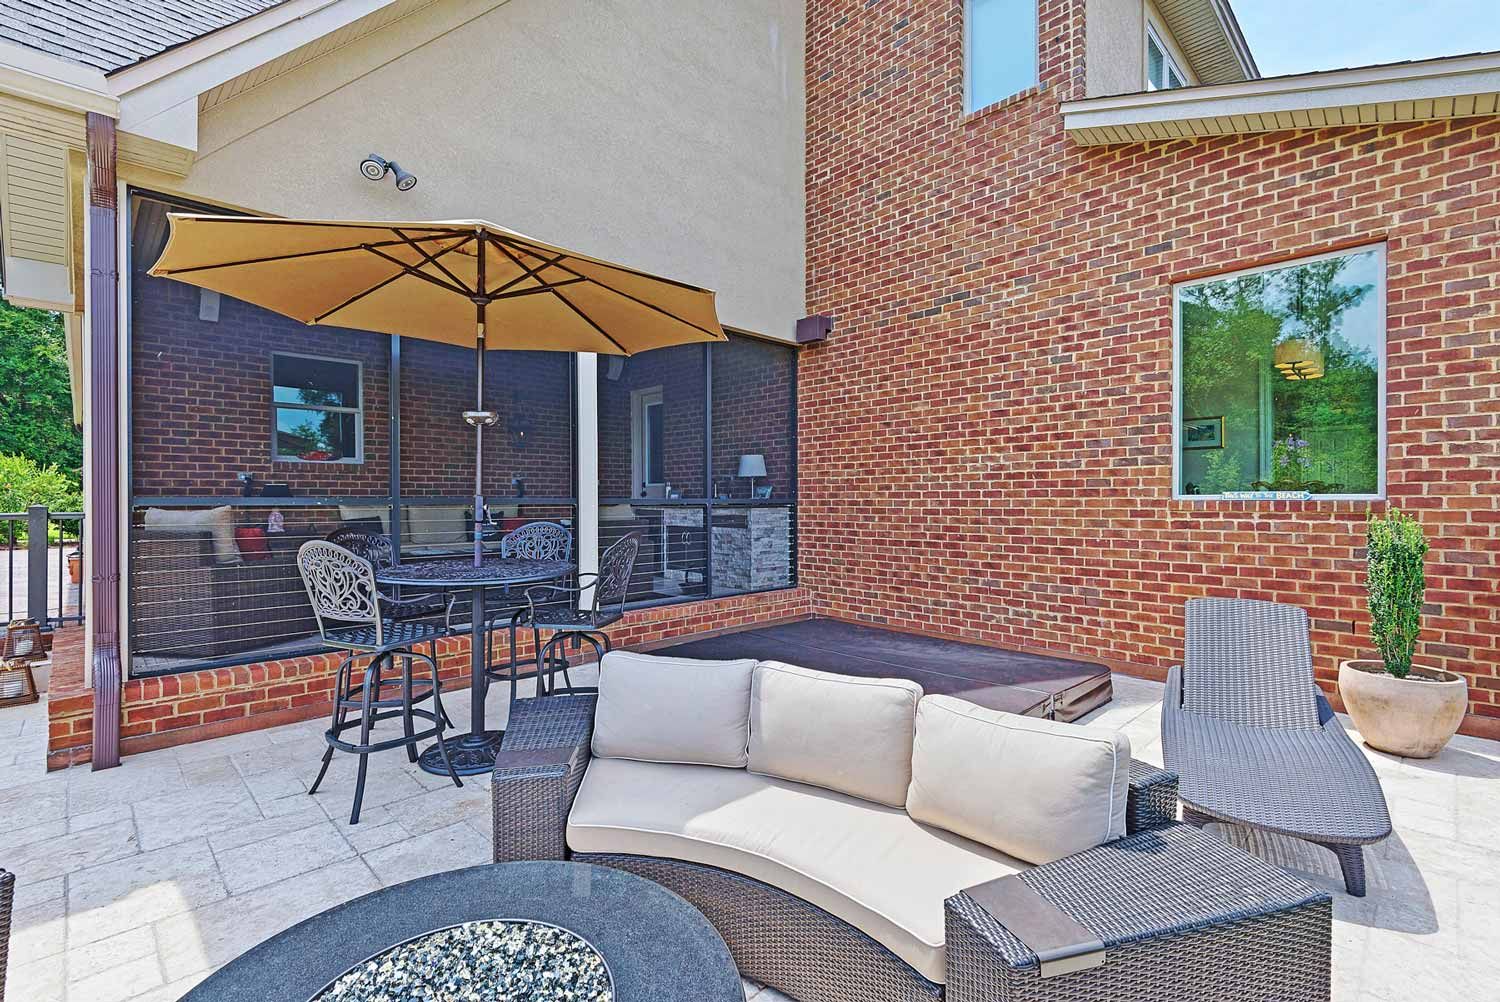
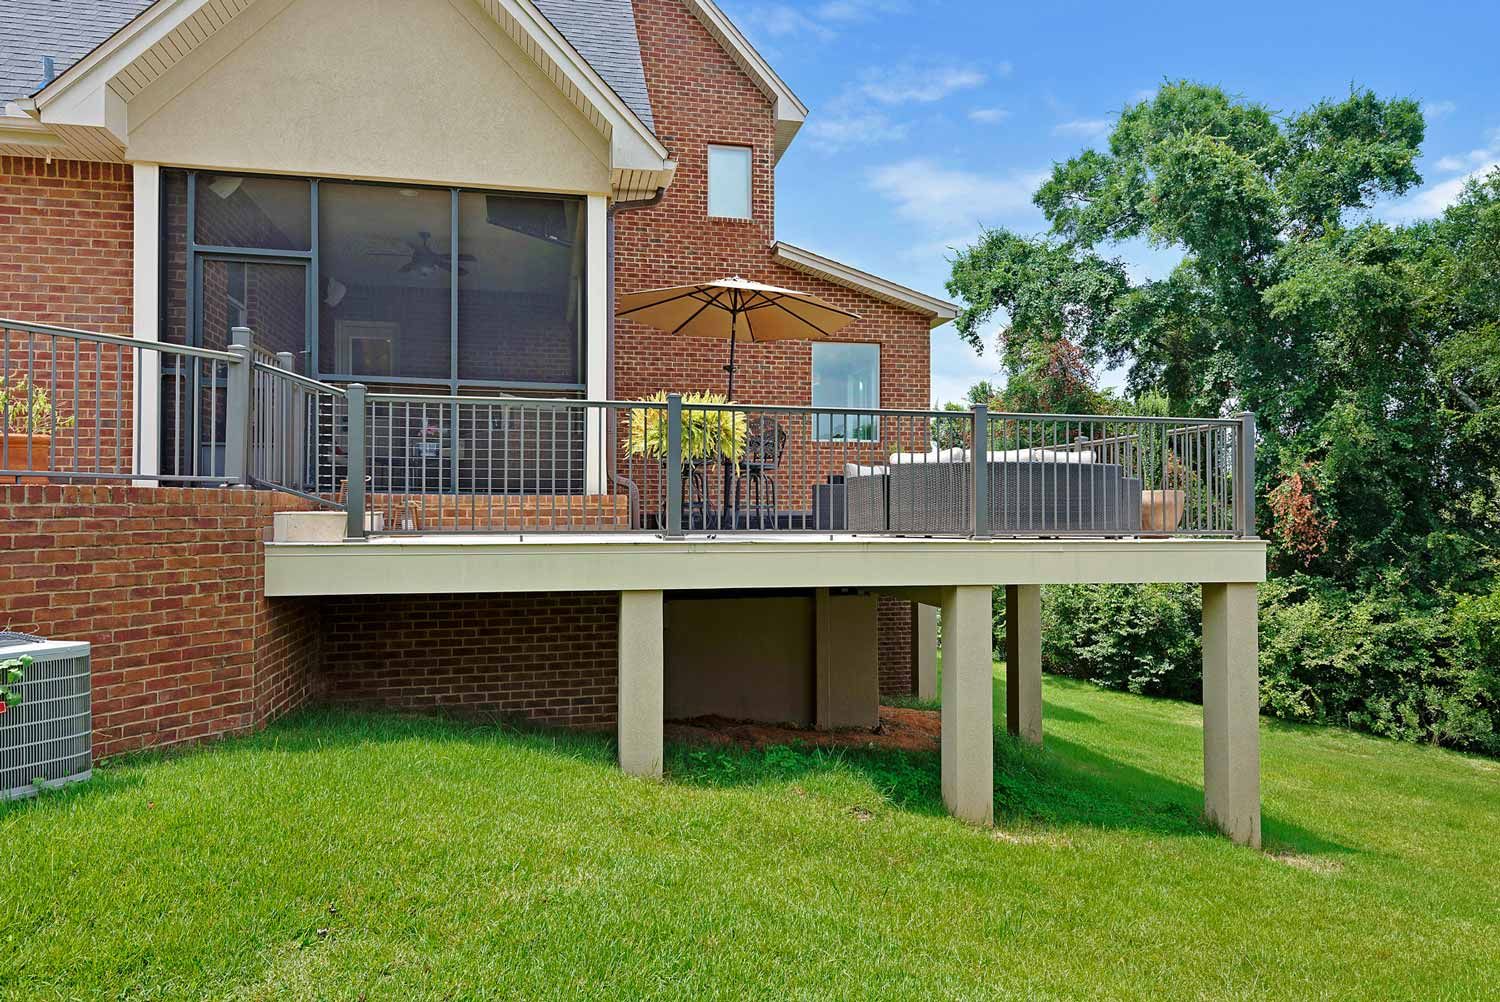
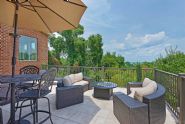
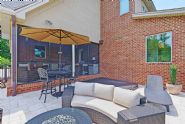
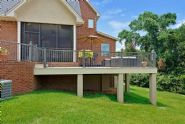
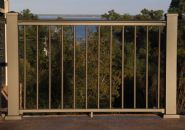
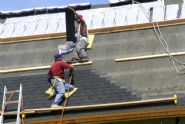
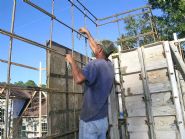
Stainless steel wire rope railing is used to open up the view.
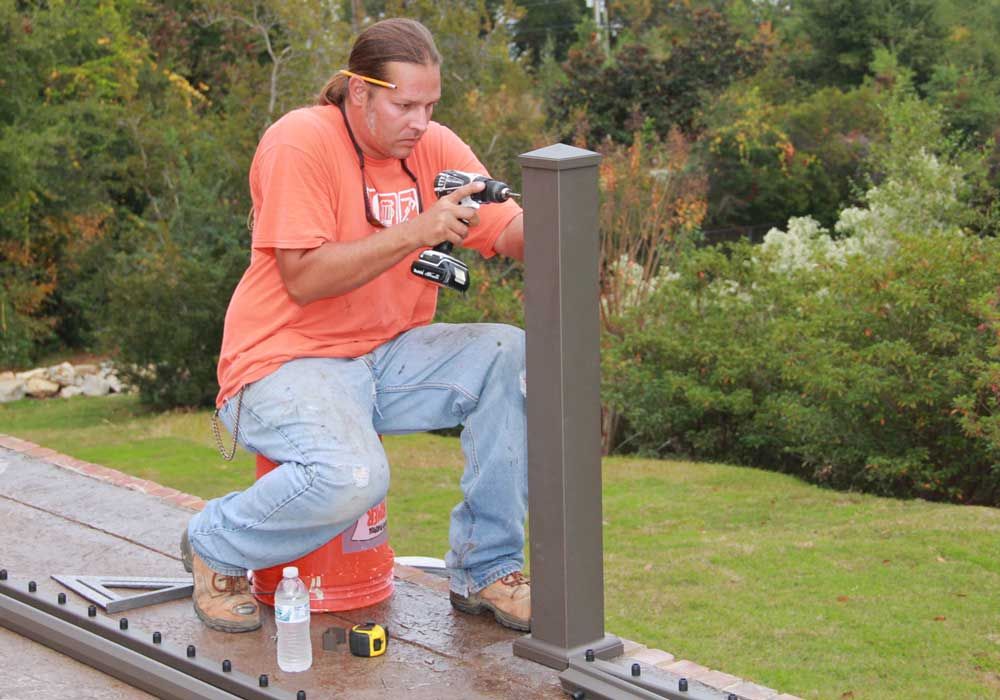
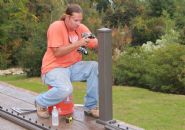
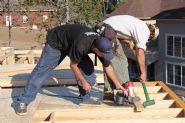
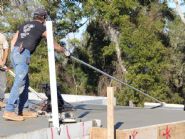
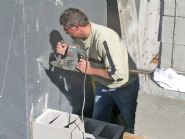
Gerry drills brackets for the retaining wall guard railing.
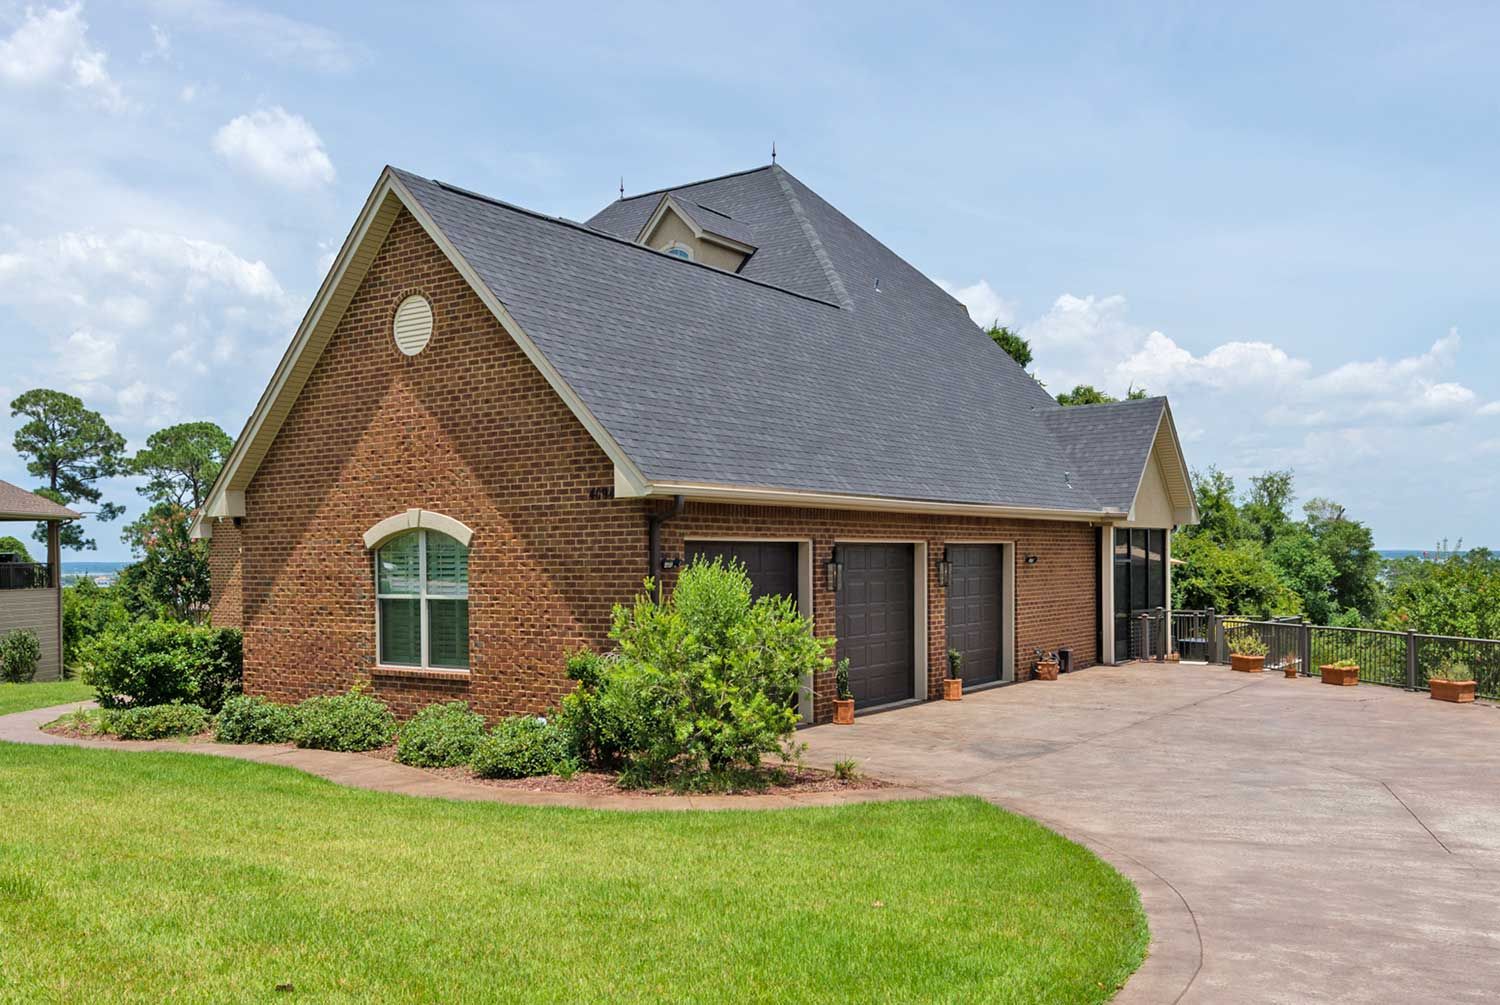
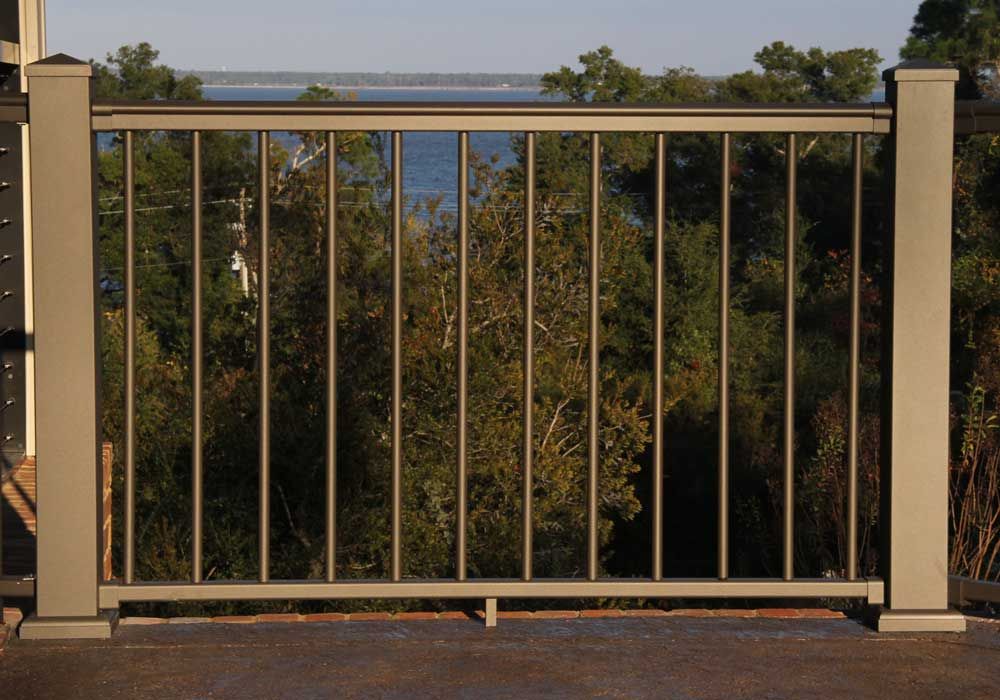
Powder coated aluminum railing around the driveway retaining wall.
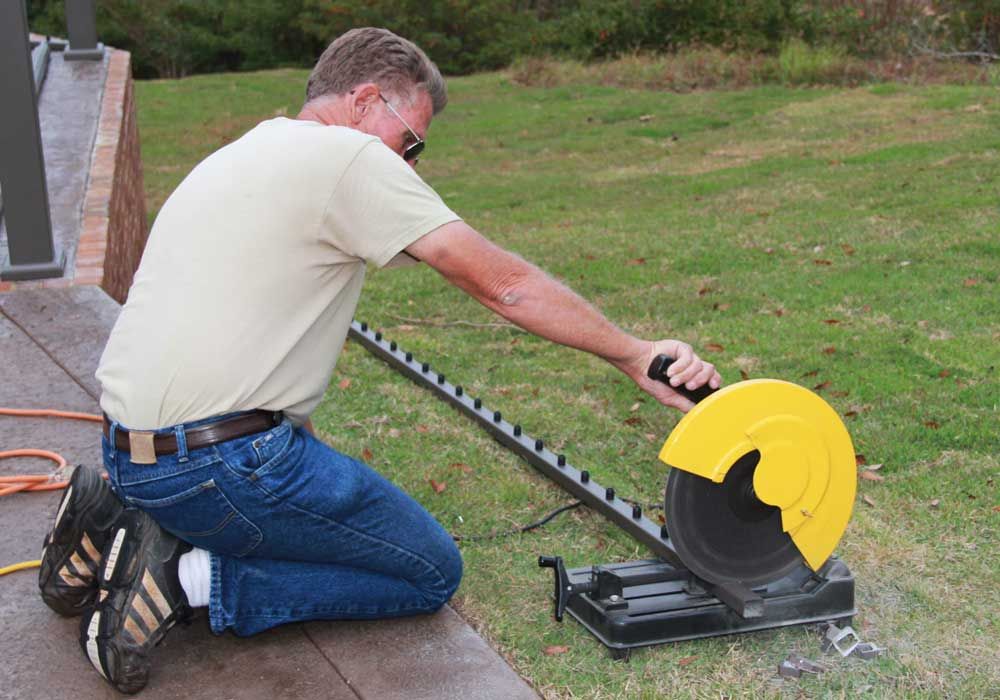
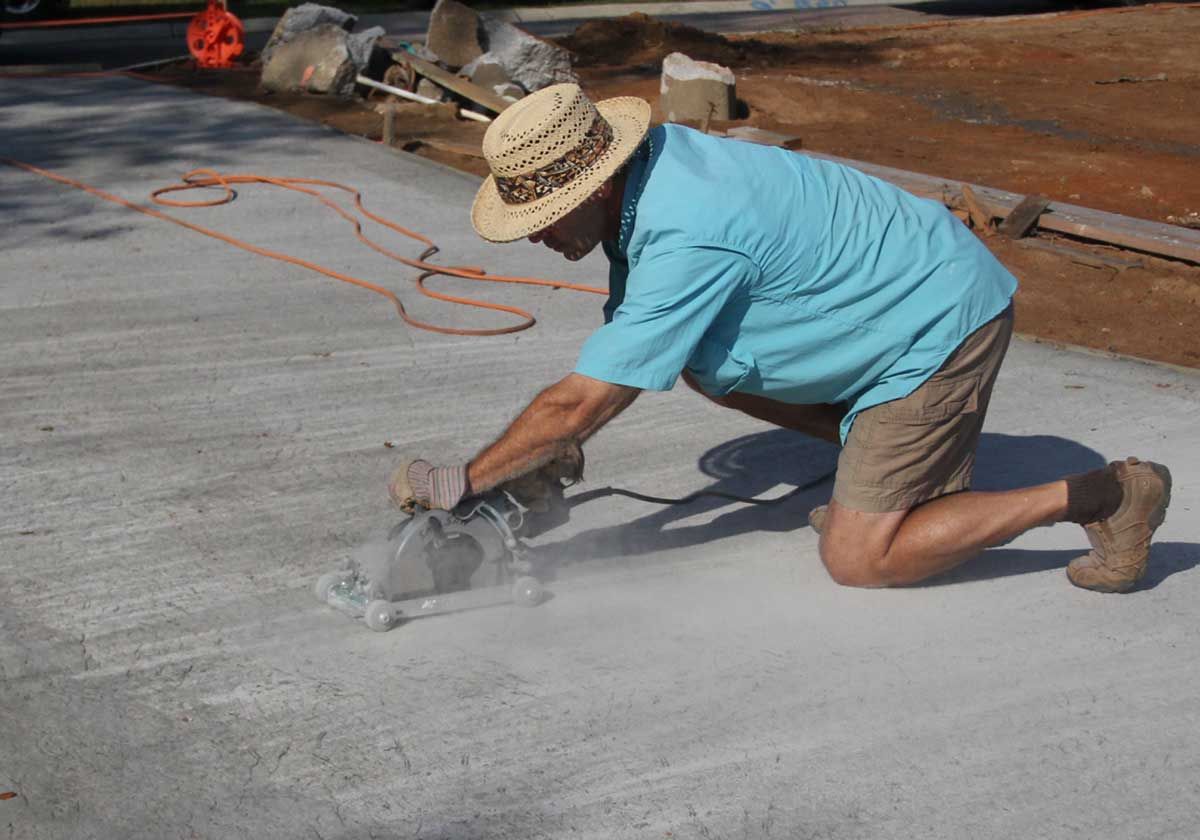
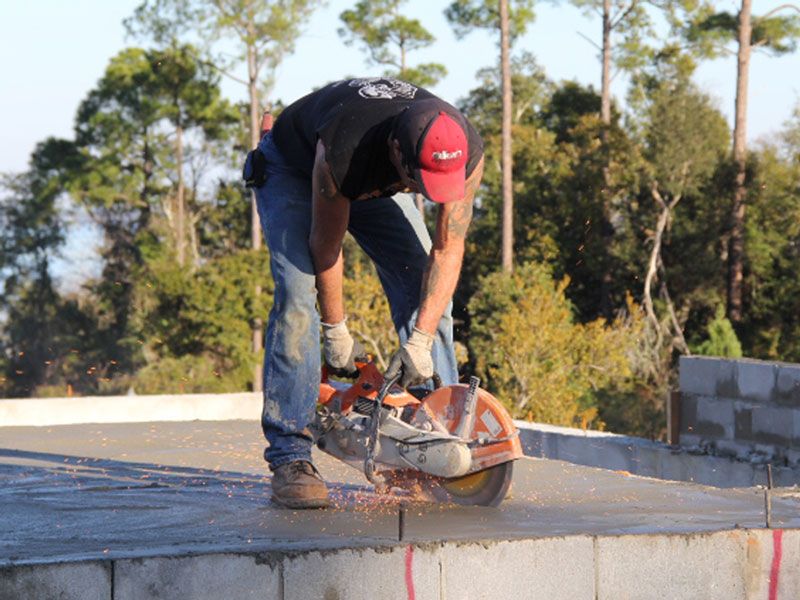
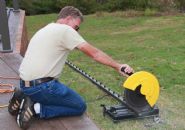
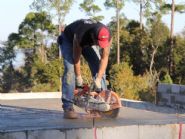
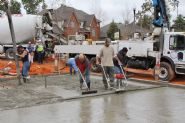
Les cuts control joints into the driveway with a diamond blade saw. Sometimes the boss has to pitch in and actually it's more fun than sitting behind a computer screen all day. Concrete shrinks as it cures so it will crack in random places. By cutting 1" deep joints we can direct where the concrete will crack to relieve stress. 120sf per segment is a good rule of thumb for laying out control joints.
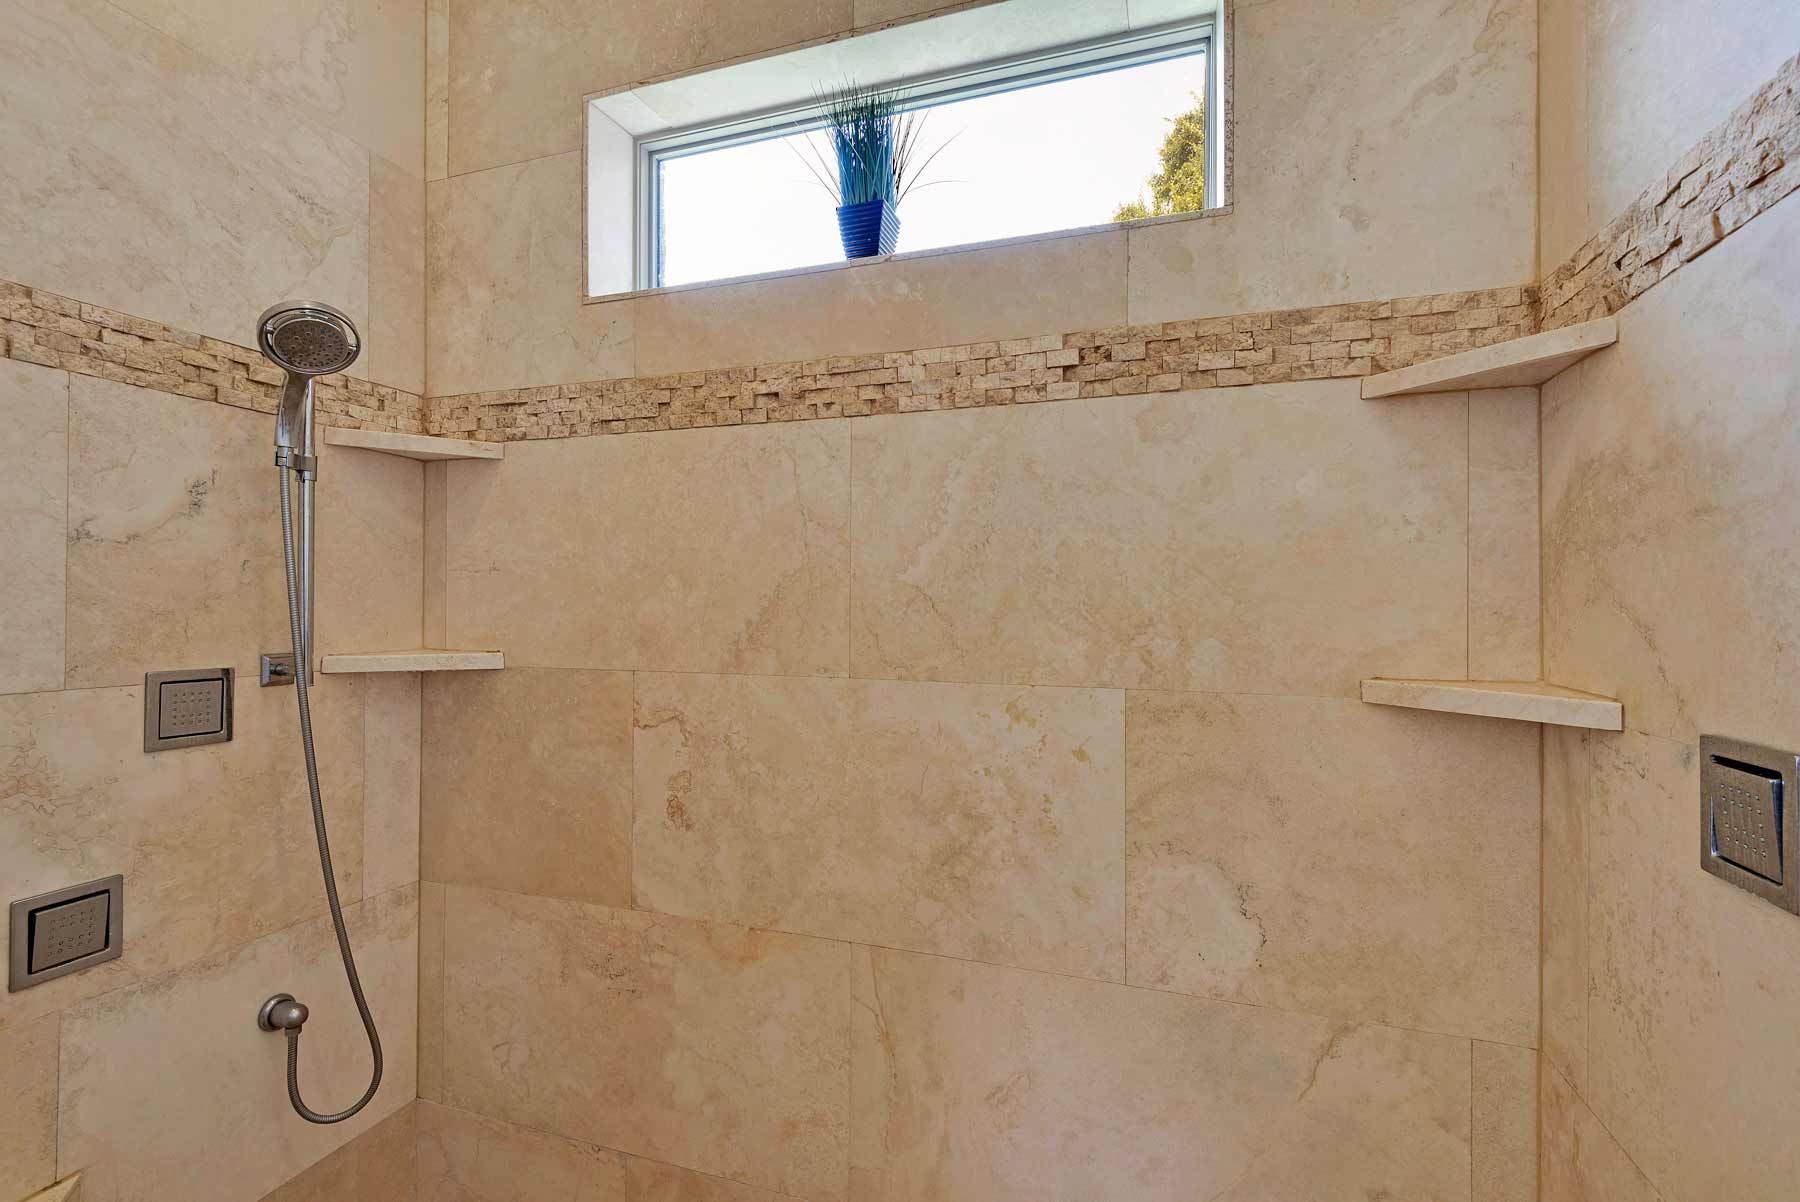
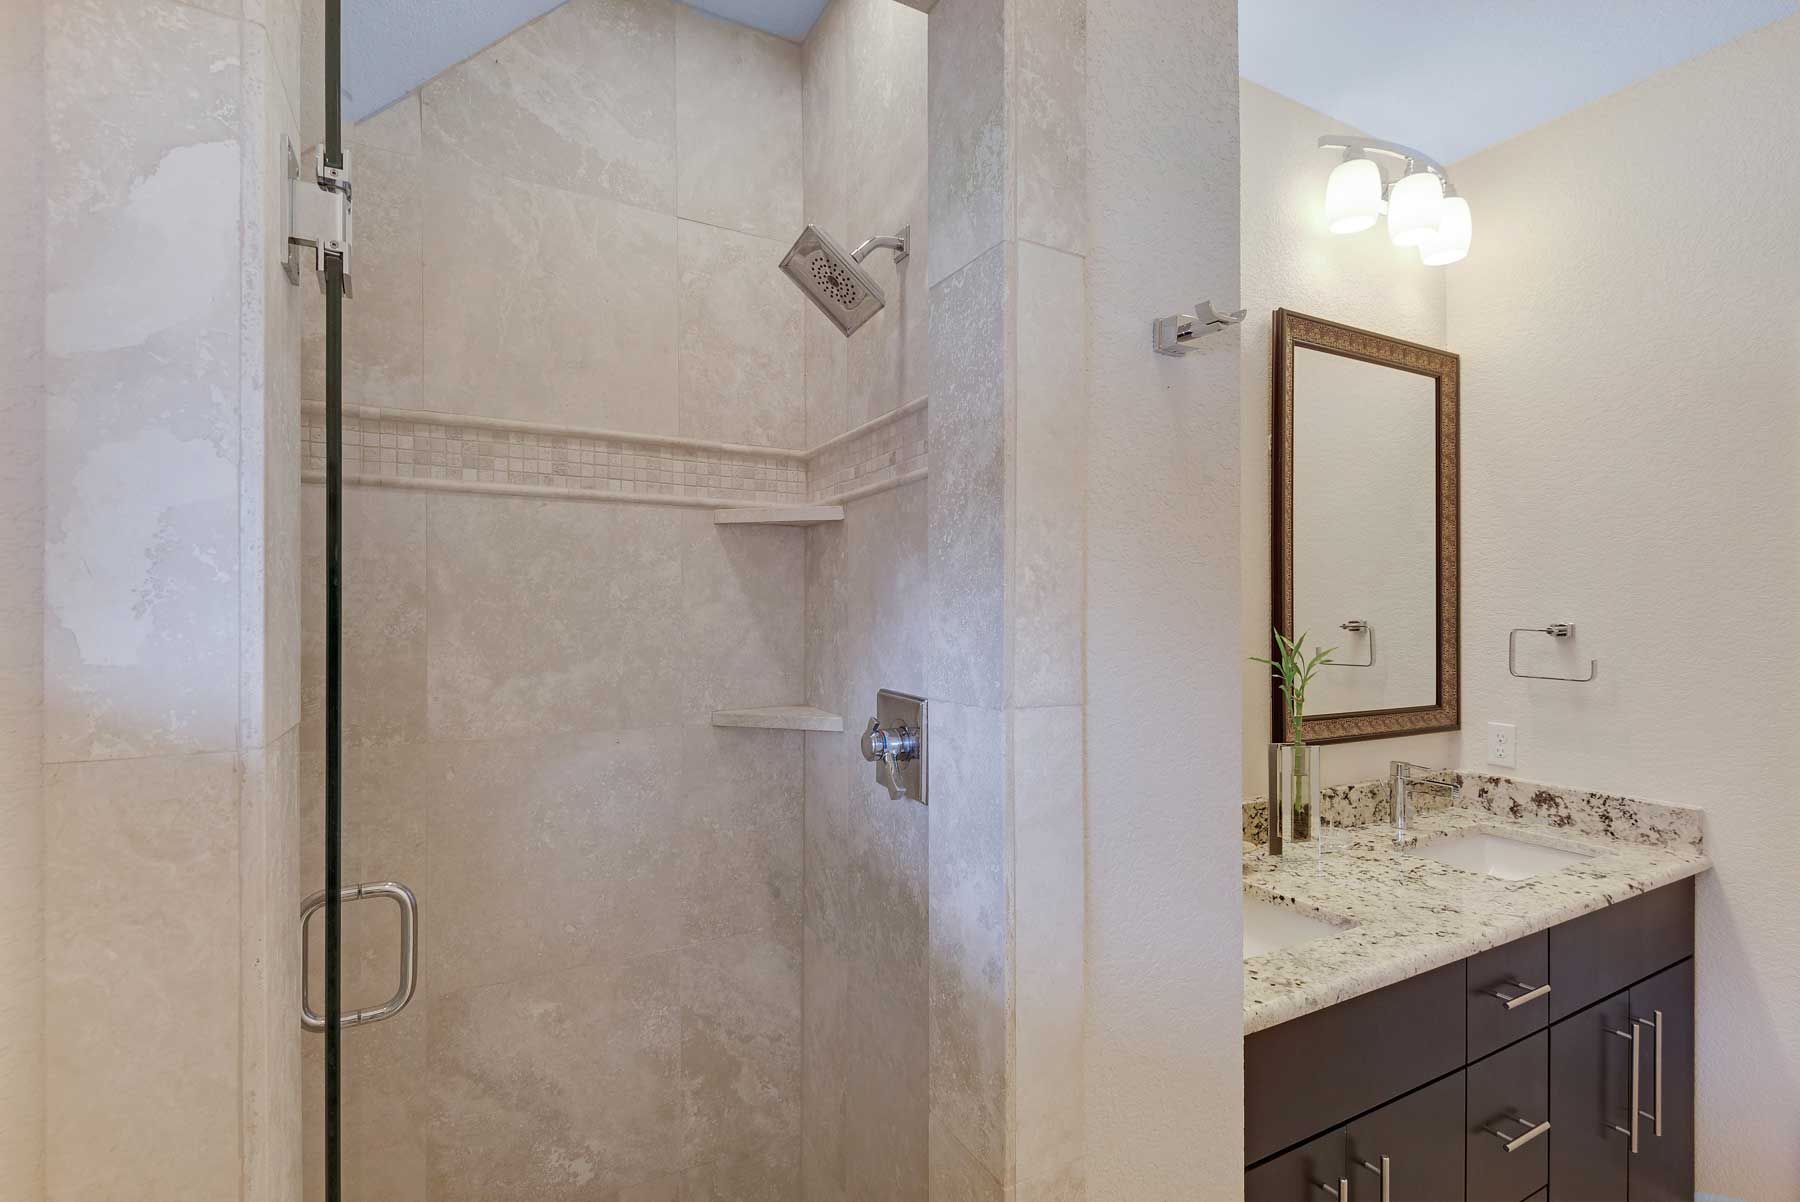
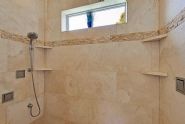
Mike and David set the chipped tile border in the master shower. The travertine walls are made from 18"x36" pieces which have to be precisely laid. The red substance on the walls is a sealant which prevents moisture from penetrating the joints in the cement board substrate..
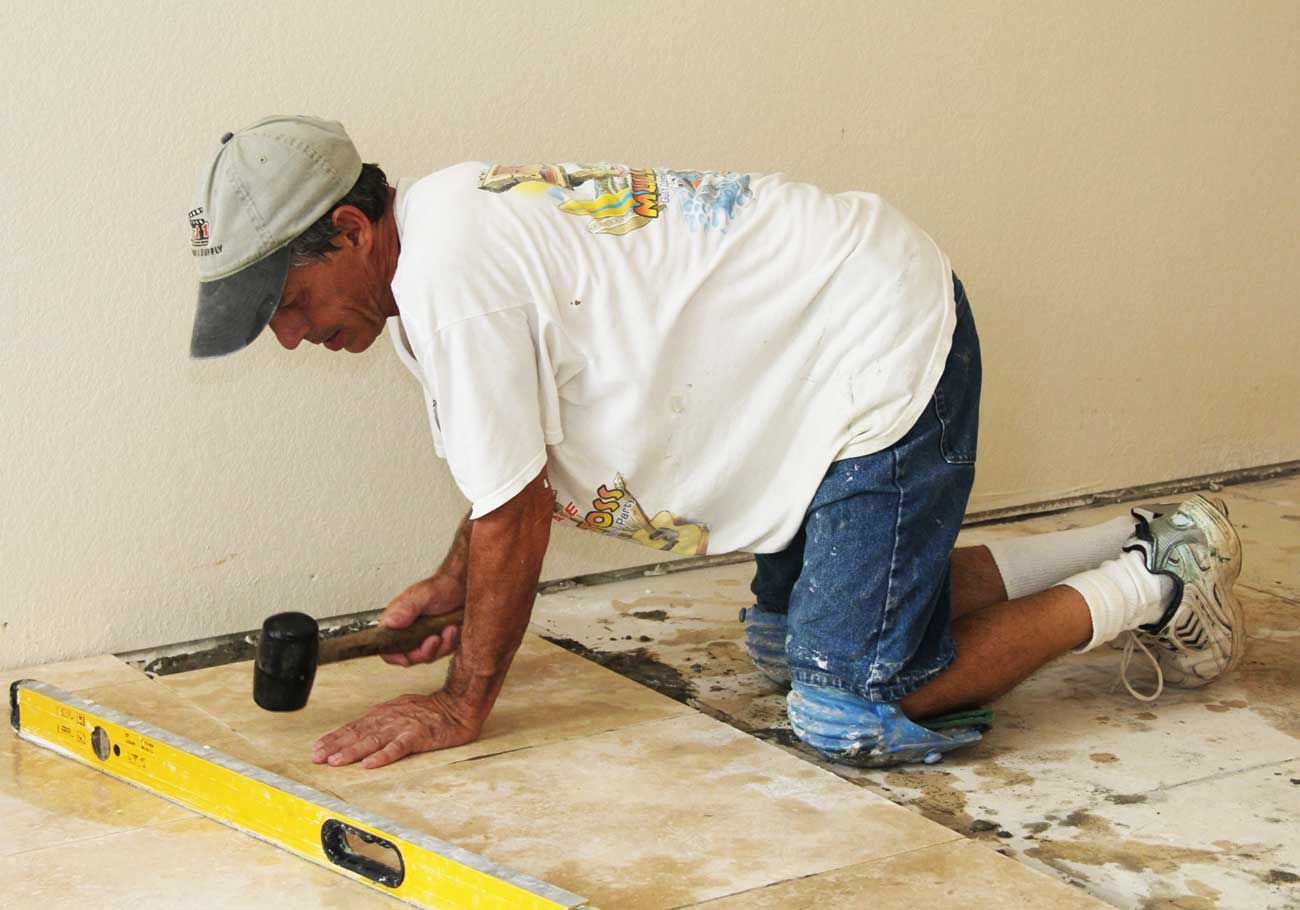
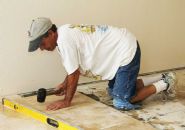
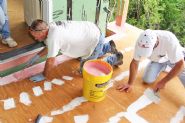
David Mills installs travertine in the kitchen. He's using a rubber mallet to carefully tap the tiles down into alignment to create a smooth surface and to make sure the mud bed is solid. Tapping in the tiles also tests for weakness by causing tiles with hidden faults to crack during installation instead of after the owners move in. It takes a lot of extra time and patience to properly install travertine to achieve tight joints, level surface, and minimum lipage.
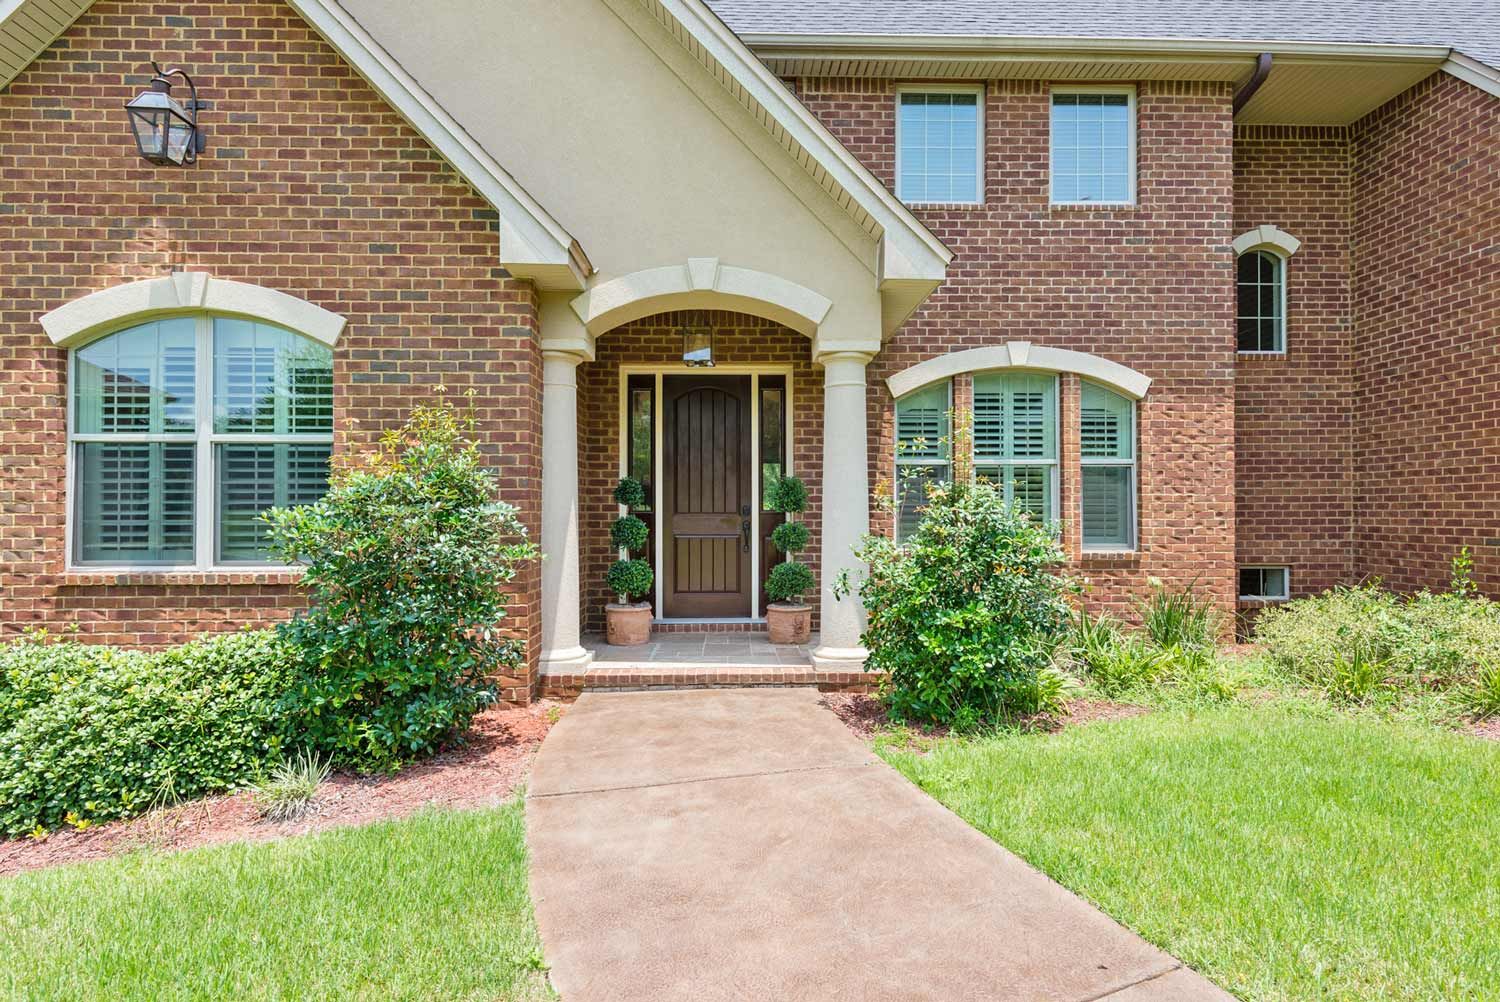
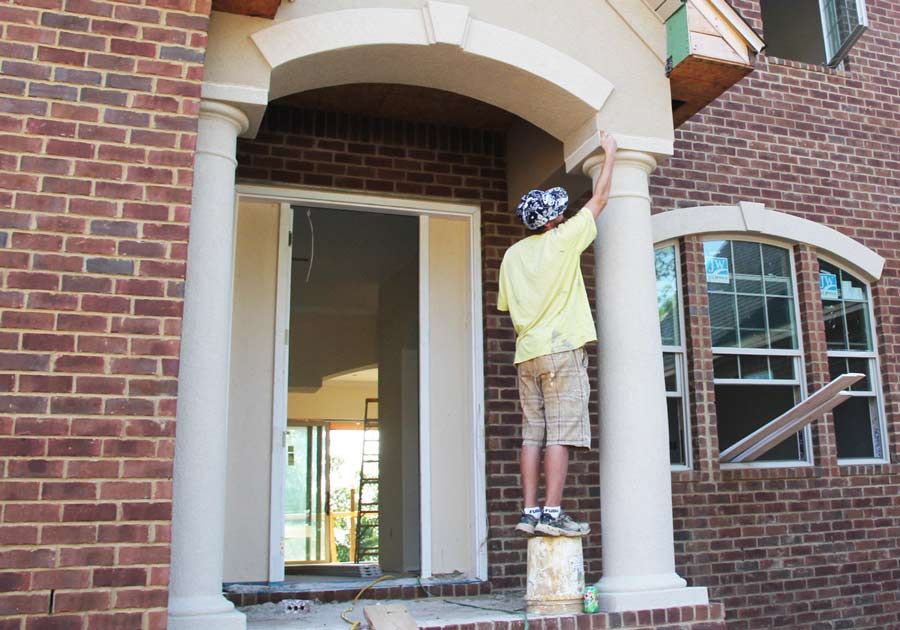
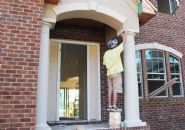
Chris touches up the top of the stucco entry columns.
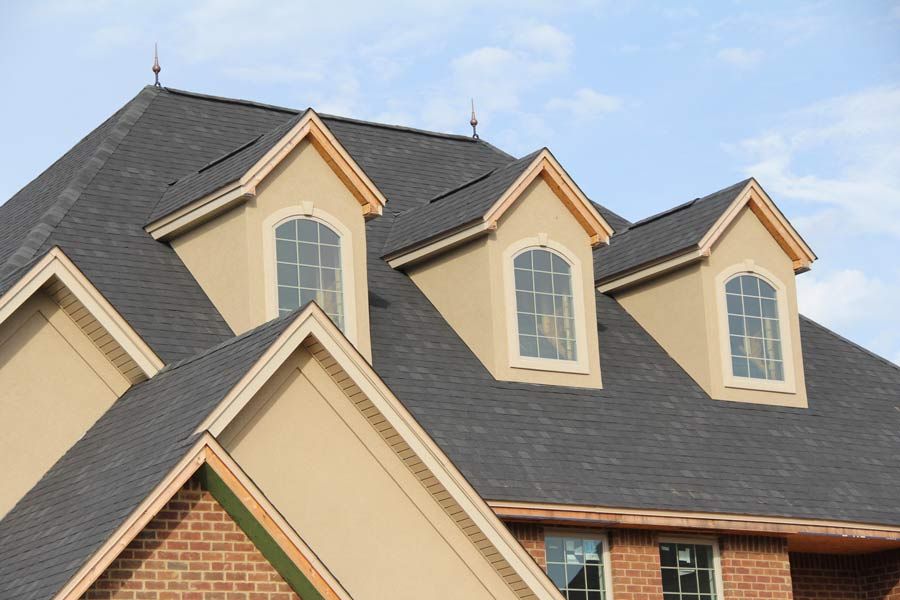
I added a pair of copper finials to give it a classic touch.
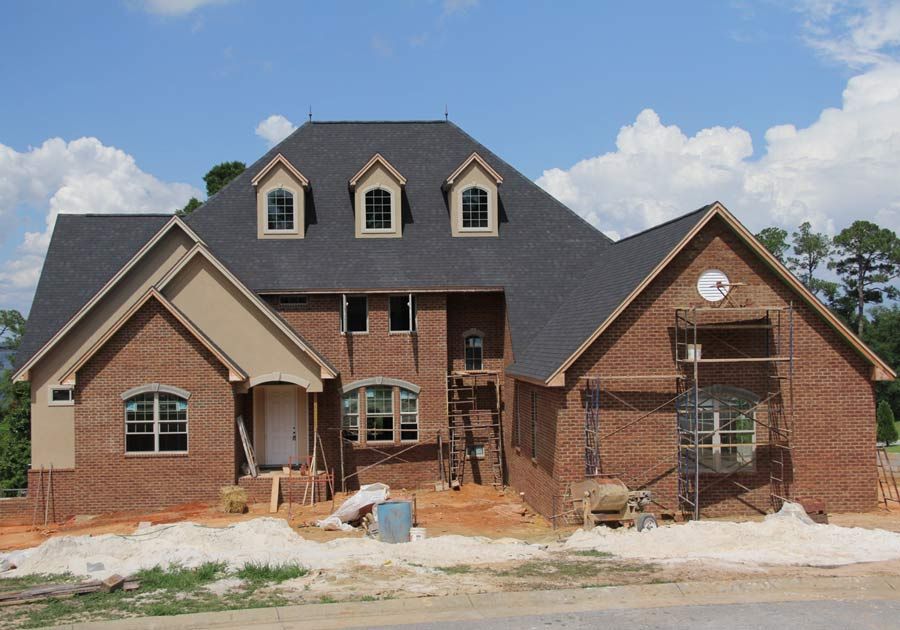
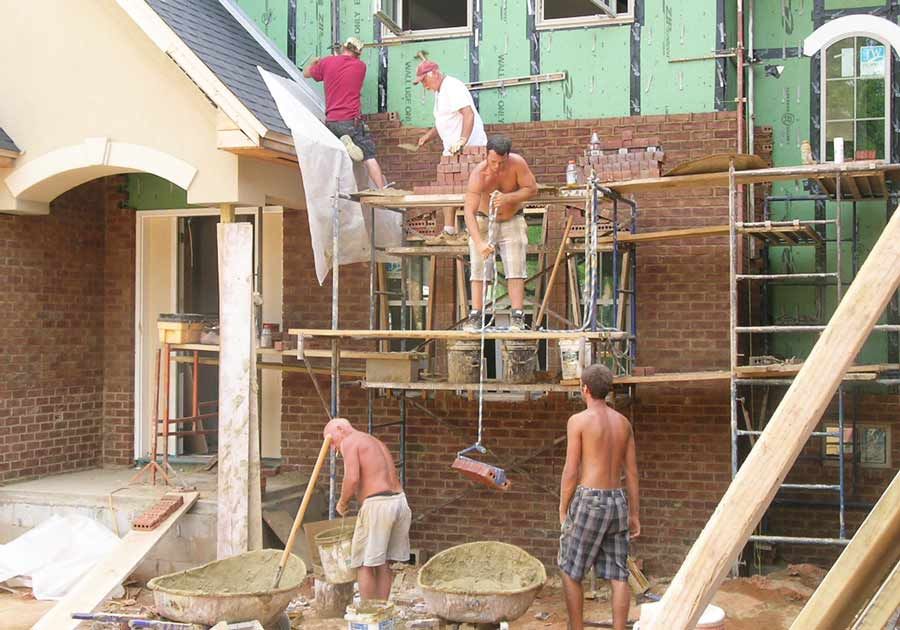
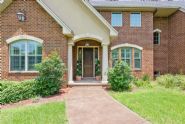
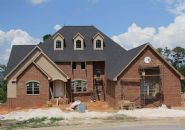
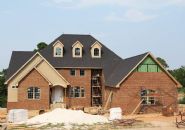
We're just about complete with the brick. Now we're working on the stucco accent arch trims over the windows.
Those are some tallll walls.
Steel lintels are used to support brick laid over roof areas.
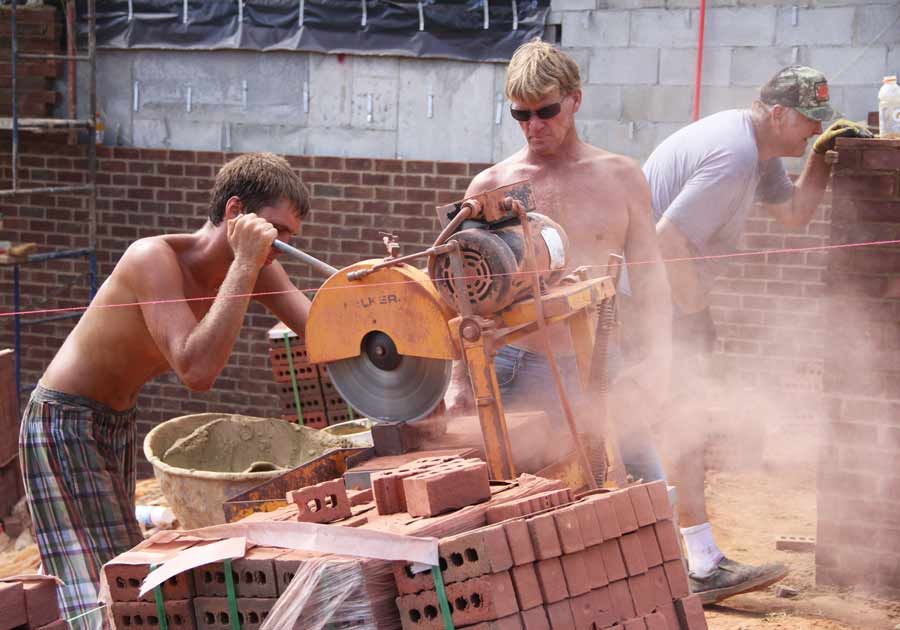
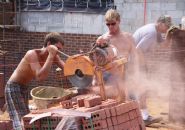
A diamond blade saw is used to cut brick.
Colored mortar was used to compliment the brick.
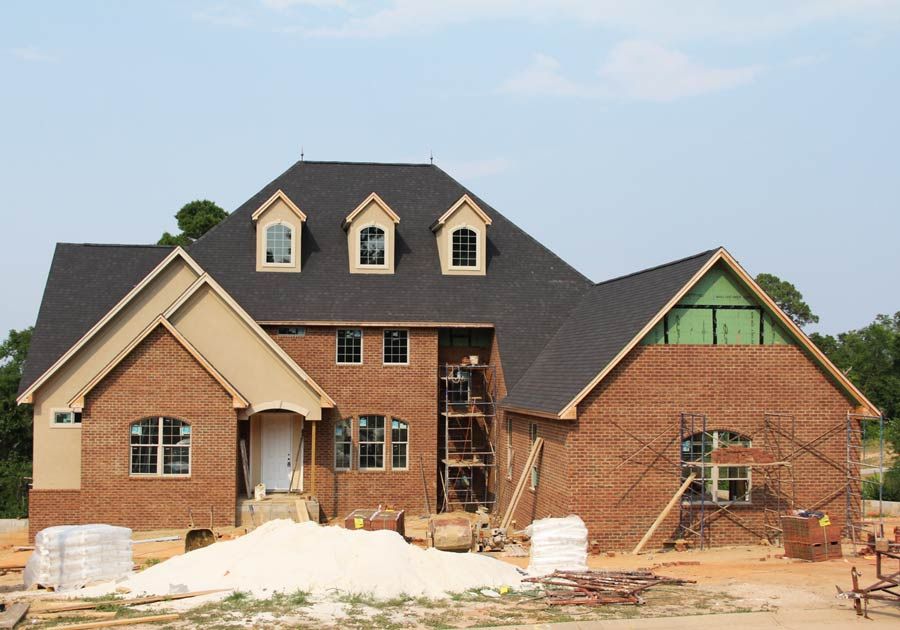
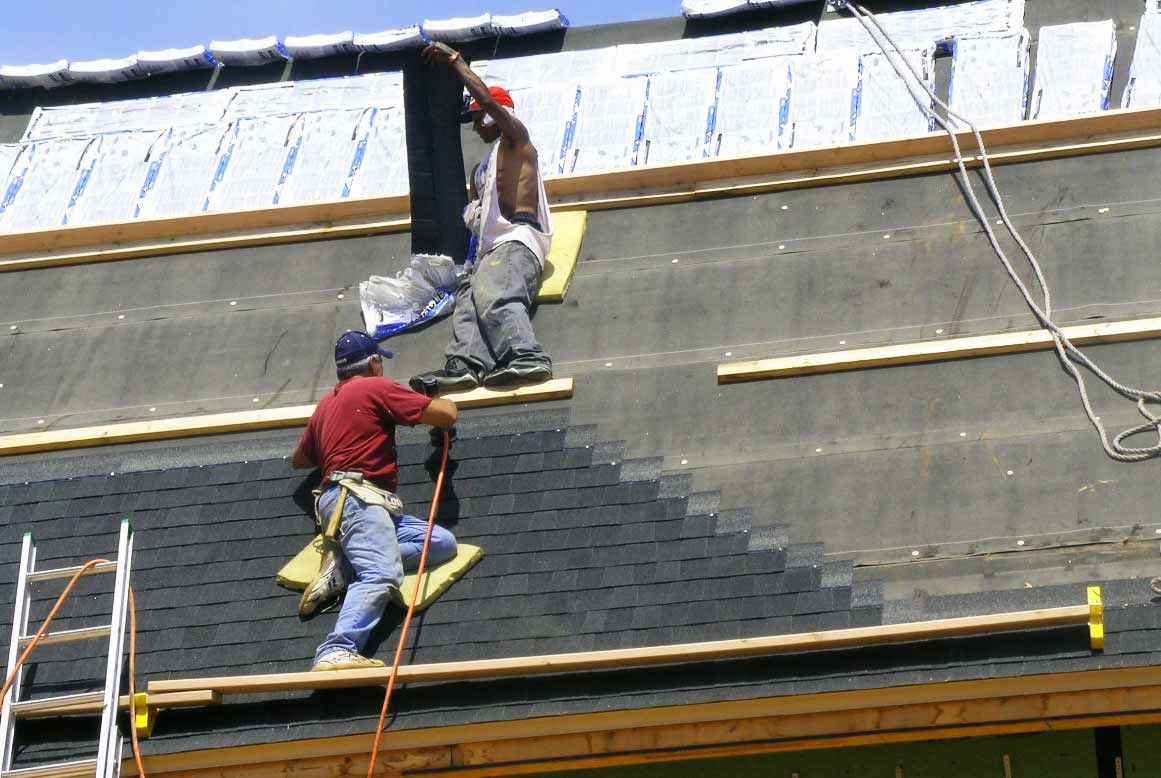
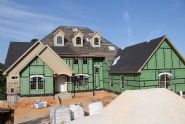
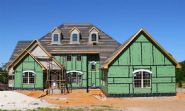
Stucco finish and vinyl soffit and facia has been applied before the shingles are installed so there will be no workmen on the roof to damage the shingles.
Bradley and his helper install singles over the garage. Each shingles is nailed with 6 nails to comply with wind code. The peal and seal 50 mil subroof protects the interior if a single should be damaged during a hurricane.
The wall and dormer flashing has been installed and duorock stucco board has been screwed to the walls that get stuccoed.
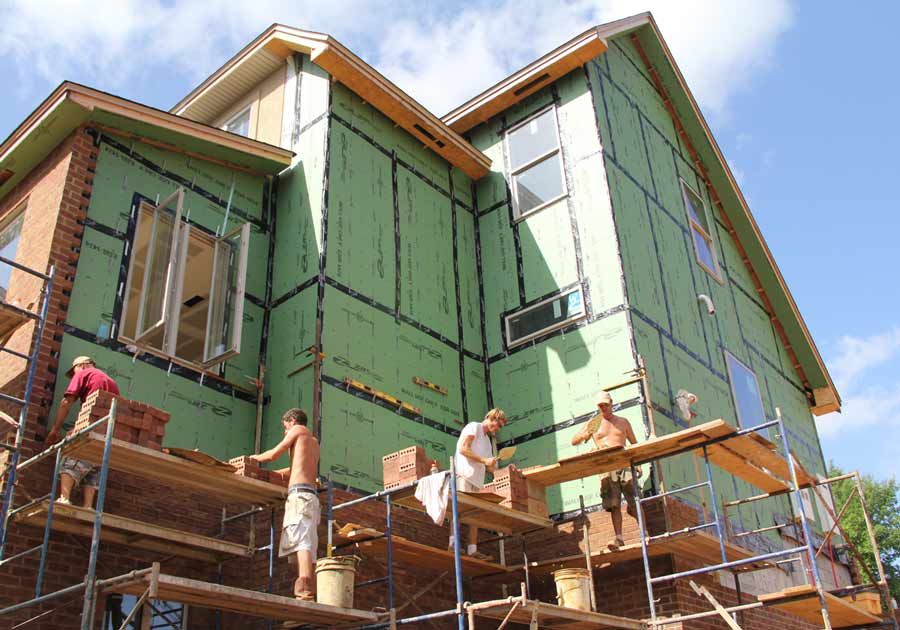
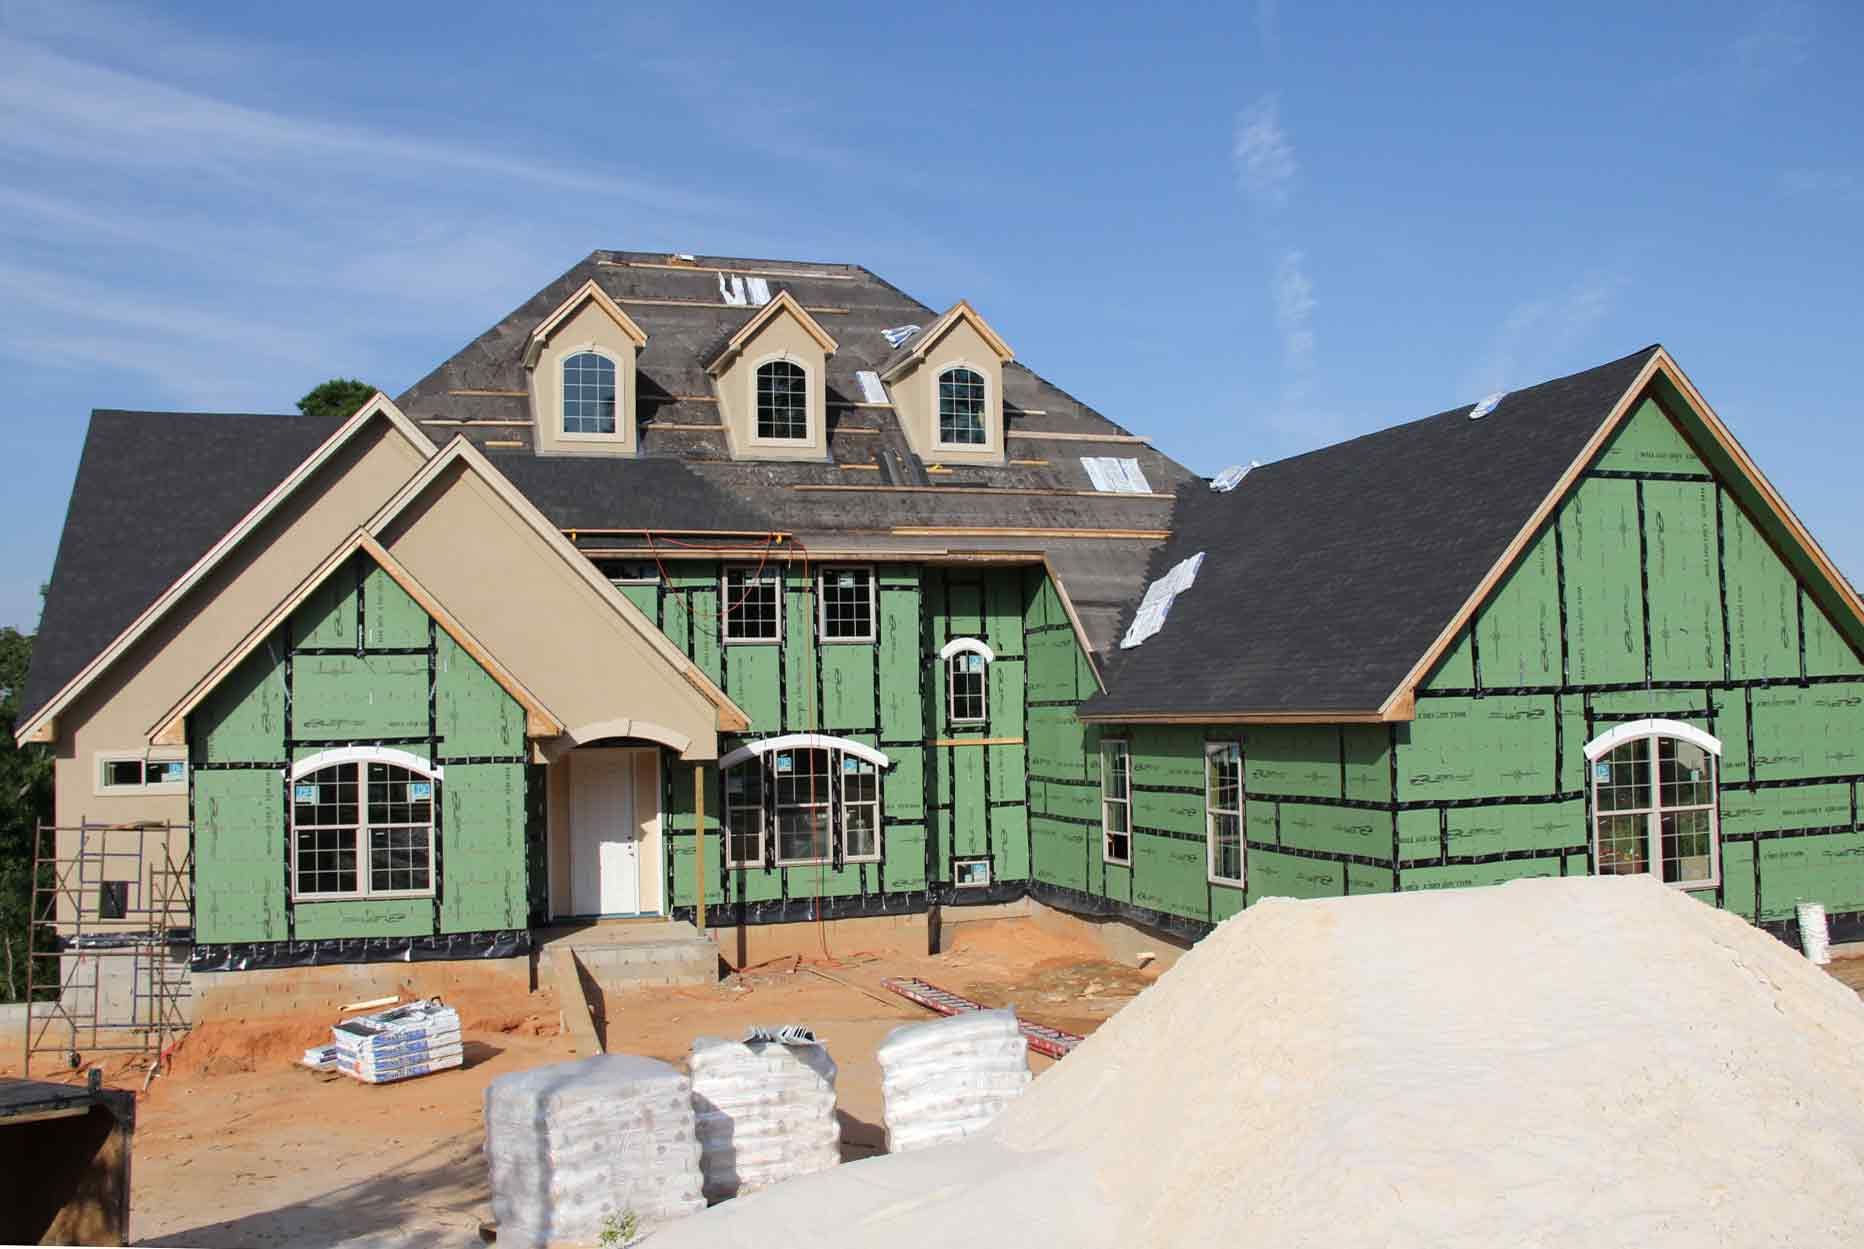
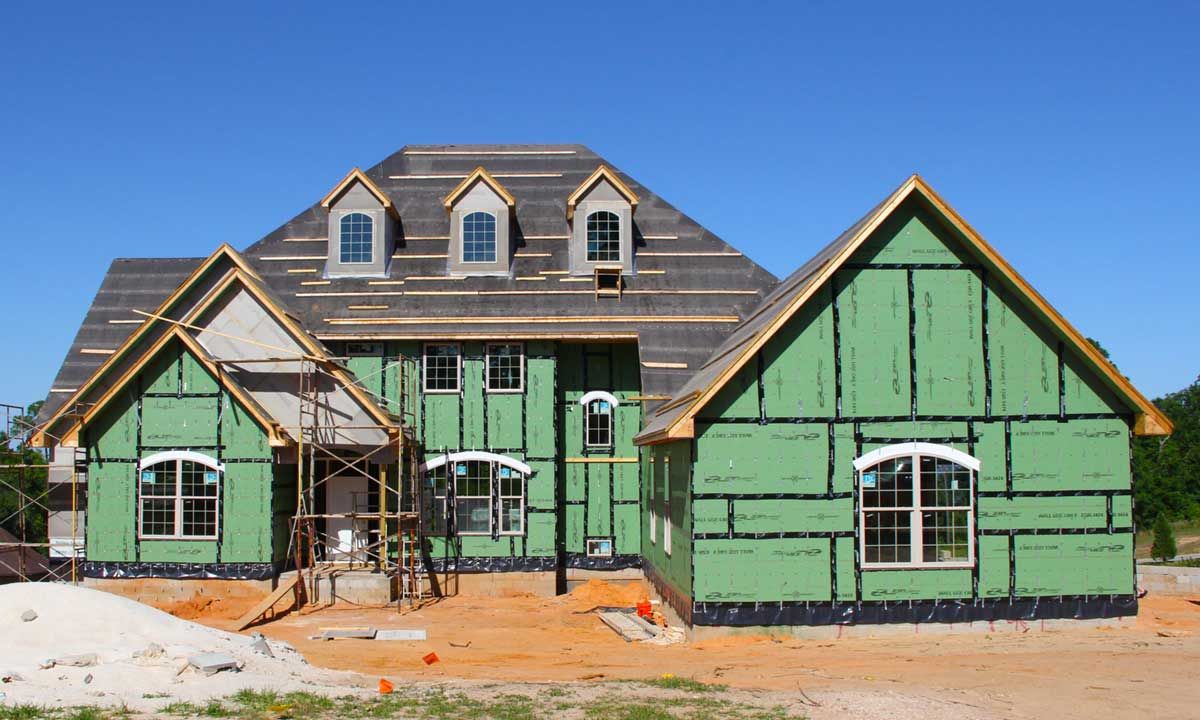
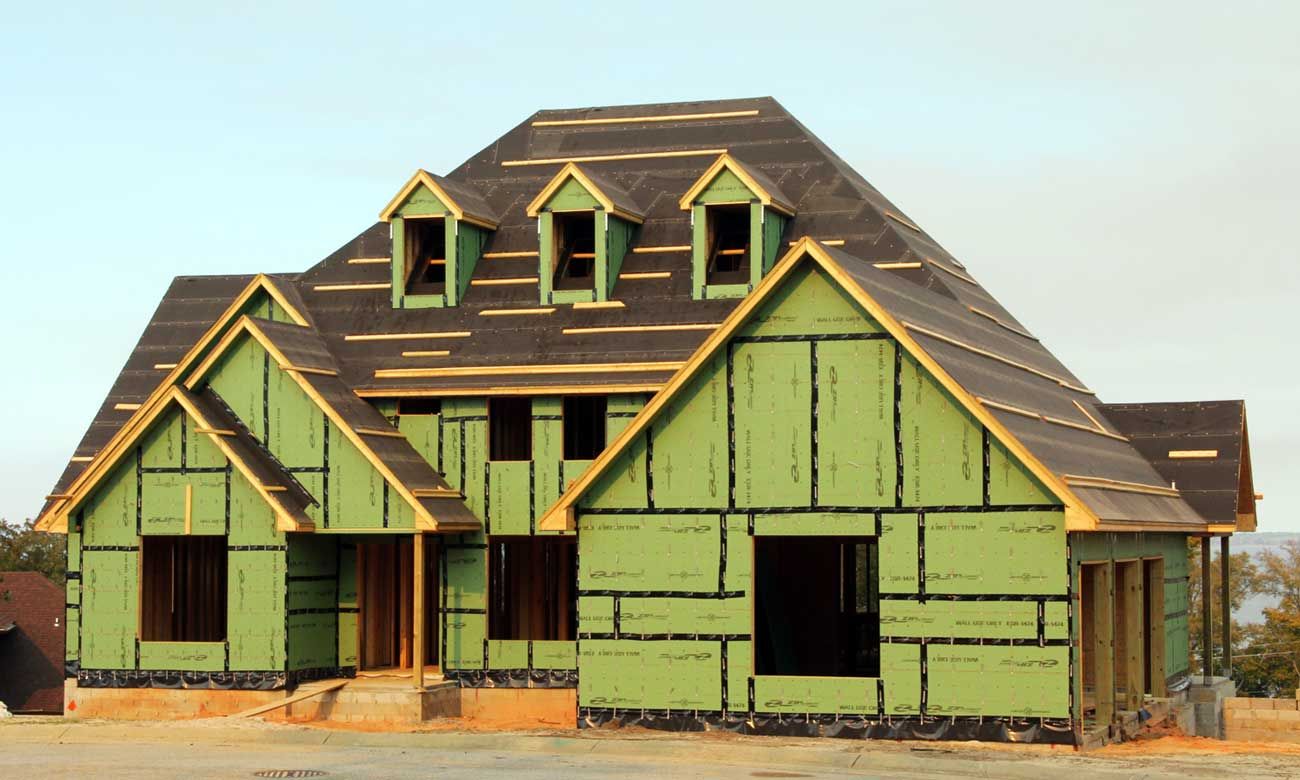
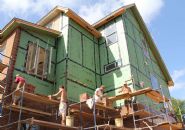
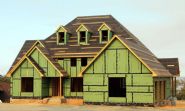
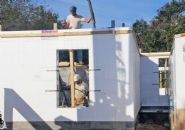
The green Zip system coated wall sheathing with zip tape provides an air tight thermal envelope. The black peal and seal subroof protects the home from water damage should a hurricane damage or blow off some shingles.
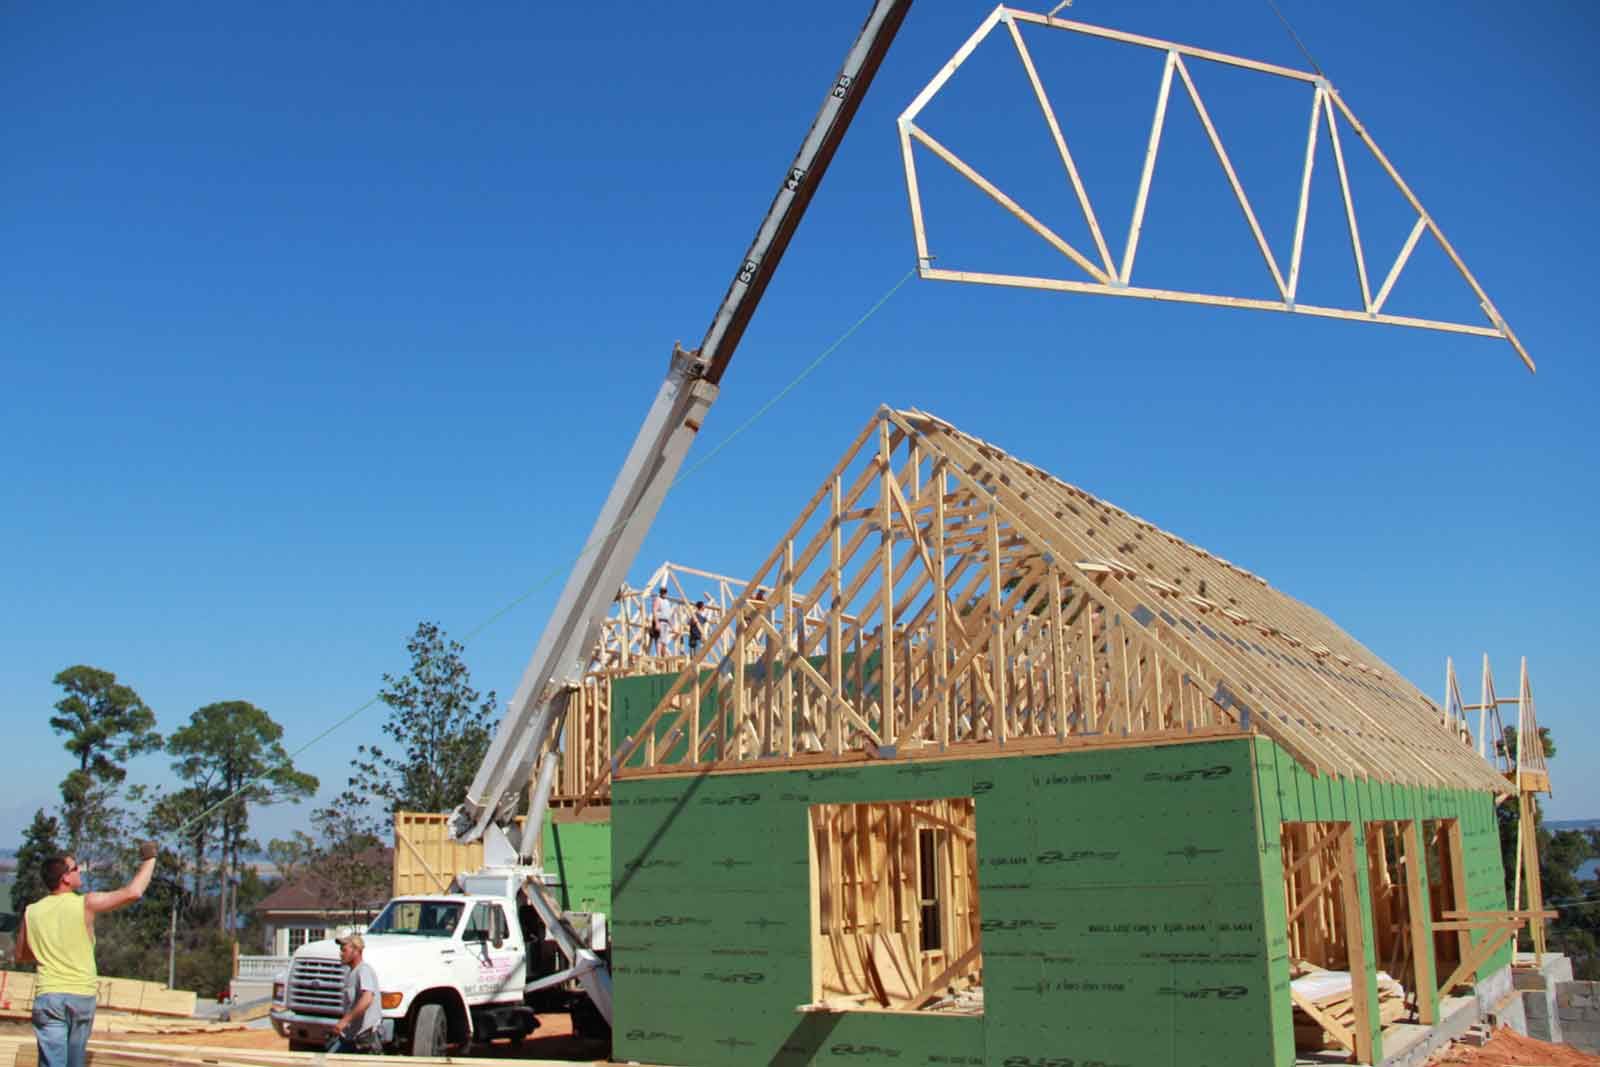
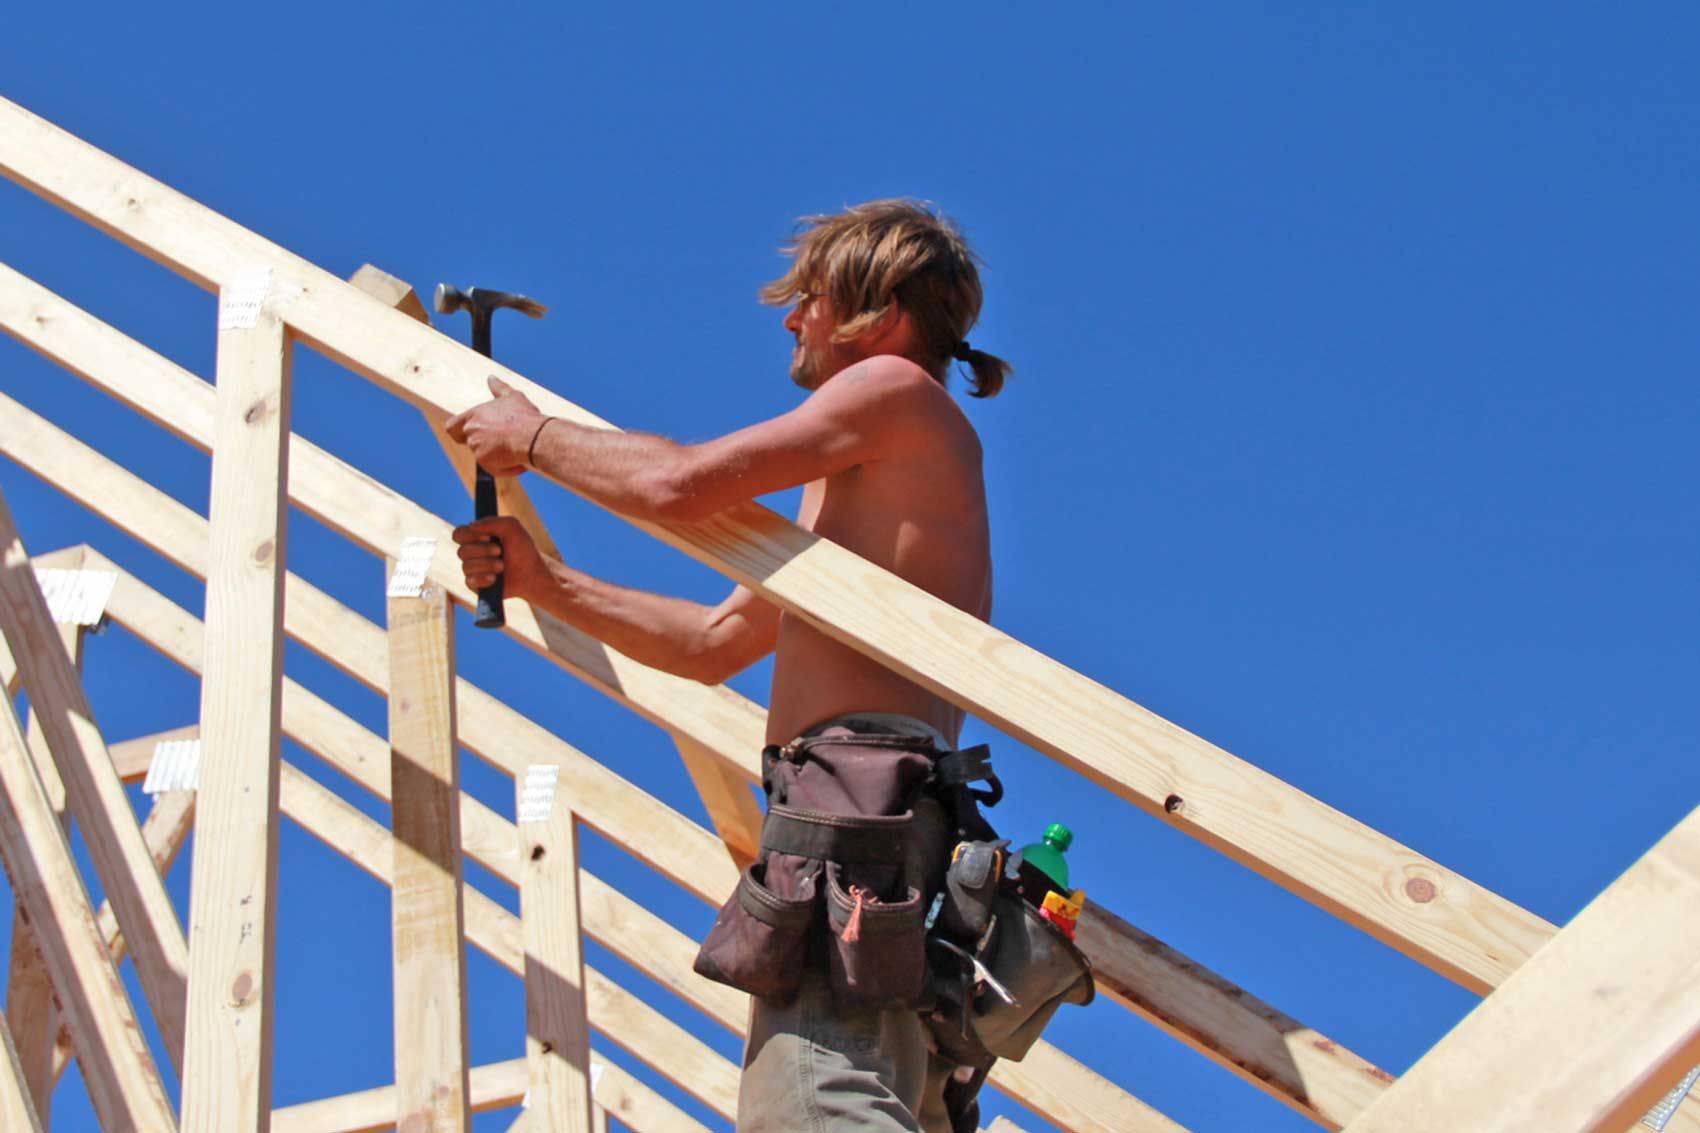
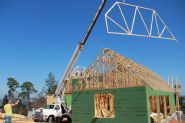
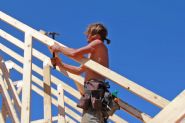
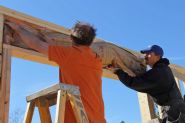
James holds the tag line to control the truss as it's lifted and swung into place on the second floor.
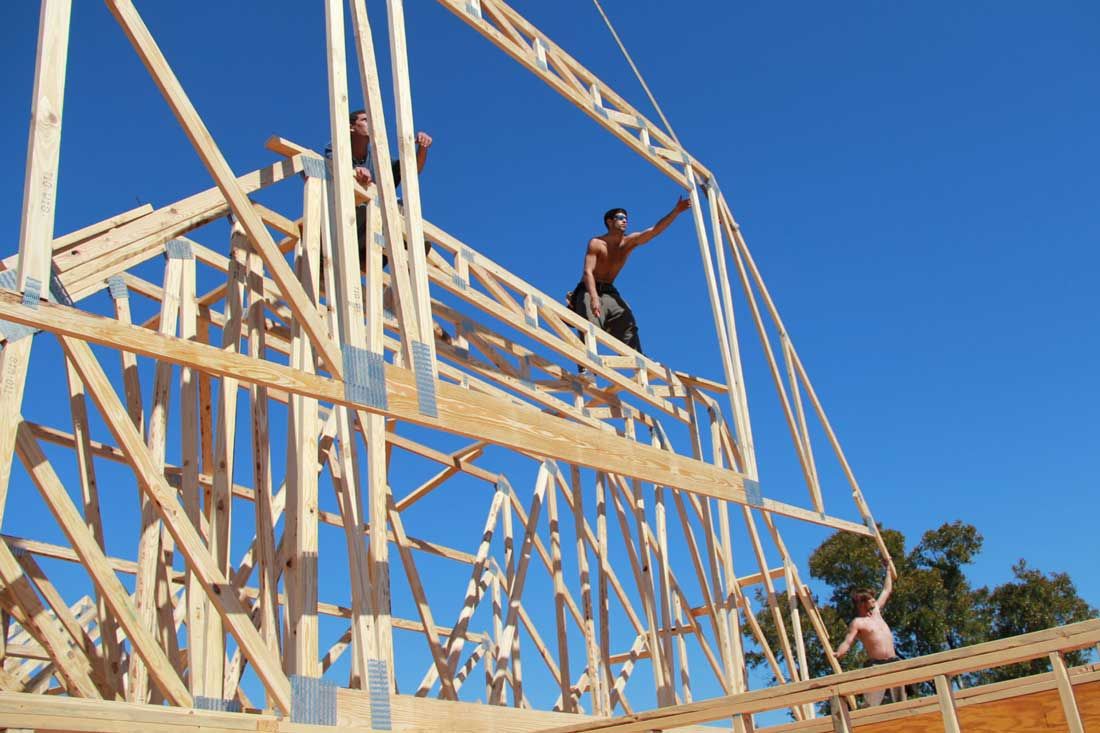
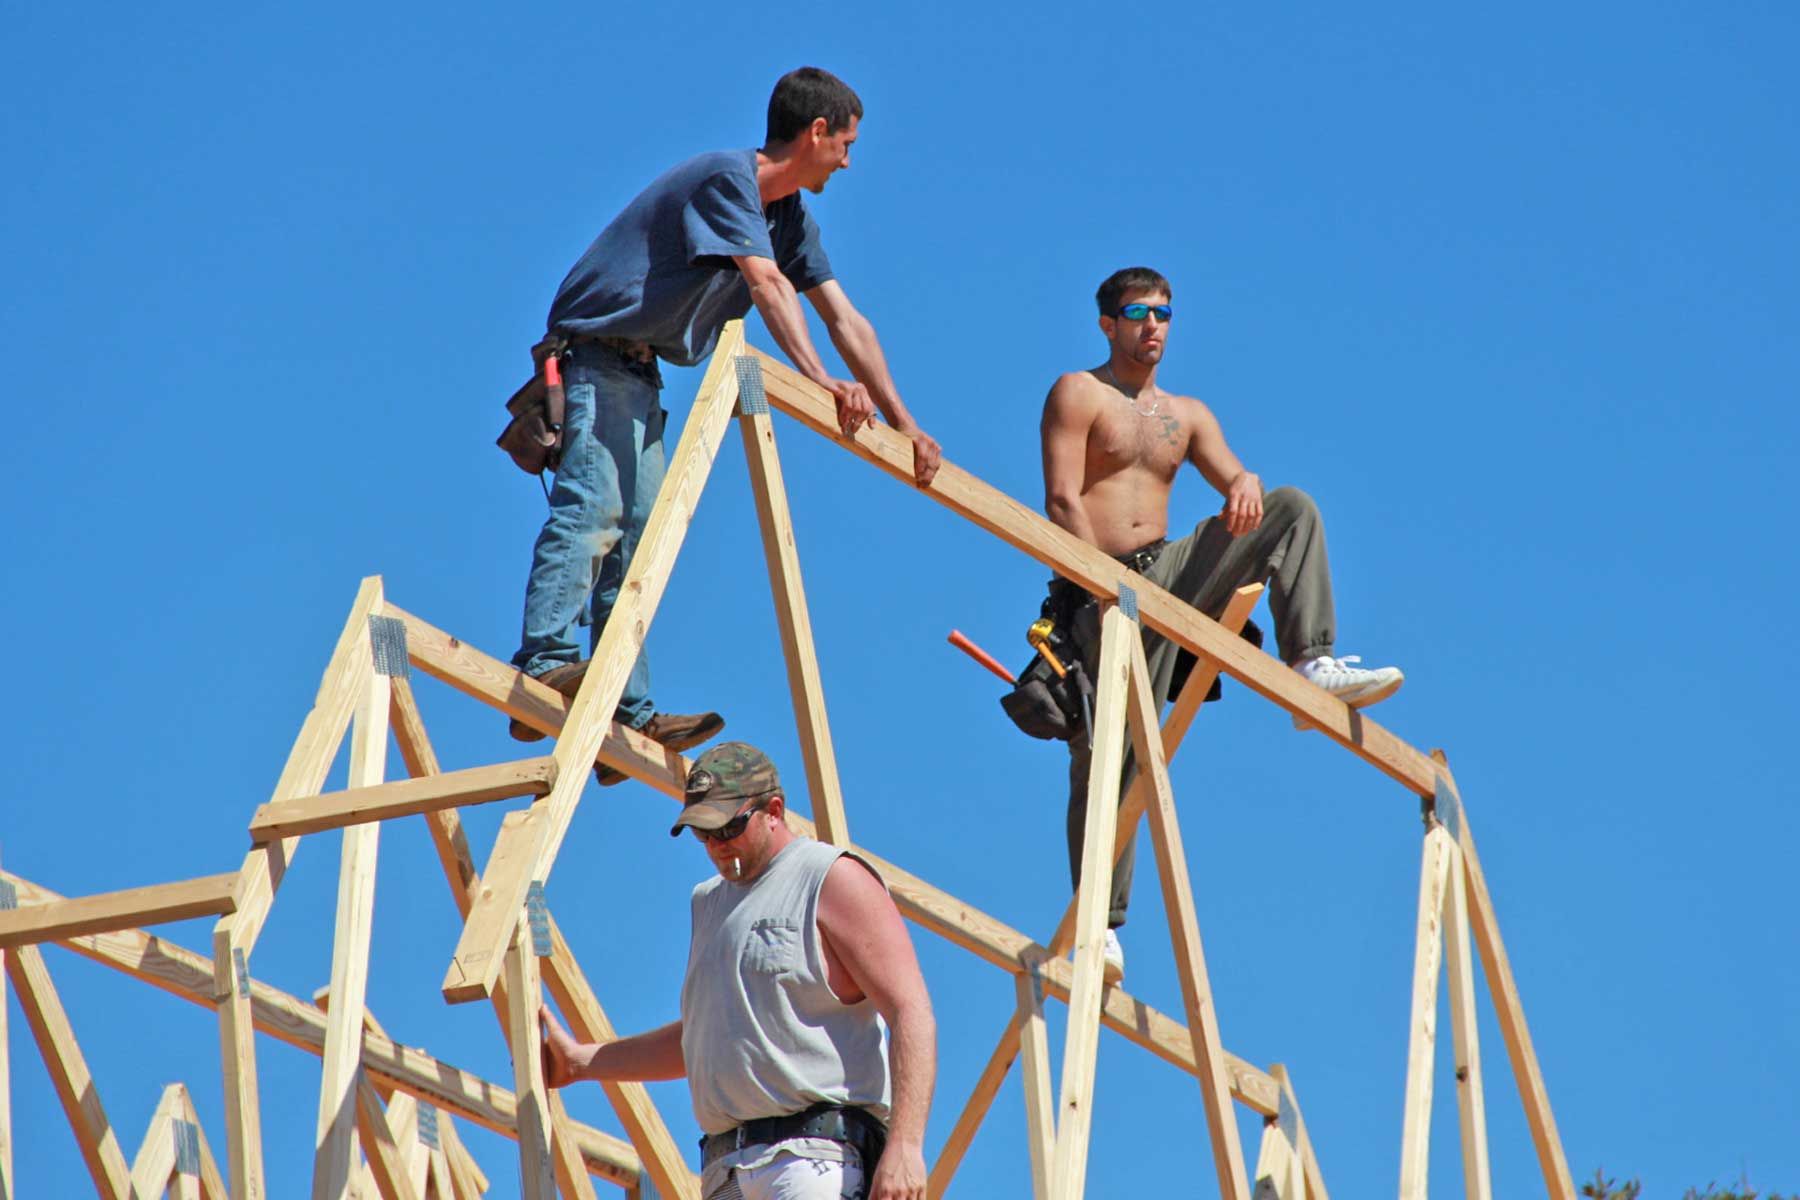
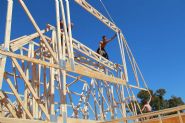
Dean, Josh, and Jessie reaching for a truss.
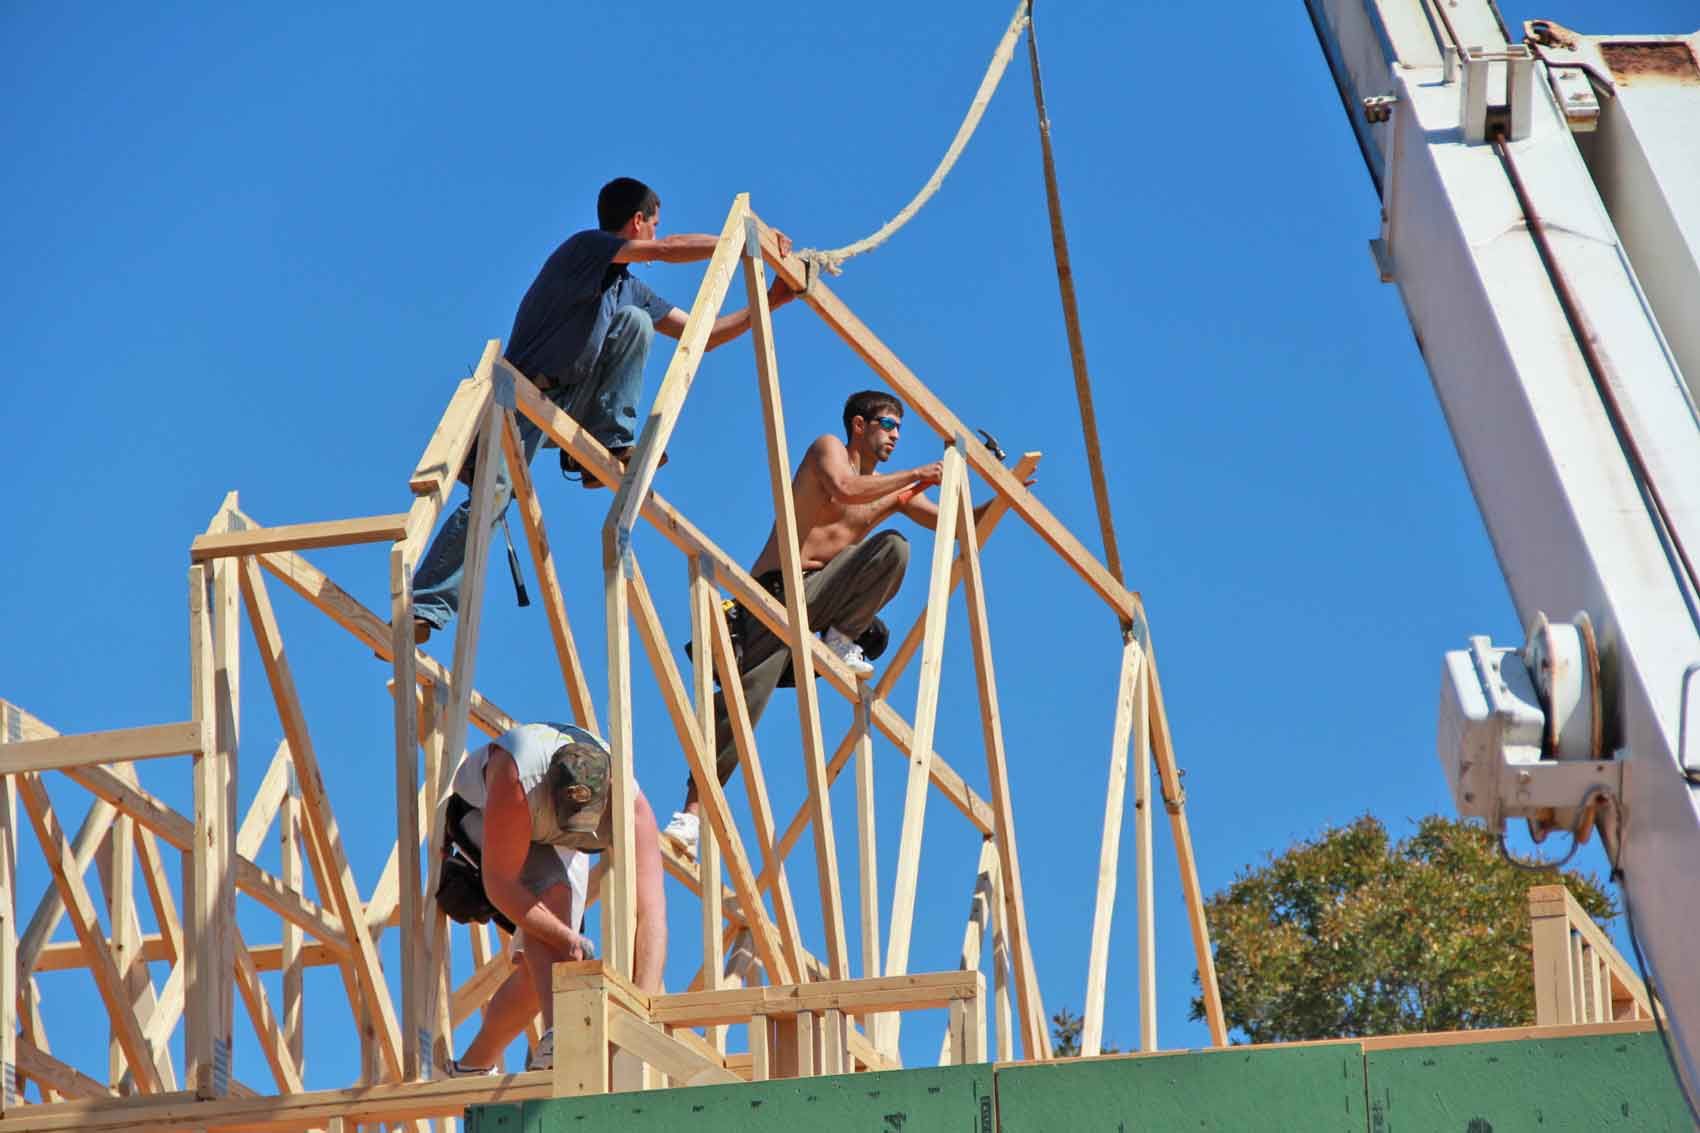
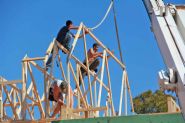
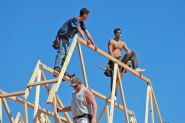
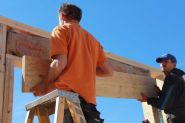
Brandon, Dean, and Josh nail off a second floor truss.
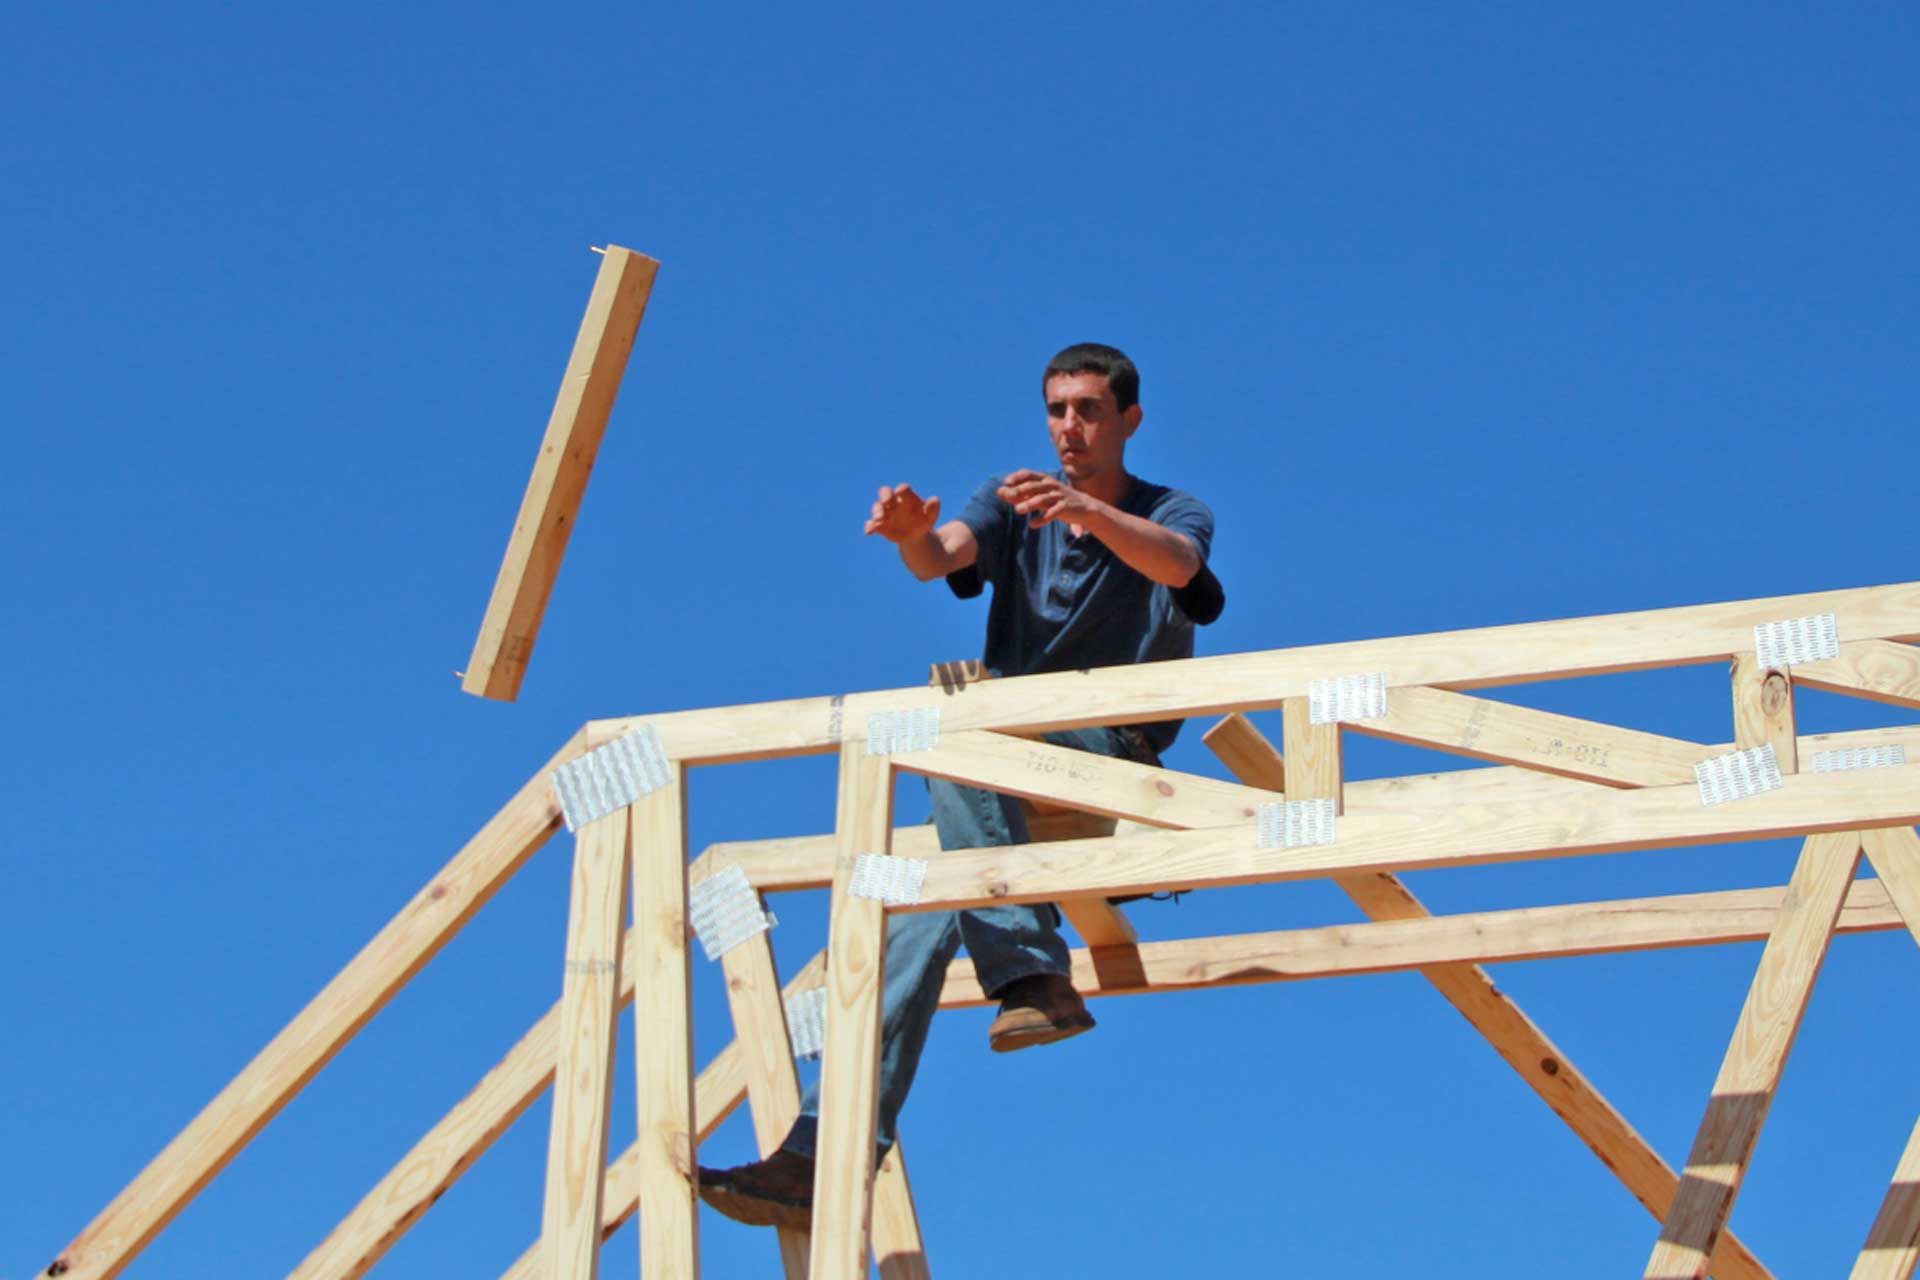
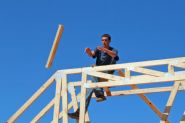
Dean reaches for a spacer block that Red has pitched up to him.
Jessie nails off a spacer block to hold the trusses in proper alignment until the roof decking is installed.
Brandon, Dean, and Josh waiting on the next truss. From the looks of it, you'd think there was a net down below. Nope. They're invincible.
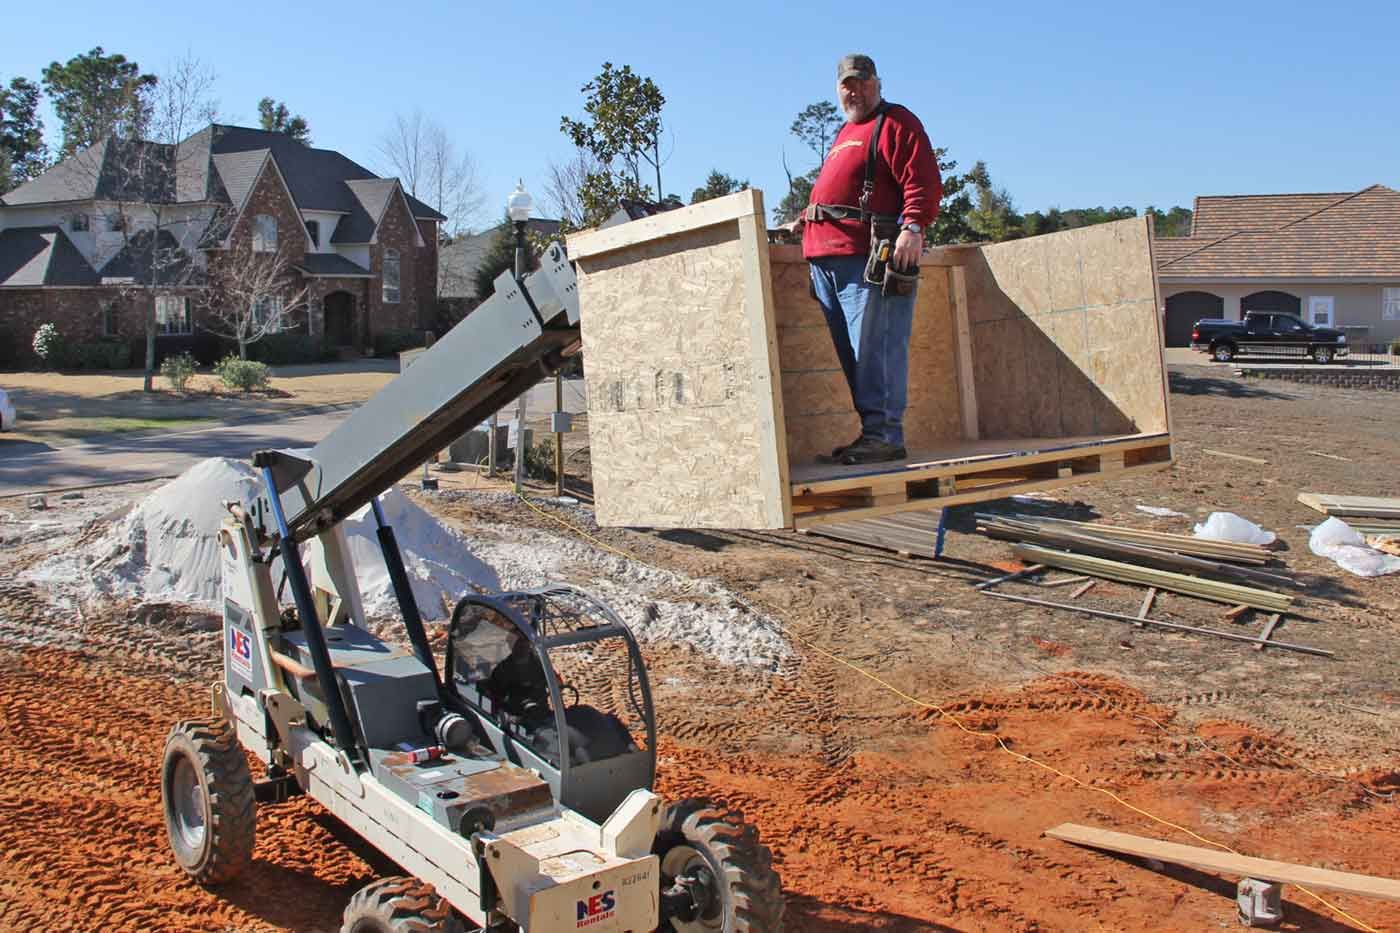
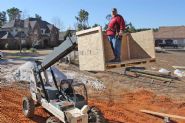
The job called for a heavy duty, long reach, lull. We had to get Robbie up to the second floor somehow.
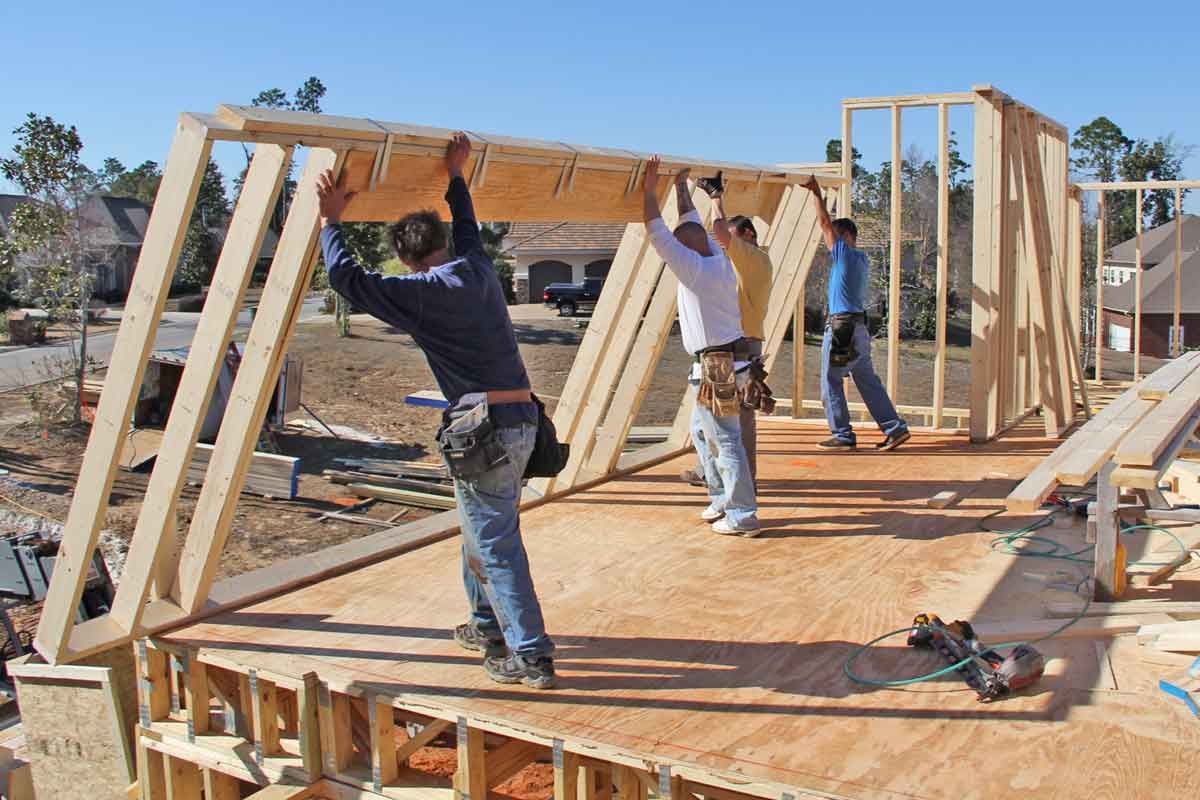
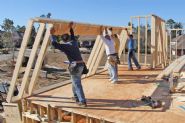
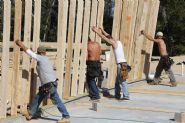
Lifting a second floor wall.
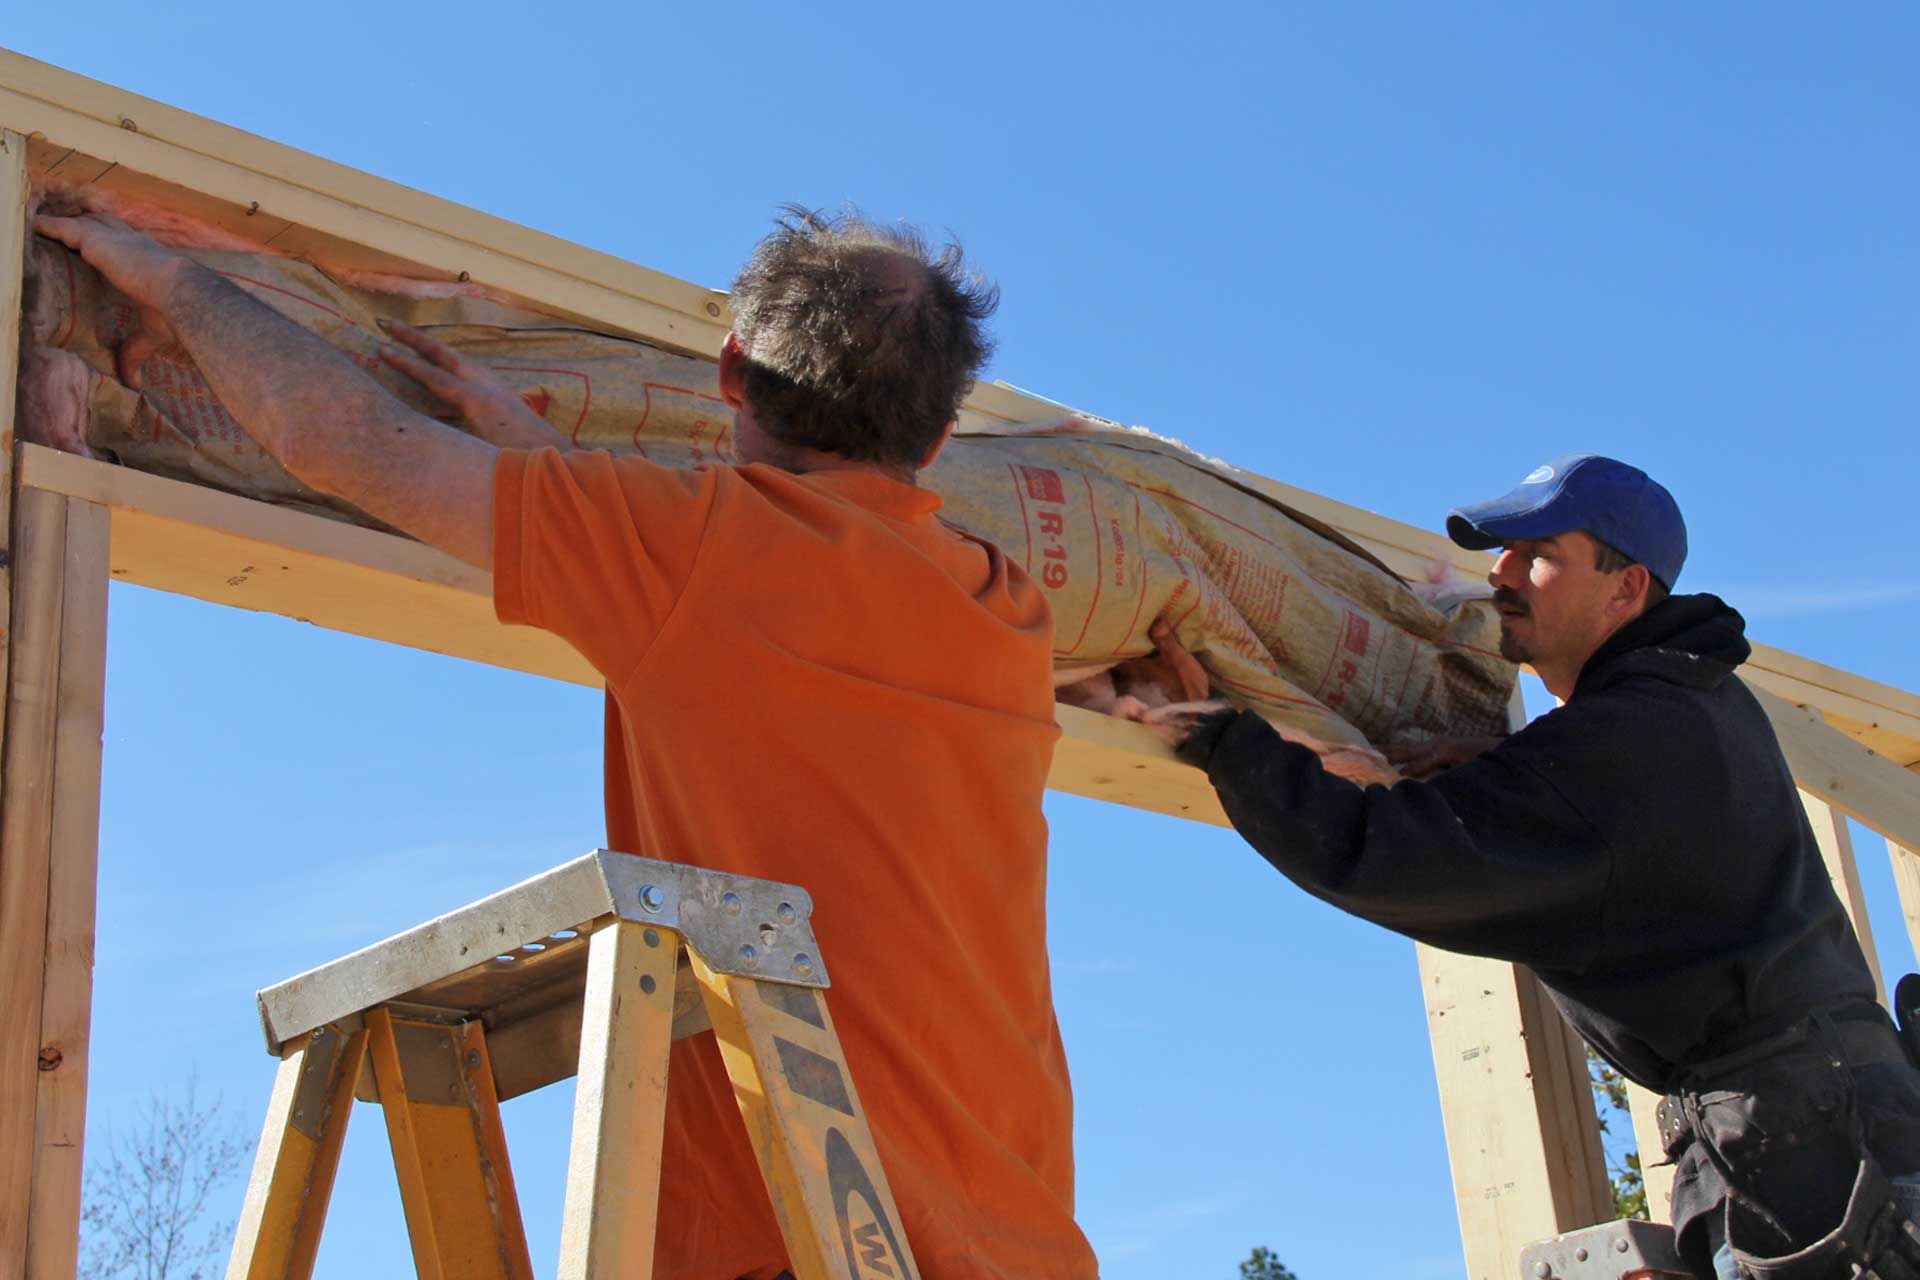
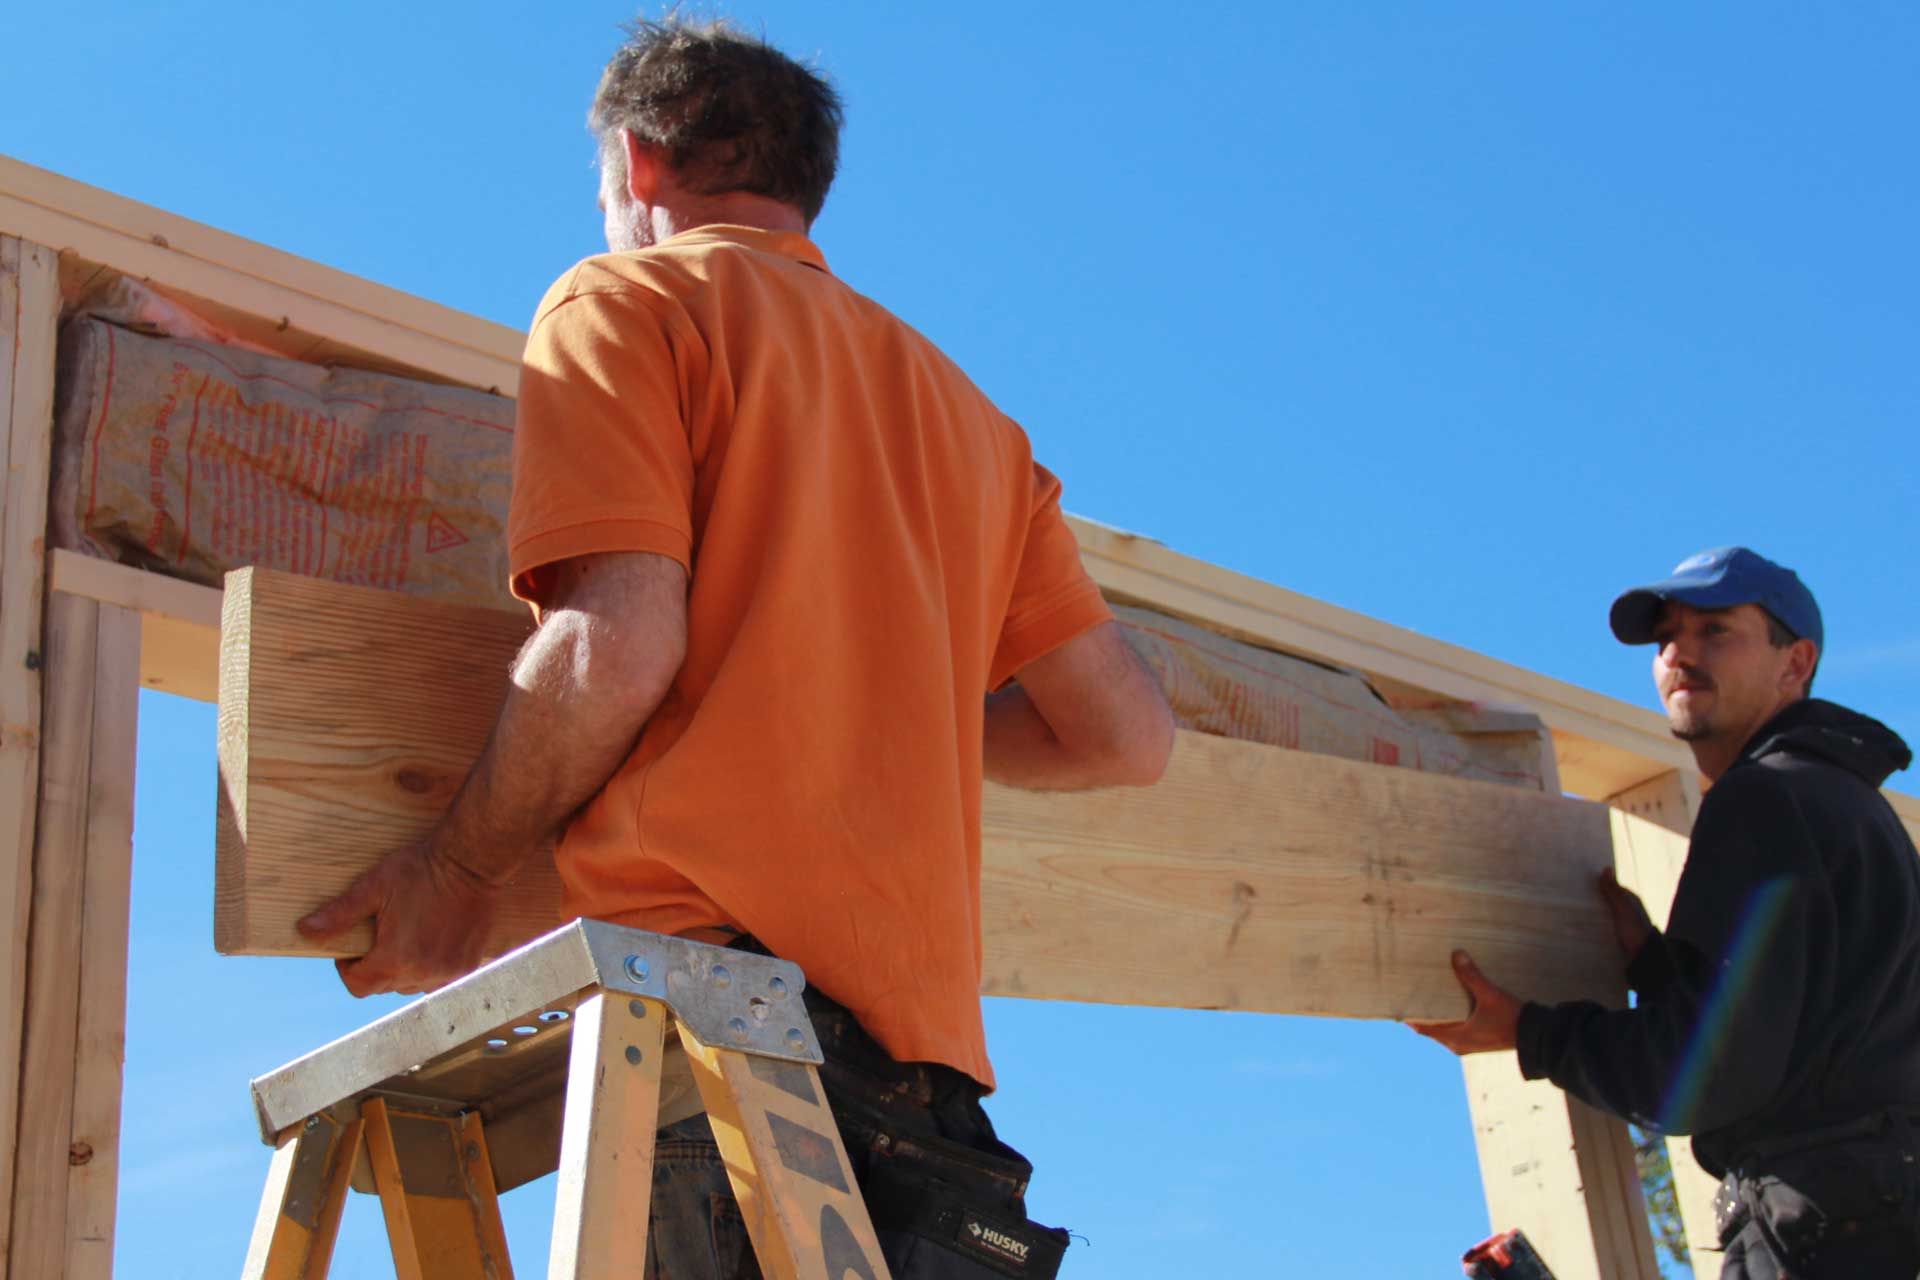
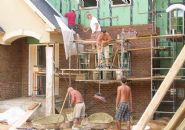
Joe and Kenny insulate one of the headers. This is a space that is typically left uninsulated in conventional framing practices. High performance home construction demands that attention be paid to insulating every possible space.
Joe & Kenny install the inside piece of the header. You can see how it would be impossible to insulate this header once it has been built. A typical home will have 2 rolls of uninsulated spaces like this. Imagine removing 2 rolls of insulation from your home. Your heating and cooling bills are going to go up.
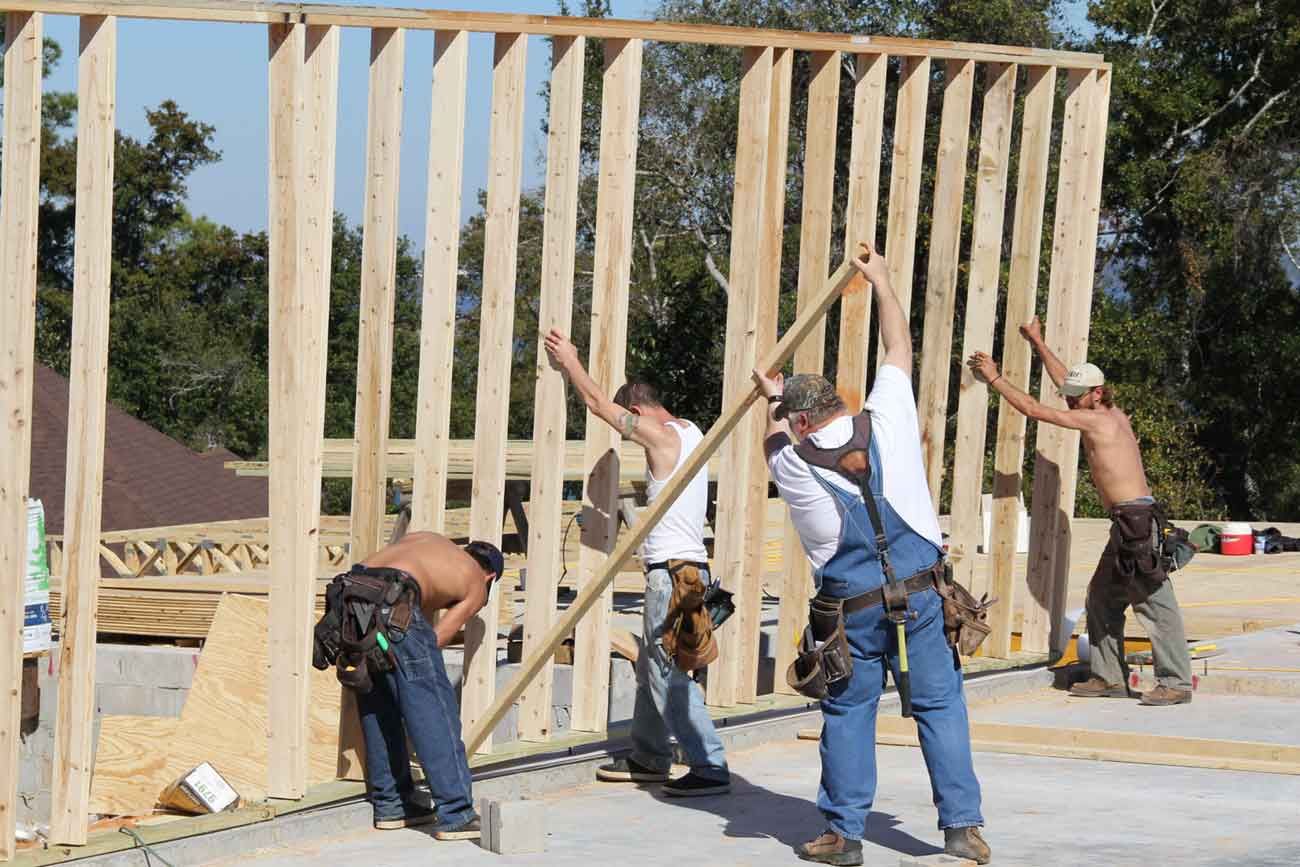
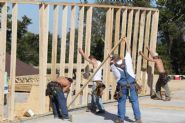
Dave, Kenny, Brian , & Jesse stand up the first wall.
Robbie uses a lever to lift up the wall over and set it down over an anchor bolt. Remember fulcrums and levers from high school physics? This is where it comes in handy. You can see Kenny in the previous photo struggling to lift the wall over an anchor bolt. This method is way better.
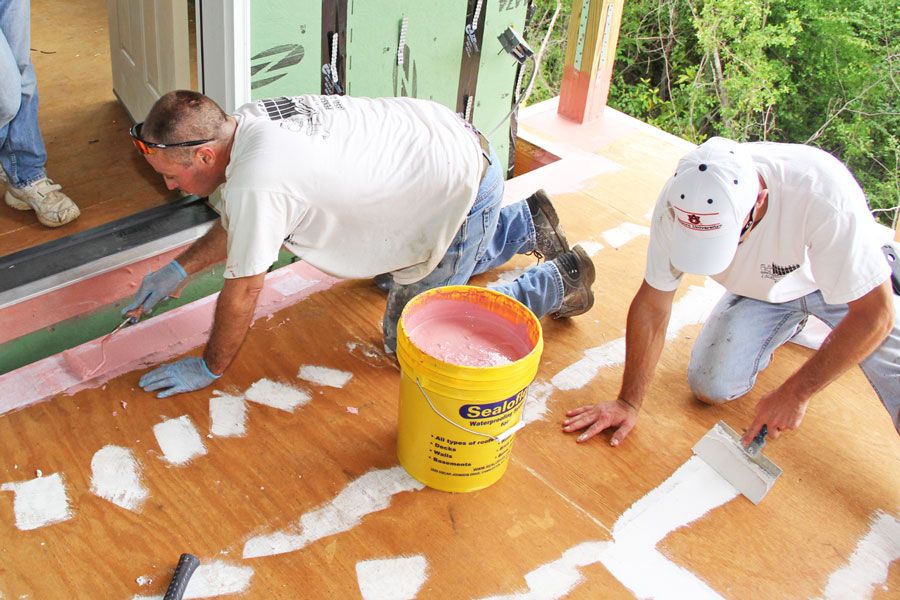
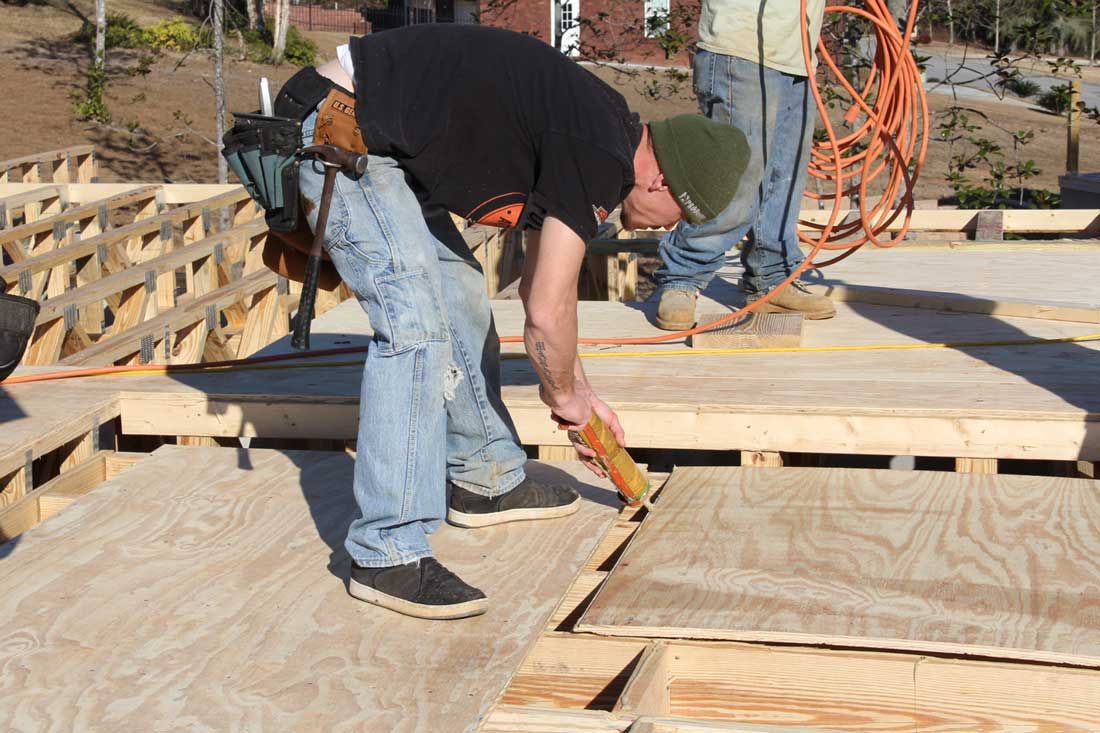
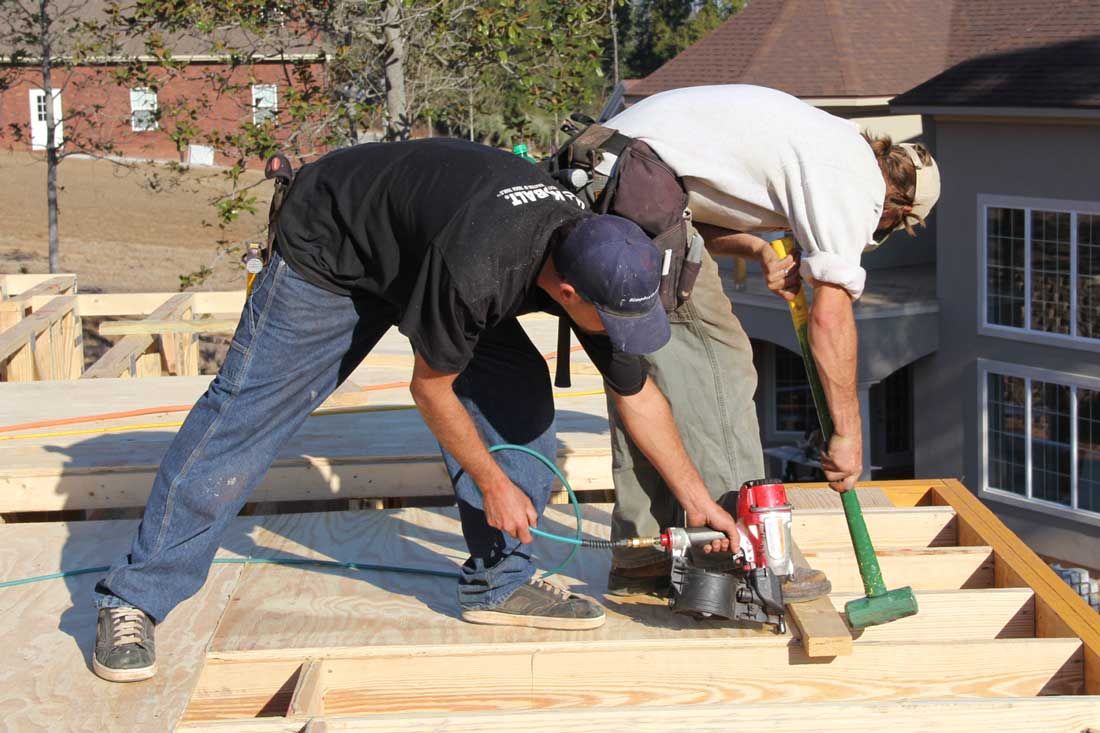
Brian applies glue to the deck joists and the tongue on the plywood to form a solid bond for the back porch floor decking.
Kenny drives the plywood tongue into the groove with a sledge hammer while Jessie nails it off. We use ring shank nails and glue on the decking to create the most strength.
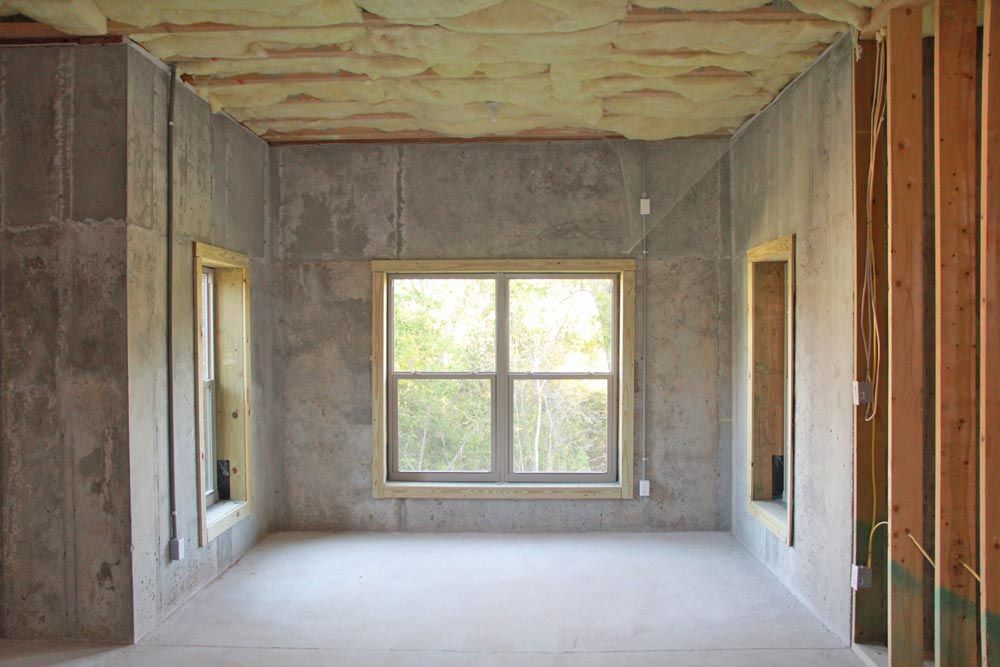
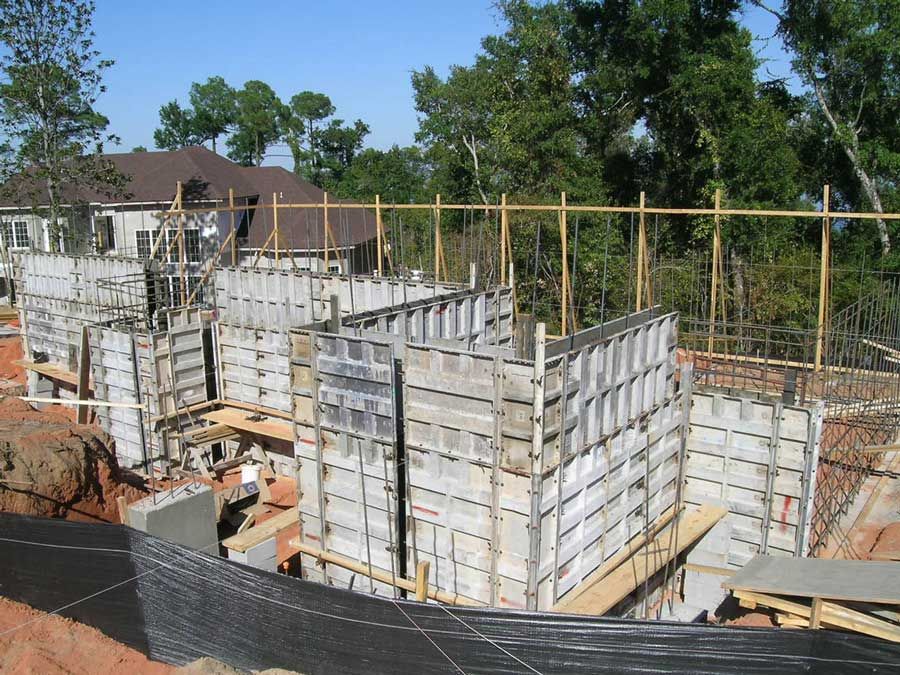
Finished basement with concrete cast in place walls.
Roy cuts out a protruding rebar. The slab had a wild hair.
Gomez pours the roof on the safe room. The safe room is engineered to withstand 250 mph winds and 100 mph missile impacts. It will have a steel armored door with 3 deadbolts. In this case the safe room will also serve as a bathroom in the basement. You can also use it to store valuables and as a panic room.
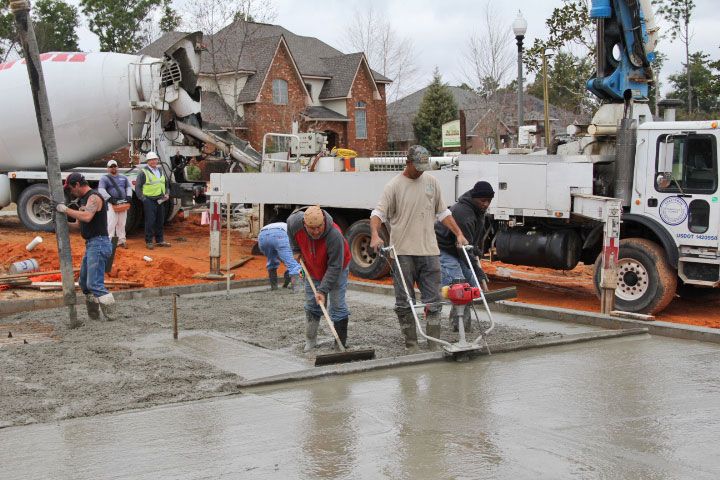
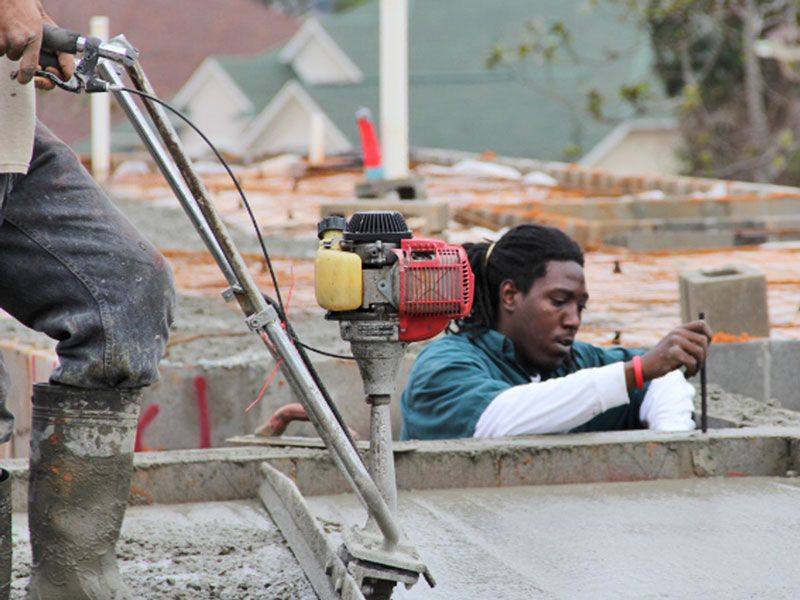
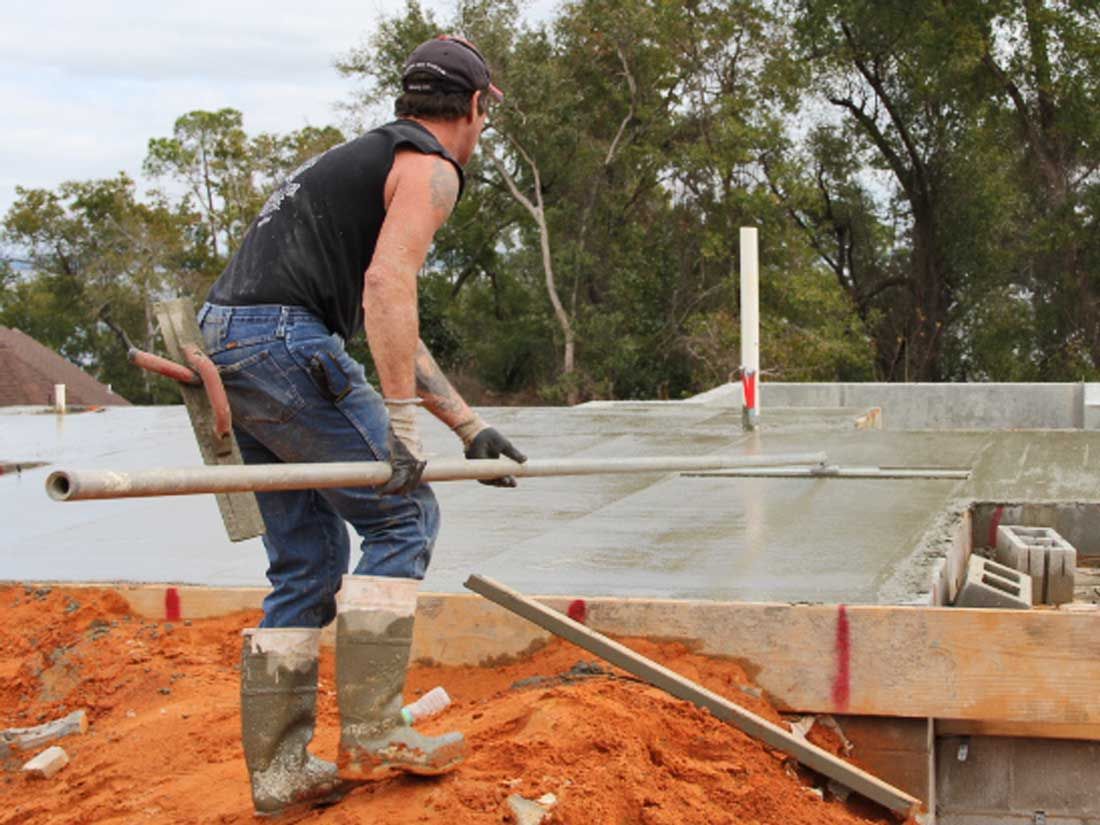
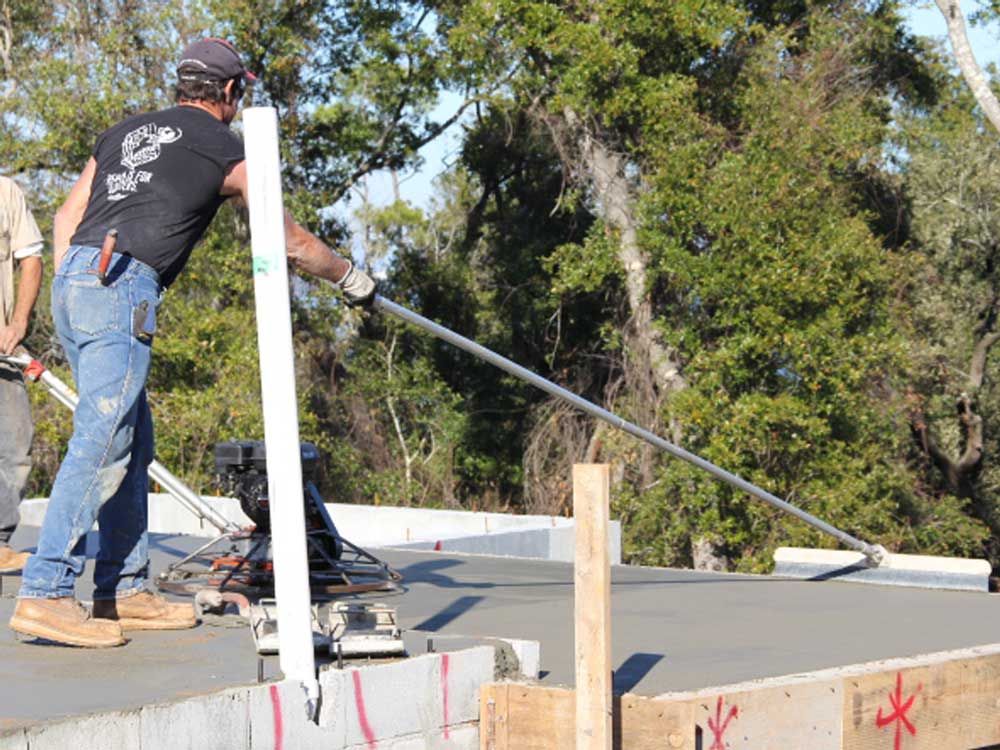
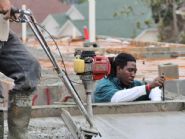
Junior operates the vibratory screed to consolidate and smooth out the concrete.
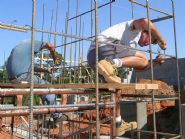
Mike sets the anchor bolts. This is how the walls will be bolted to the slab.
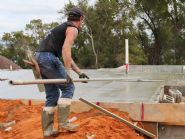
Roy bull floats the wet concrete to push down the rocks and bring more cement to the top to create a hard surface. I use 3000 psi concrete for the slab which has a higher cement content and produces a harder surface.
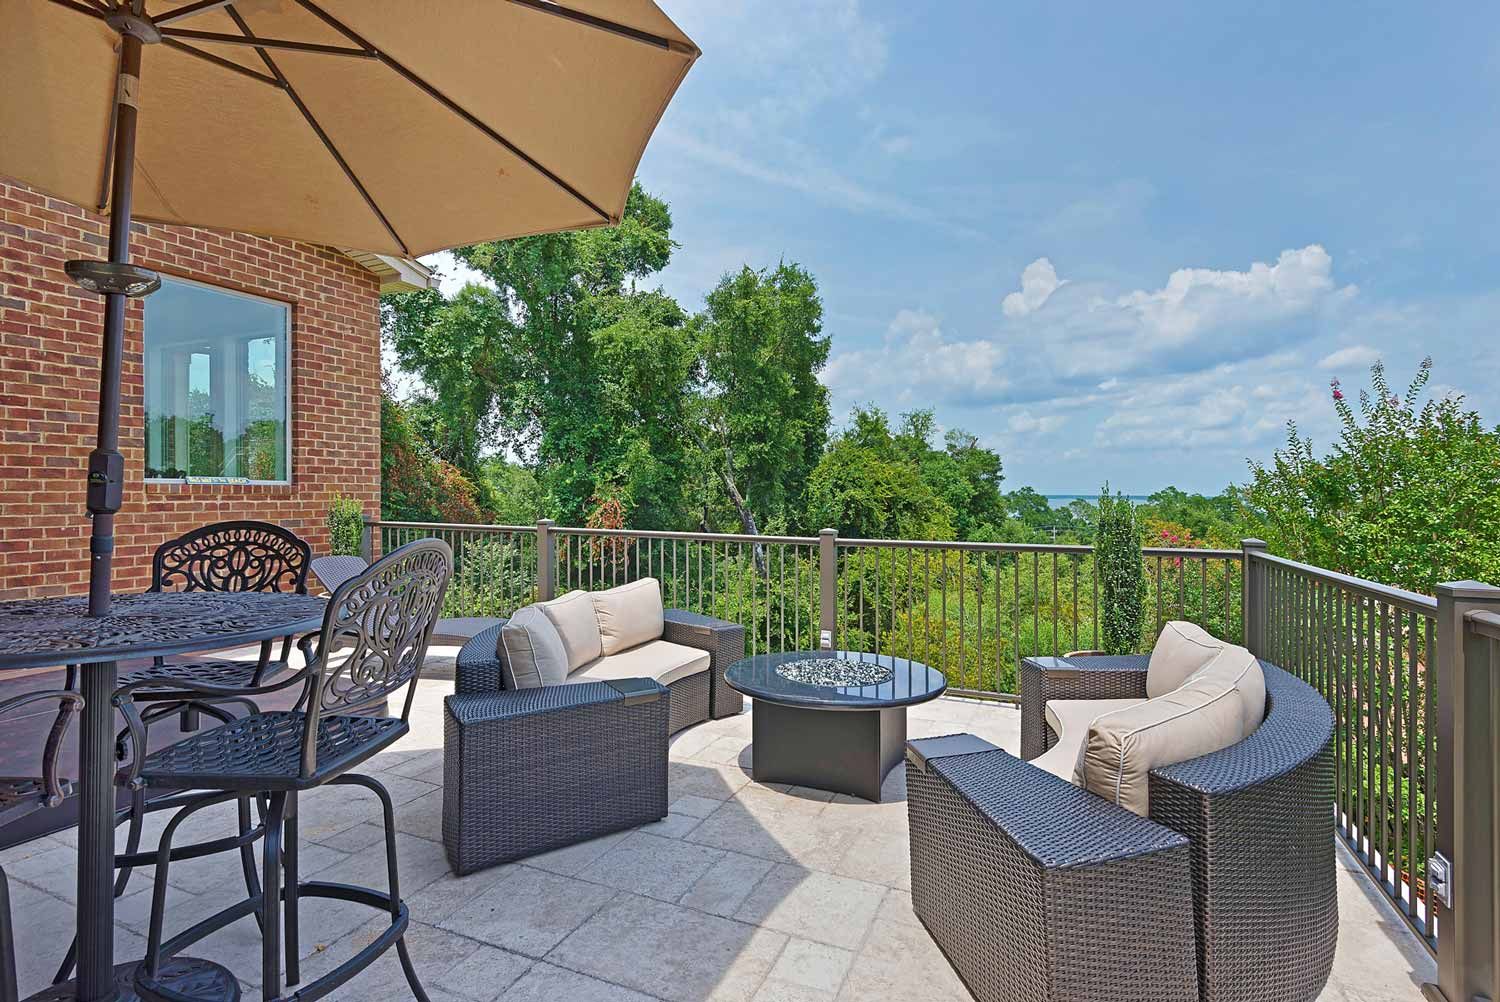
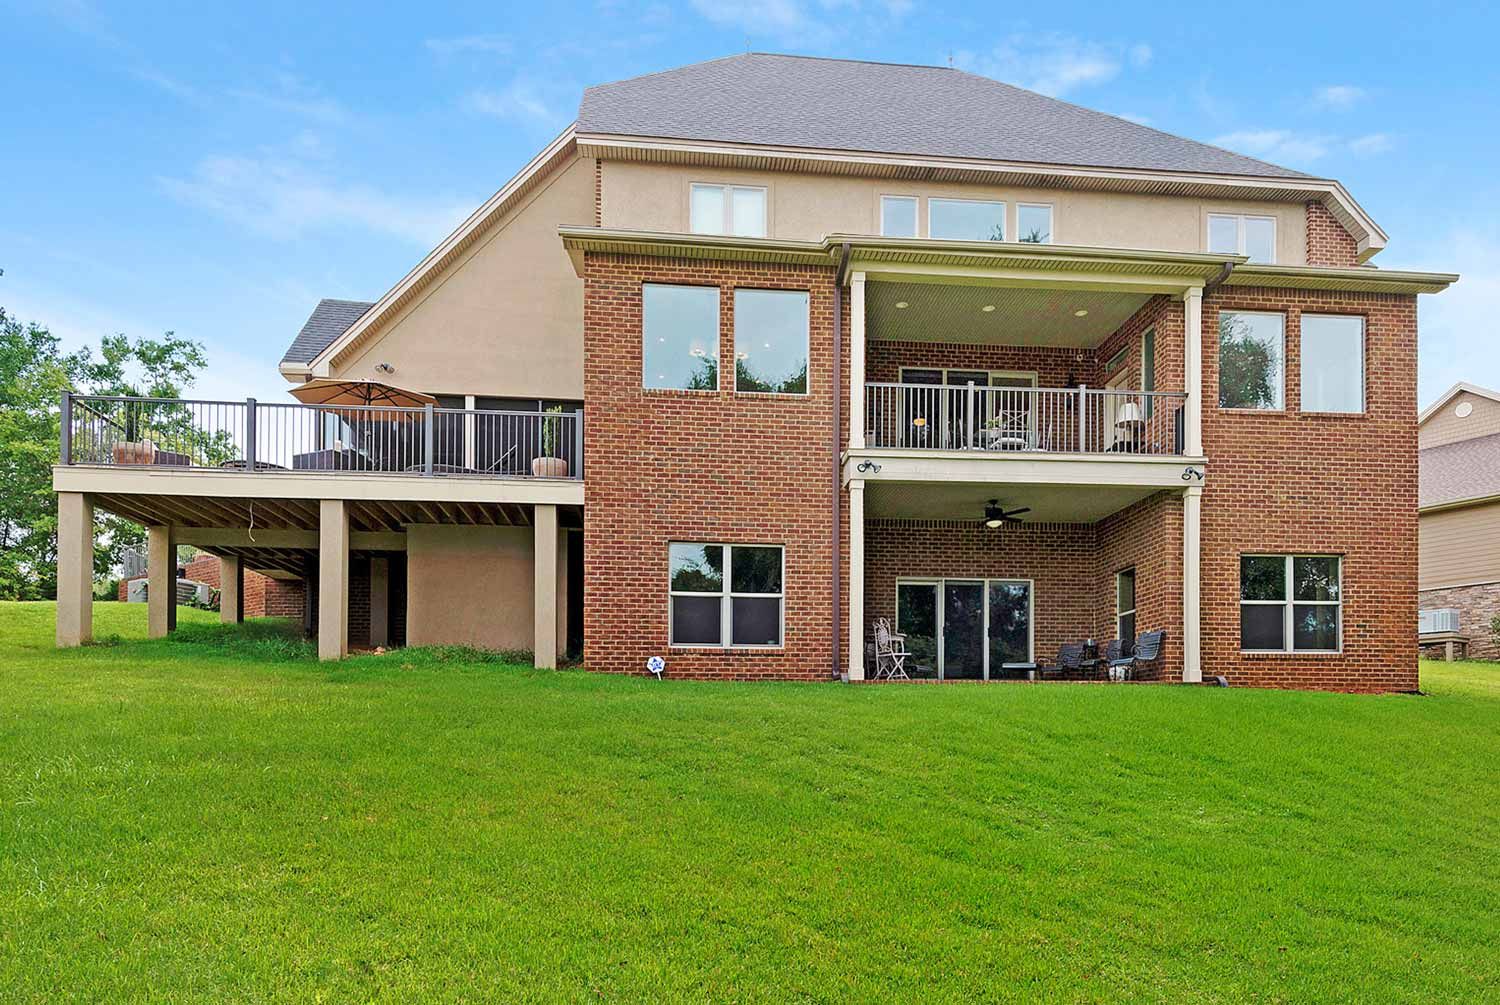
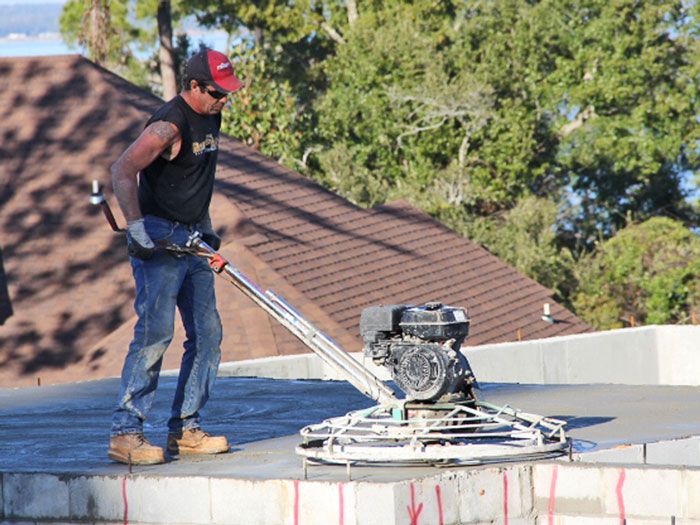
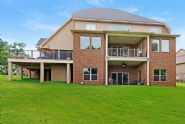
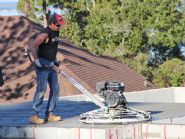
Roy operates the rotary trowel machine which puts the final finish on the slab. Look how high the first floor slab is compared to the roof on the house behind it. The Spears are going to have quite a view of the bay. I'm going to start referring to myself as a luxury bird house builder.
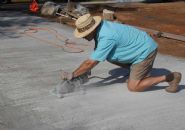
A horse hair broom is used to put a slightly grooved finish on the porch so that tile will adhere properly to the concrete surface.
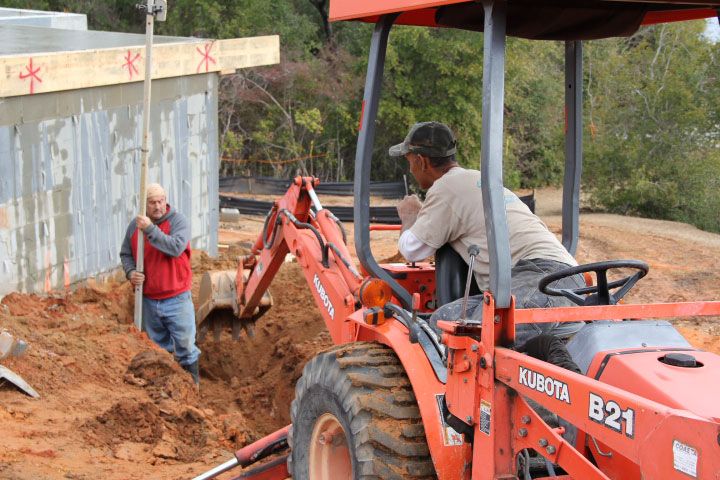
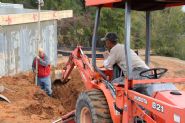
Junior digs the retaining wall footings while Gomez checks the depth with his laser target rod.
A vibratory roller attached to a tracked skid steer is used to compress the clay fill dirt in the garage. We achieved 99% compaction density with this equipment.
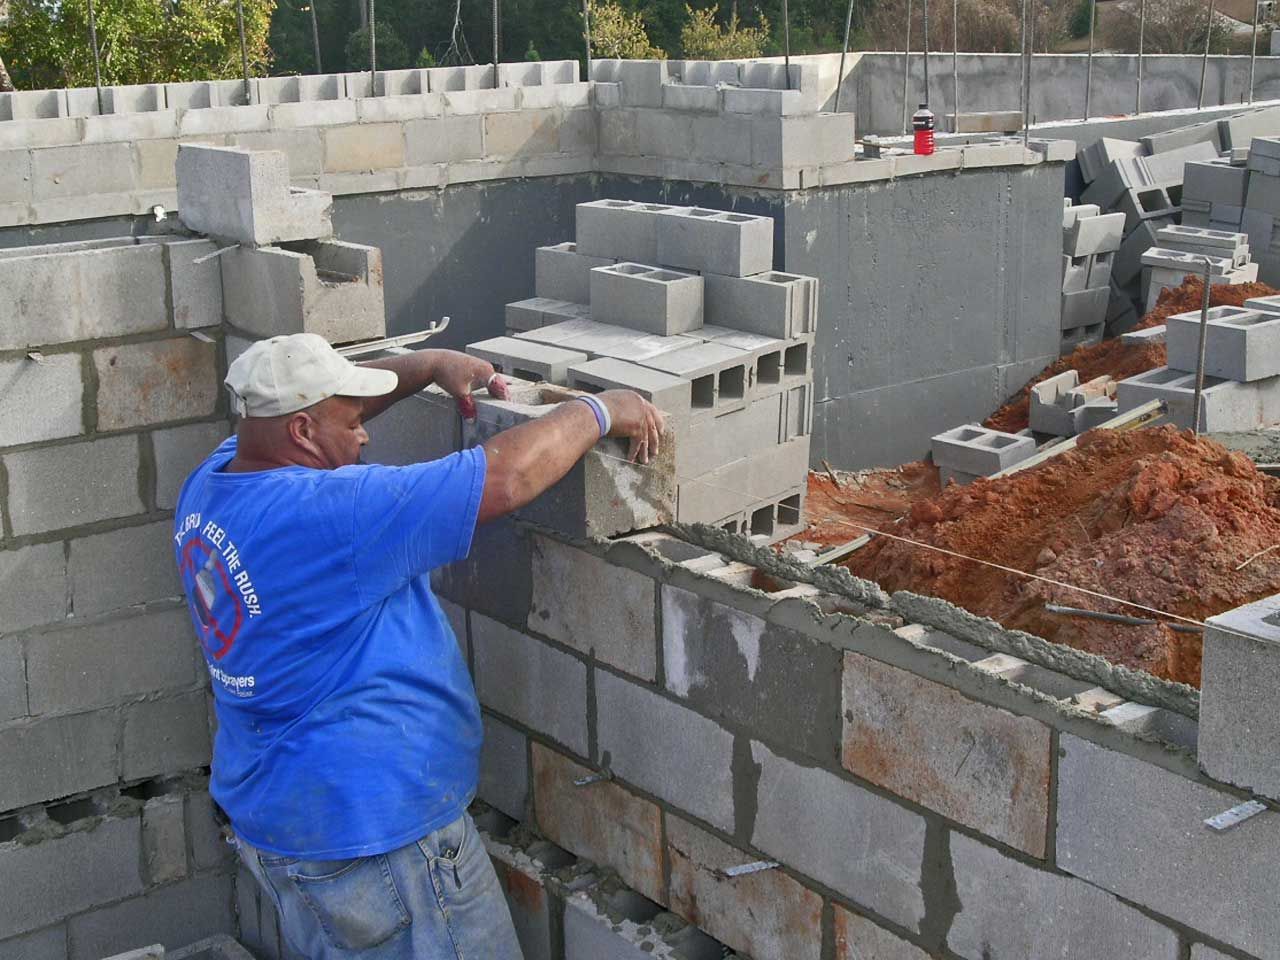
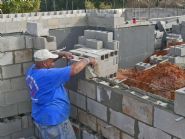
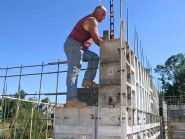
Joe lays up block on the front section of the foundation. The lower block is 12" then switches to 8" block so there's a ledge to lay the brick on. Dirt will cover the brick ledge when the front yard is finish graded. You can see the gray basement walls in the background.
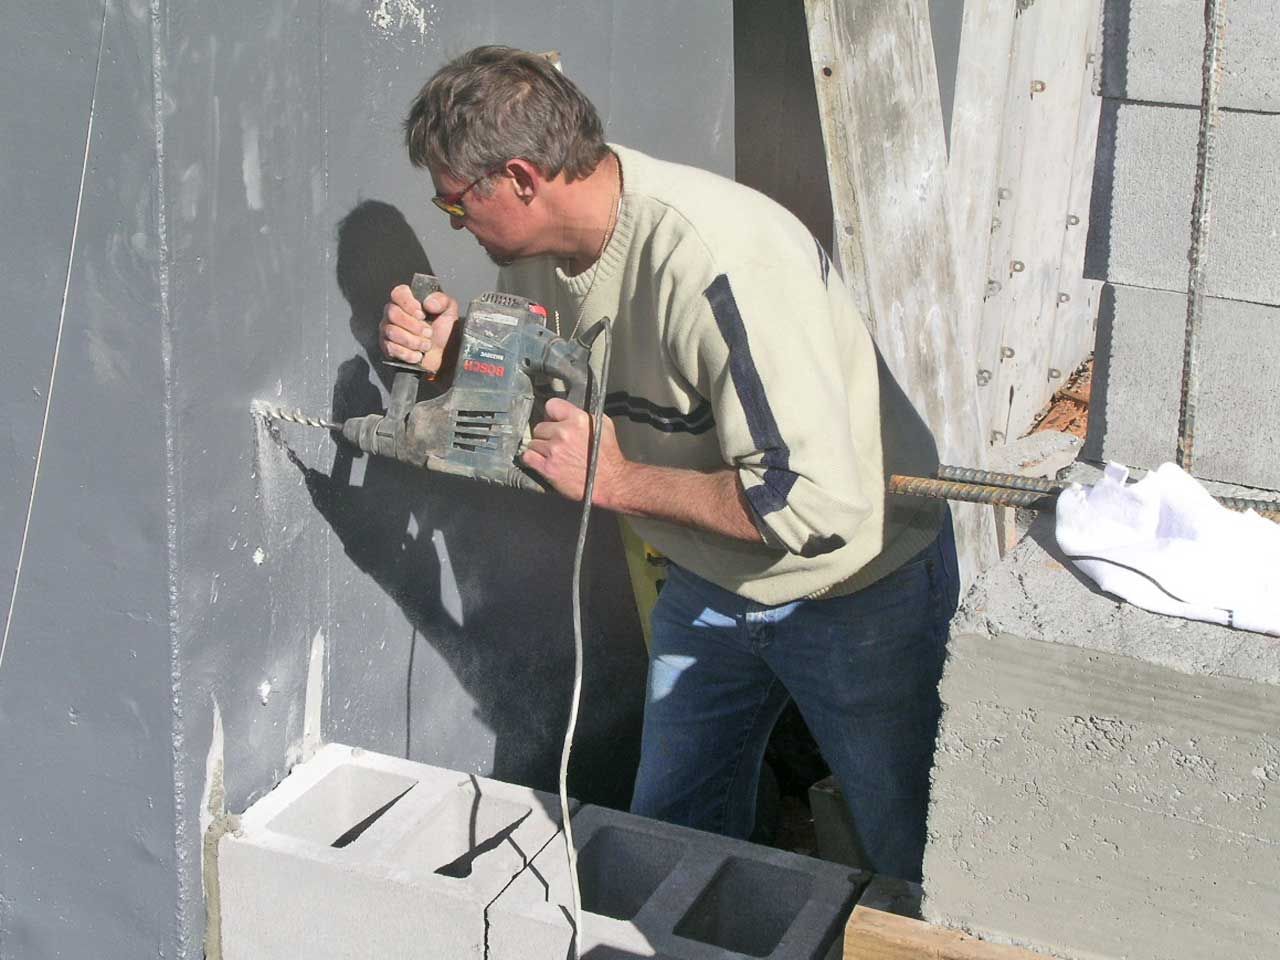
Shawn drills holes in the basement wall where a block wall ties into it. Steel rods (dowels) will be inserted into the holes and run into the block walls so that the block walls, when poured with concrete, make a solid structural tie into the basement walls.
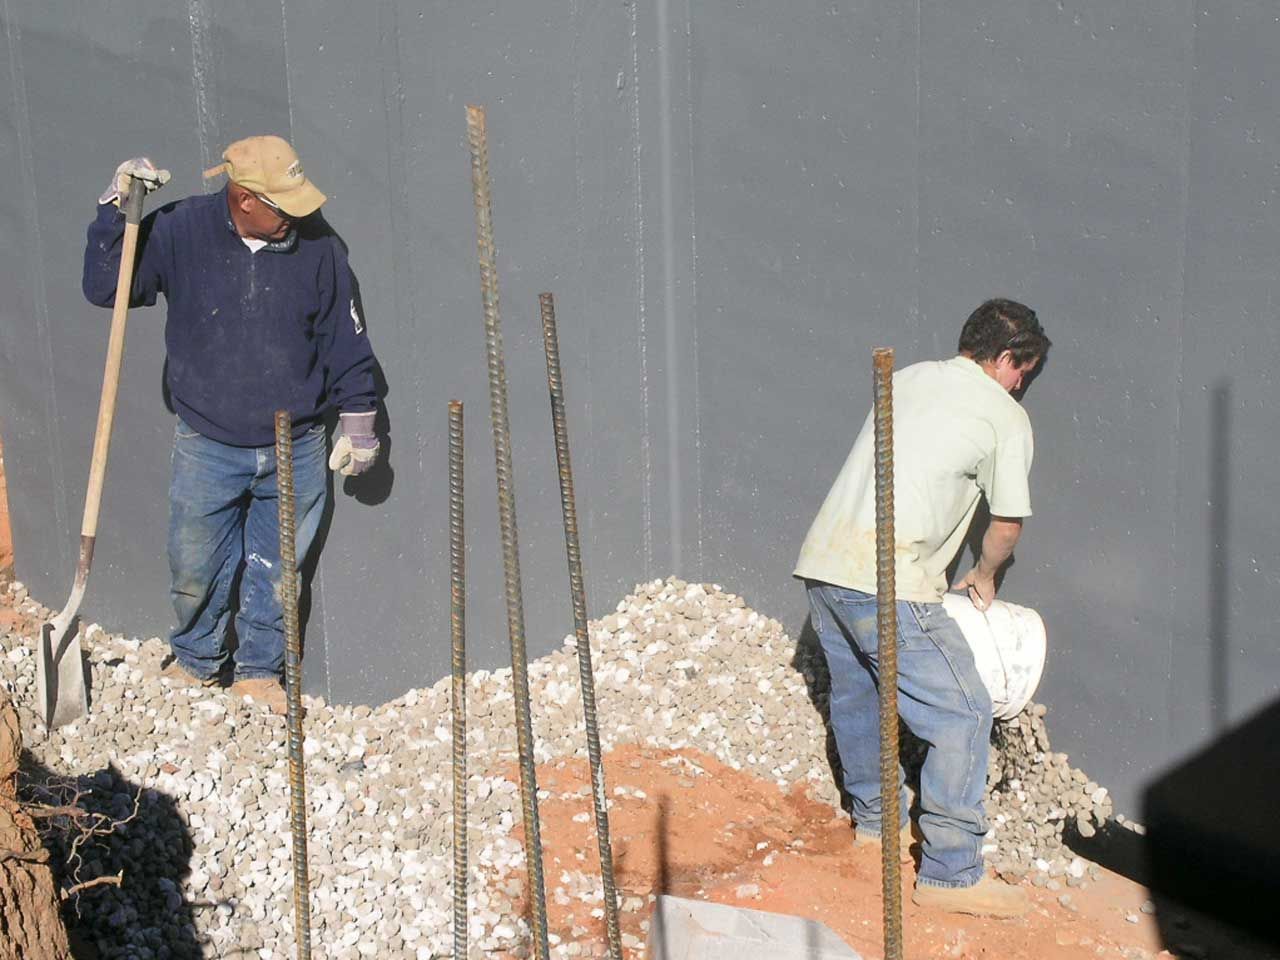
Gravel is dumped into the lower level to be placed over the basement drain pipe which you can see run along the bottom of the basement walls.
Gomez and Marky place the gravel over the drain pipe. Fabric will be placed over the gravel and then the hole will be back filled and tamped. This wall drain will make sure no hydrostatic pressure builds up on the basement walls and causes water intrusion. The walls have been coated with a grey epoxy sealant to prevent moisture intrusion.
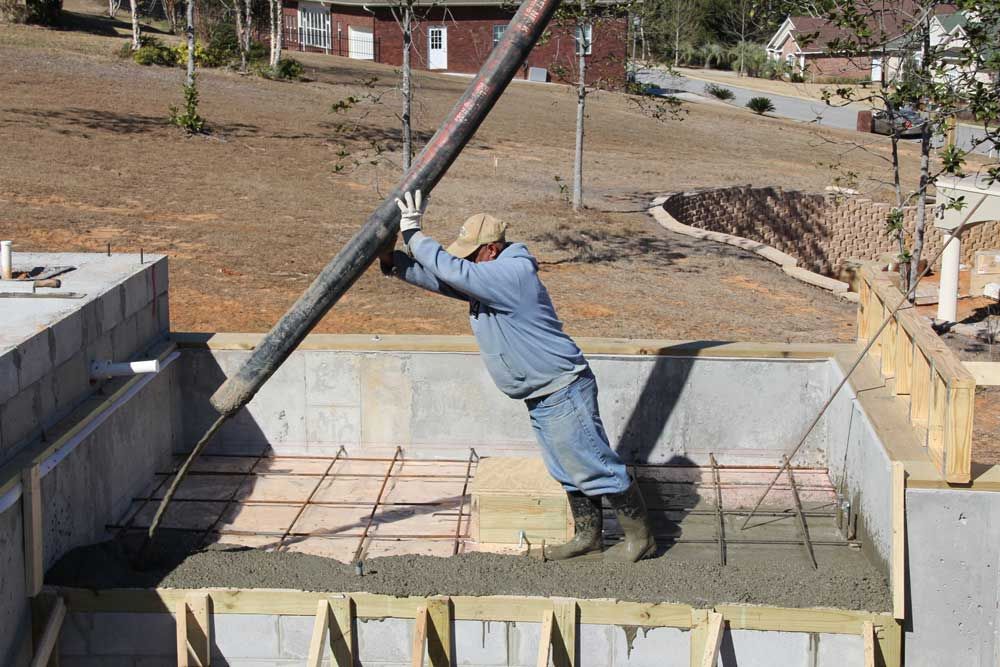
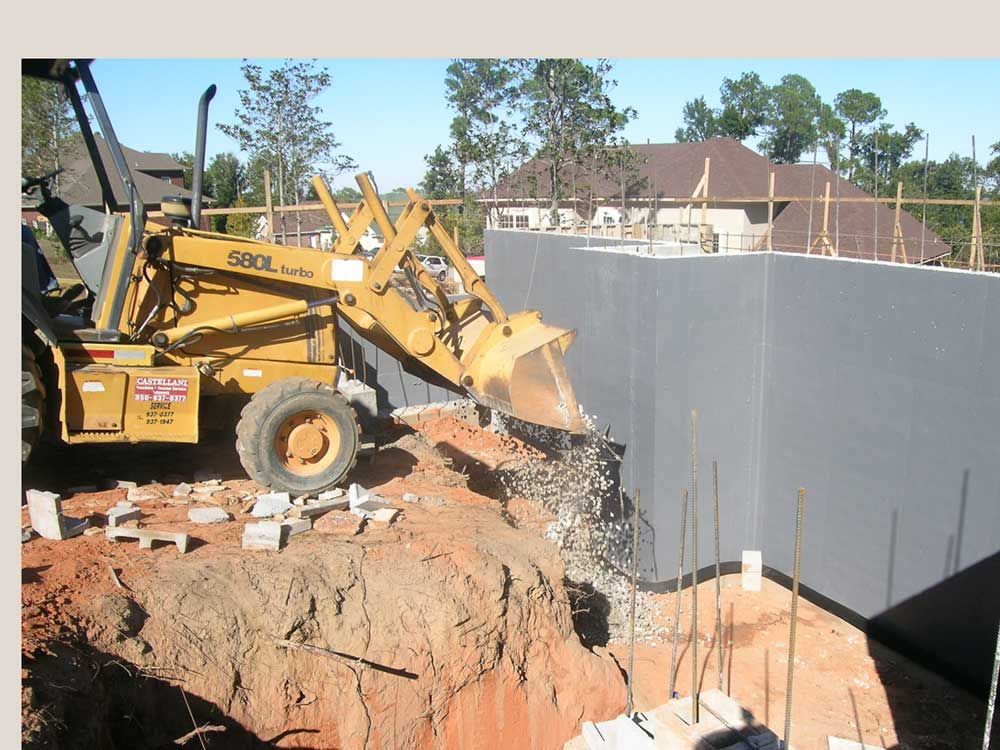
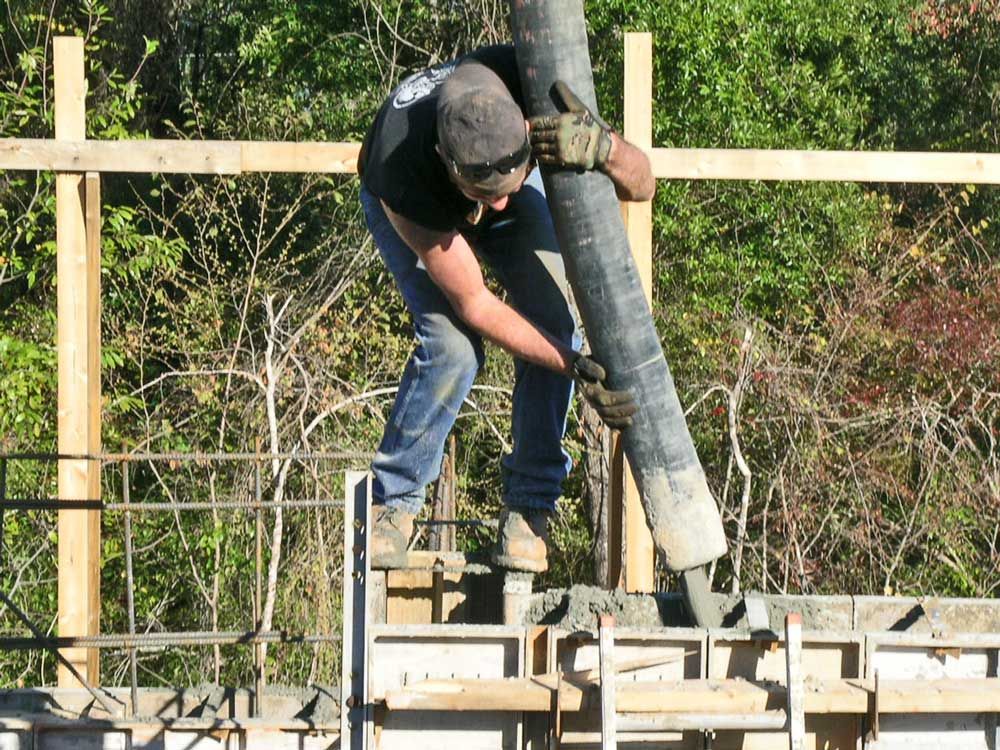
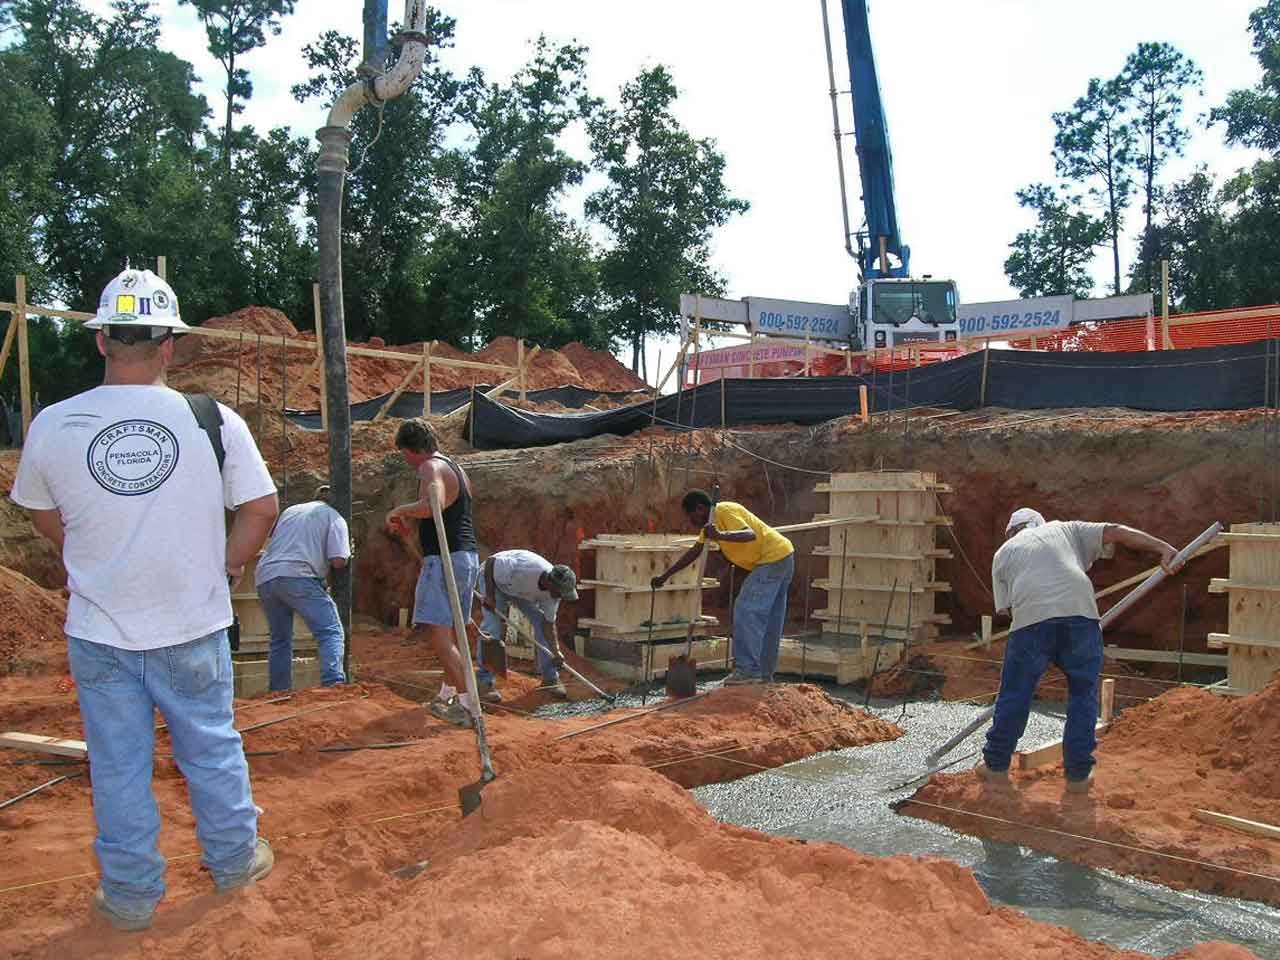
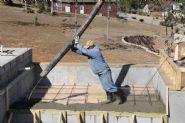
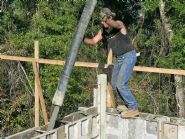
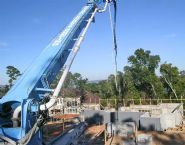
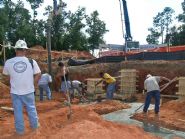
Roy signals the boom operator to move the hose forward as he directs the flow of concrete into the wall forms.
A boom pump is used to deliver the concrete to where it's needed. The gray coating on the walls is a water proofing coating which prevents moisture intrusion in the basement walls. This particular mix of concrete is 4000 psi and has chemical additives designed to allow it to flow around the steel inside the forms, self consolidate, and remain plastic or workable for an extended period of time thus allowing for a smooth finish on the walls with minimal honeycombing.
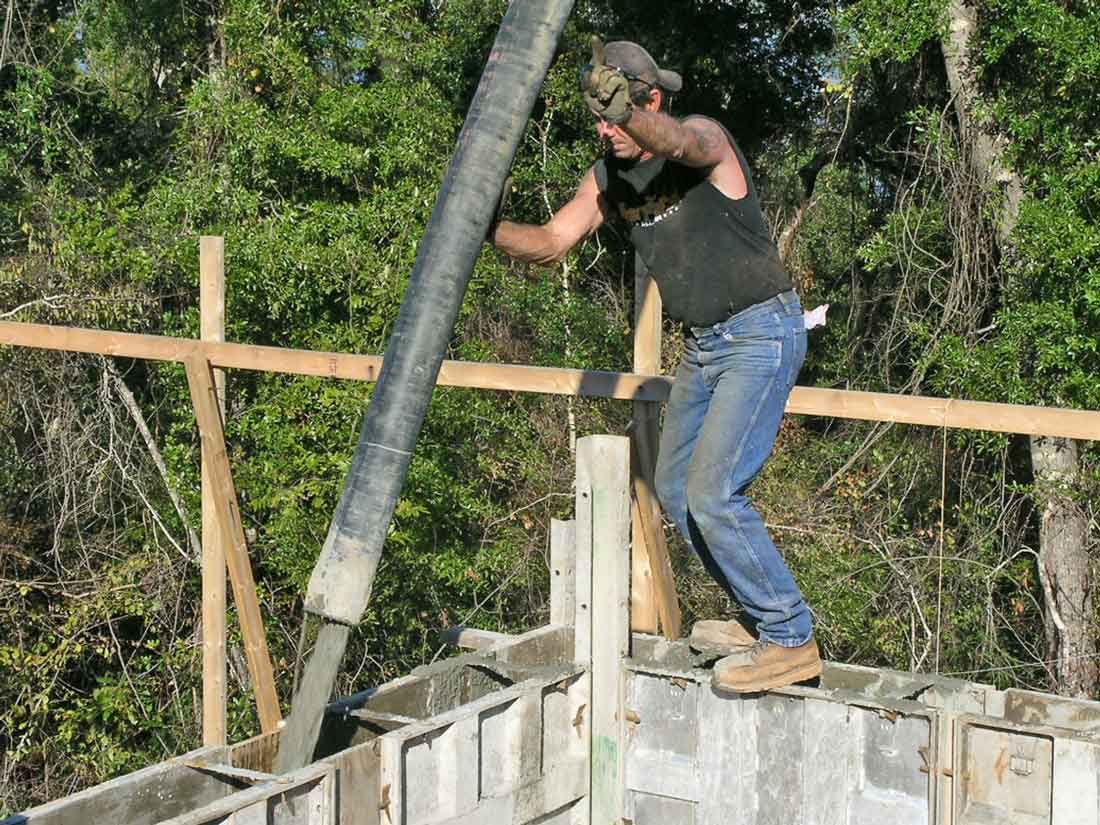
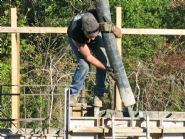
Roy on the hose filling the forms with concrete.
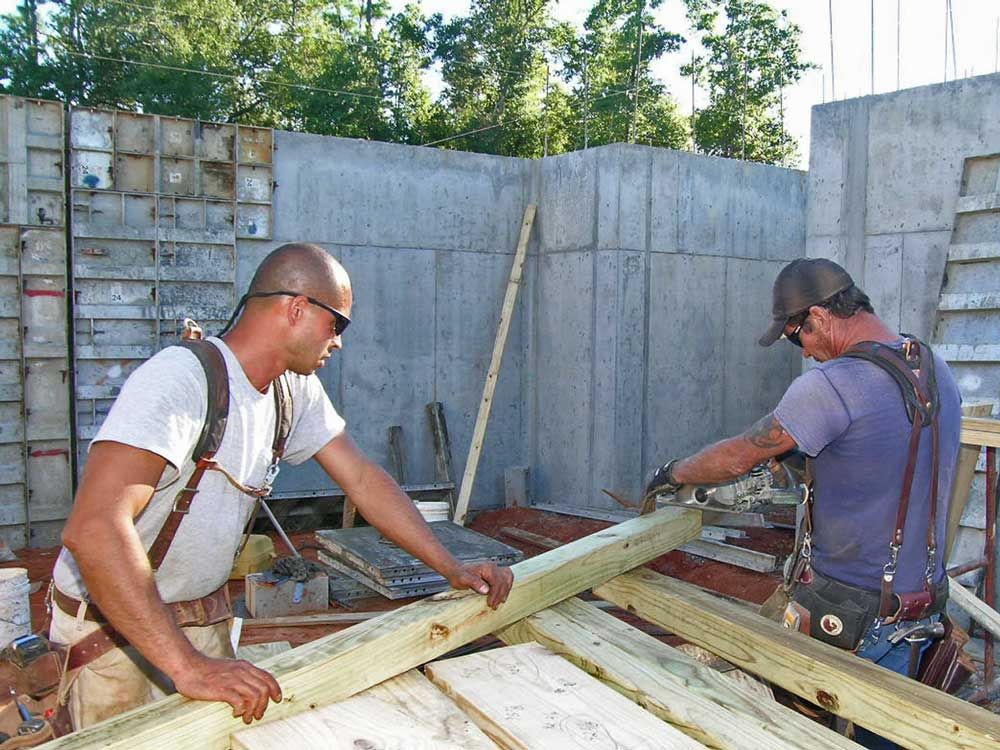
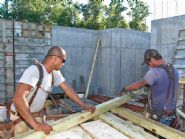
Kurt and Roy build window and door forms for the basement walls.
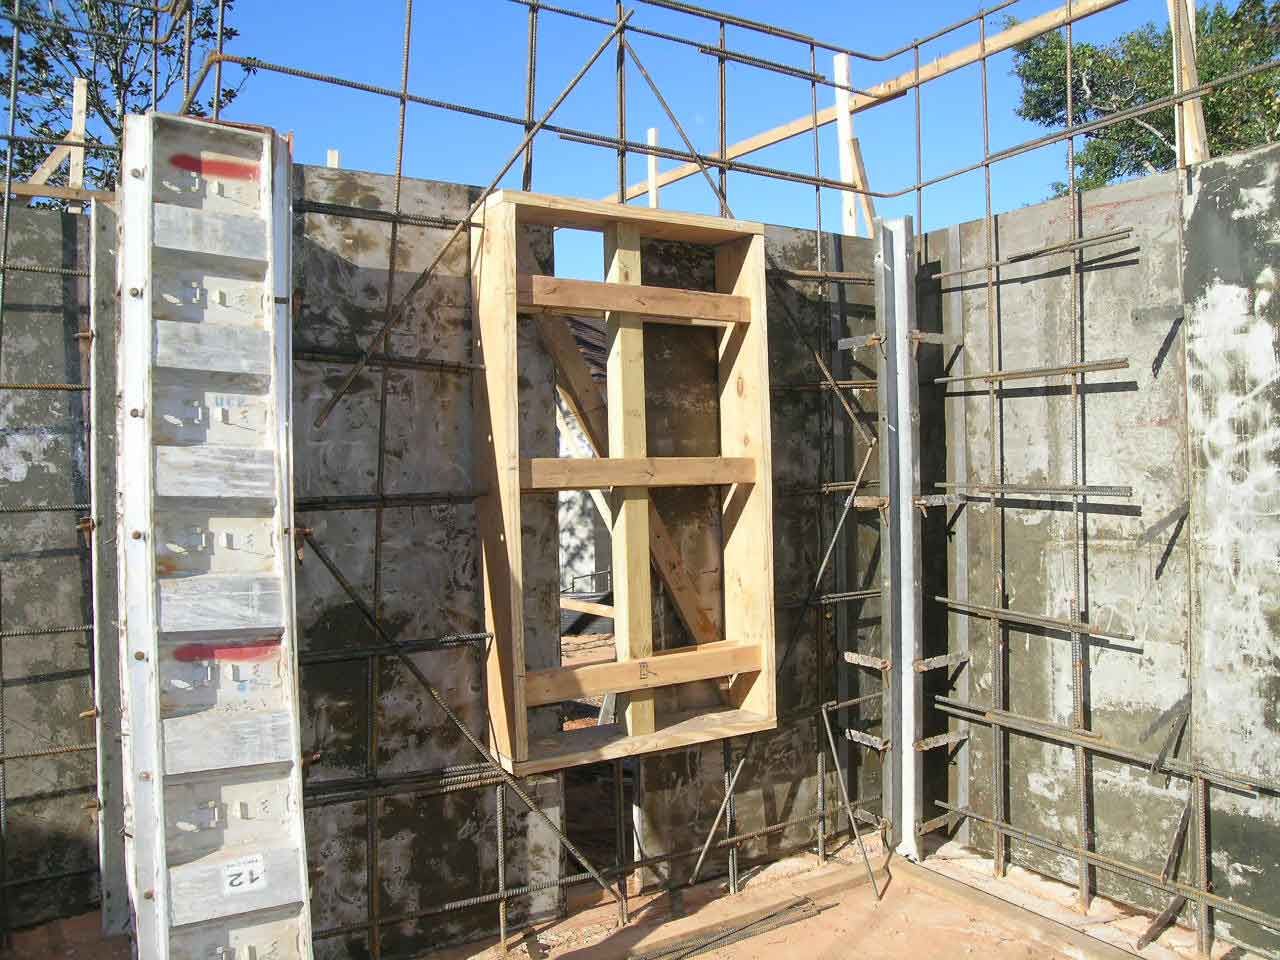
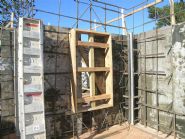
This is a wooden window form which will be sandwiched between the inner and outer form panels. It has to be reinforced to withstand the weight of the wet concrete around it until it dries. Then the wood will be removed leaving a window opening in the concrete.
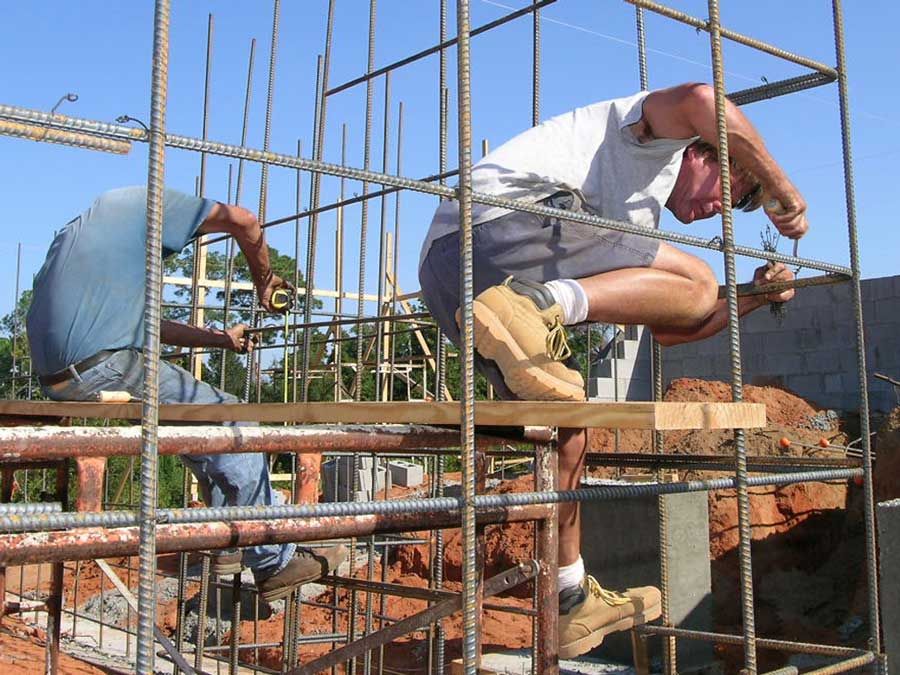
Junior installs plastic spacers to keep the steel centered between the inner and outer form panels.
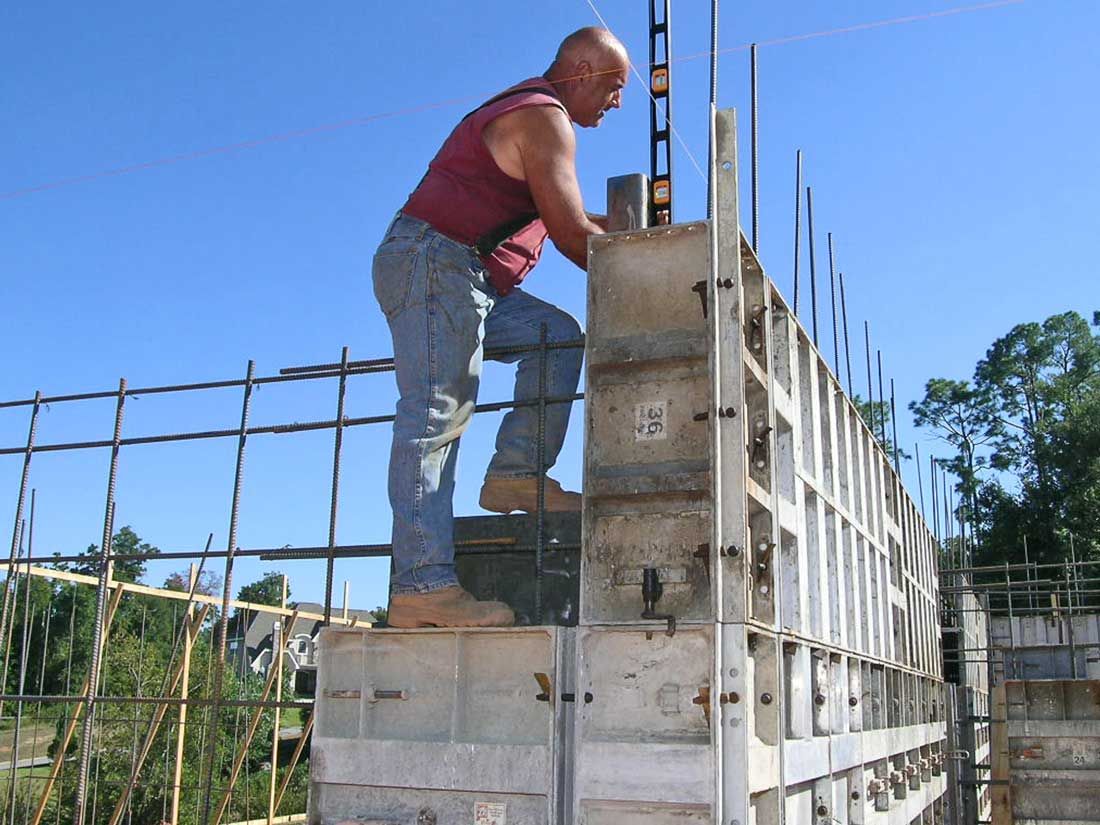
Gomez checks the basement wall forms for level and plumb. You can see the layout strings crossing at head height. These strings define the corner of the wall.
The aluminum forms are set for part of the basement walls.
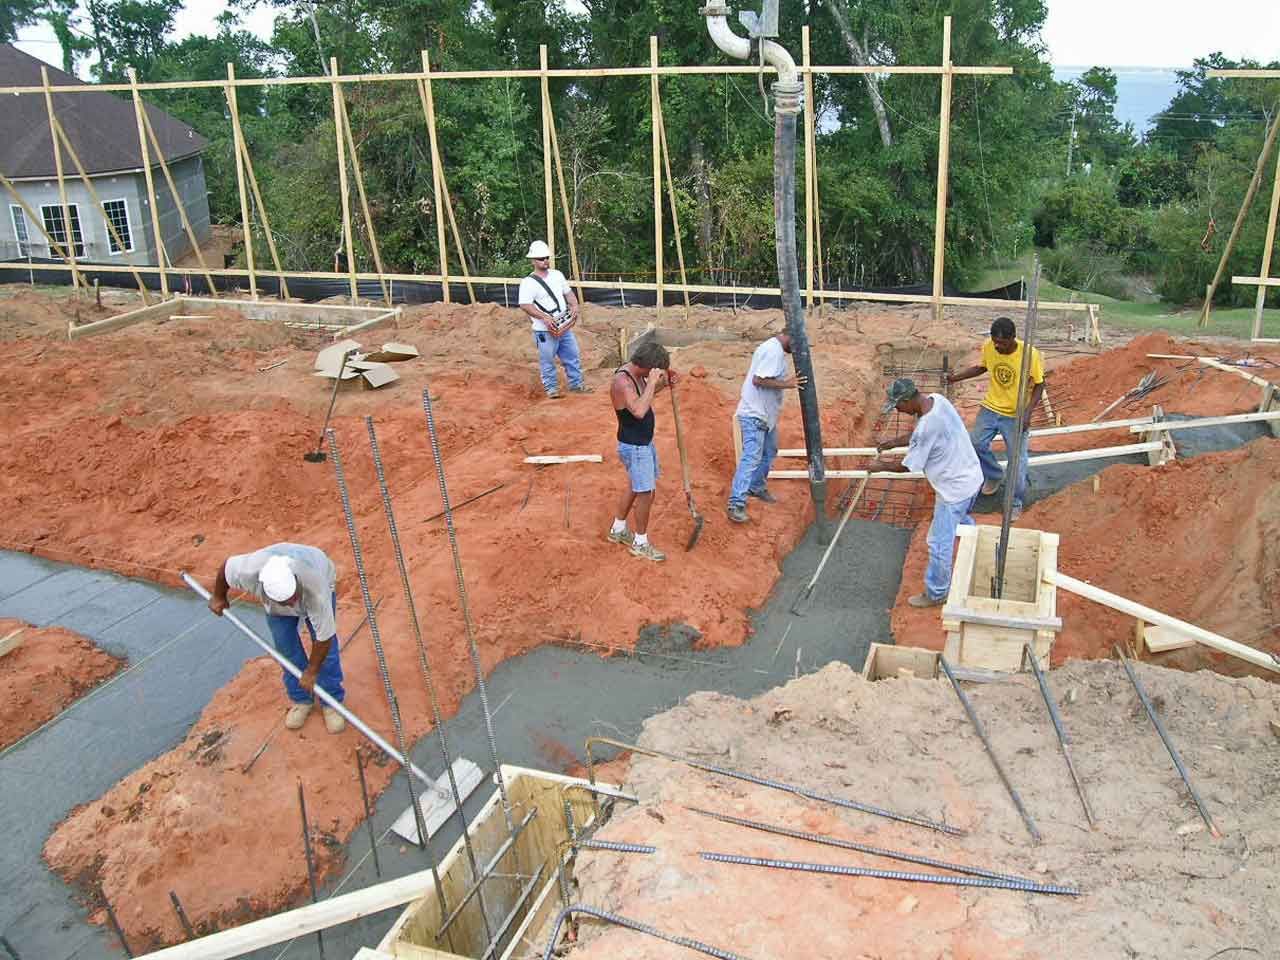
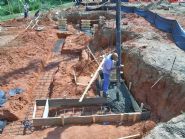
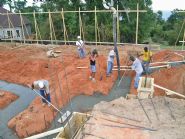
Pouring the footings along the back wall of the basement.
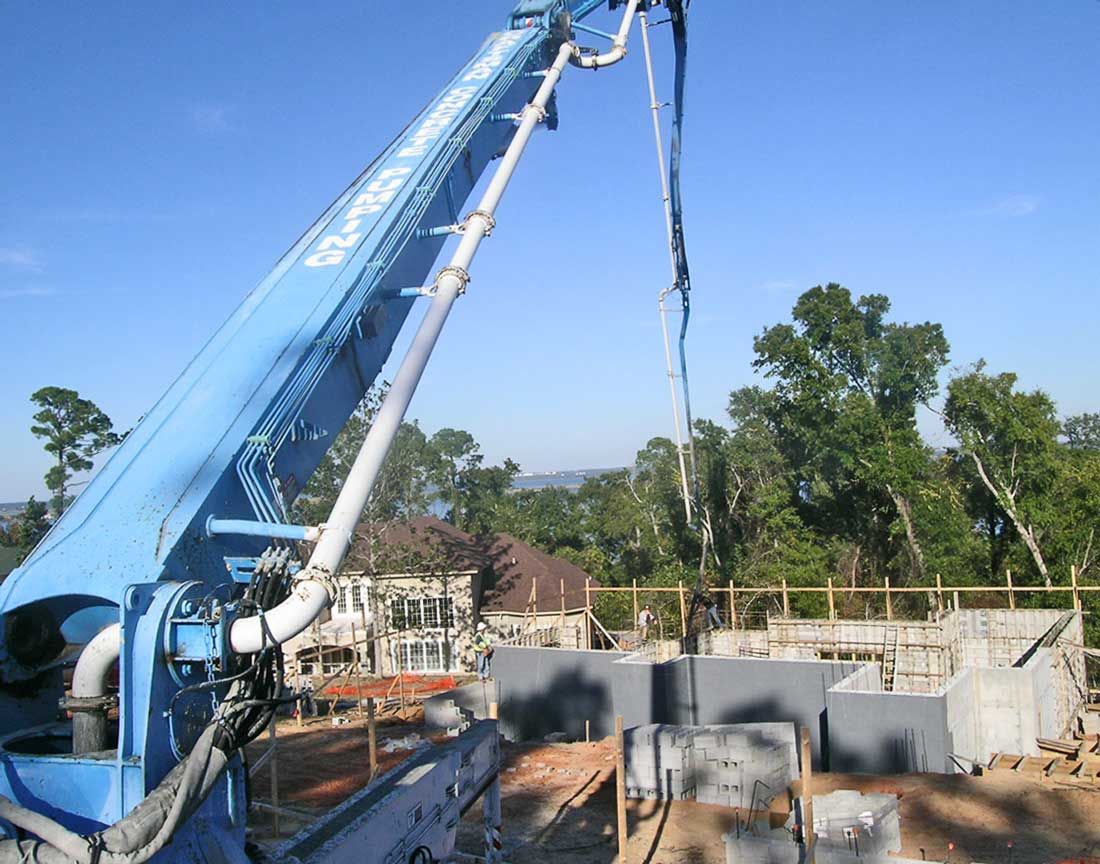
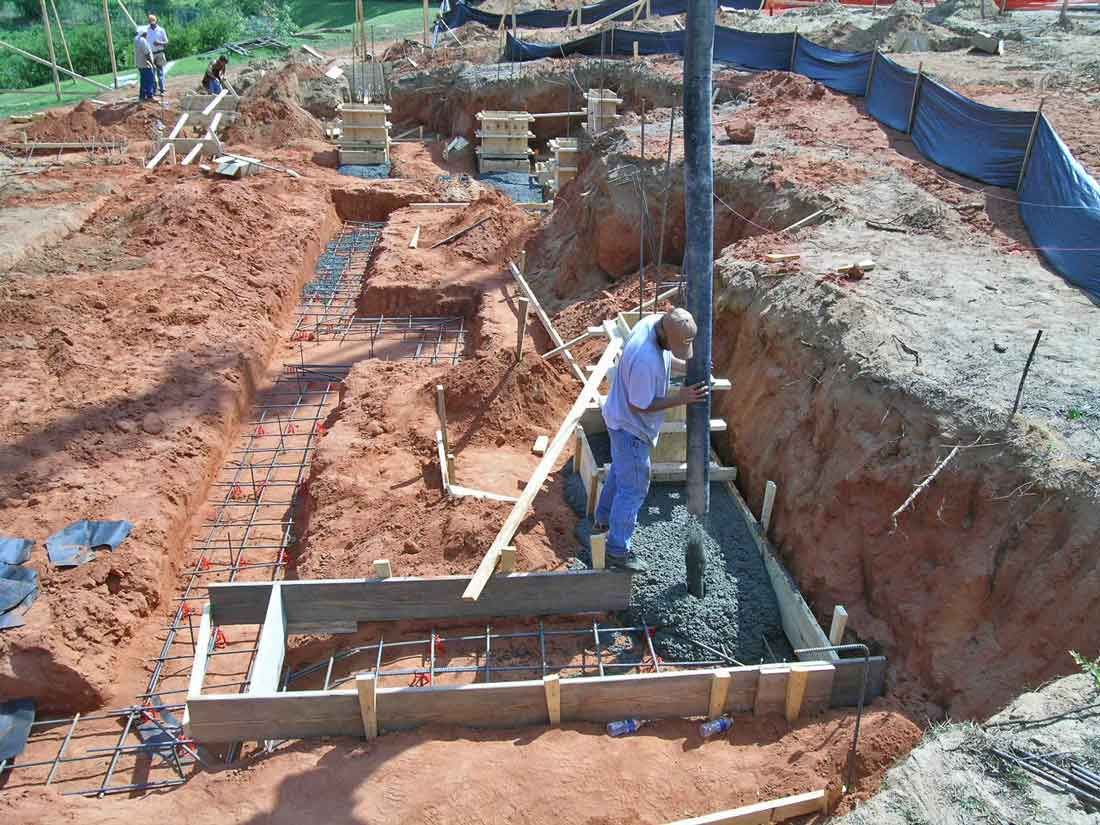
We used a 45 meter boom pump to place the concrete in the footing. The boom operator in the foreground is using a remote control to maneuver the delivery hose into the proper position. The wood boxes form the vertical hop ups in the footings as they climb out of the lower level and tie into the top level footings up slope where the front part of the house will be slab on grade.
We're coming around the south side of the basement. You can see the footings stepping up the side of the hill to the right. Footing hop ups are in the foreground. The upper level footings will tie into these to connect the basement with the upper level slab on grade.
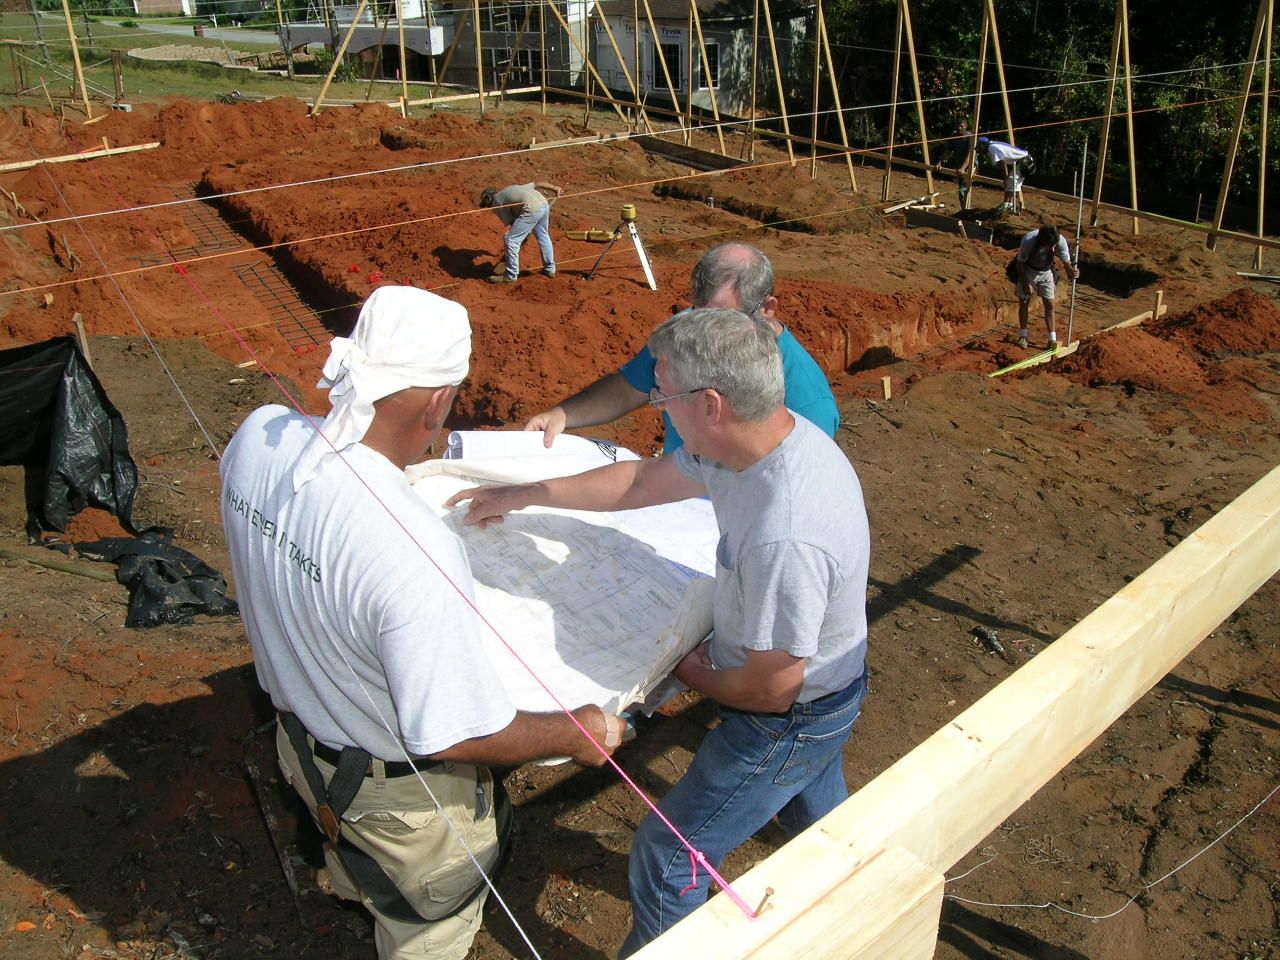
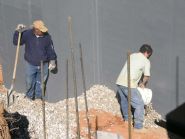
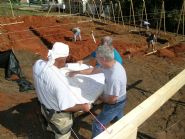
Gomez the foundation man, Ken the electrician, and Ed the plumber coordinate their plans to run pipes and electrical conduits through the foundation walls.
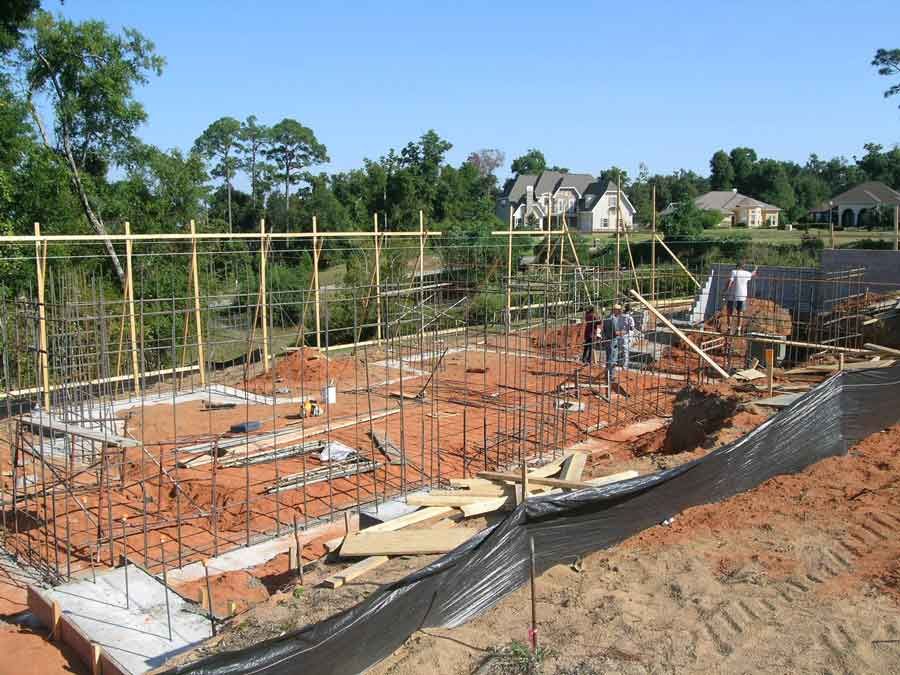
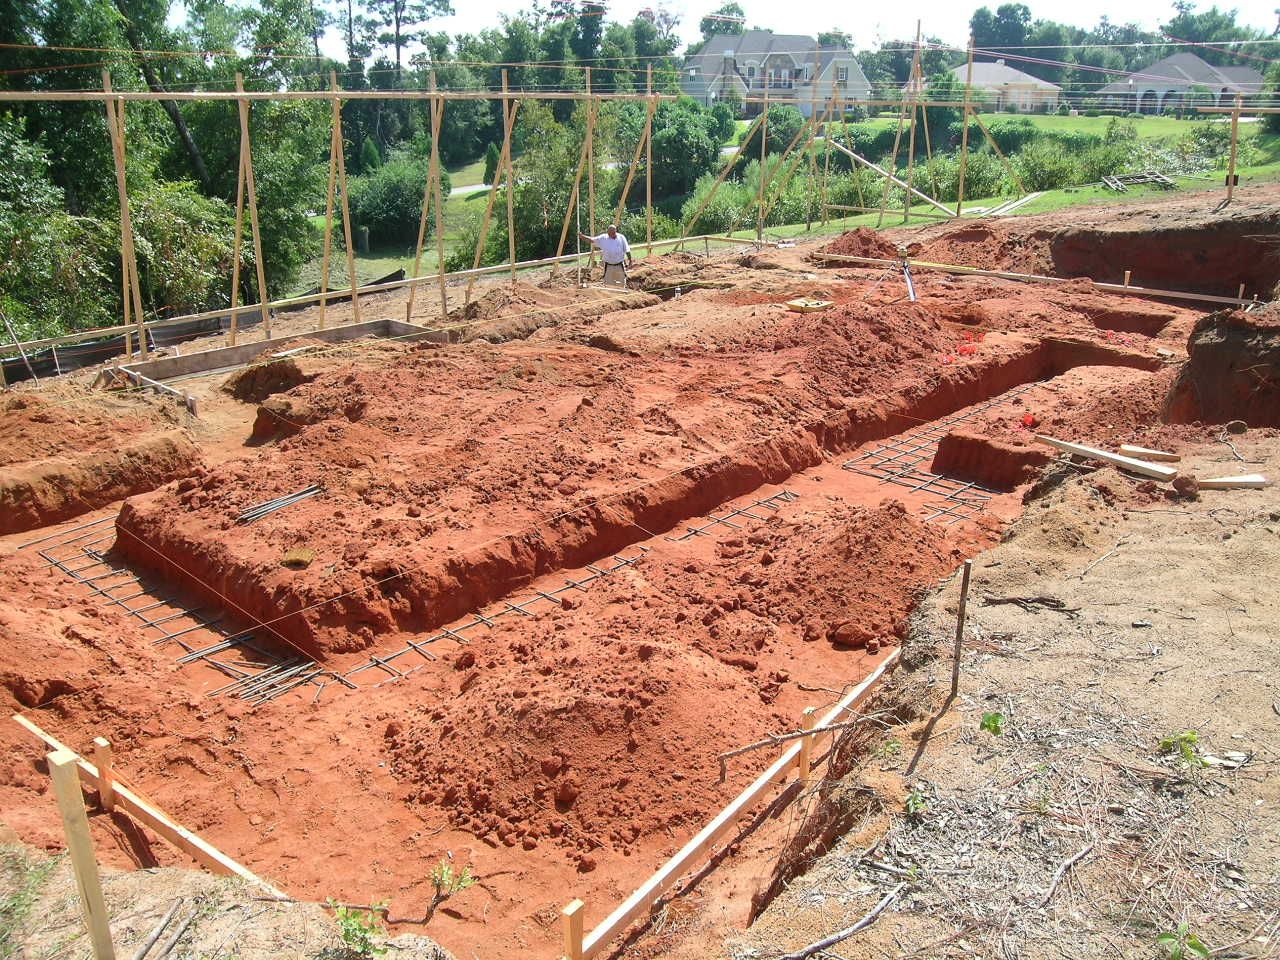
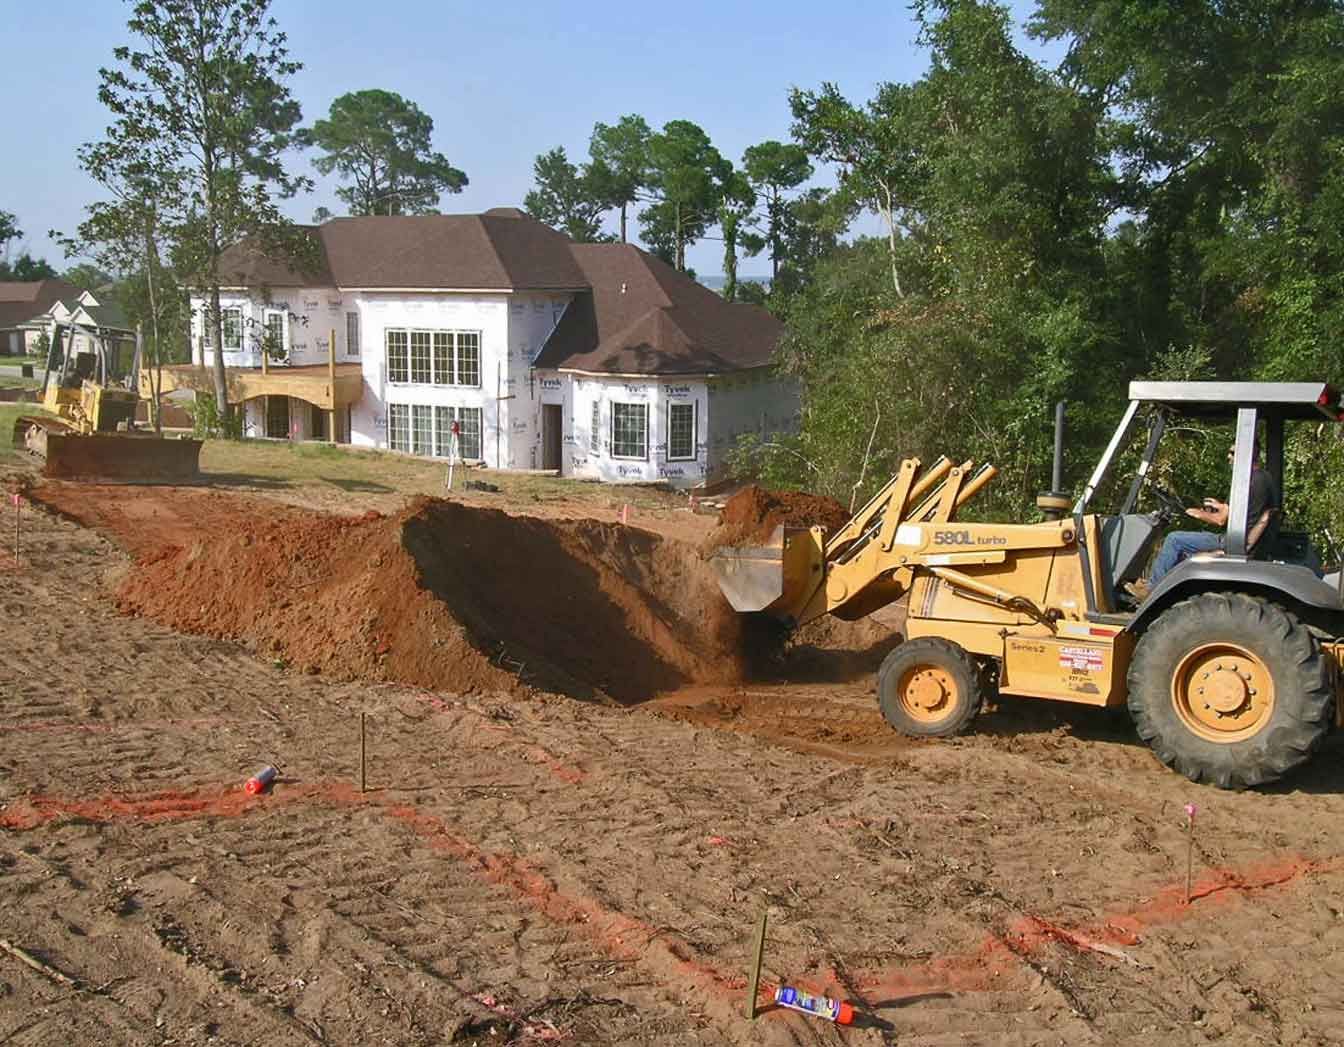
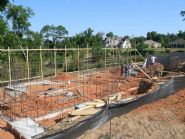
You can see the where the foundation footings for the basement section have been dug and the steel has been cut and laid in place. The tall wood structures in the background are batter boards. Strings are attached to them which outline the foundation and are set at the level of the first living floor. These are the tallest batter boards I have ever built. There aren't too many mountains in Pensacola. This is one of them.
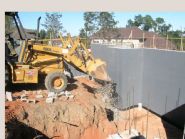
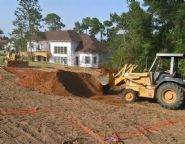
Breaking ground! Digging the basement.
Why fly when you can ride? Crows are the smartest birds, smarter than dogs actually. They are omnivores, mate for life, nurture their young for 5 years, congregate in extended families, have a complex language, and are one of the only animals to use tools. Chimpanzees and elephants use tools. I use tools, too. Hey, I'm as smart as a crow. Most days anyways.
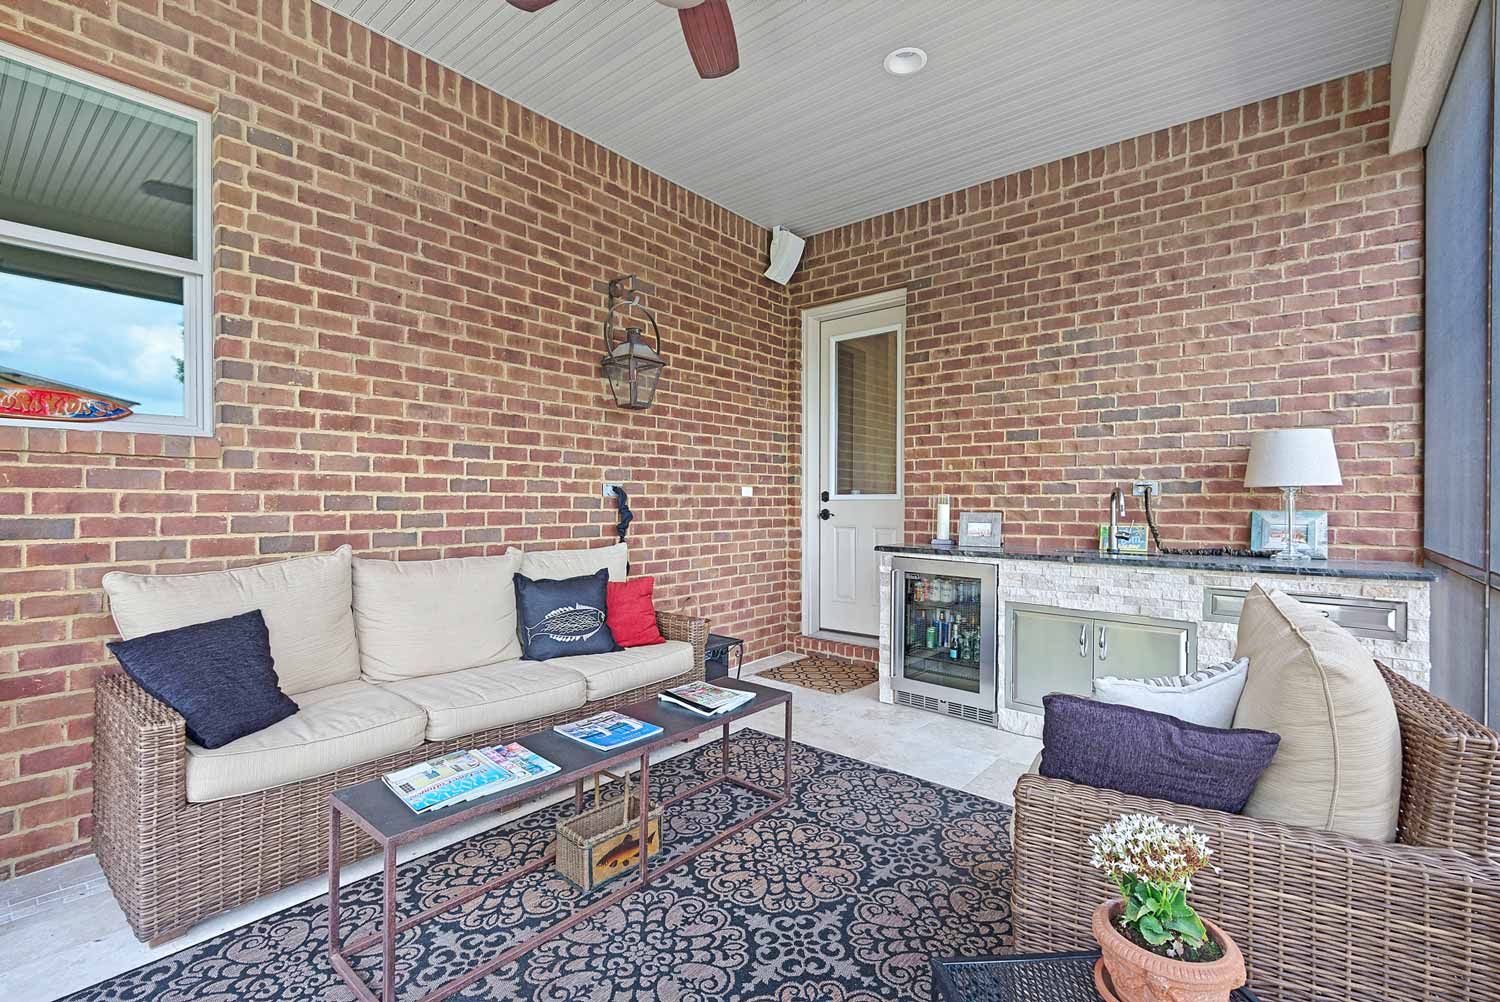
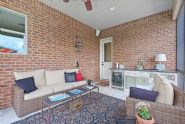
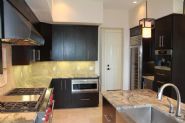
Note the tall wine cooler in the corner and the microwave drawer.
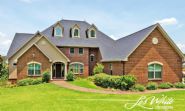
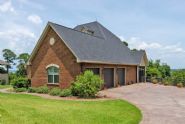


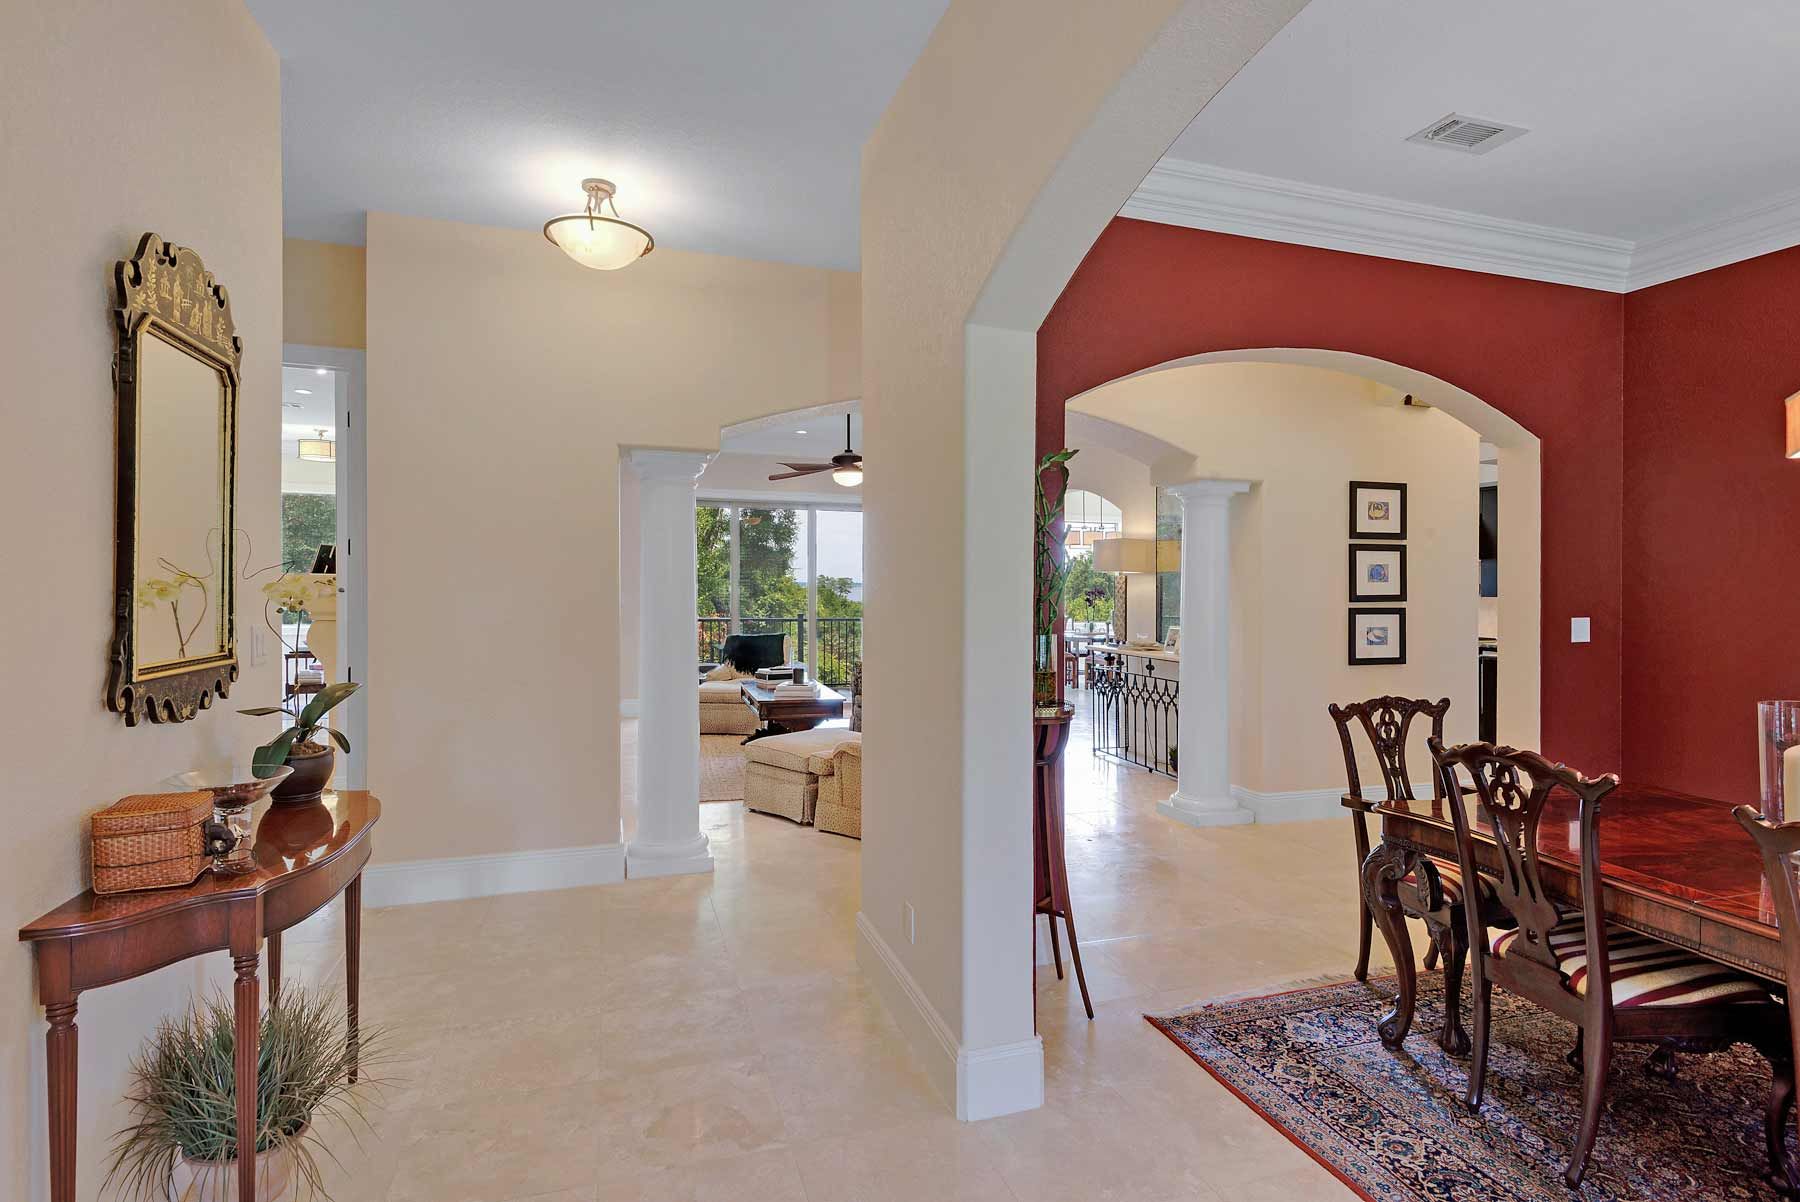
Spear Residence
Louis and Alexandra Spear had a set of plans from a another designer which I modified to better fit their lifestyle and capture the beauty of their lot. The magnificent views from the second floor overlooking the bay demanded that the second floor rooms be rearranged and windows added to capture them to their best effect.