
Gallery Of Homes: Glenn
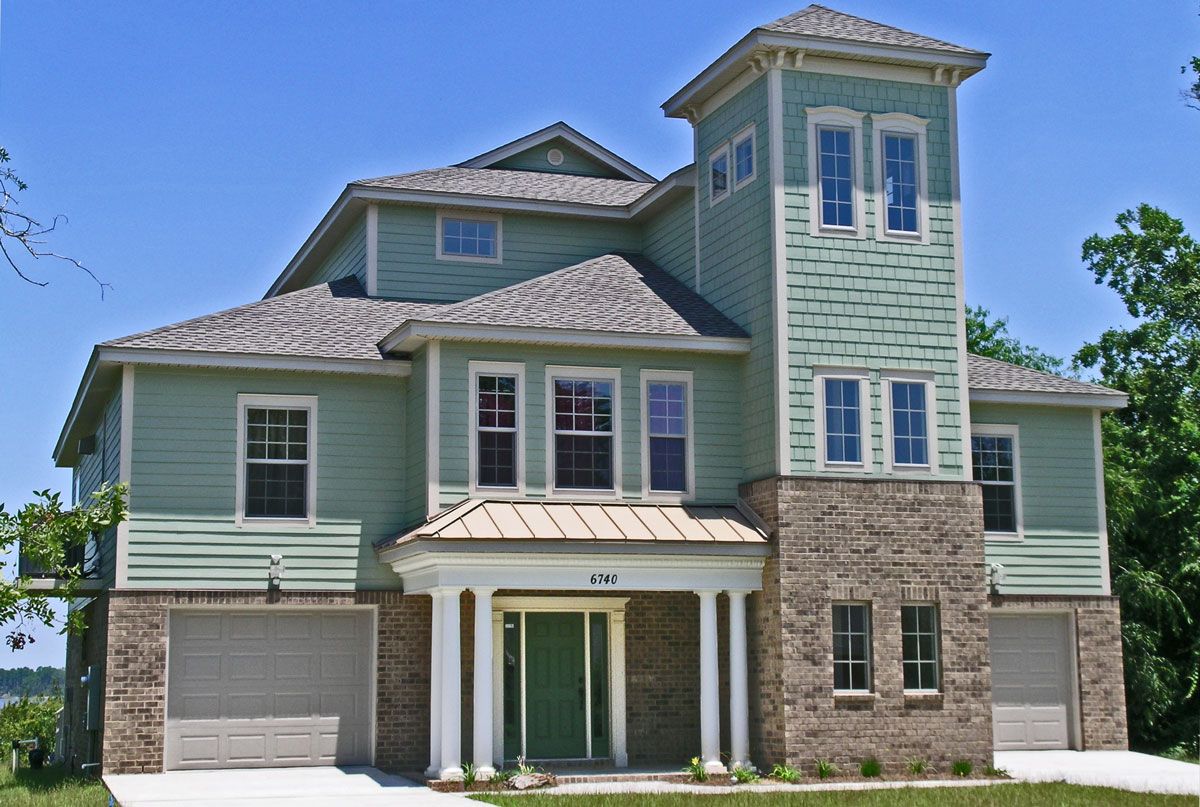


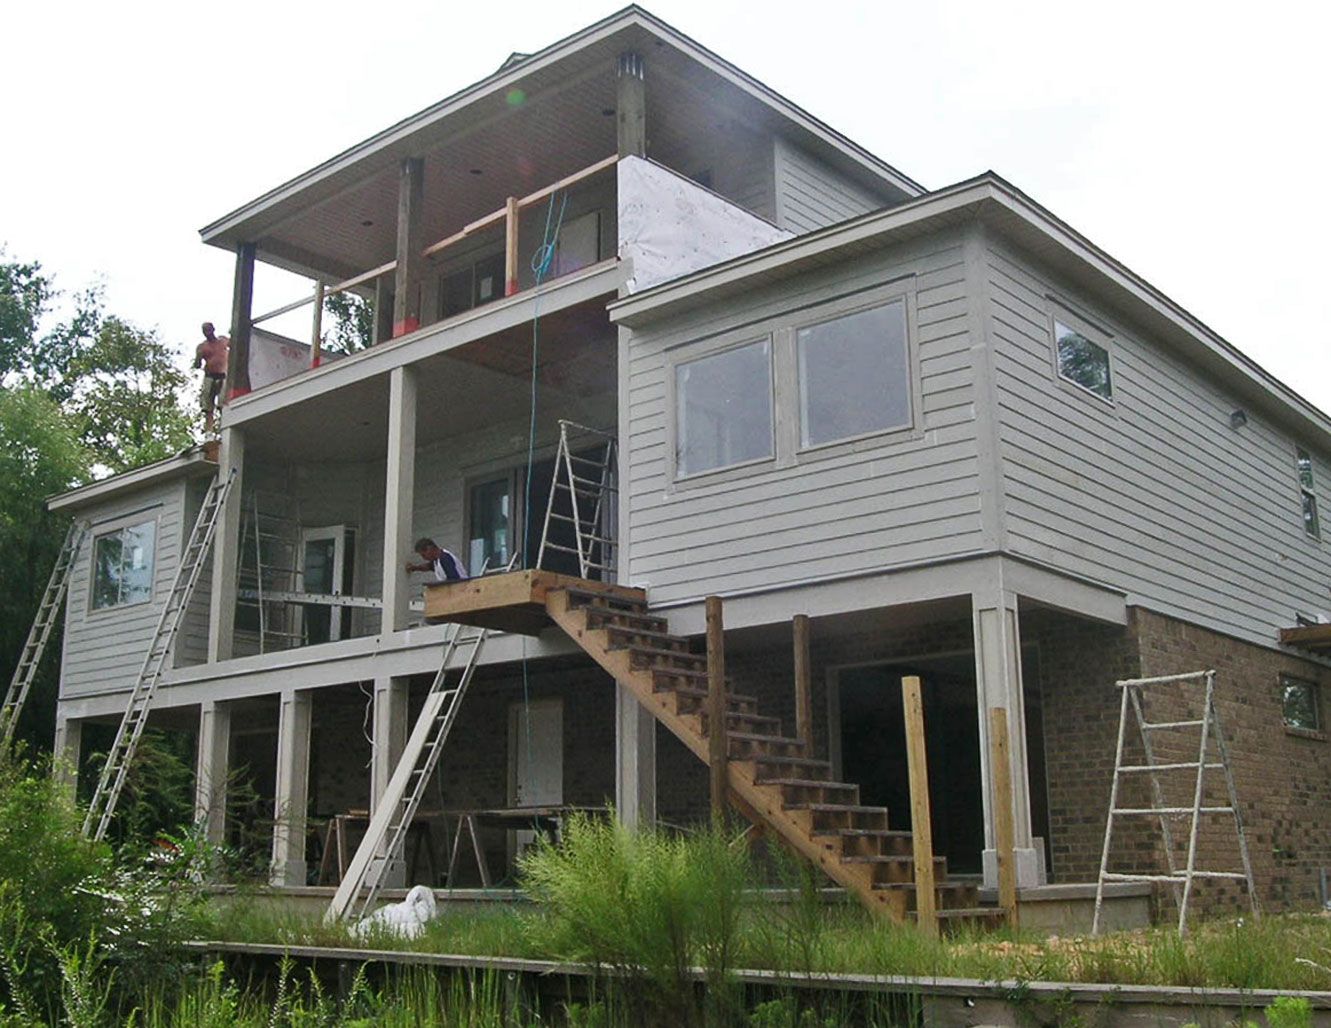


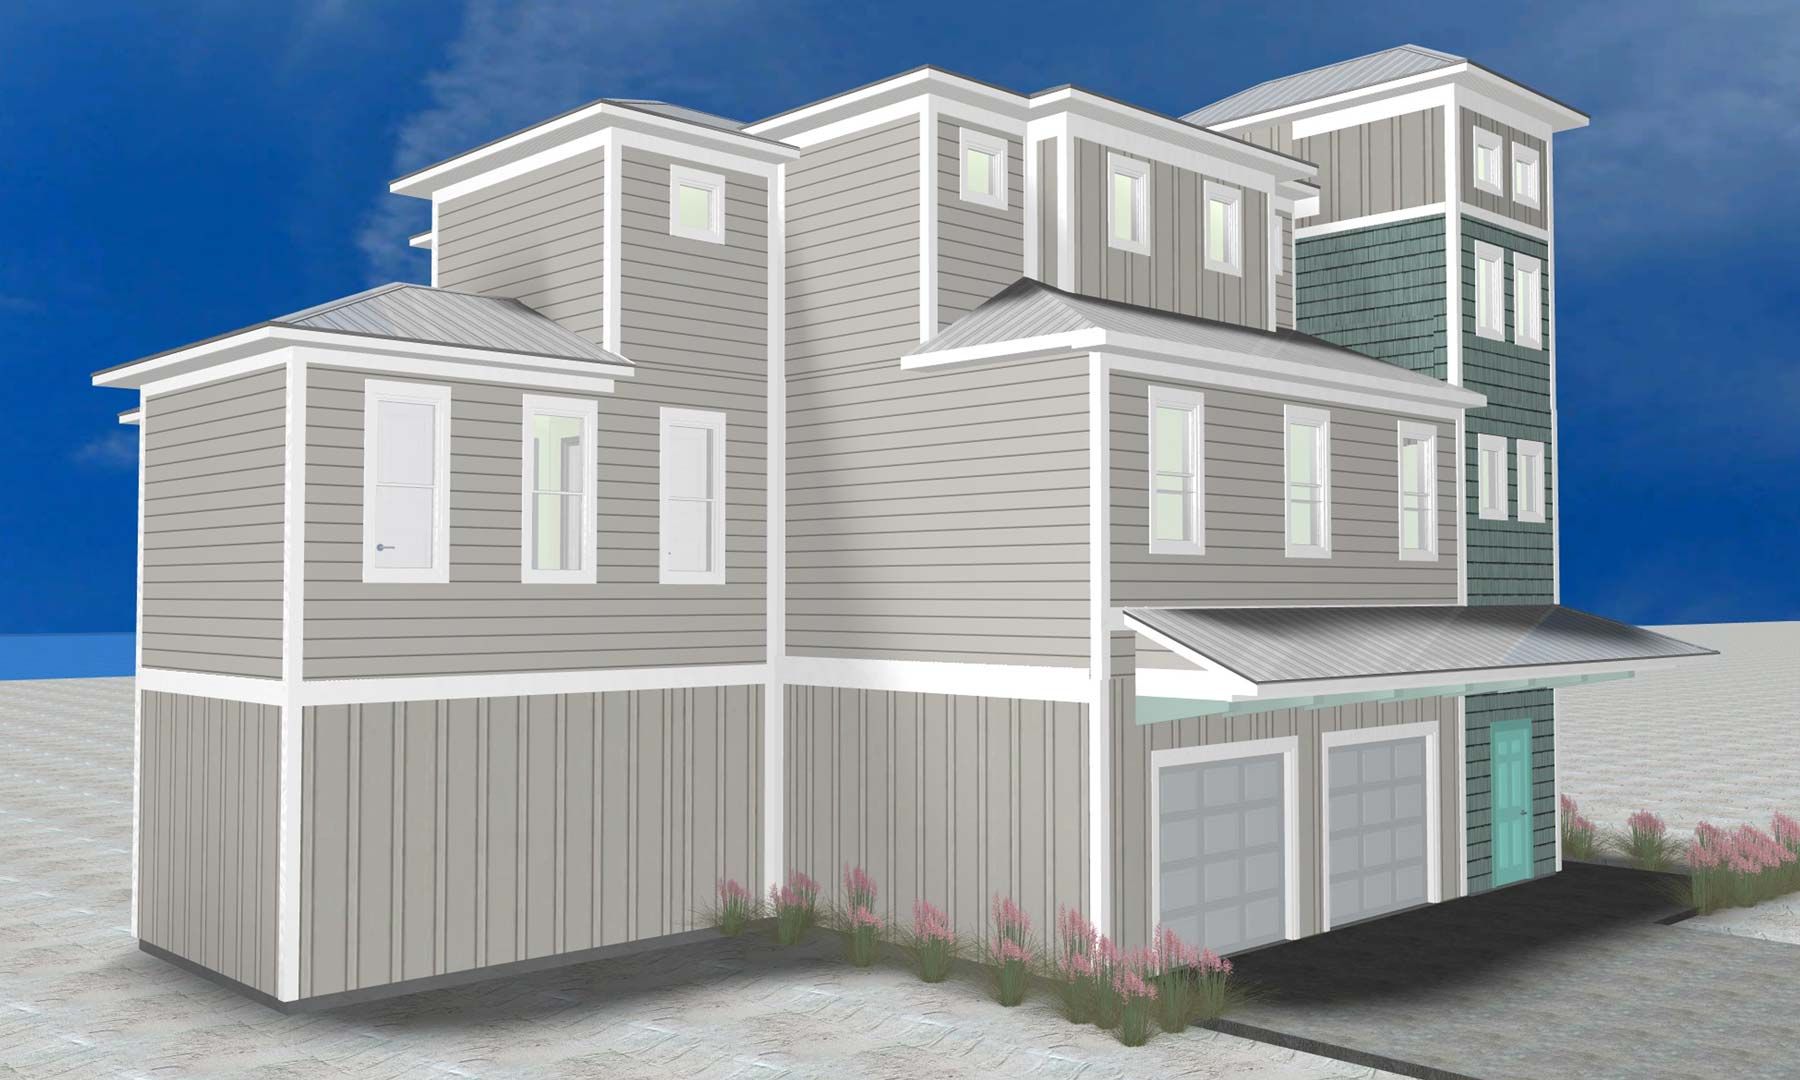
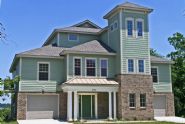
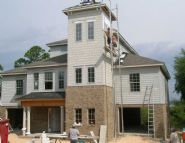
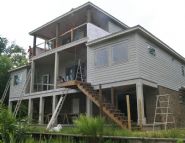
Coastal vernacular architectural style looks good in a water front setting. This home has flood-thru features allowing any flood waters to flow through the garage doors on the back side and come out the garage doors on the front.
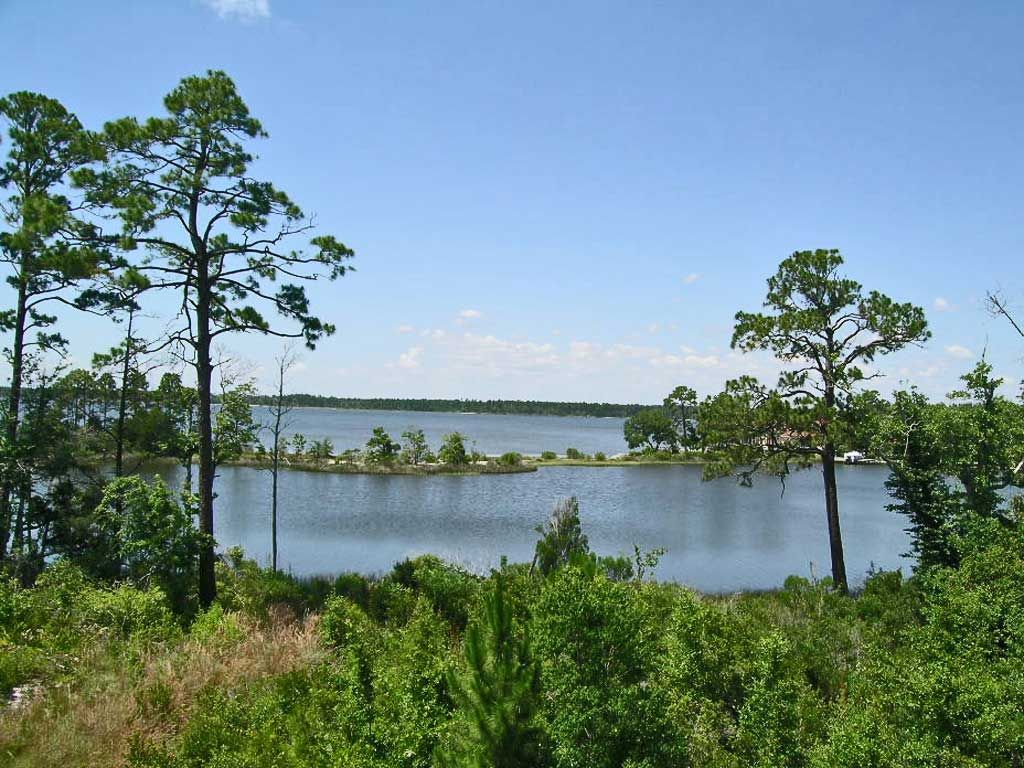
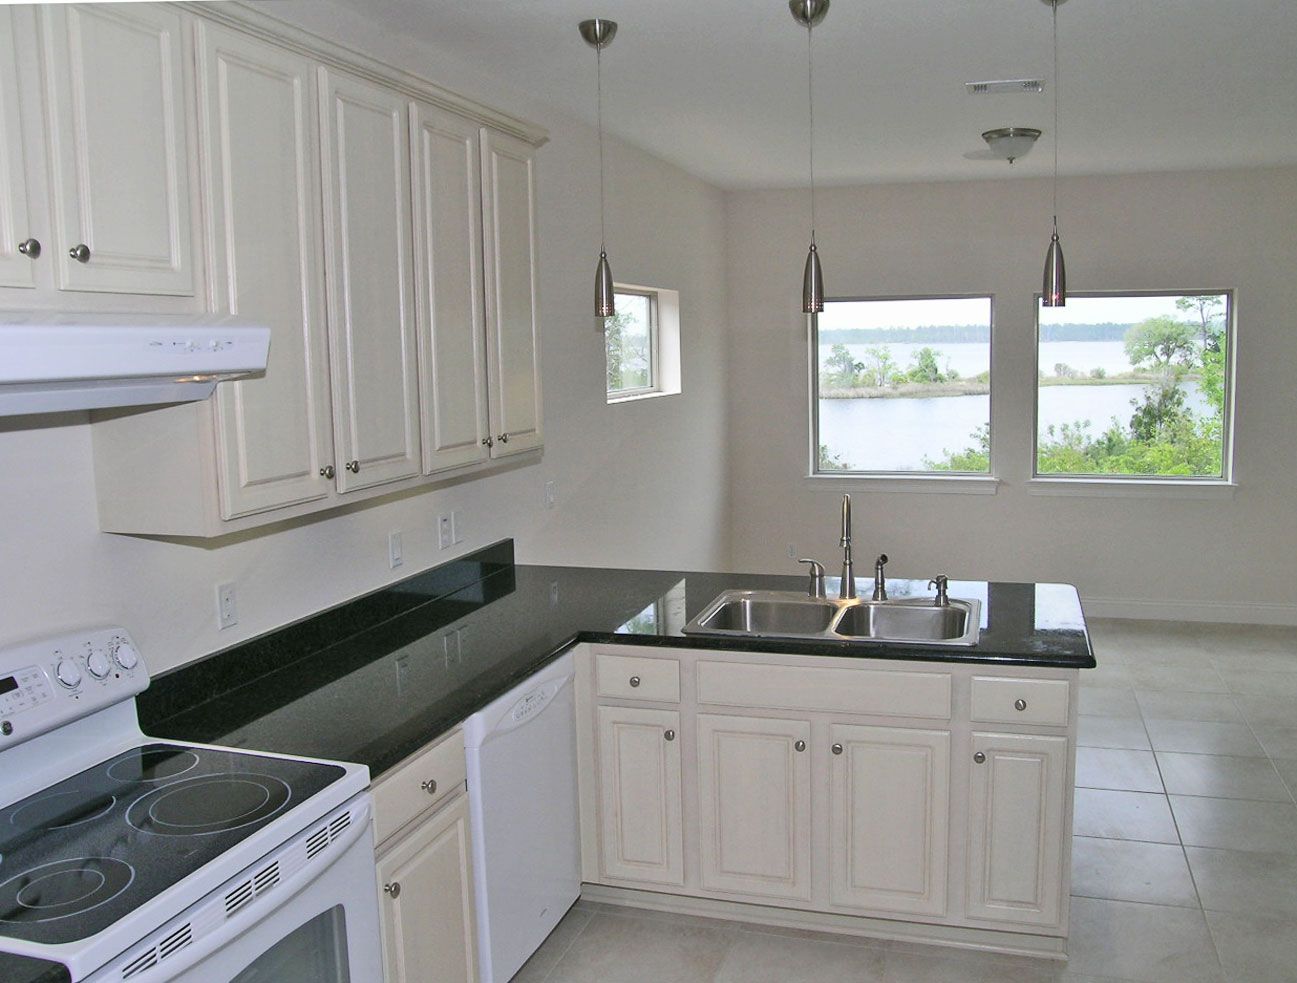
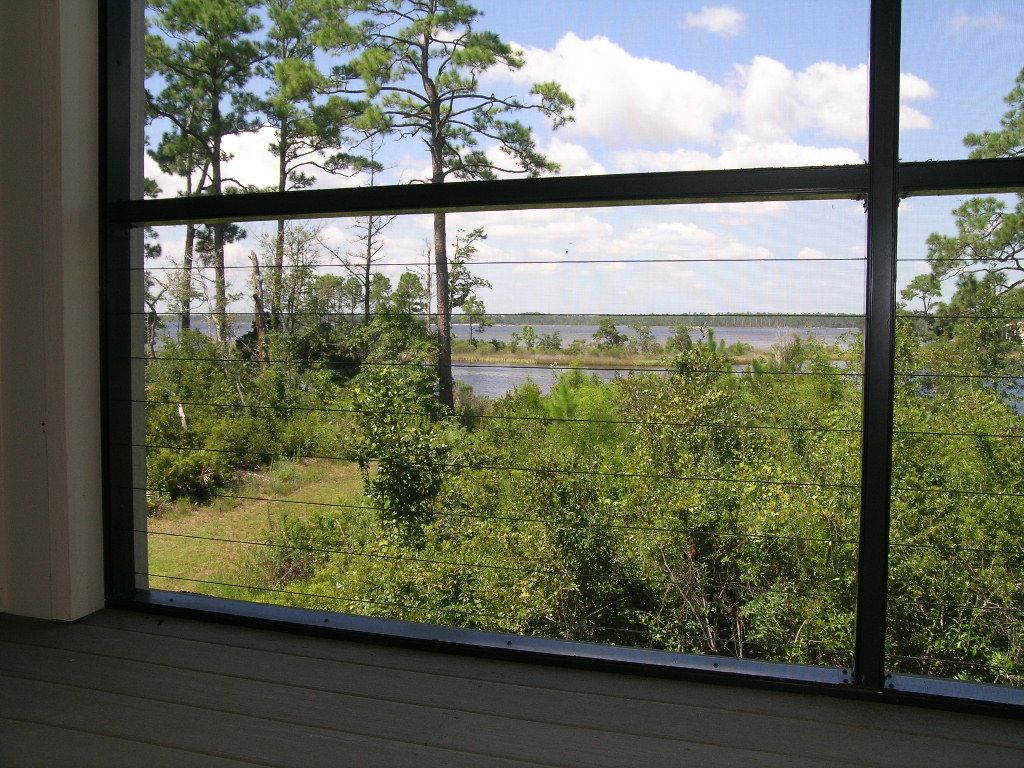
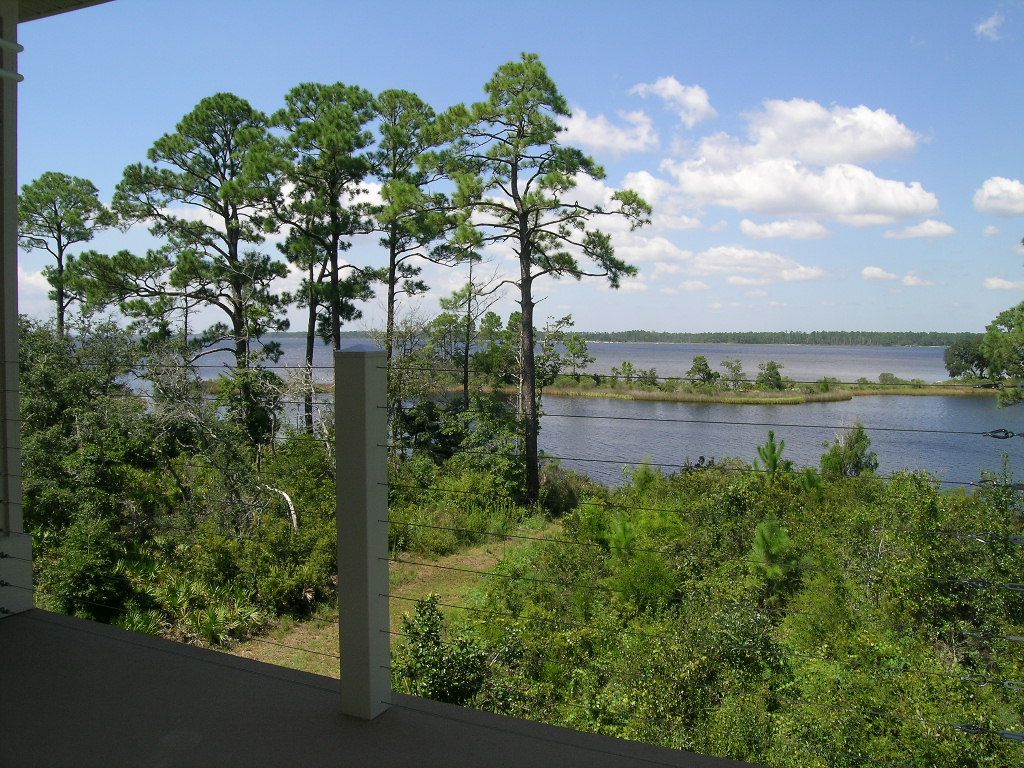
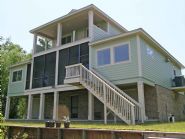
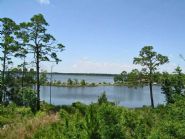
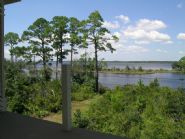
Wow! What a view of east Escambia bay
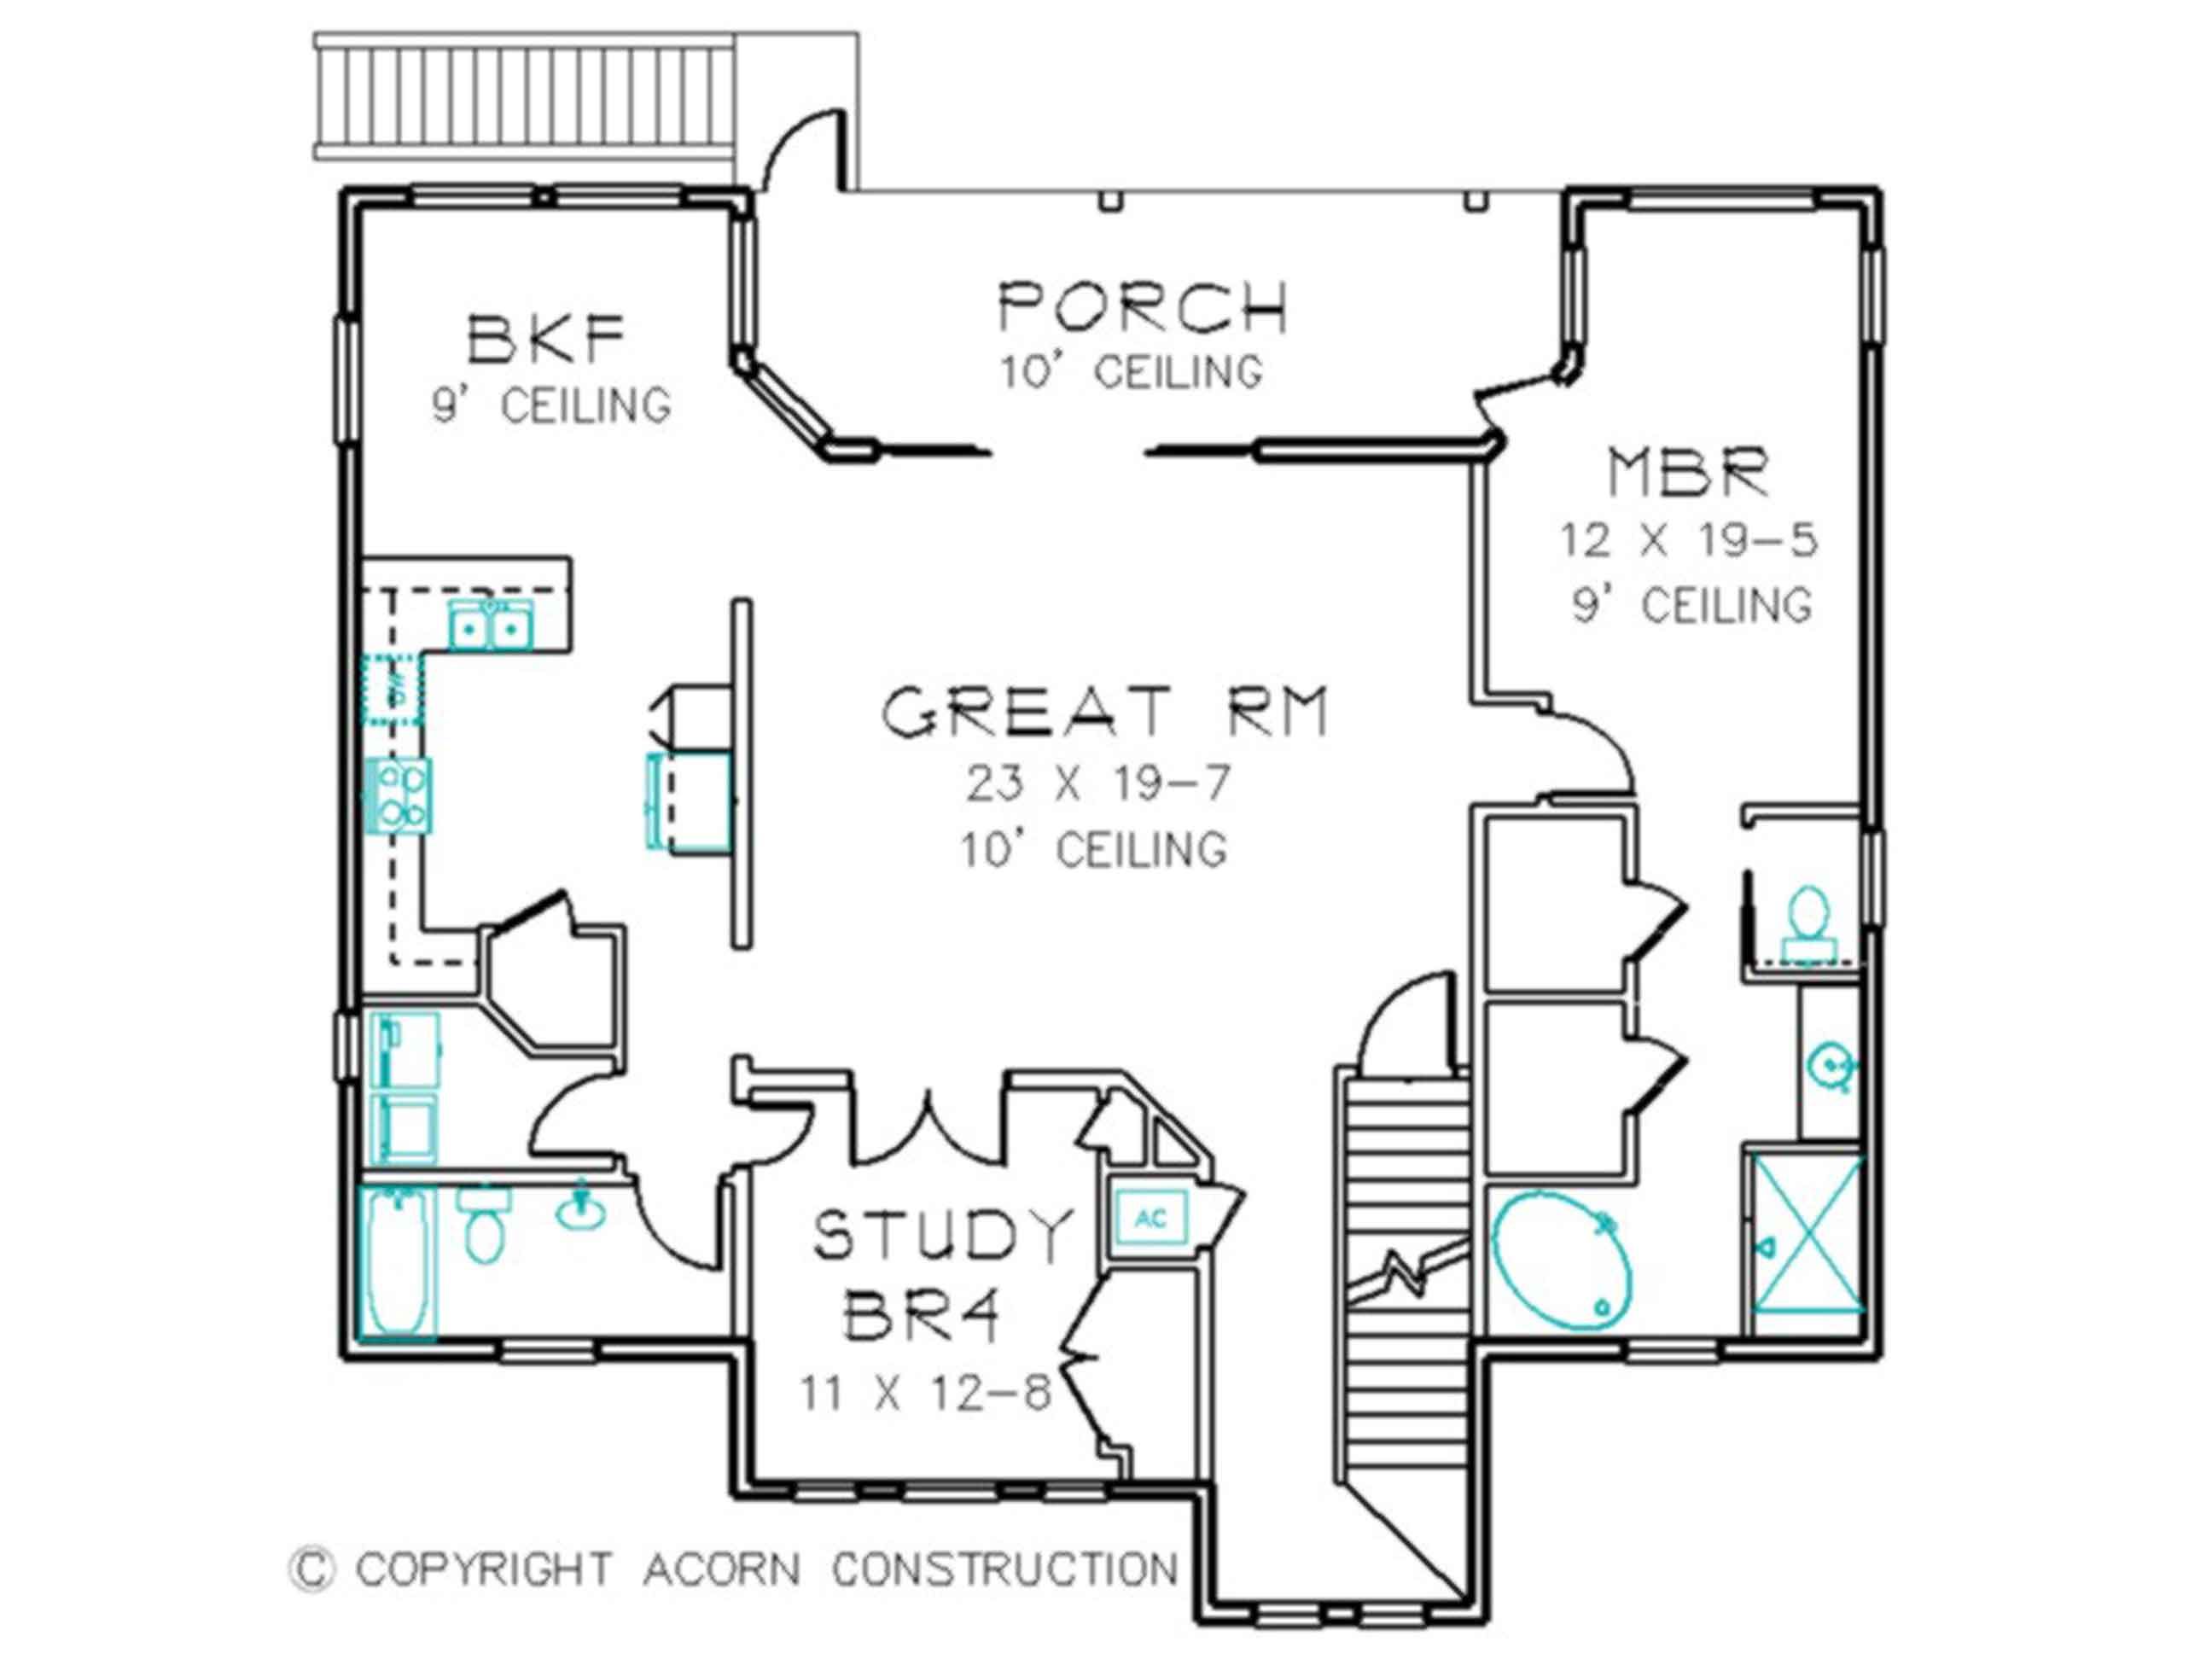
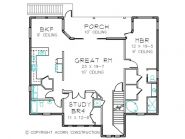
Second Floor Plan. Learn more about Storm-Tuff construction.
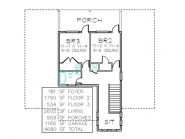
Third floor plan
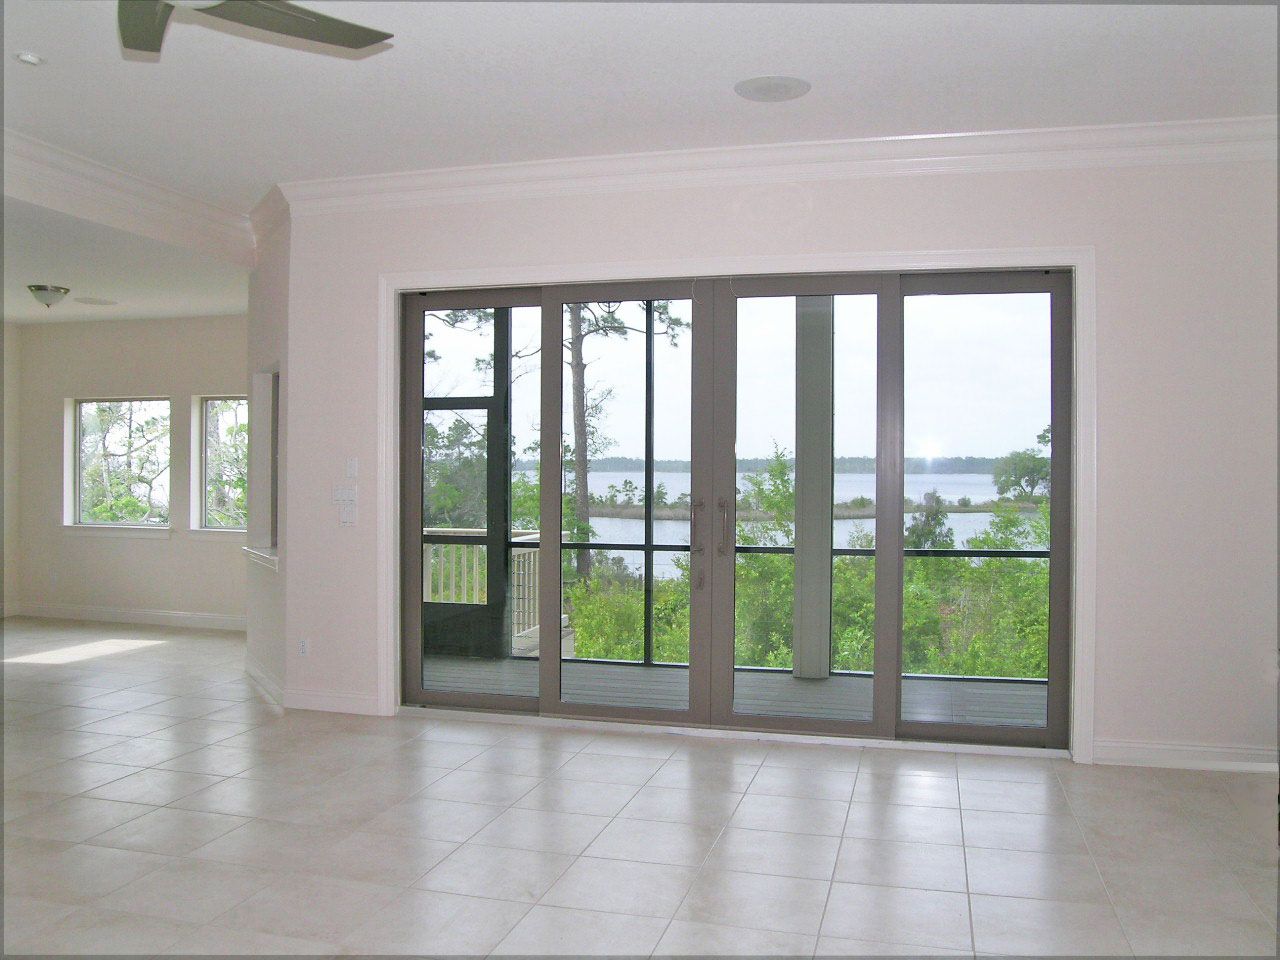
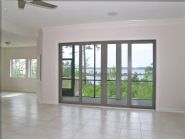
Living room. I used a WinDoor 4 panel 12' sliding glass door. The 2 middle panels open up to create an 8' opening. These doors are commercial grade of the type you would normally find in a high rise water front condo.
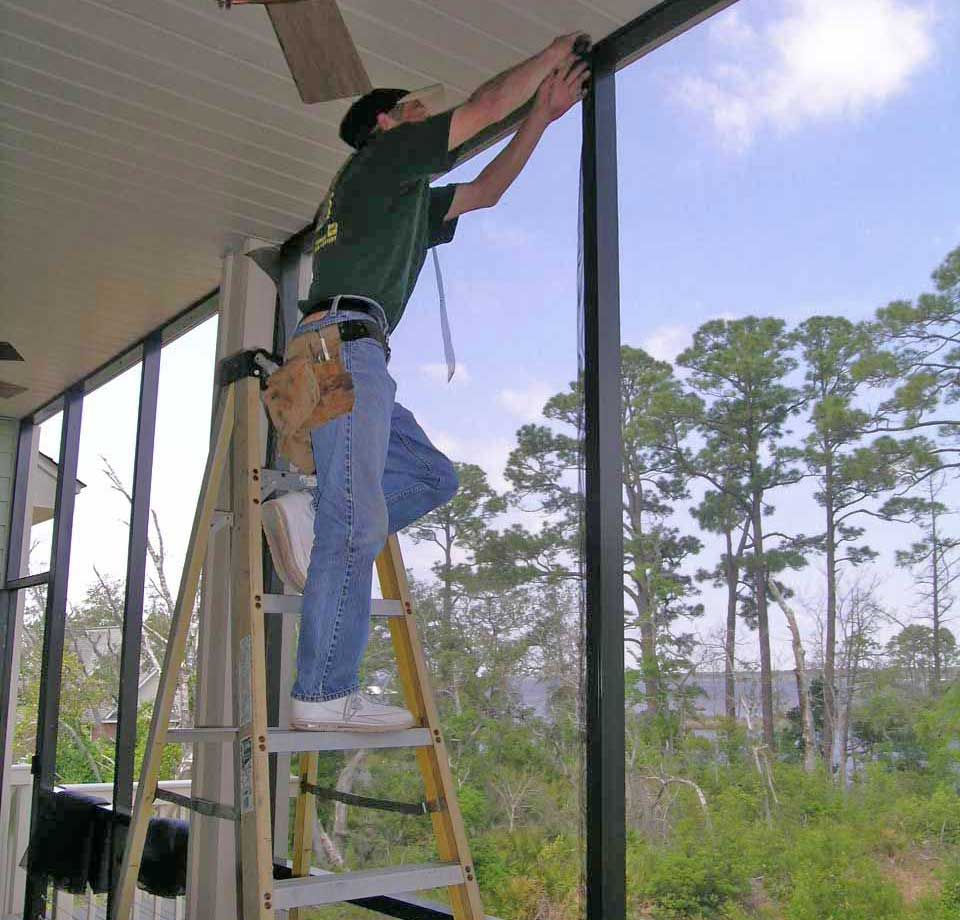
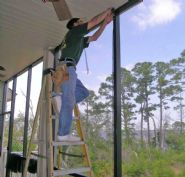
Joe installing the back porch screen. I used stainless steel wire rope railing for a clean, unobstructed view. This is especially valuable when sitting down. After a while you don't even know it's there.
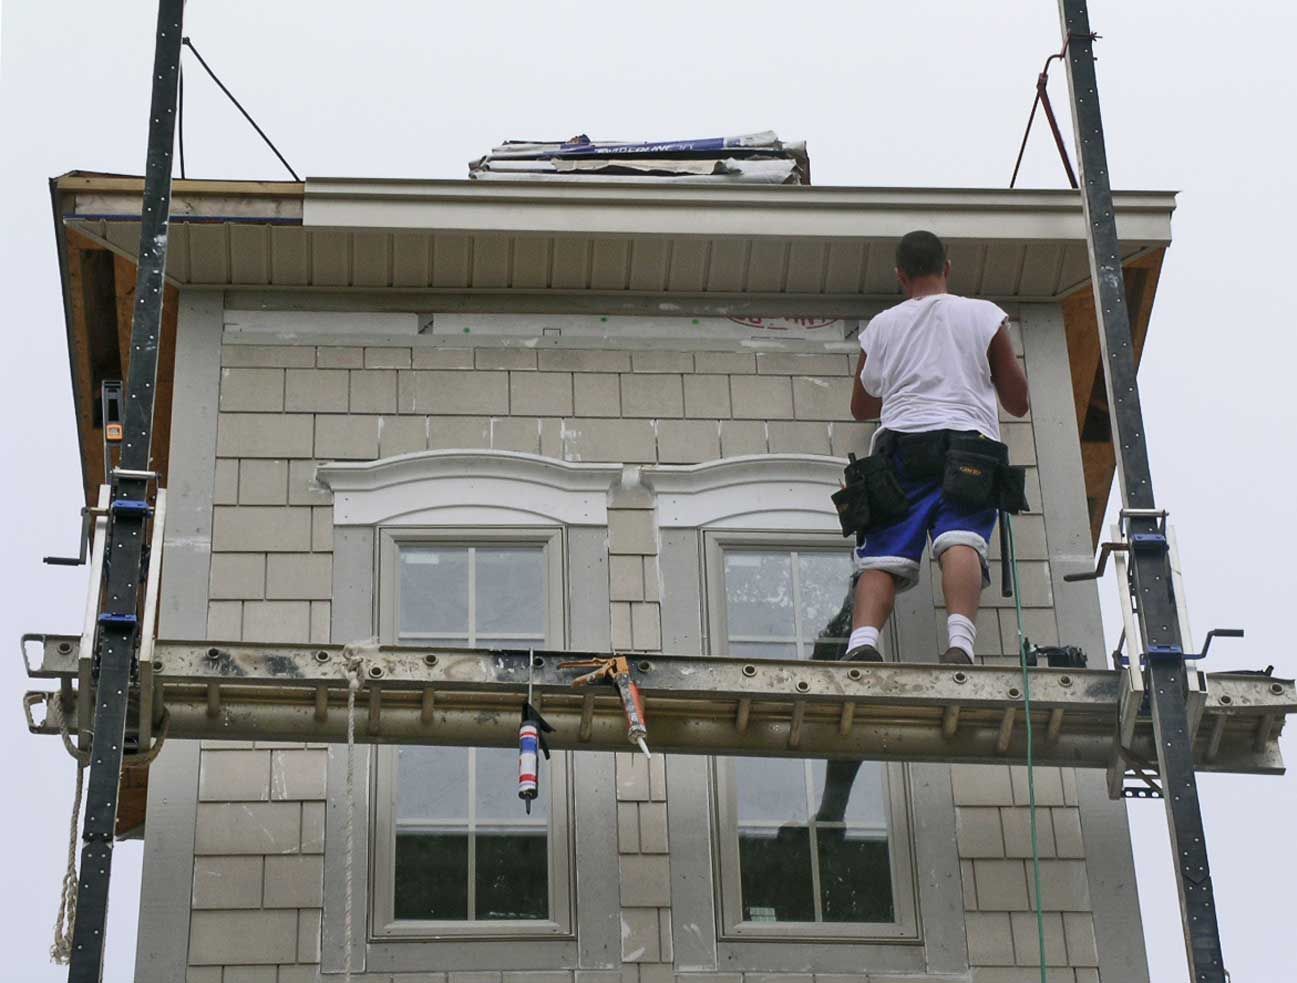
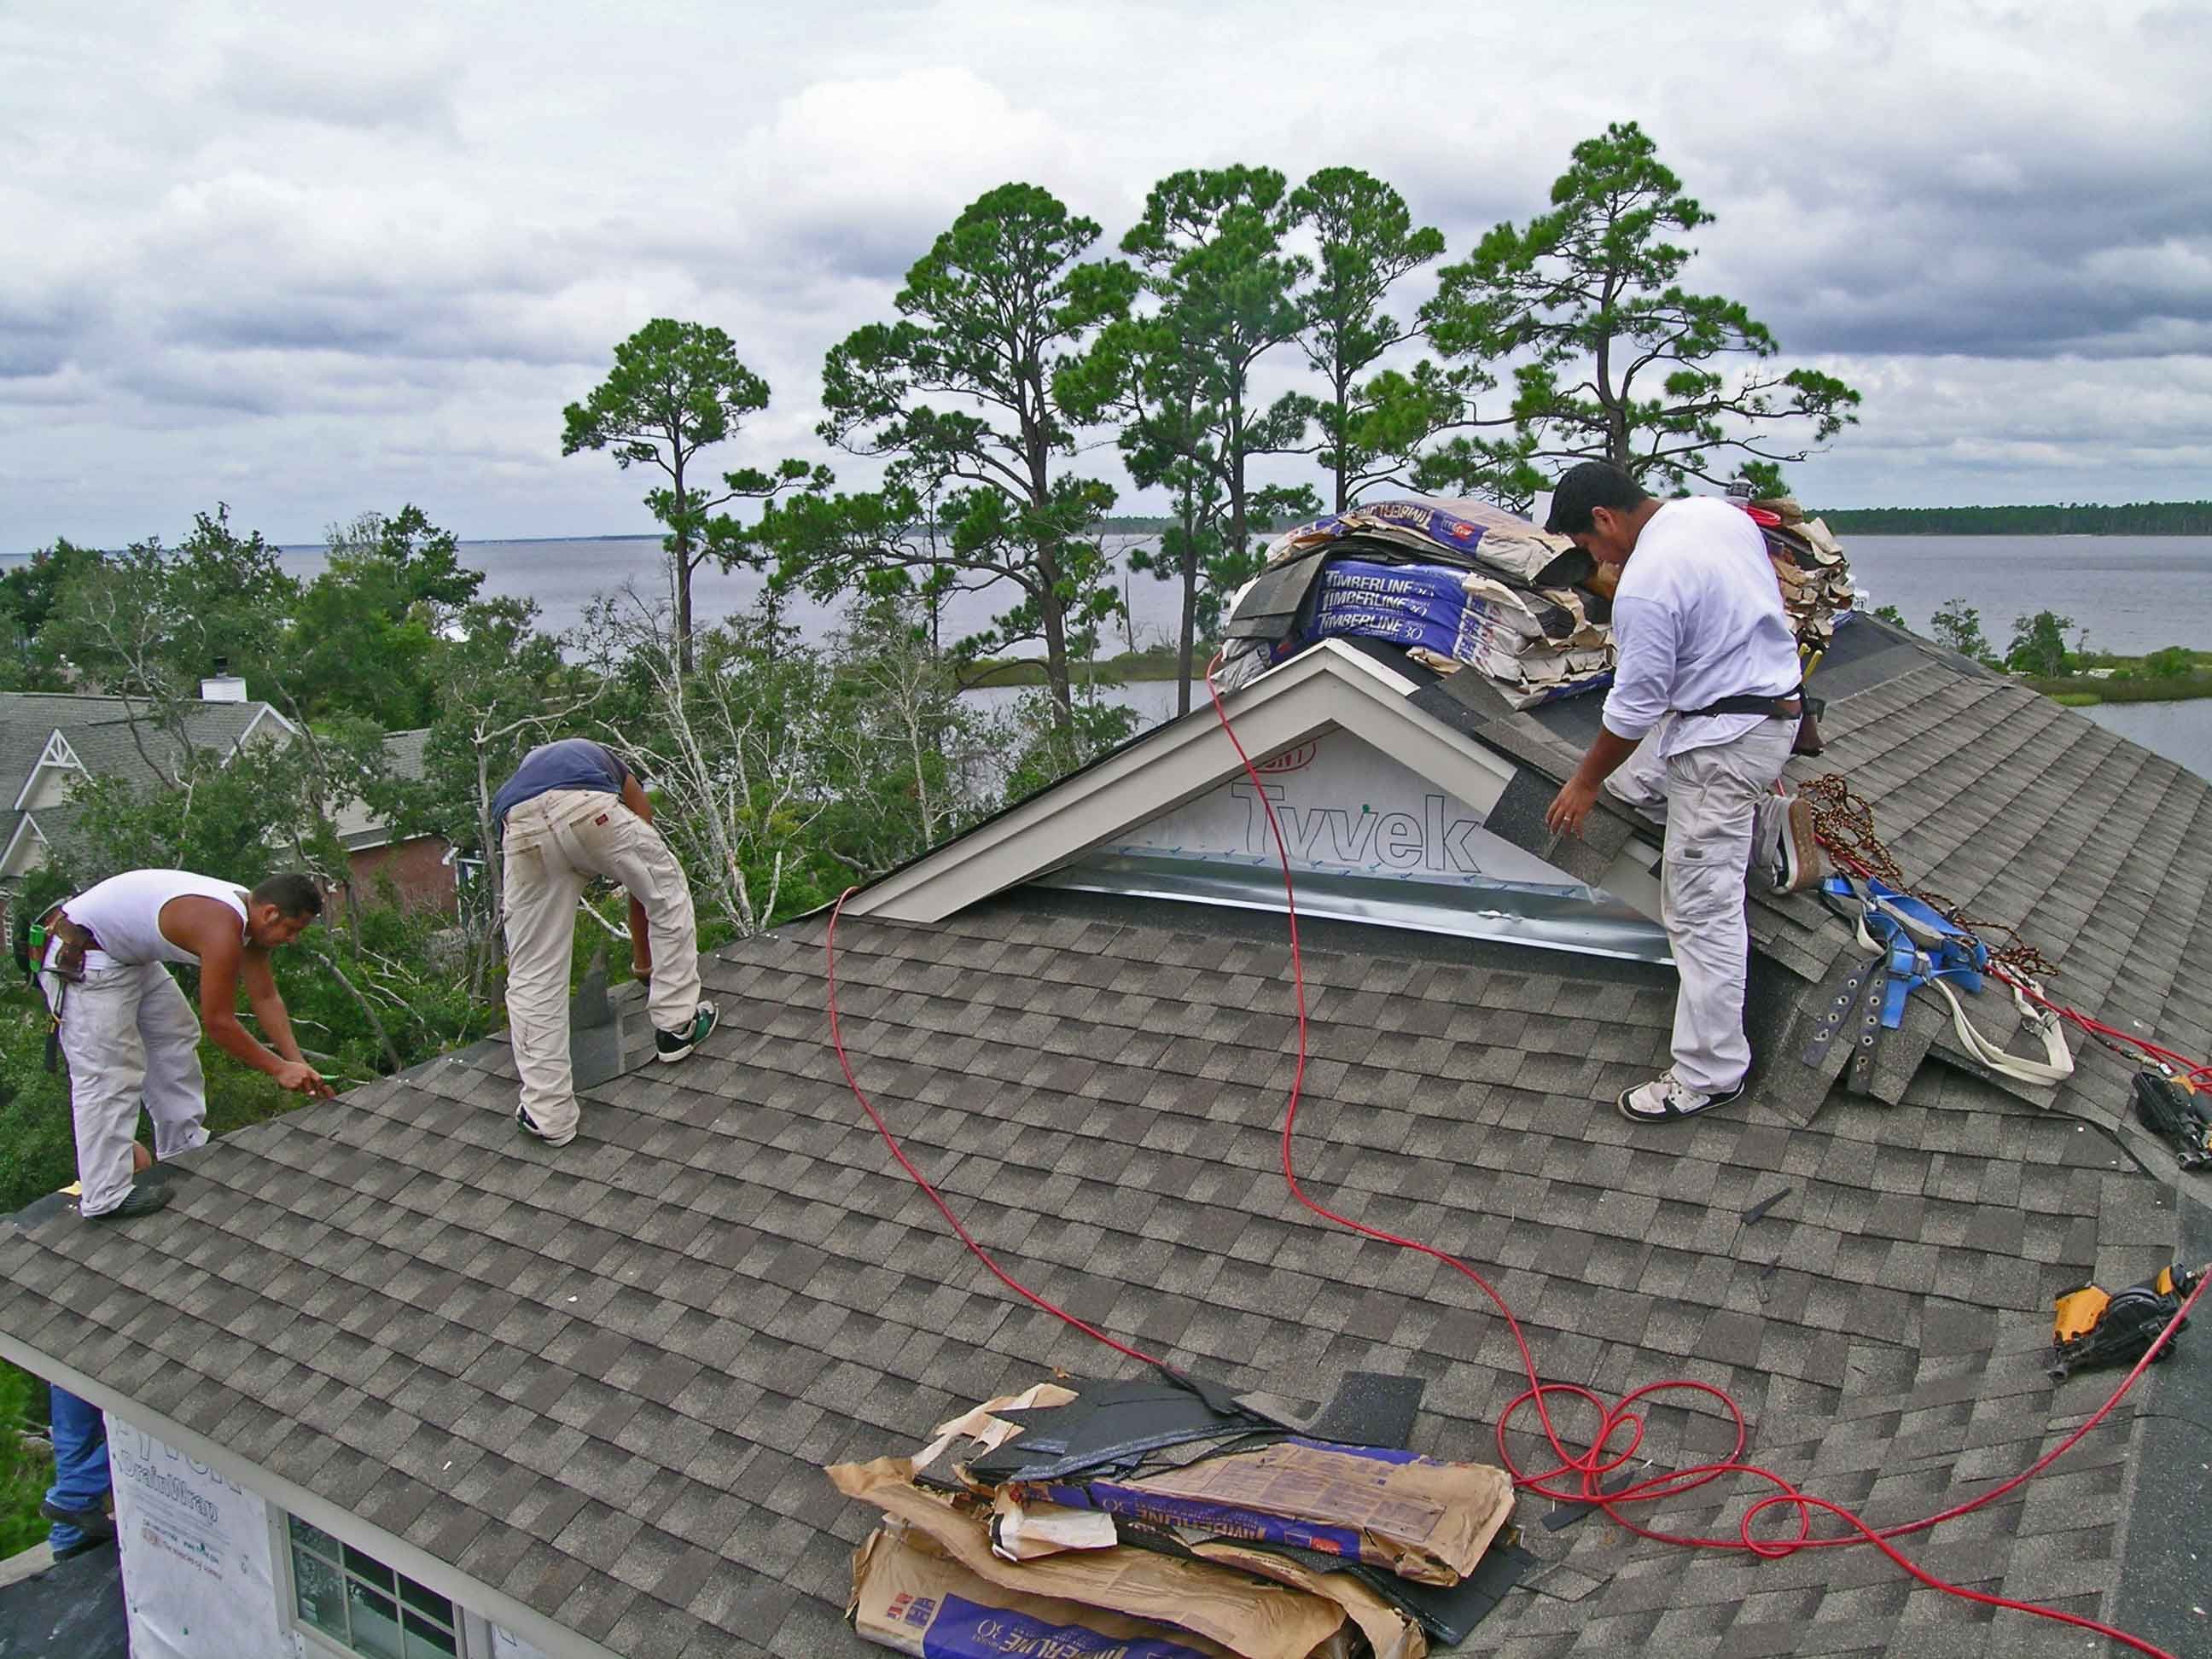
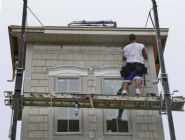
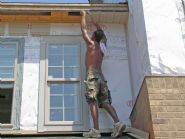
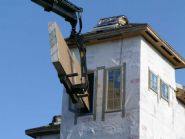
Troy's using every inch he's got. Note the plywood backing above the vinyl so high winds can't blow it off.
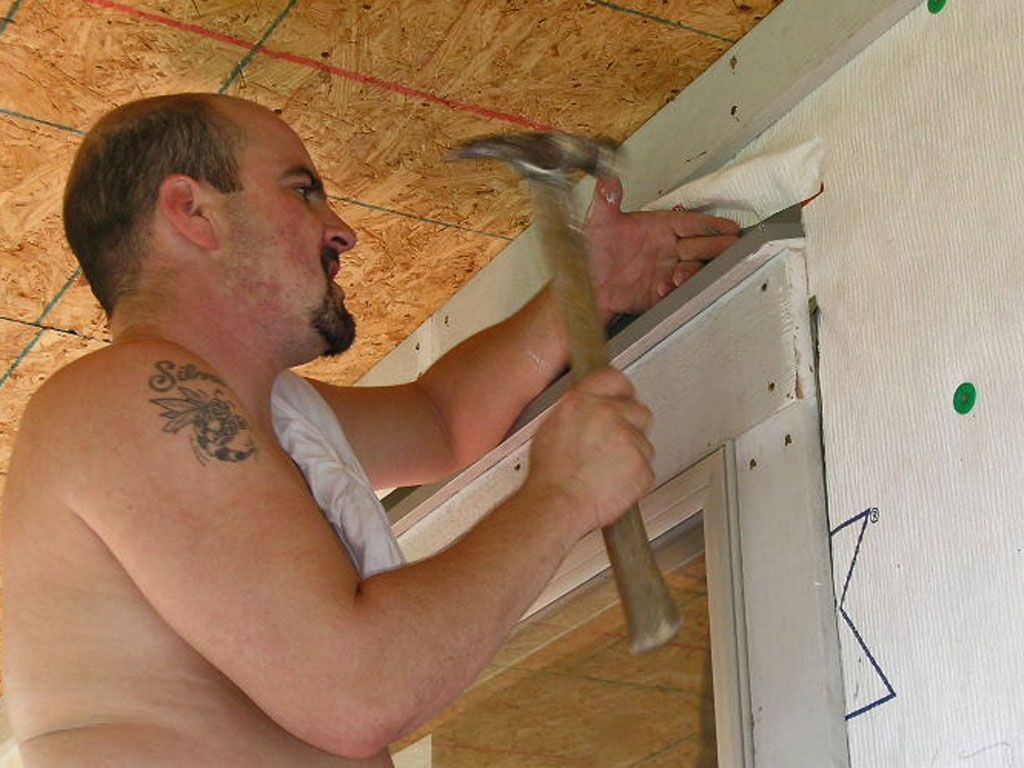
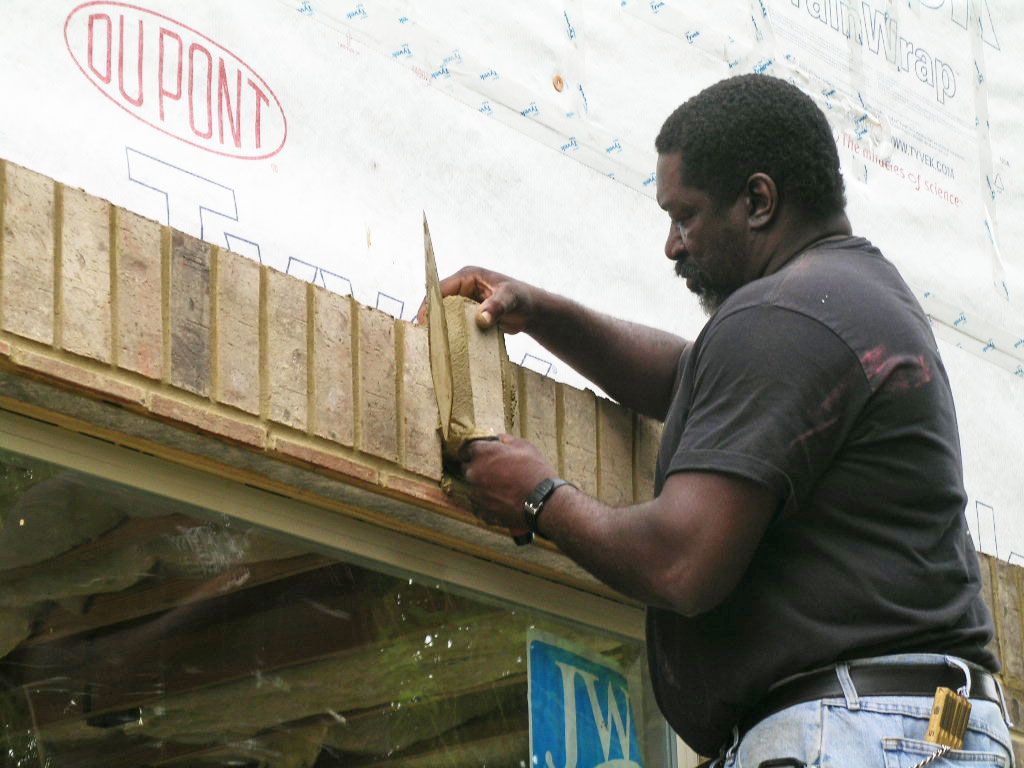
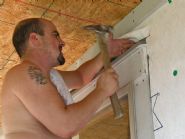
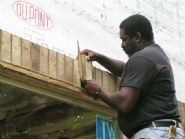
Mike installing the window head flashing. Note that the cut ends of the window trim have been primed. This insures that moisture will not penetrate the wood and cause premature paint failure from behind in the years to come. The tyvek laps over the flashing to ensure proper drainage. More often than not, head flashing is just nailed on over the window and outside of the house wrap so that moisture can get trapped behind the flashing and find its way into the wall. It only takes an extra 30 seconds to cut the house wrap and tuck the flashing in behind the tyvek then tape the ends closed. A very important 30 seconds.
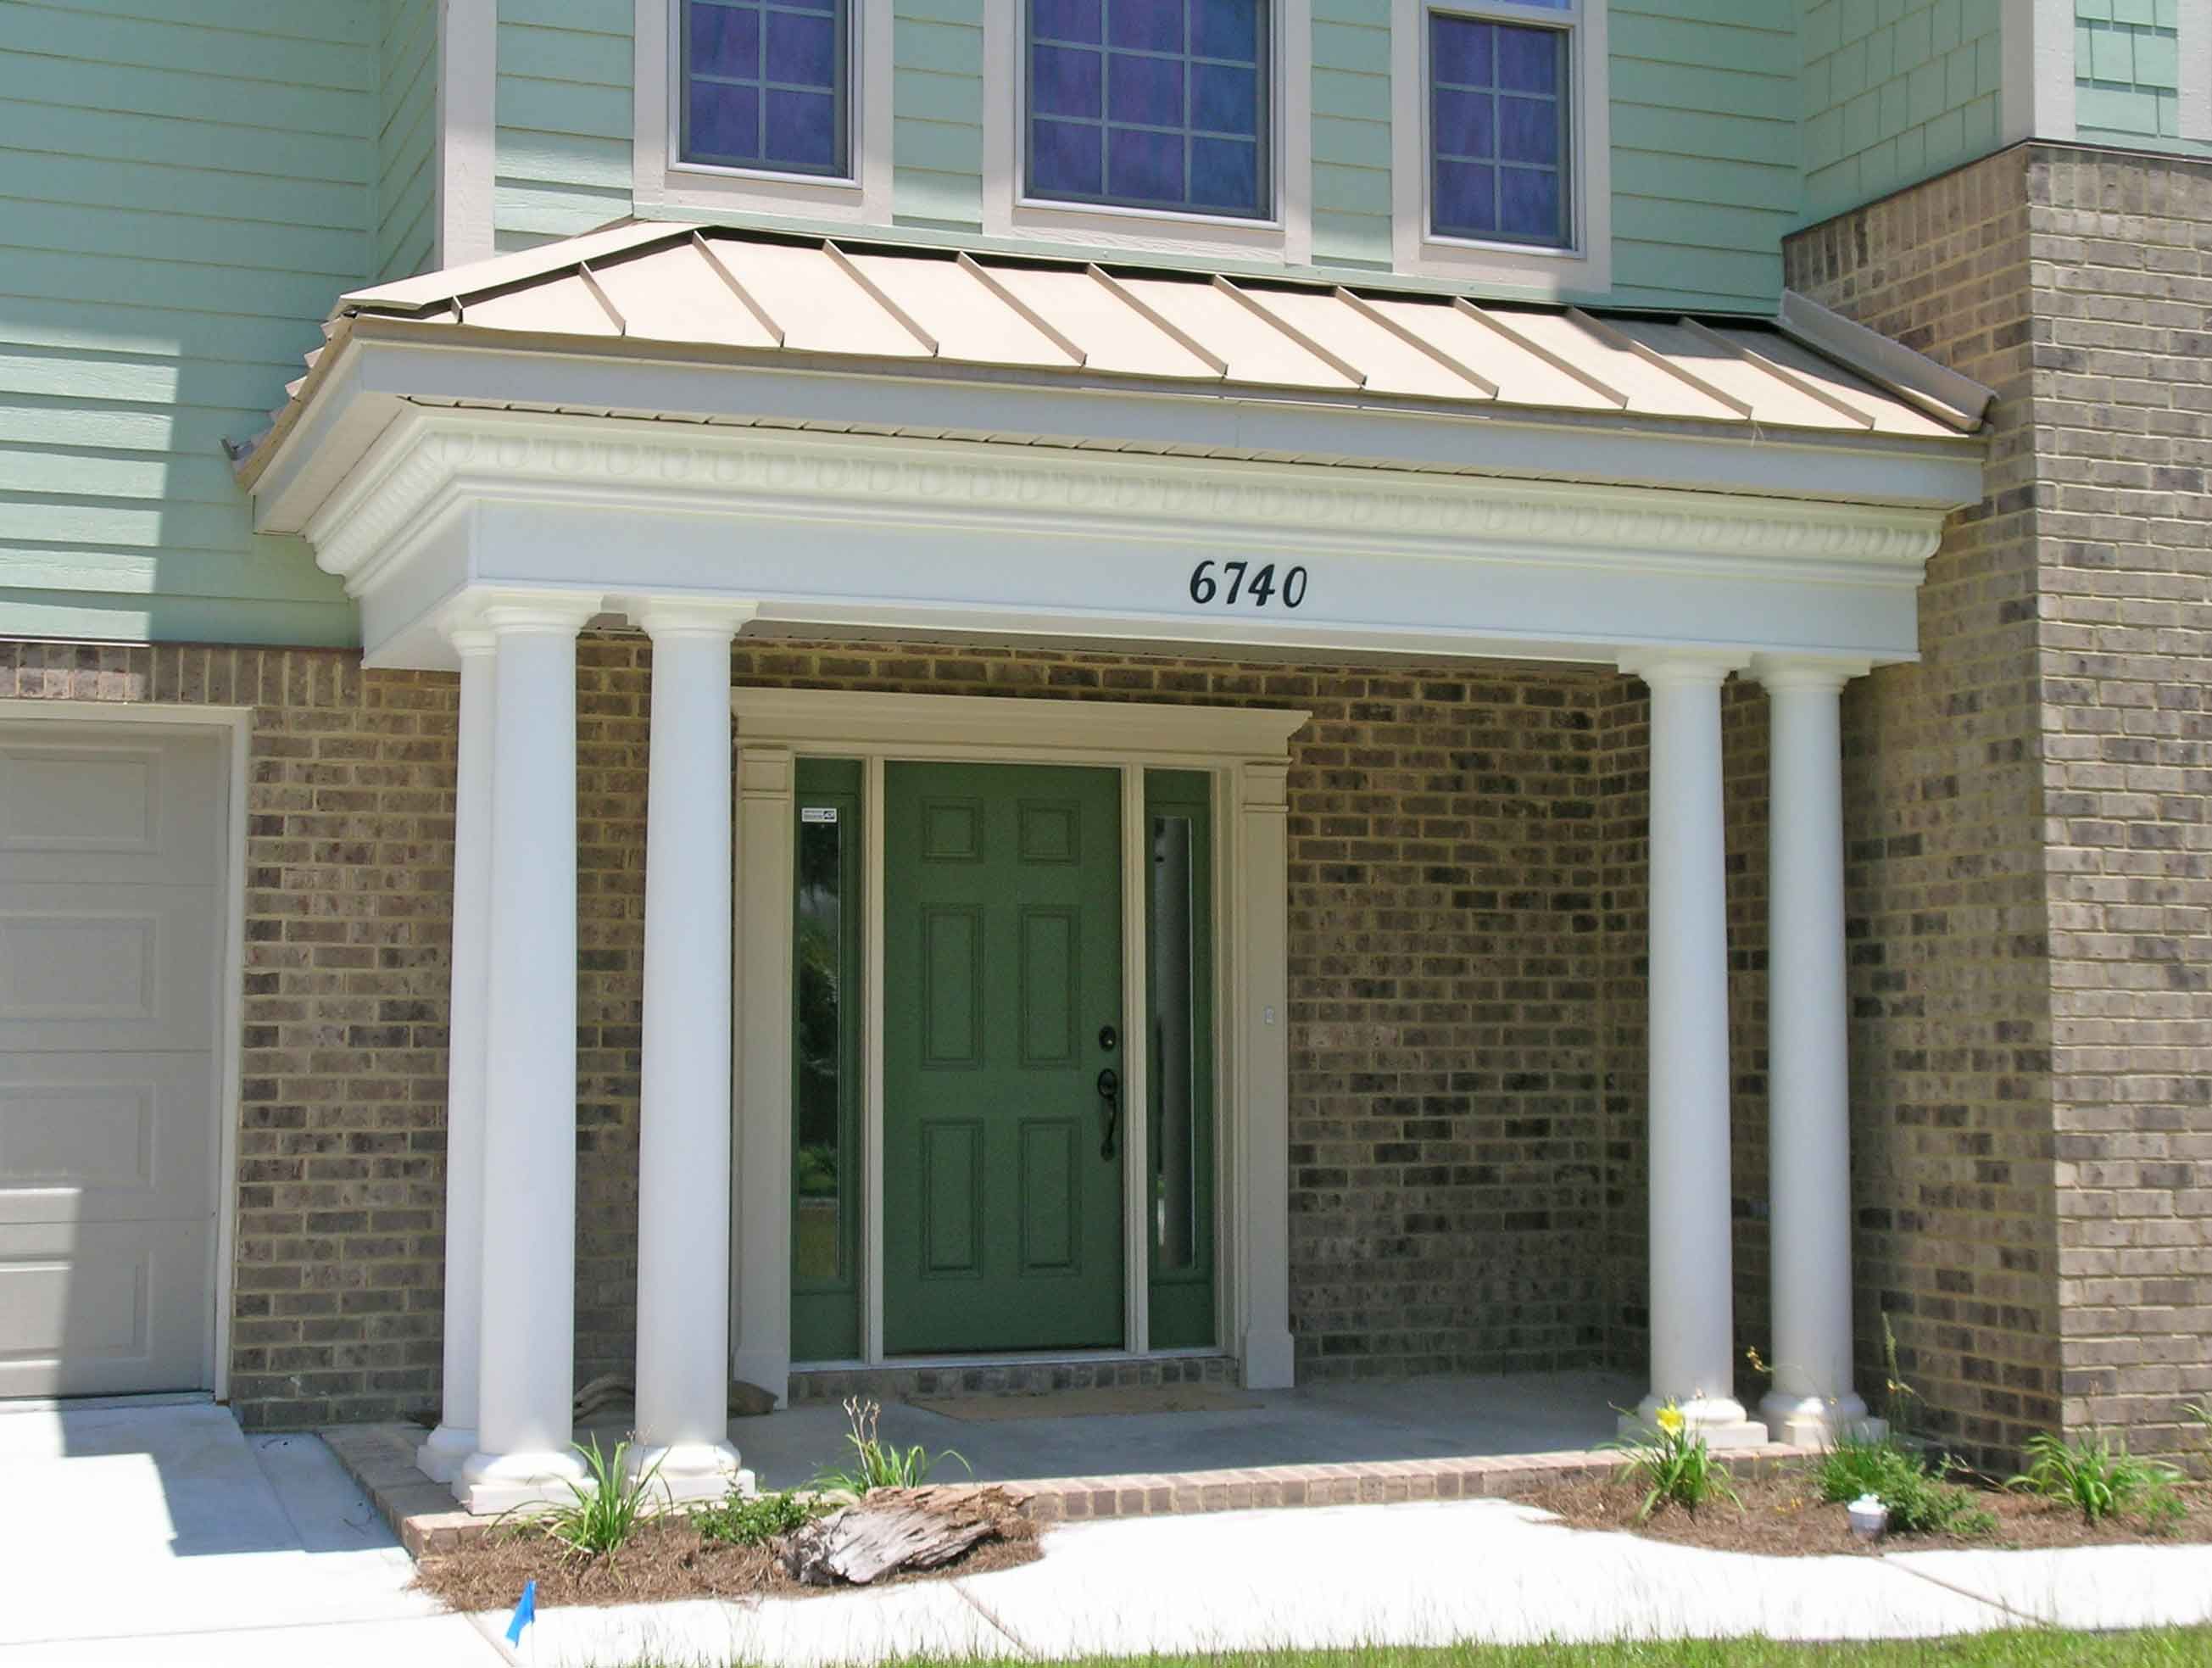
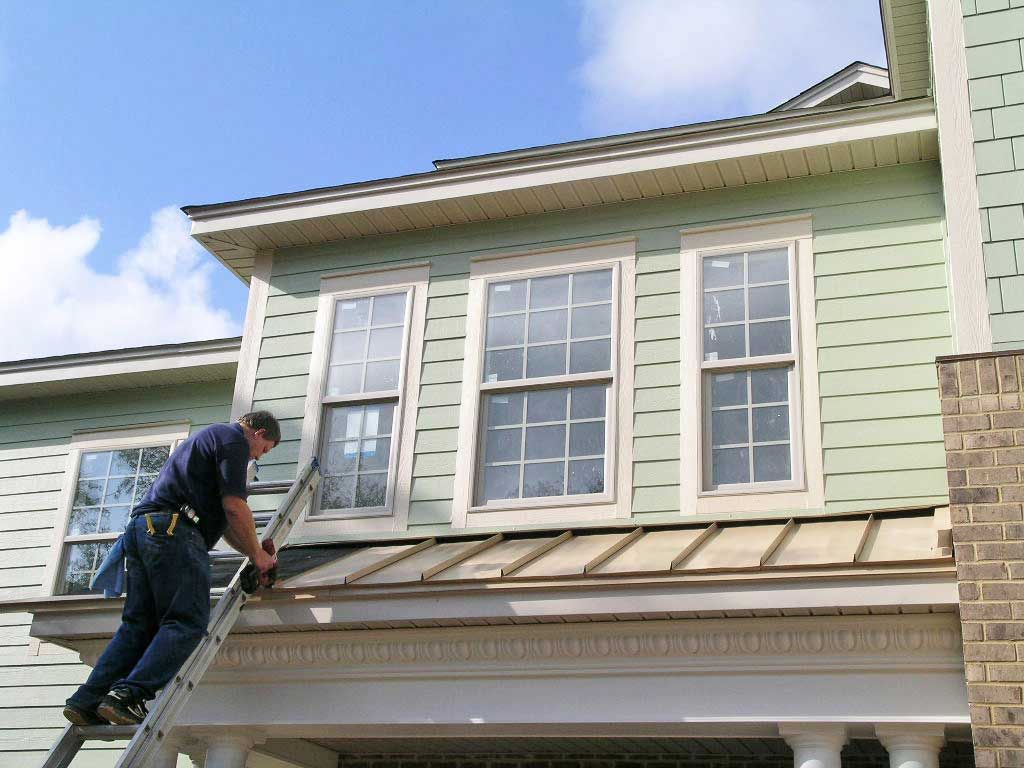
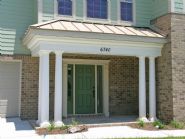
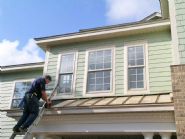
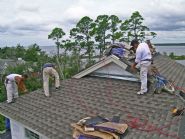
Mike Ellis installing metal roofing on the front porch. Note the egg and dart crown molding. Adding details like this at eye level add so much more to the curb appeal.
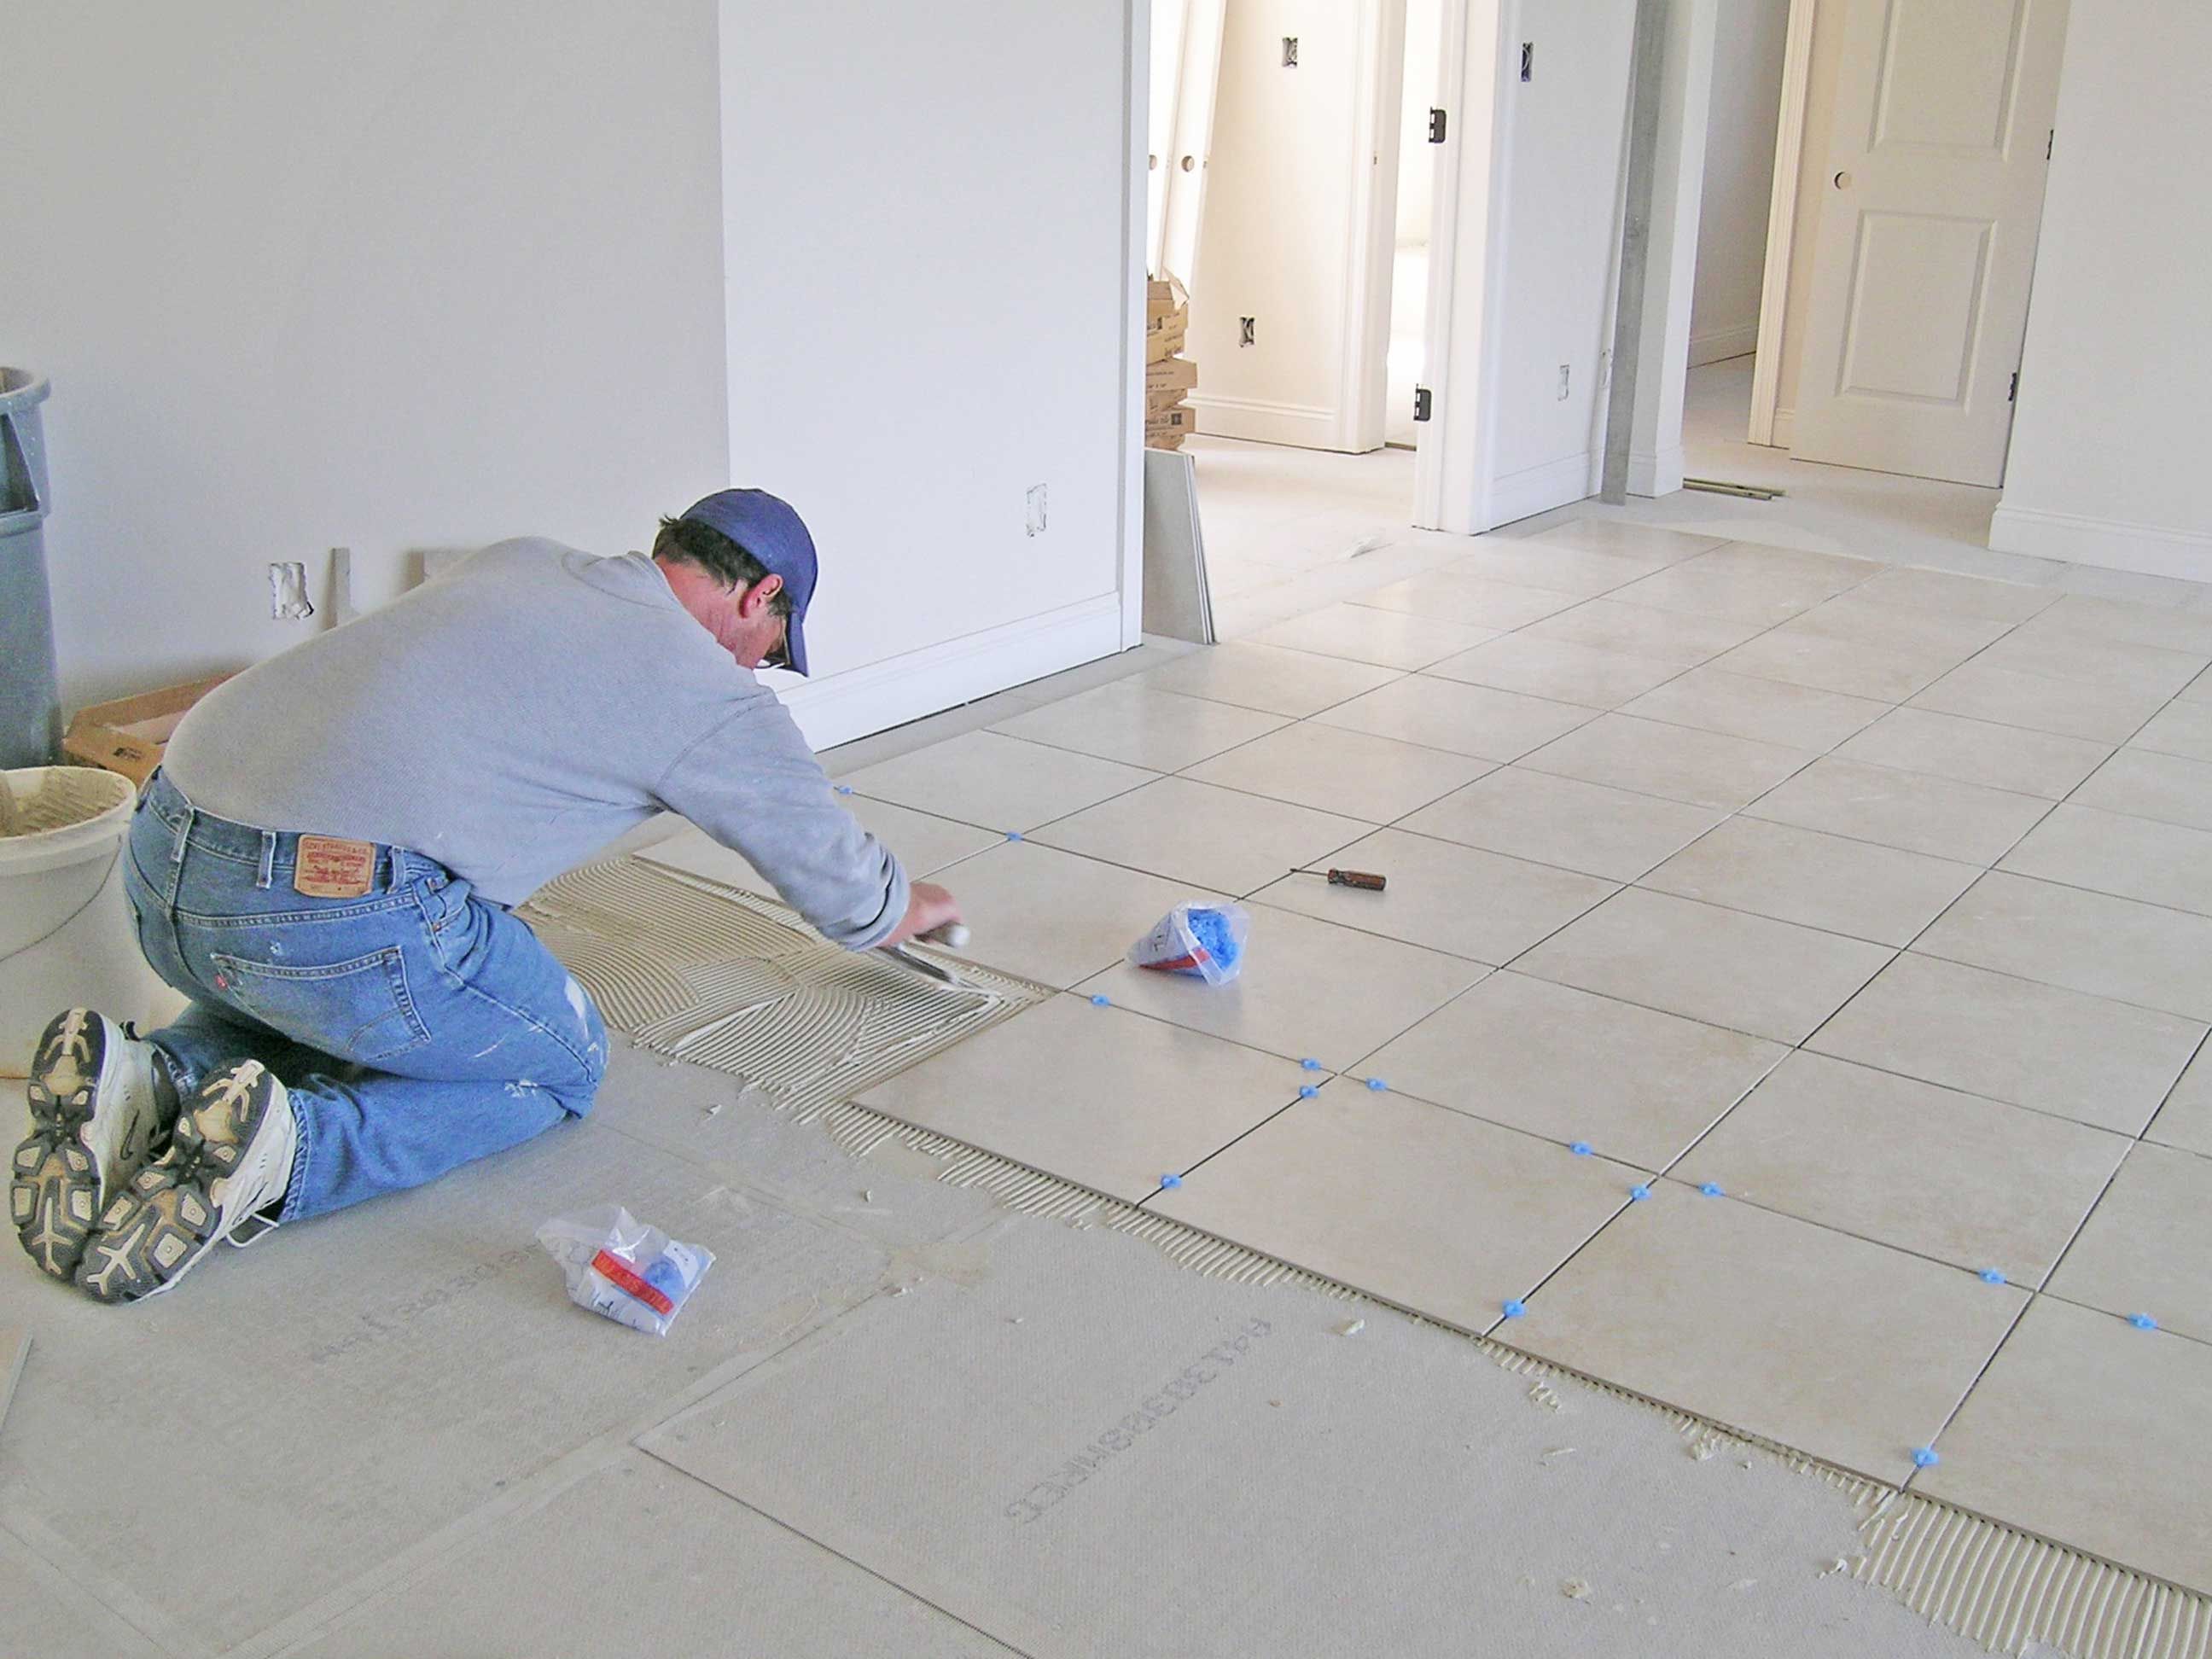
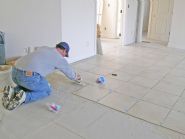
Scott's precision cutting means we don't need to use unsightly shoe mold. Note the cement board screwed to the wood subfloor to create a rigid and stable base for the tile.
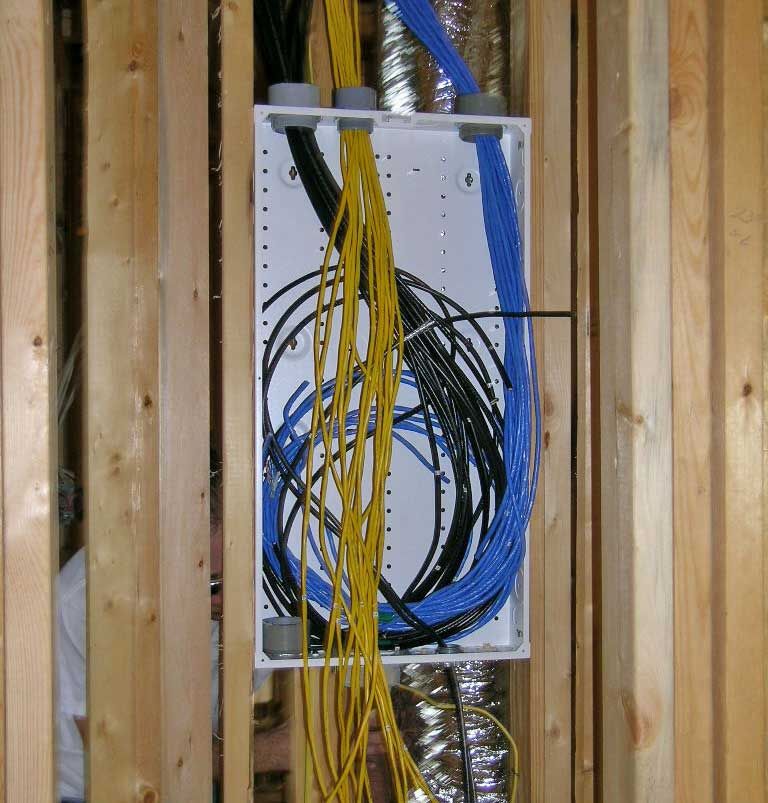
Data panel showing phone, cable, and audio wires.
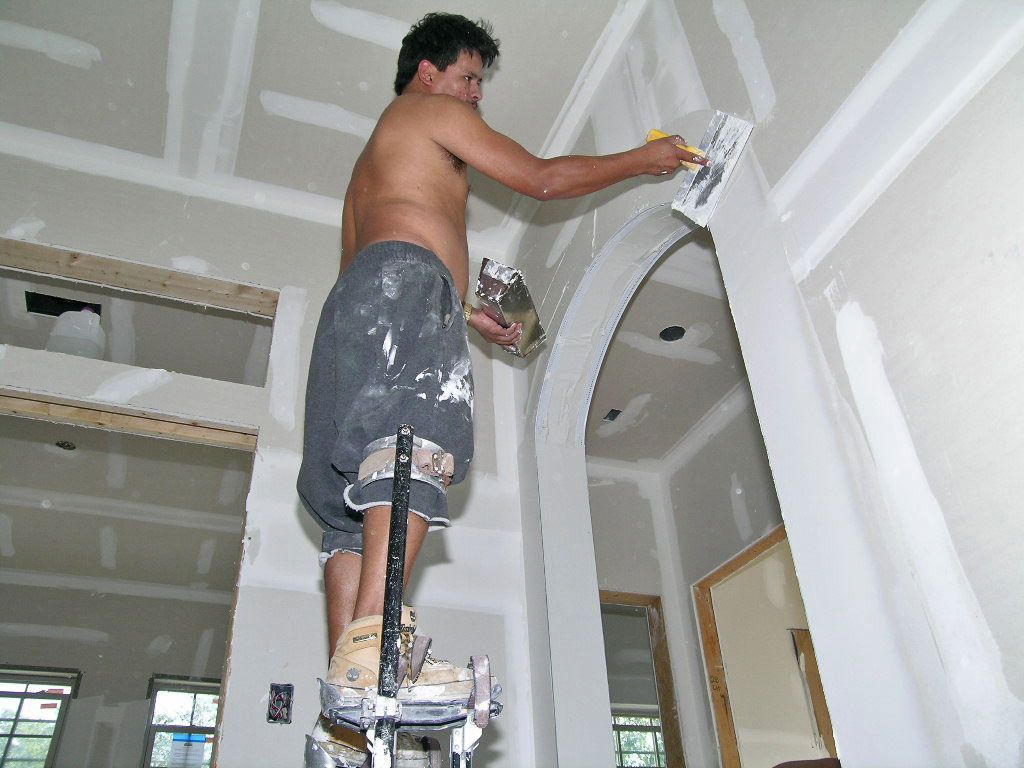
Ricky finishing one of the arches. He's really not that tall.
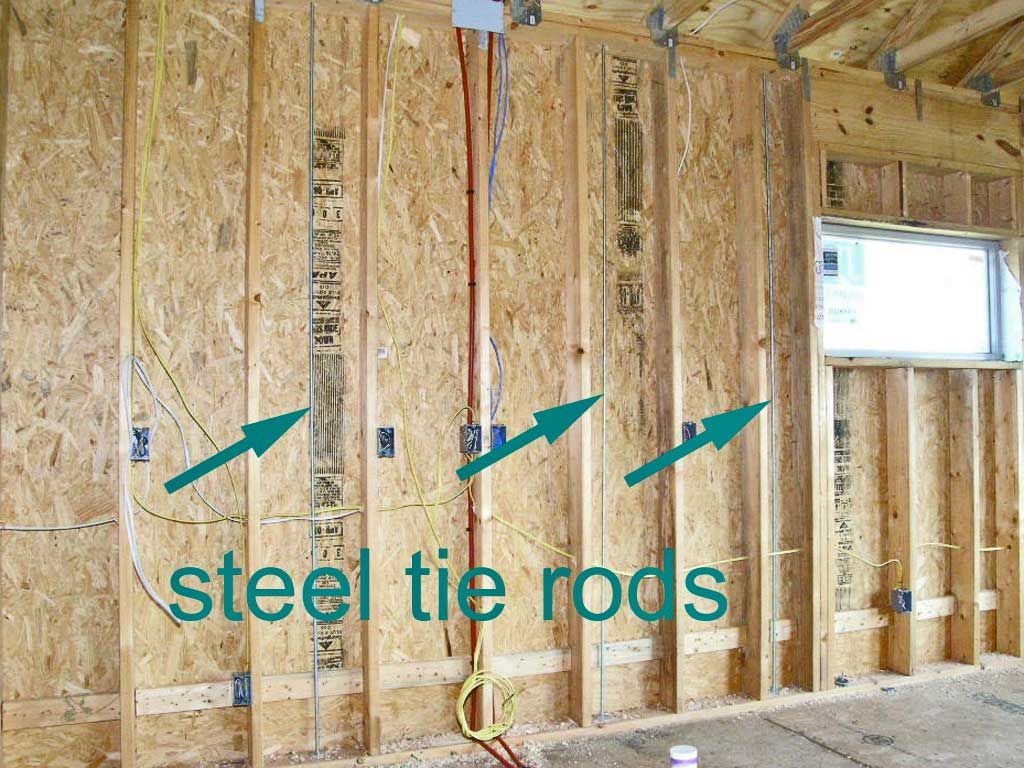
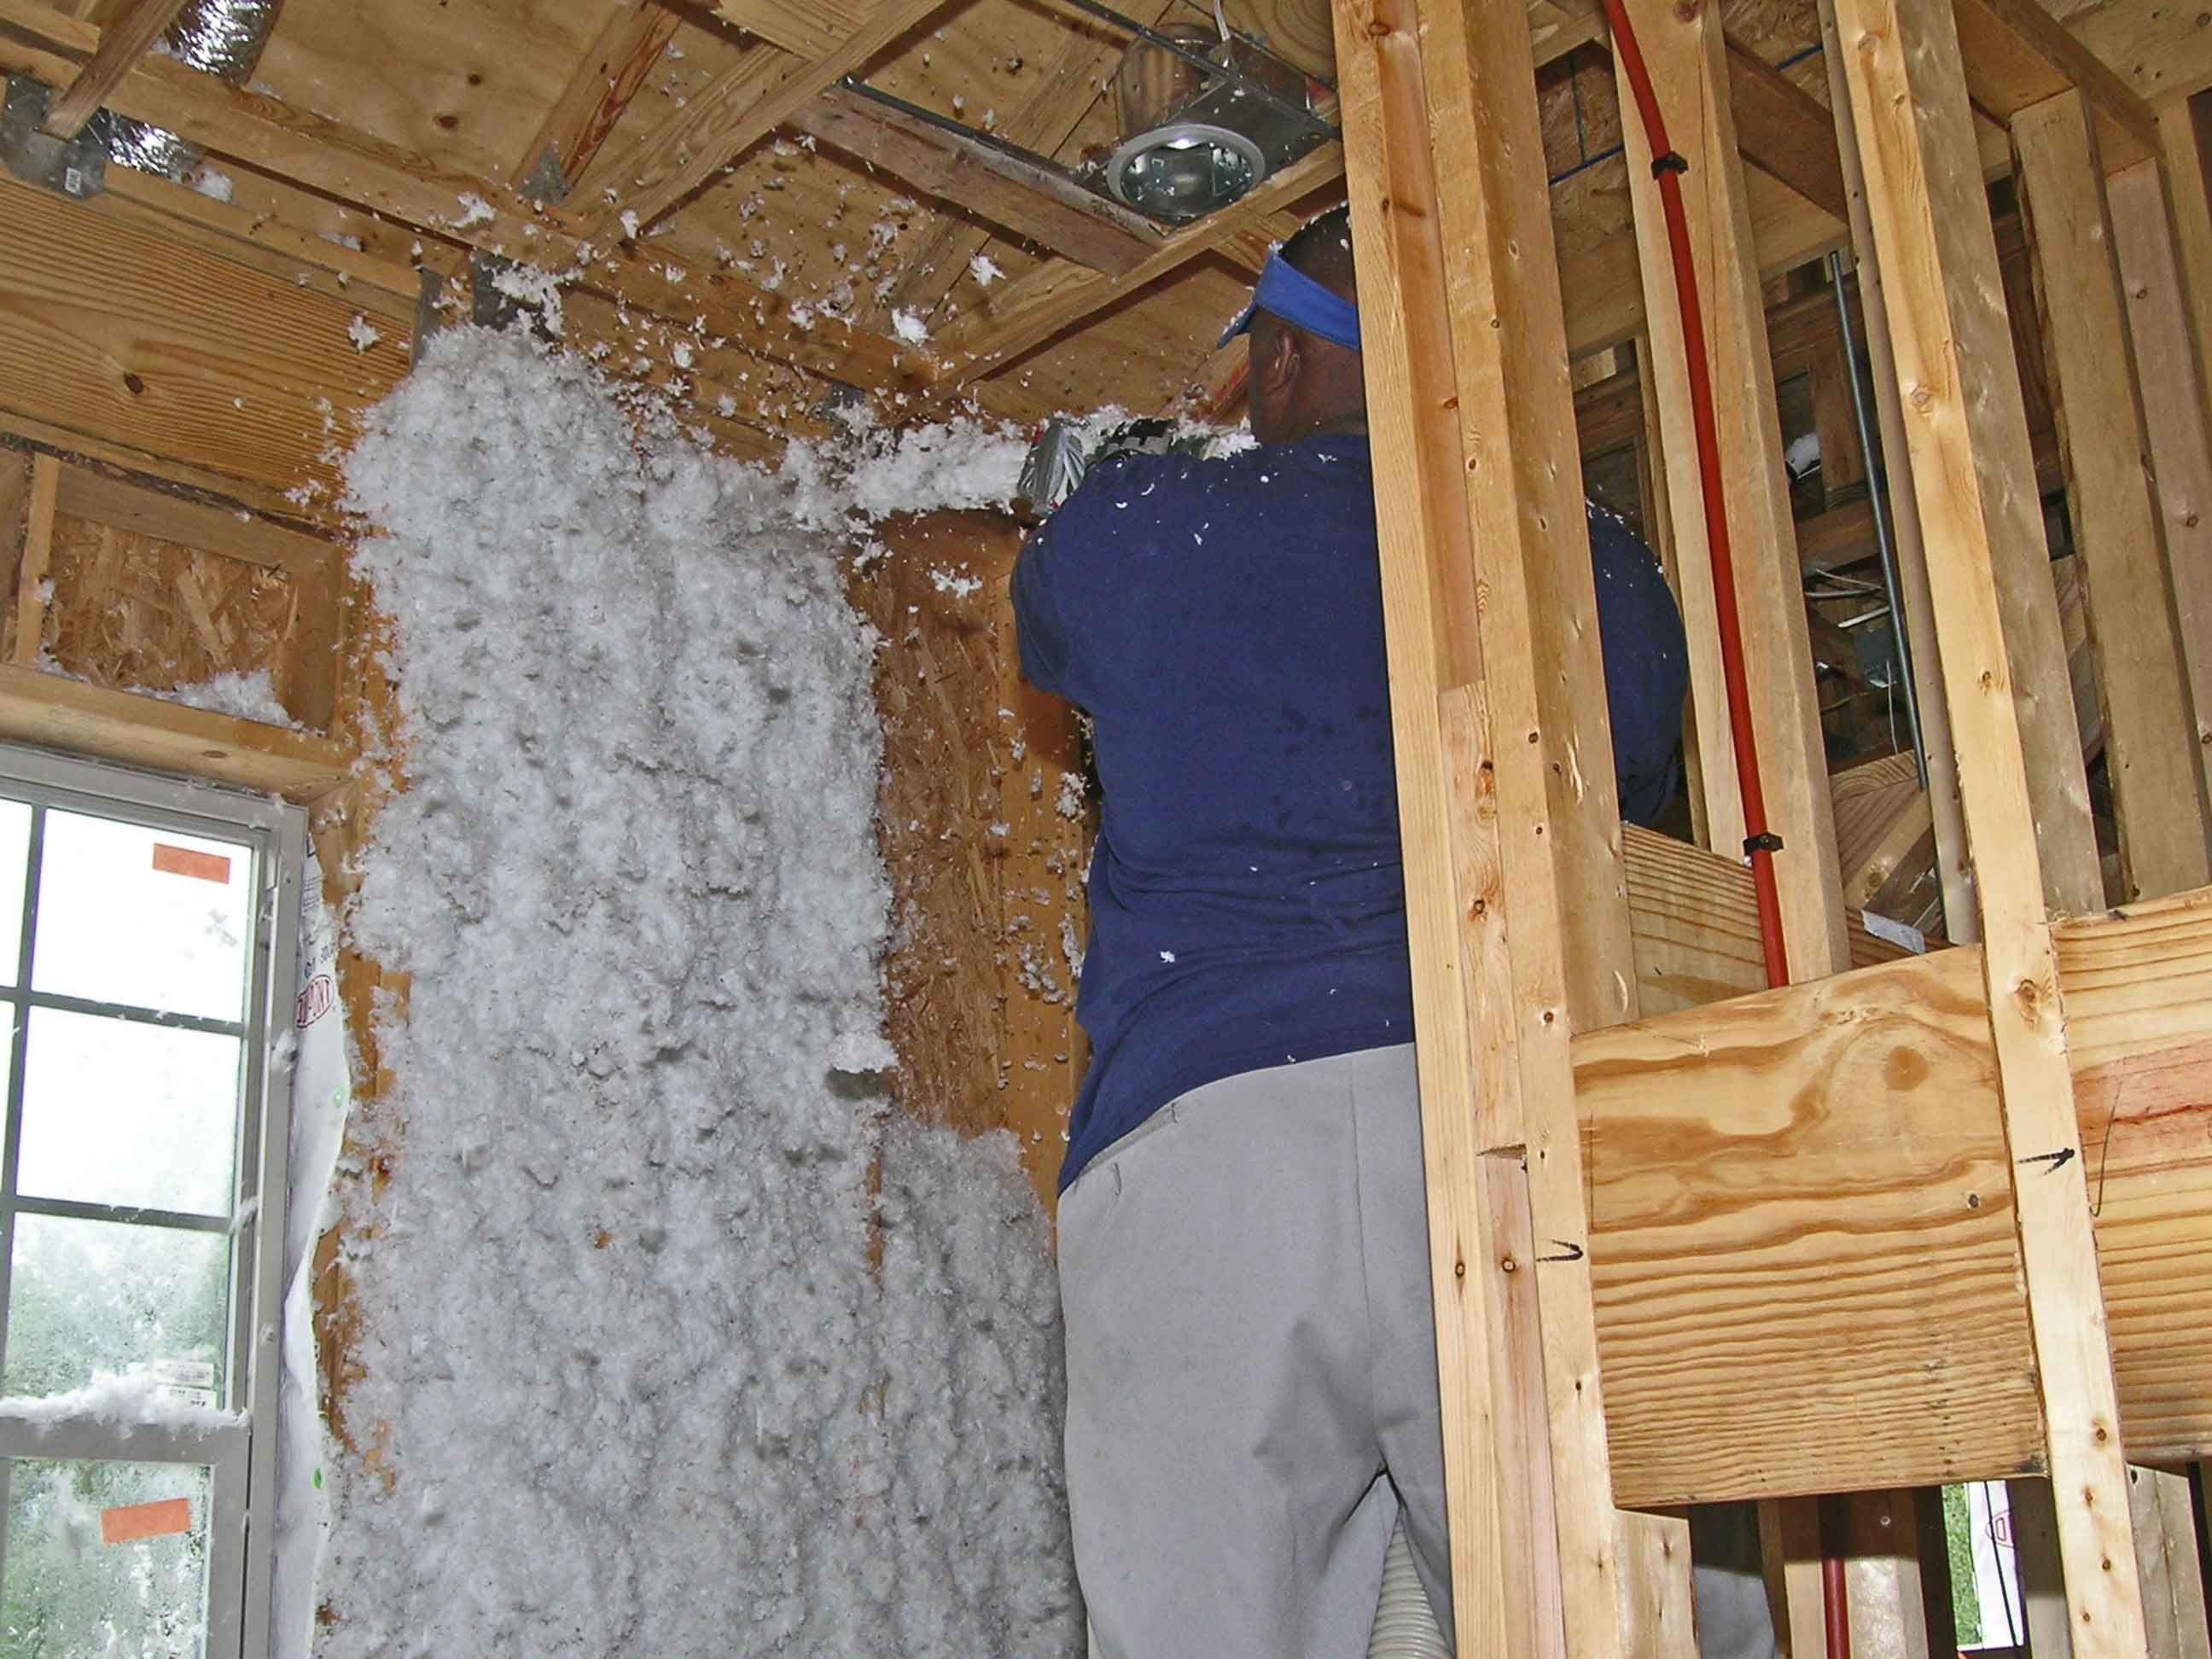
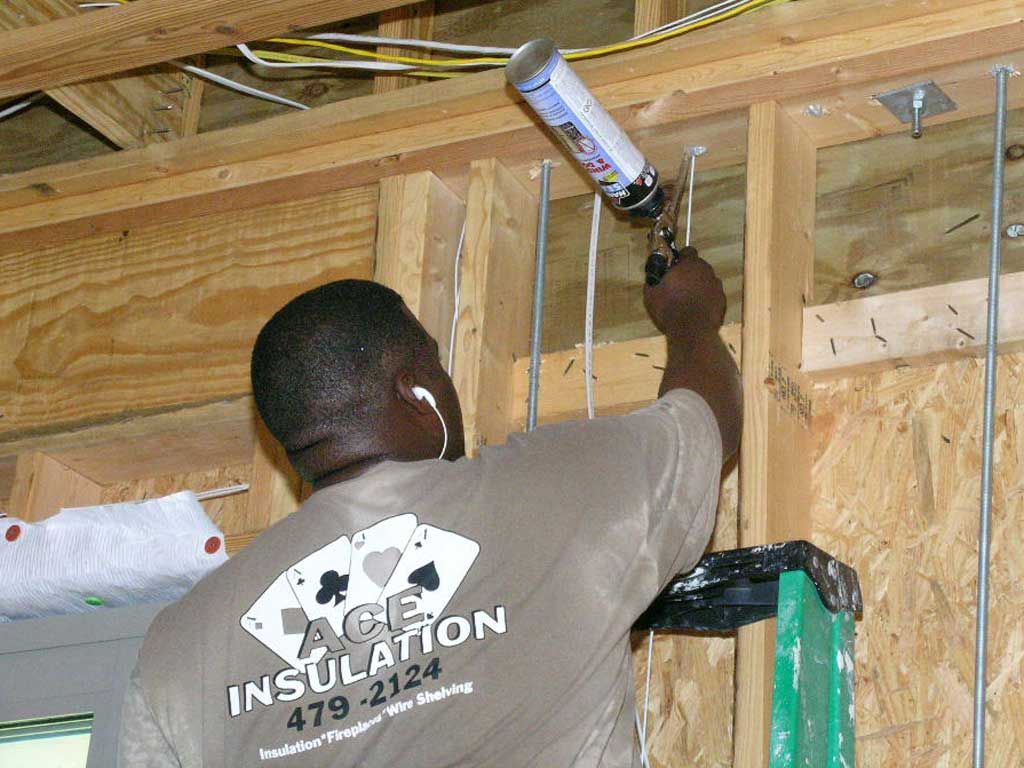
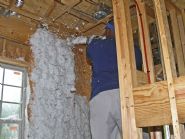
Blown-in-batts upgrade the insulation to R-22 and fill every void in the framing.
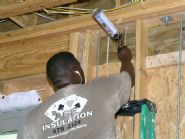
All holes and cracks are filled to prevent air infiltration
The 2nd floor window was left out to facilitate loading of drywall.
The tower has crank out windows to facilitate loading of drywall, plus they look better on the tower.
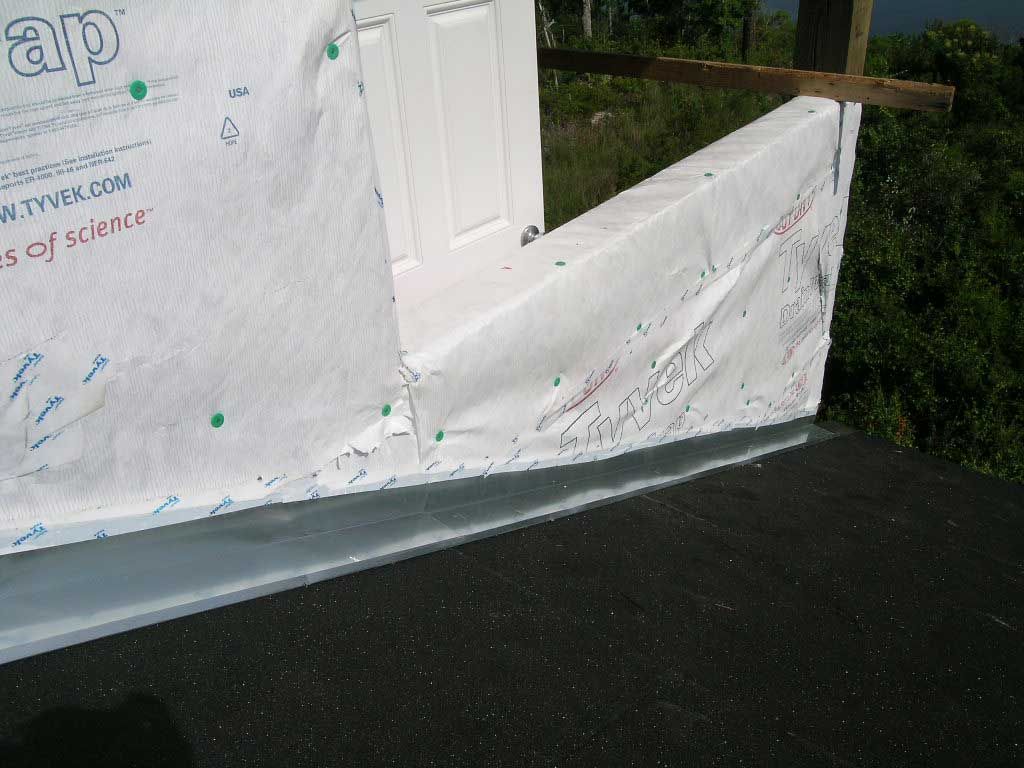
This is the proper way to flash a wall. If you don't lap the secondary rain barrier (house wrap) over the wall flashing then if water gets in behind the siding it will find its way behind the wall flashing and start rotting out the roof. It doesn't take much. Just a small hole you can't see and the wind and rain blowing in the right direction. It often takes years to show up and by then a lot of damage has been done and the repairs can be quite expensive. It's best just to take the extra time to do it right the first time and more importantly, check to see that it's done right.
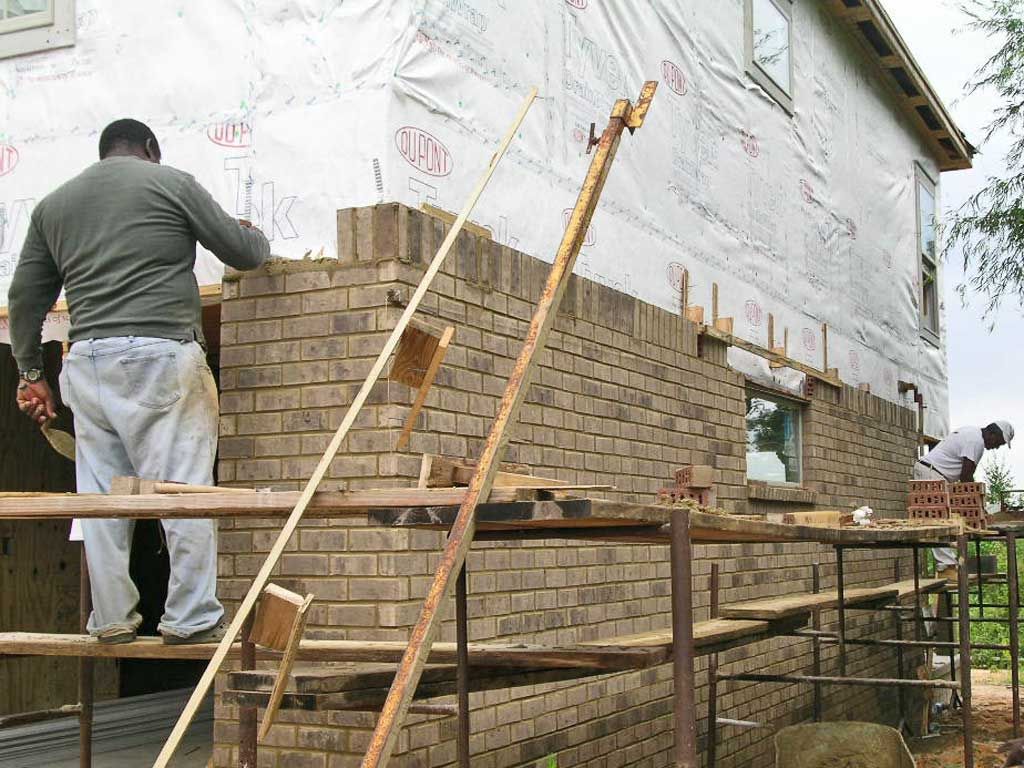
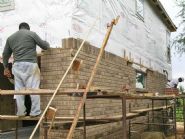
Tyrone lays his bricks straight, level, and plumb.
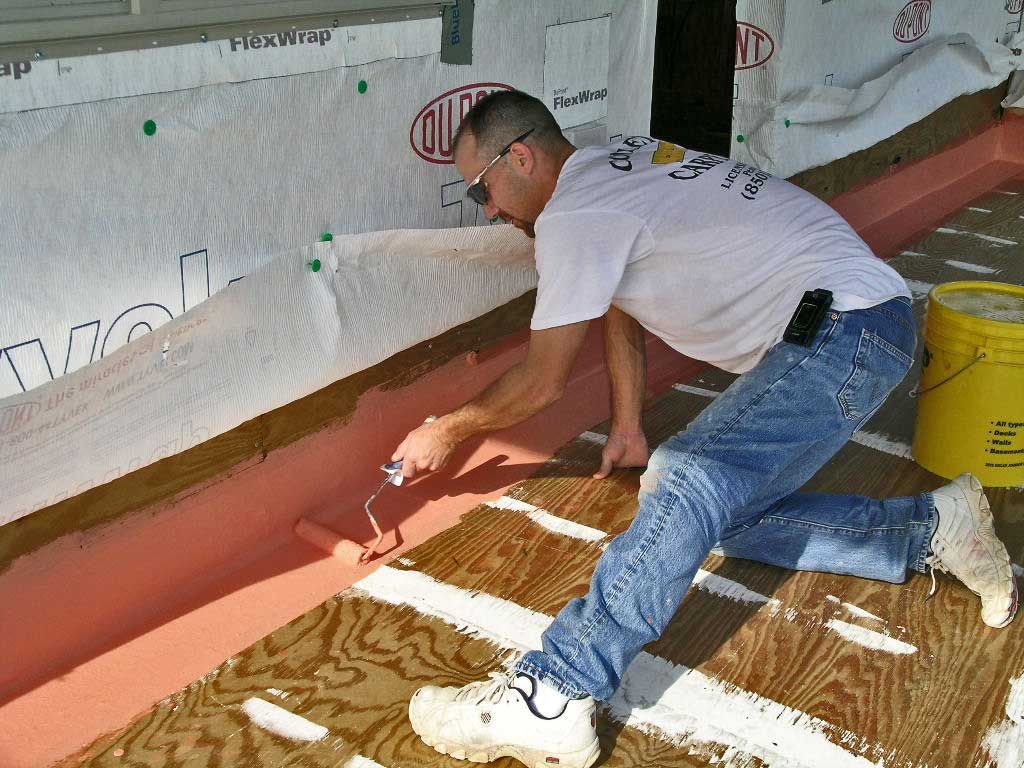
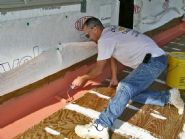
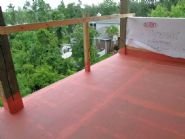
Darin applies the first sealoflex coating to the 3rd floor deck. It consists of saturating the reinforcing fabric with a pink rubberized coating to create a water tight and flexible joint where the plywood deck meets the wall. The tyvek drain wrap will be lapped down over the coating on the wall to create a properly lapped flashing system. This flexible roof/deck flashing system is capable of moving with the building materials without cracking. Very important during hurricane force winds.
Sealoflex deck primer coat makes sure this deck won't leak. Note the coated fabric wrapped around the structural porch posts. This area is highly vulnerable to leaking. It will never leak with the sealoflex system properly applied.
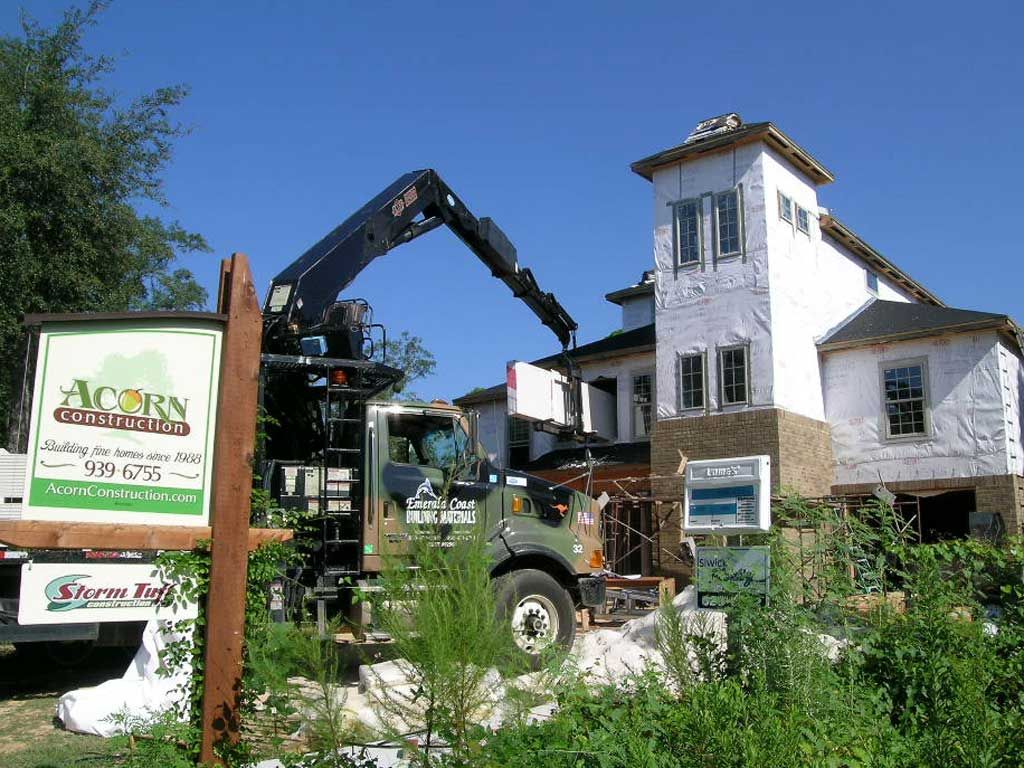
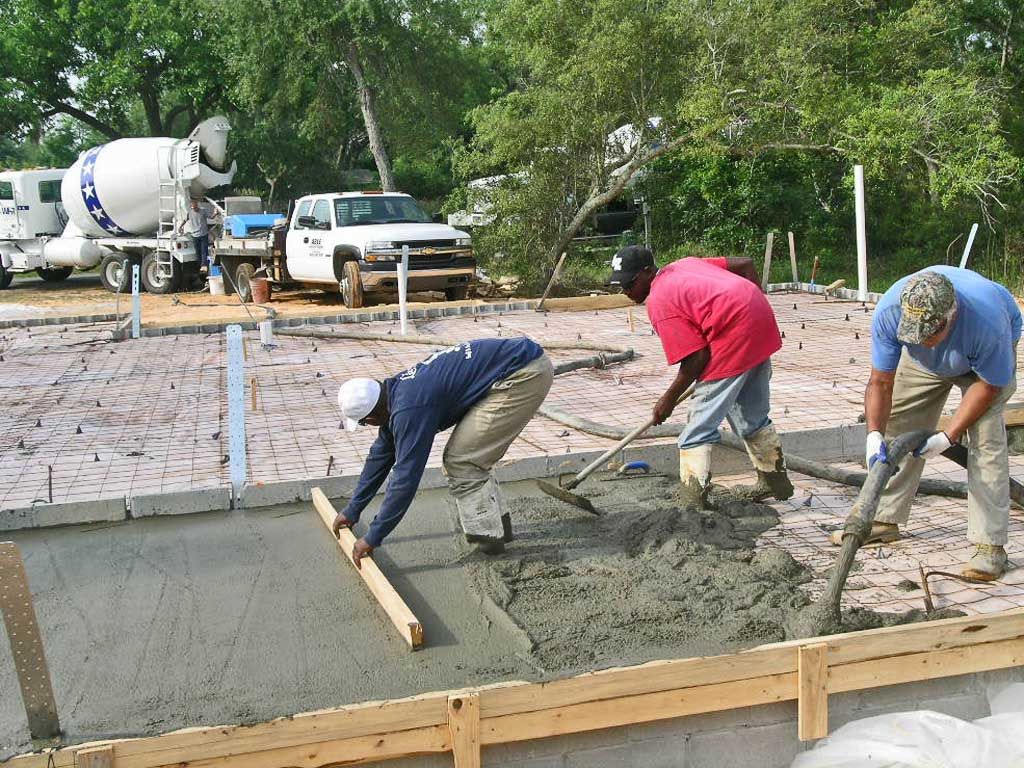
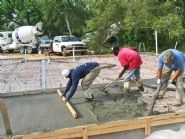
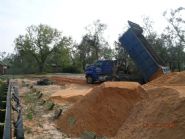
We had to use a line pump to pour the concrete because there wasn't enough room for the mix truck. Note the hold down strap for the porch column in the lower left corner.
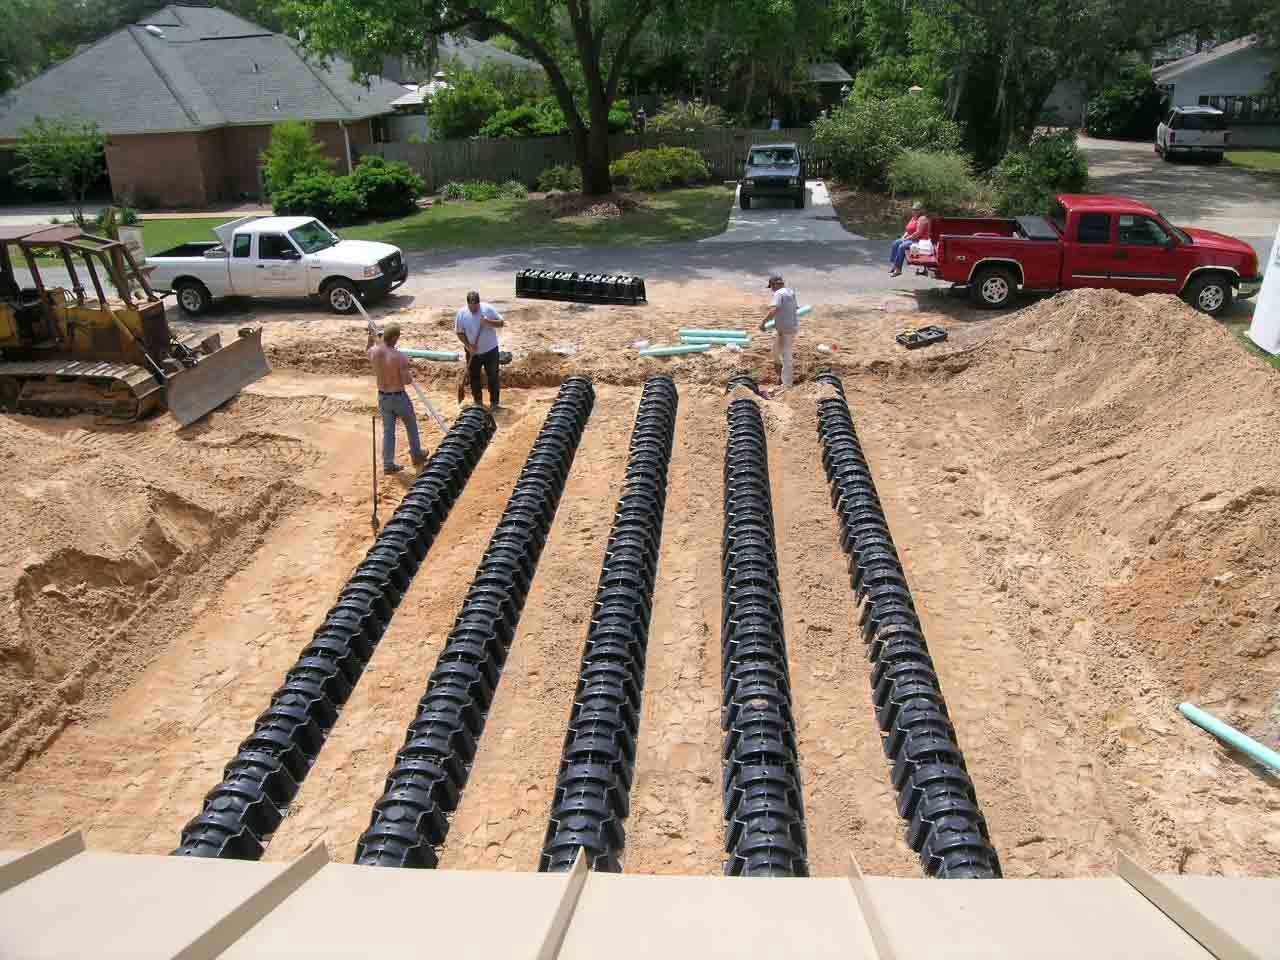
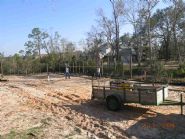
Septic system drain field installed.
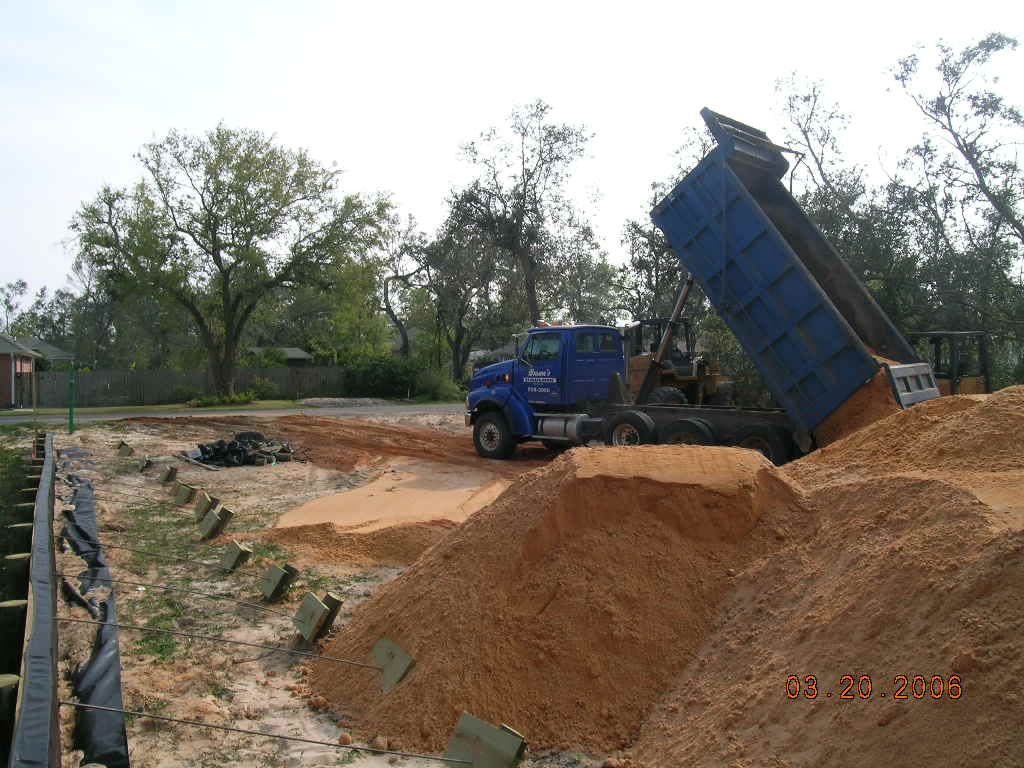
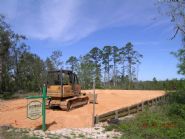
The lot fill is placed in 2' "lifts" or layers then run over with the dozier to compact it. After a few good rains the fill is pretty solid. I have a compaction test done when we dig the foundation footings to verify that the fill is compacted sufficiently.
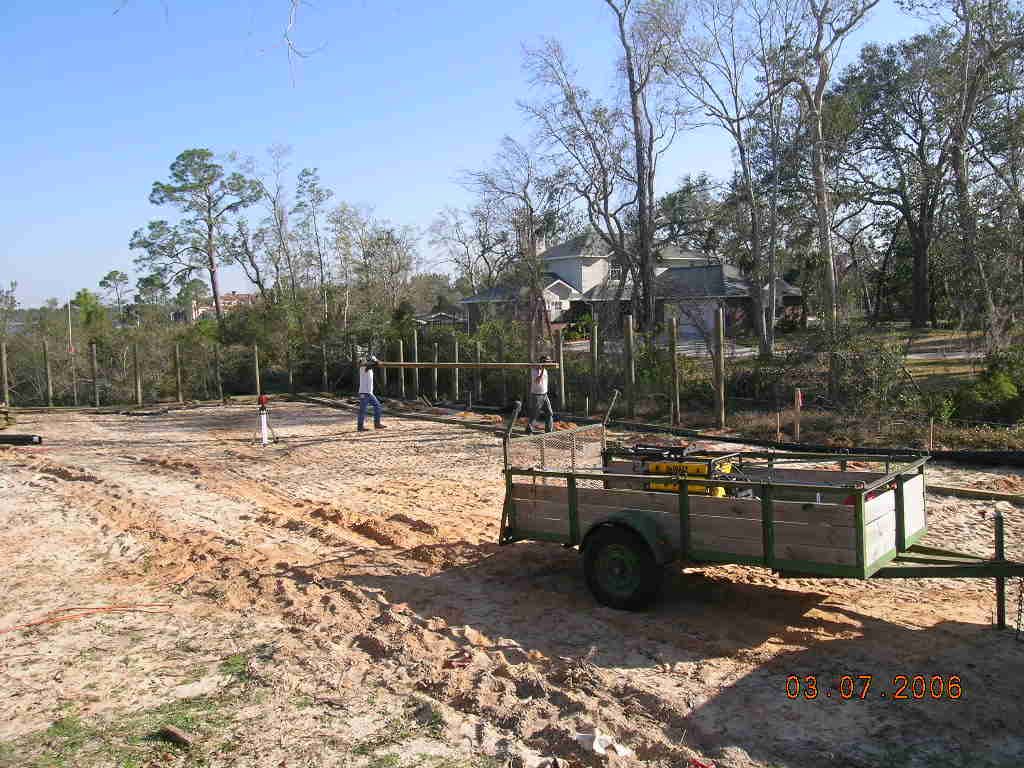
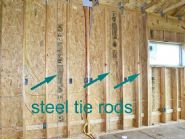
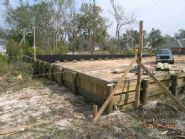
You can see the dead men on the left which are anchors to keep the wall straight under the weight of the fill dirt.
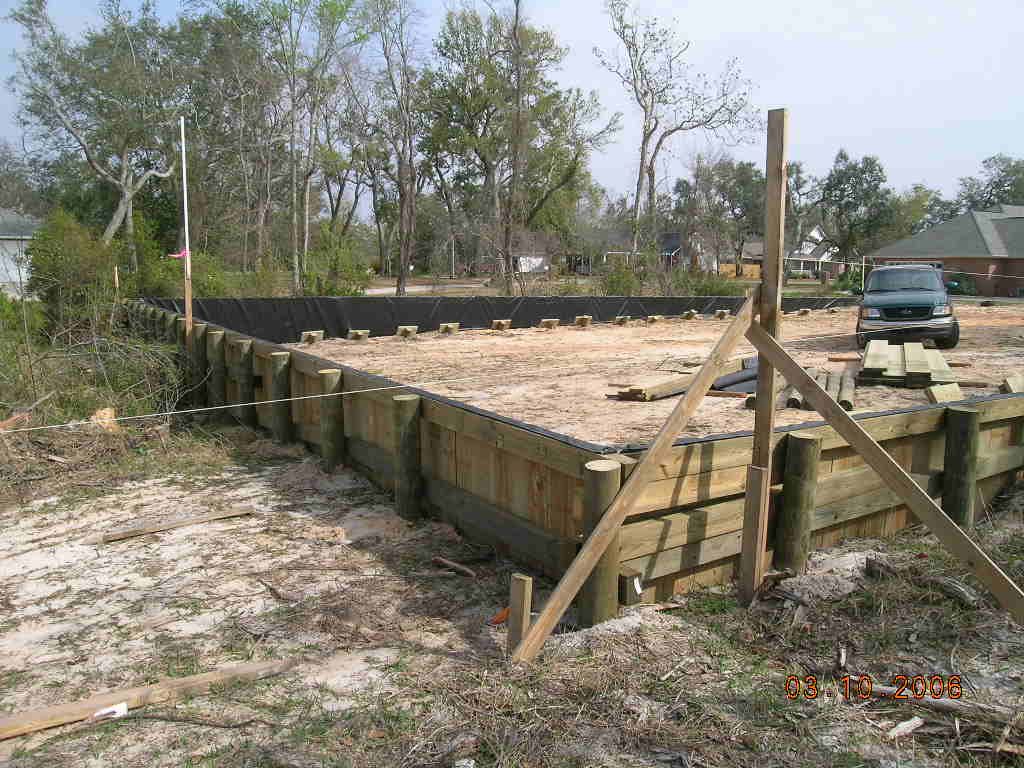
I had to get permission from the DEP and Army COE to fill in a portion of the wet lands. I built this retaining wall round the site to elevate the home to give it better protection from floods. The bay filled up pretty good during hurricane Ivan in 2004.


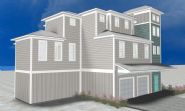
Glenn residence
I designed this 3 story home on Escambia bay for the Glenns. This home incorporates a flood-thru garage enabling it to tolerate flood waters with ease. See The White storm story for how this works. The 4 BR, 3 bath home has porches on all 3 floors overlooking the bay. Storm-tuff features give it hurricane survivability.