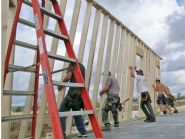
Construction Process: Framing
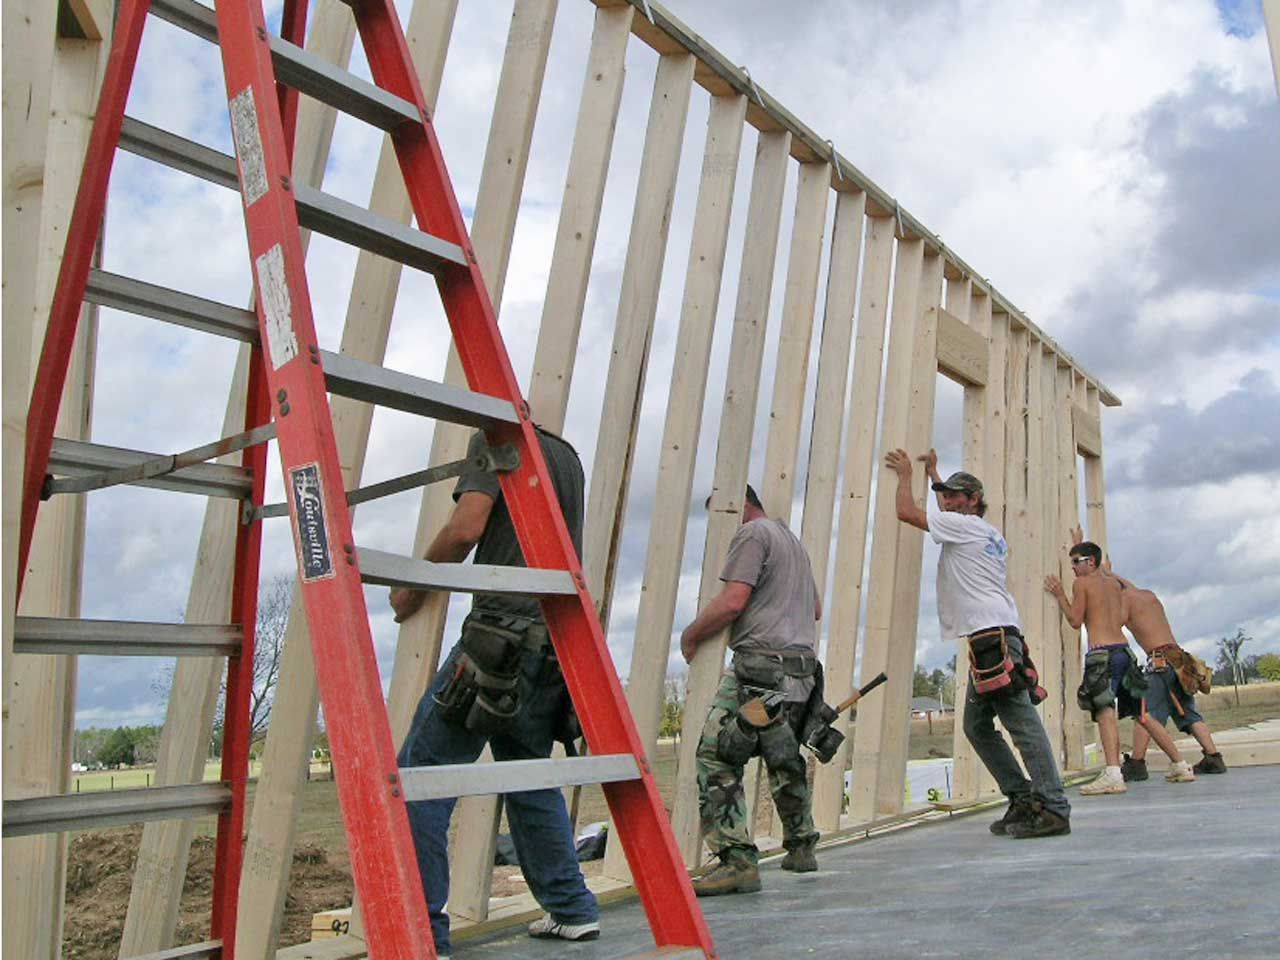

Walls are built on the slab then lifted into place.
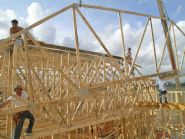
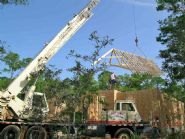
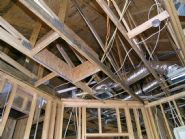
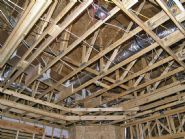
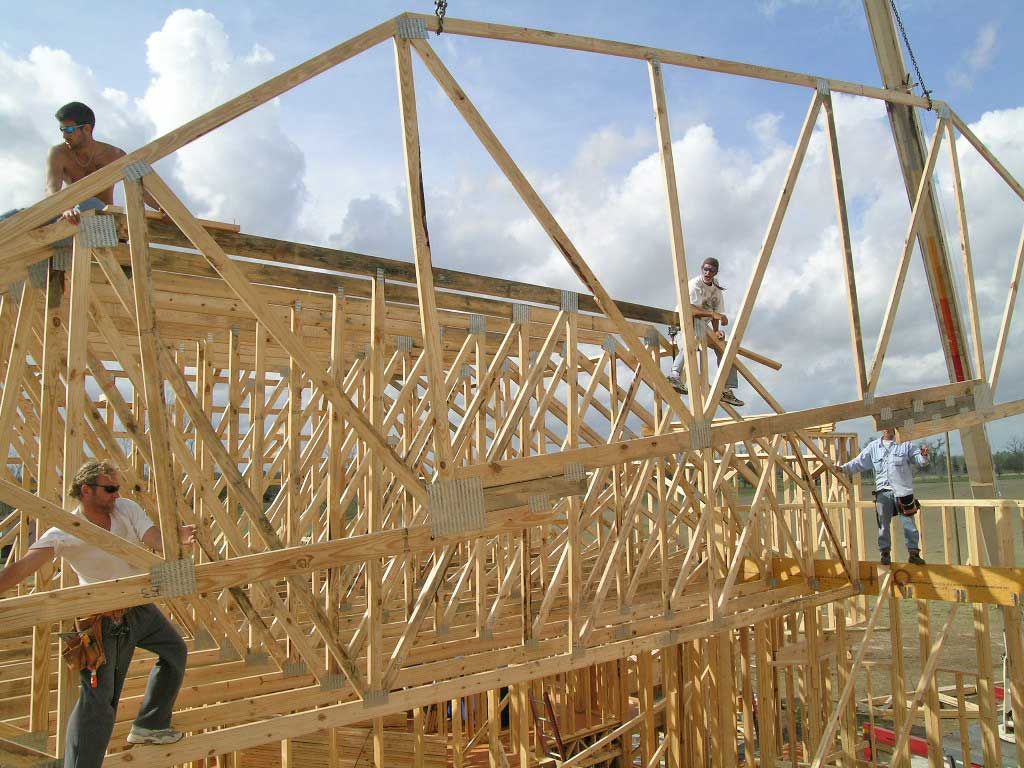
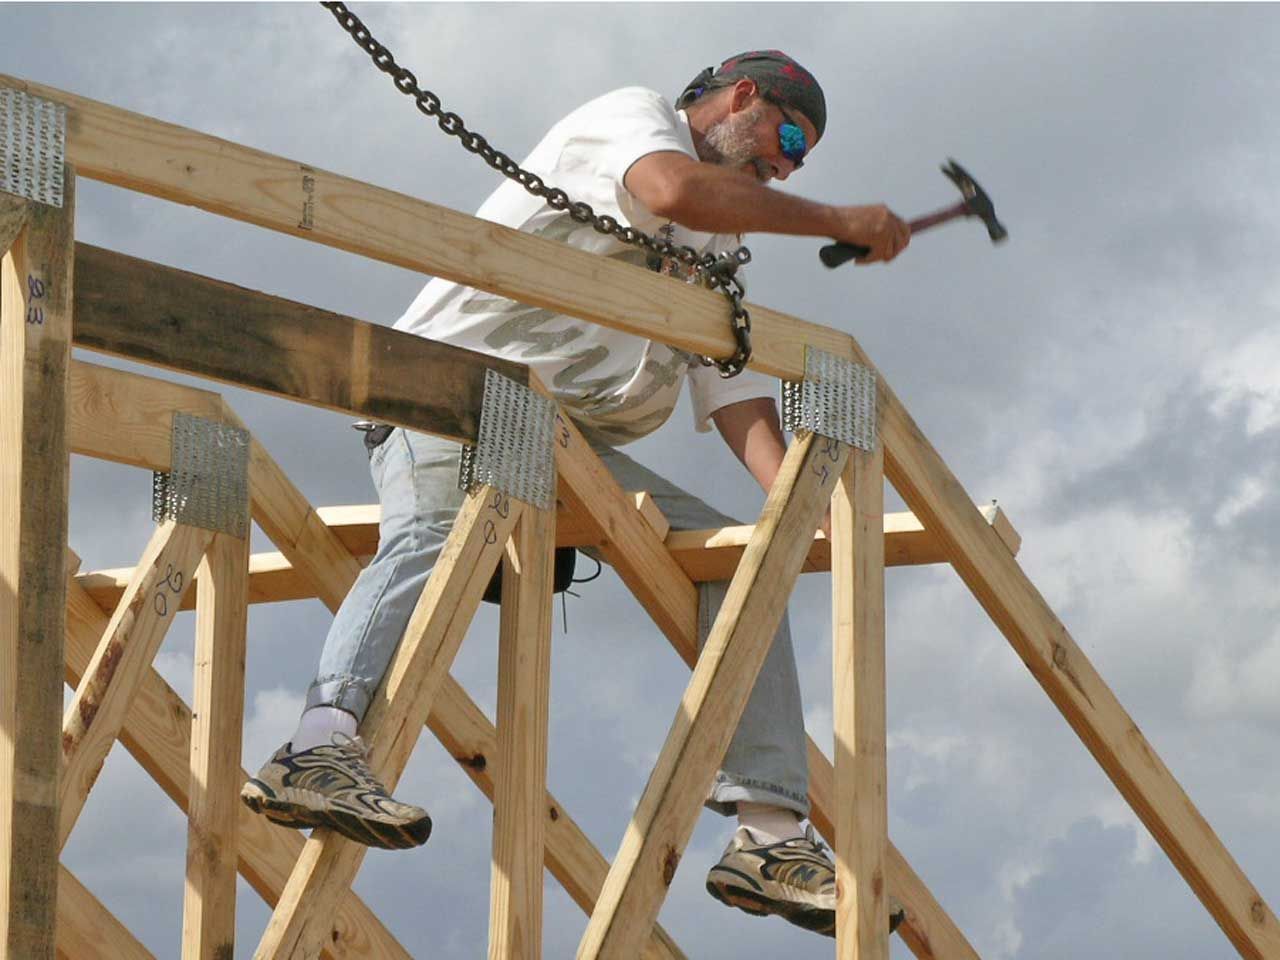
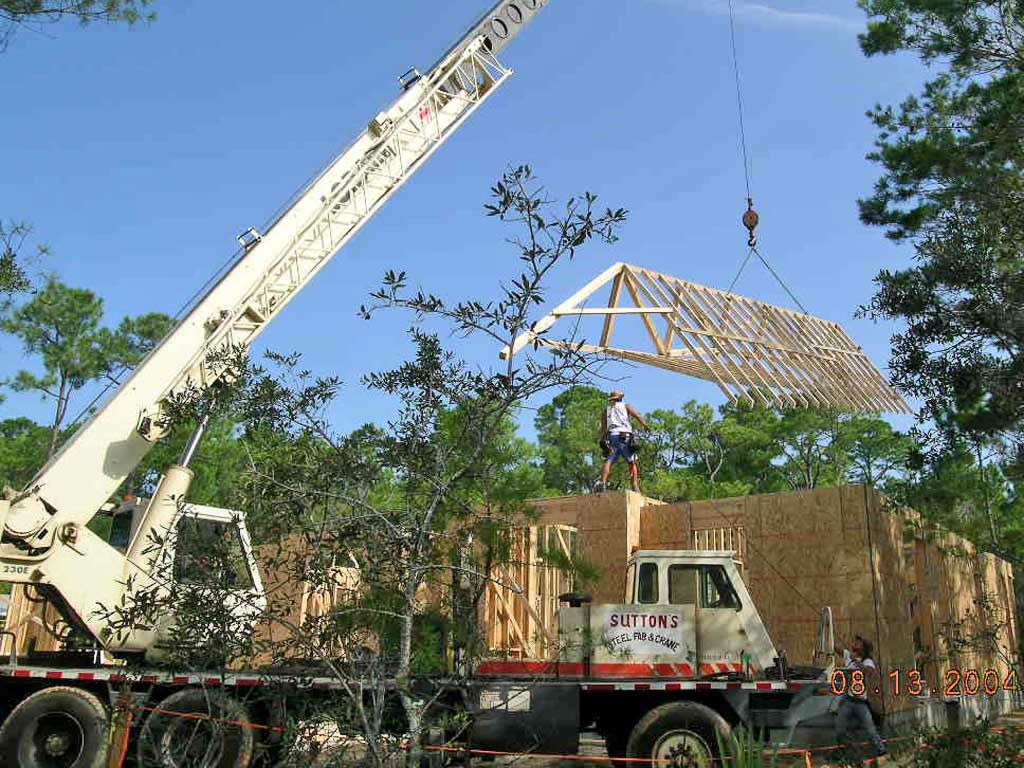
Setting the trusses.
Blocking each truss so that they stay on layout.
Sometimes we can pre assemble a complete hip section on the ground by attaching the hip jacks to the girder.
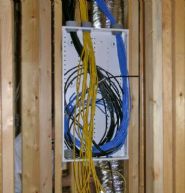
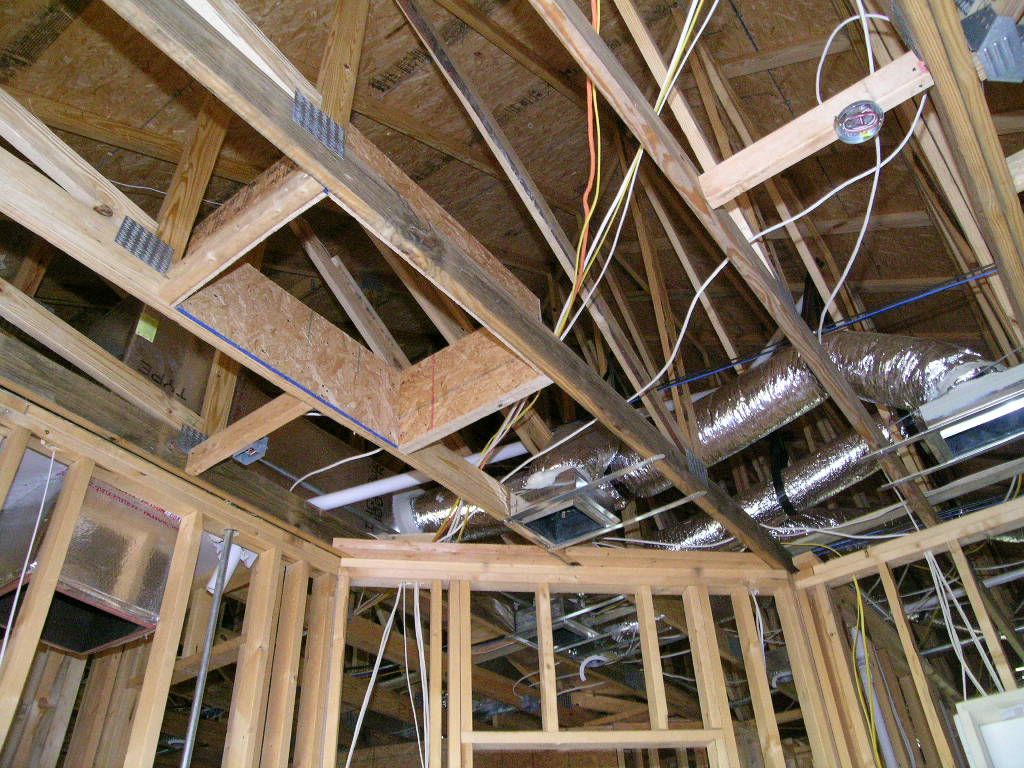
Audio, video, and data cabling pulled into a central distribution panel.
Return air bypass ducts from each room insure greater ventilation and comfort from the heating and cooling system. A scuttle hole to the attic can be seen with plywood lining to prevent insulation from spilling out in your face and onto the floor. I hate when that happens.
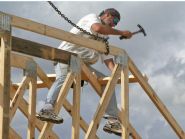
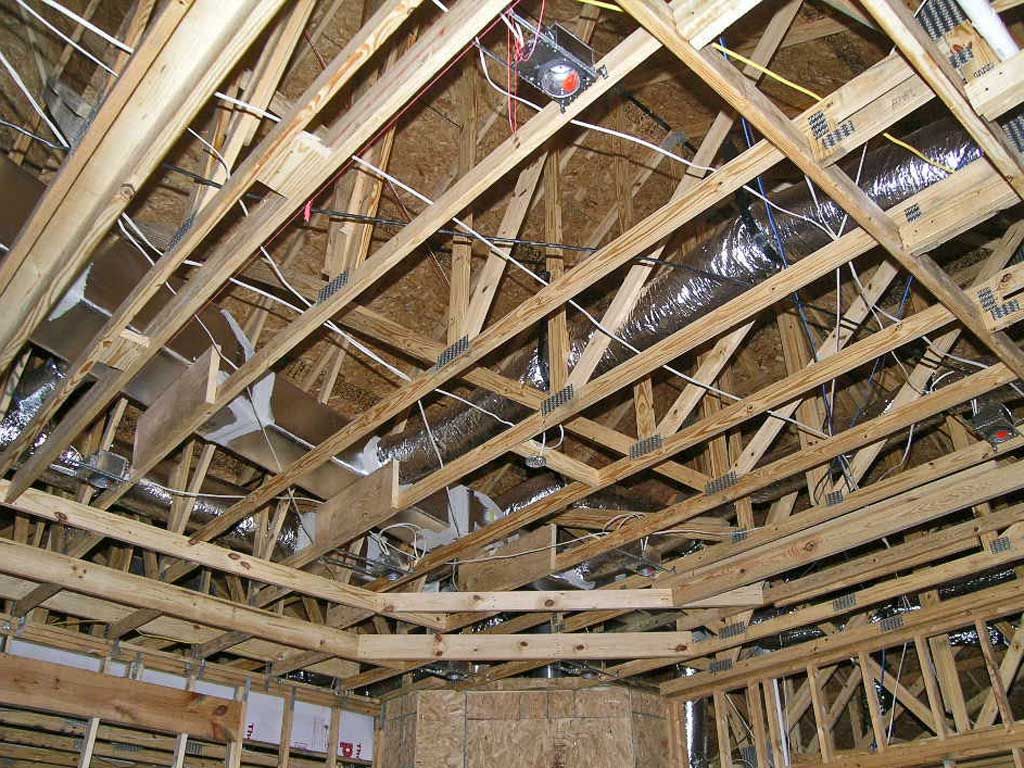
I check each truss to see that the proper clip, strap, or hanger has been installed with all the nail holes filled. Then I check for the required diagonal, lateral, and tee braces. Each truss has an engineering page which specifies these installation details to meet the required wind loading. I'm also looking for tie rods, anchor bolts, clips, straps, wires, beam hangers, beam nailing, fire blocking, blocking for drywall, plumbing and wiring stub outs, AC ducts properly sealed, vacuum piping, placement of lighting, access holes, and anything else on the plans that needs to be checked before the walls are covered up.
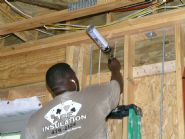
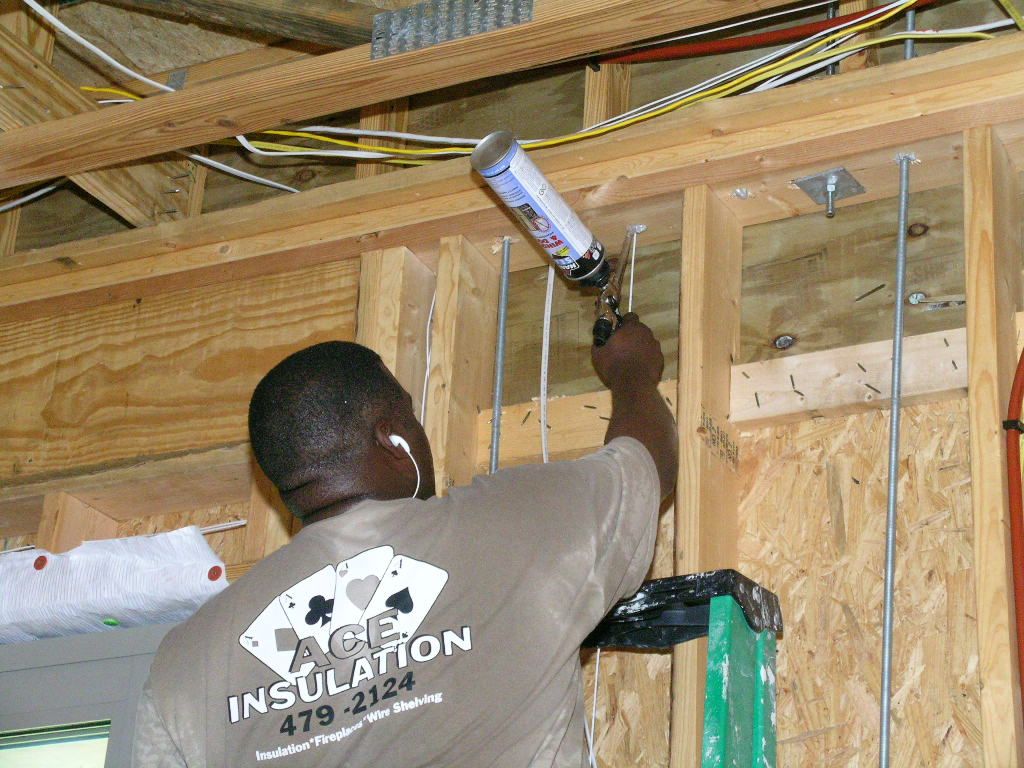
All holes are filled with foam sealant to create an air tight building envelope as much as possible.
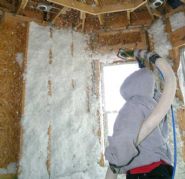
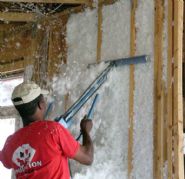
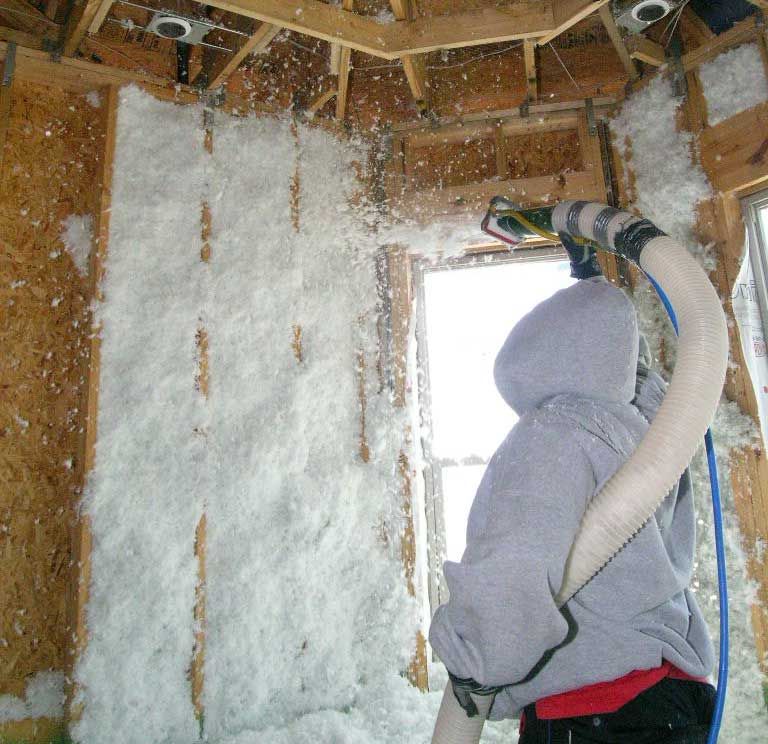
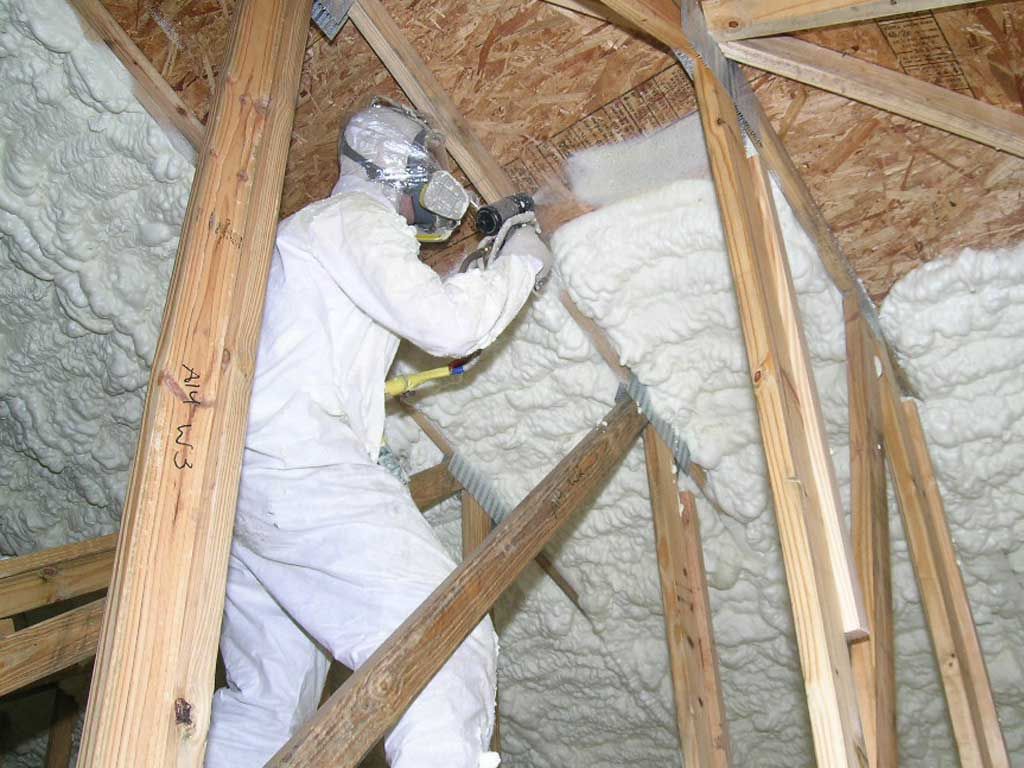
Fiberglass material is mixed with adhesives at the nozzle to create a very thorough blanket of insulation that fills every void. An R-23 system can be created with a 2x6 wall.
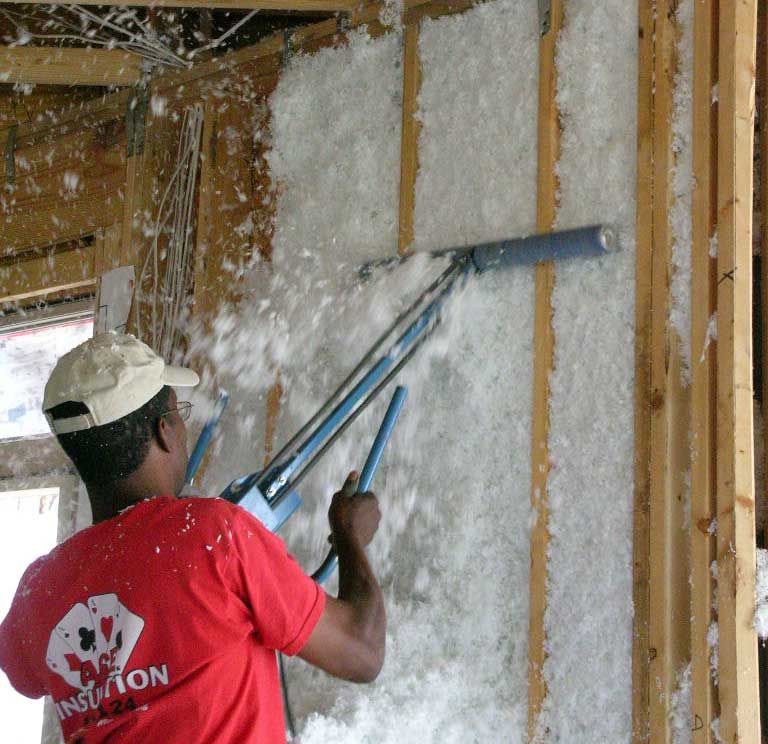
A rotary rasp removes excess material which is vacuumed up and recycled.
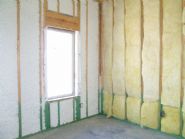
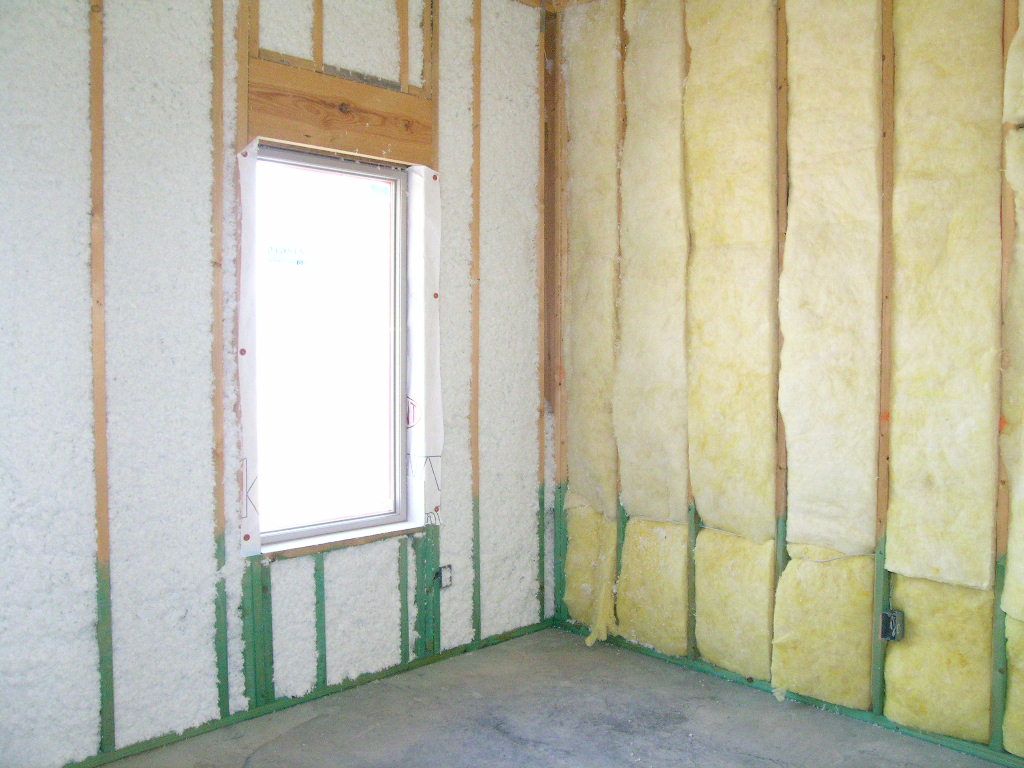
Blown in batts on the left in exterior walls and regular yellow fiberglass batts on the right for sound damping of bedrooms walls.
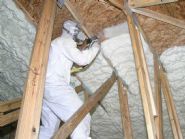
Open cell foam is being sprayed onto the underside of the roof decking By foaming the underside of the roof decking the attic becomes part of the thermal envelope. The cooler attic allows the AC ducts to operate much more efficiently than if they were in a hot attic. The foam also has some adhesive properties which helps strengthen the bond between the roof and the trusses. It also makes for a much more air tight thermal envelope. Additionally you don't have to ventilate the attic. It's completely sealed so you don't have ridge vents to leak or blow off during a hurricane.
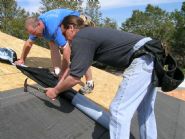
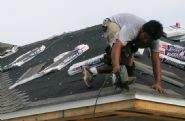
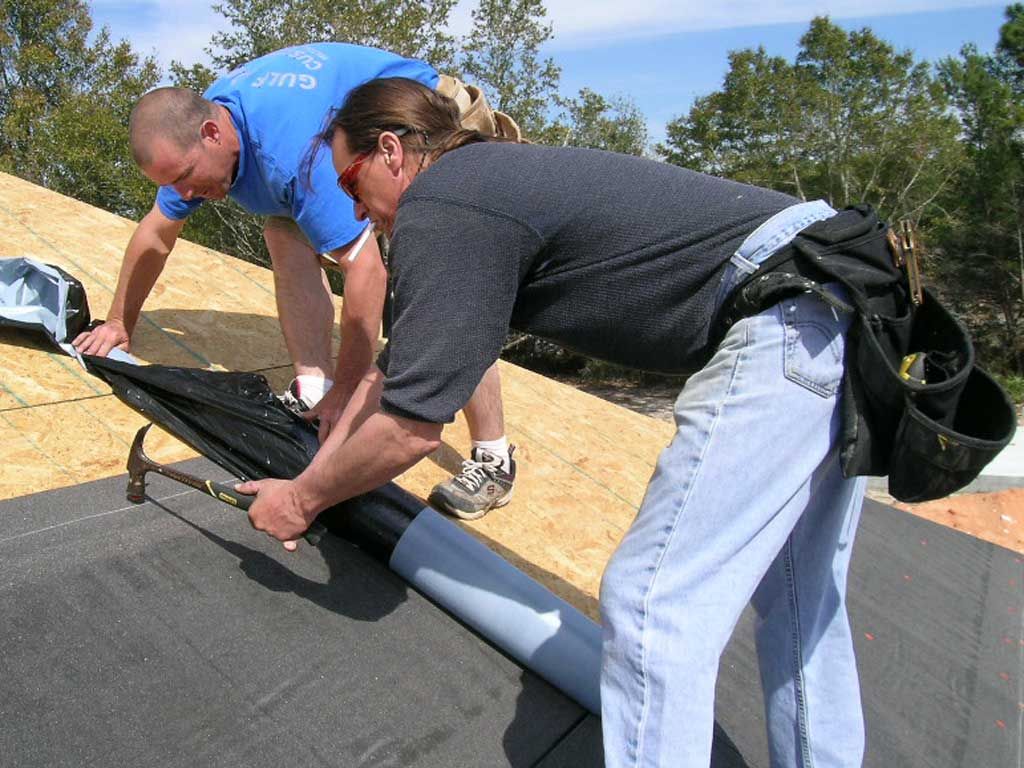
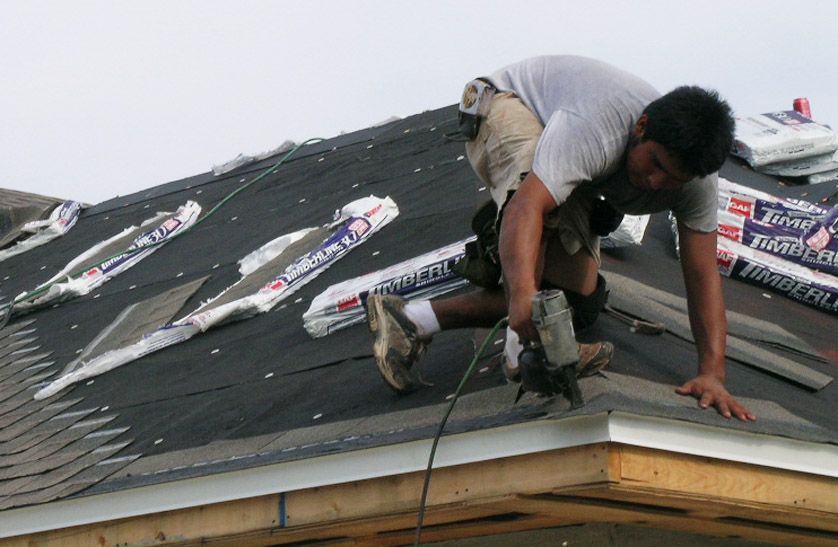
30 year architectural shingles installed over a peal and seal continuous secondary rain barrier. The peal and seal will seal itself around the roofing nail holes to create a water tight barrier even when a shingle gets blown off during a wind storm.