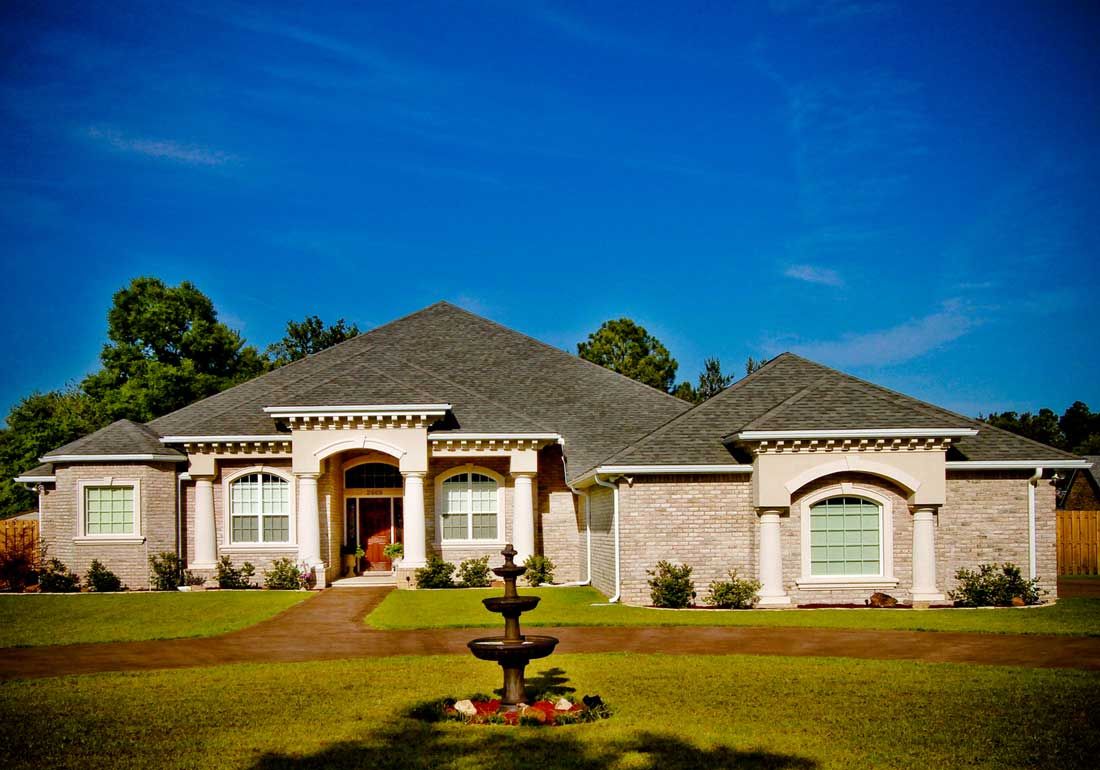
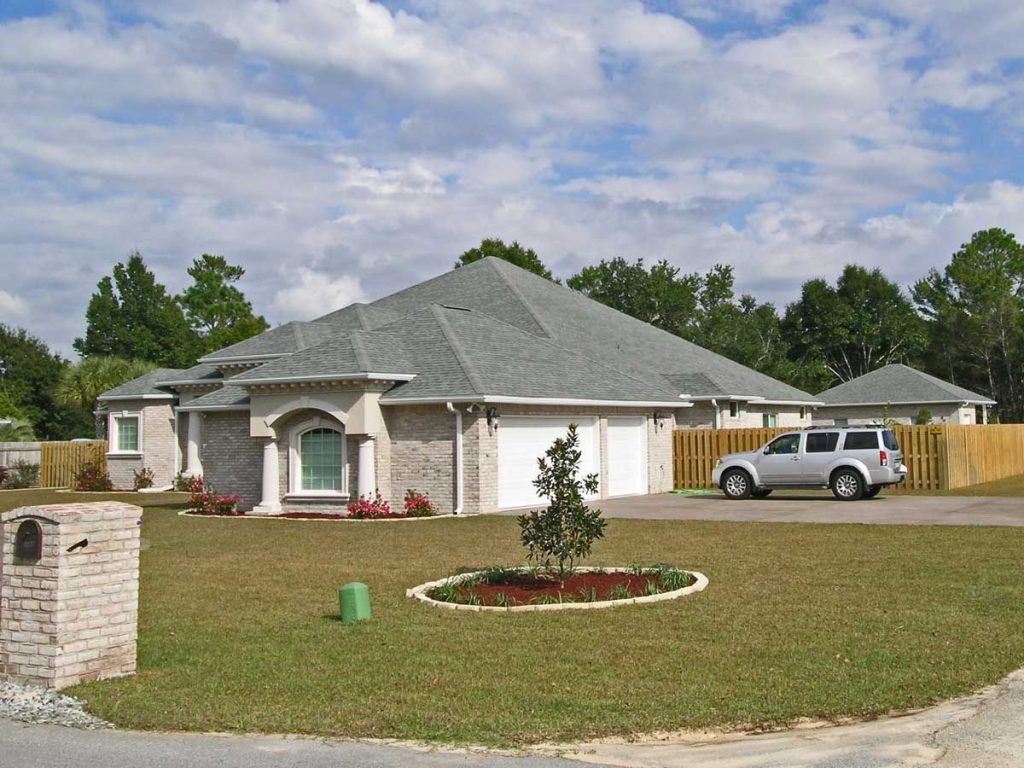
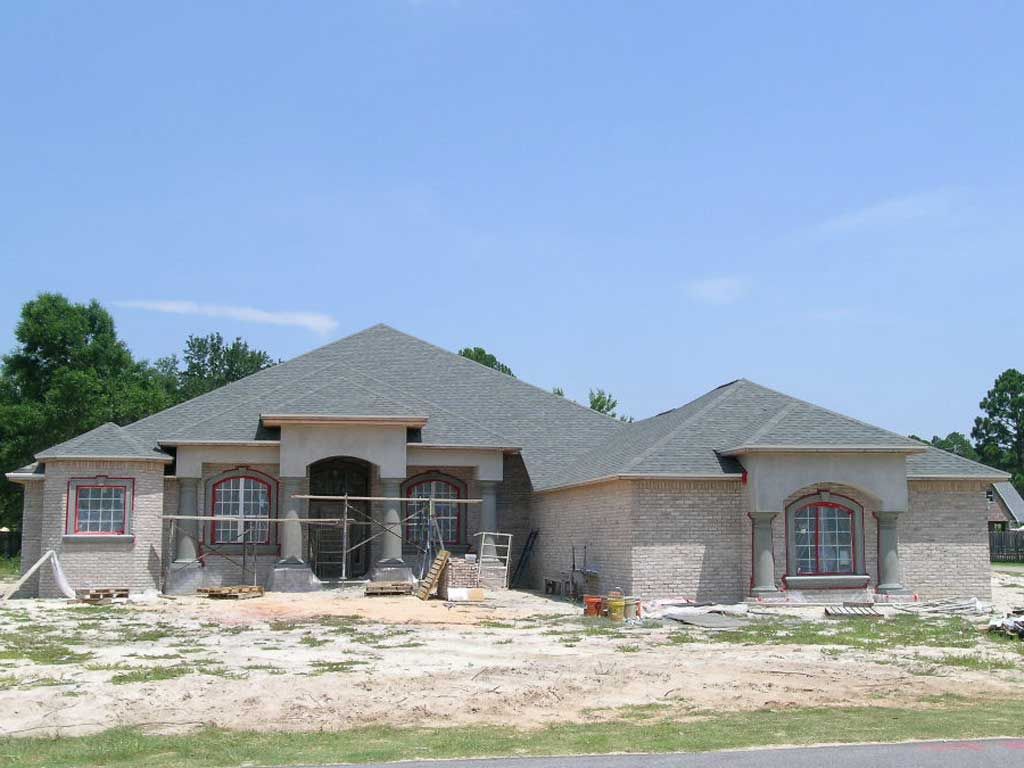
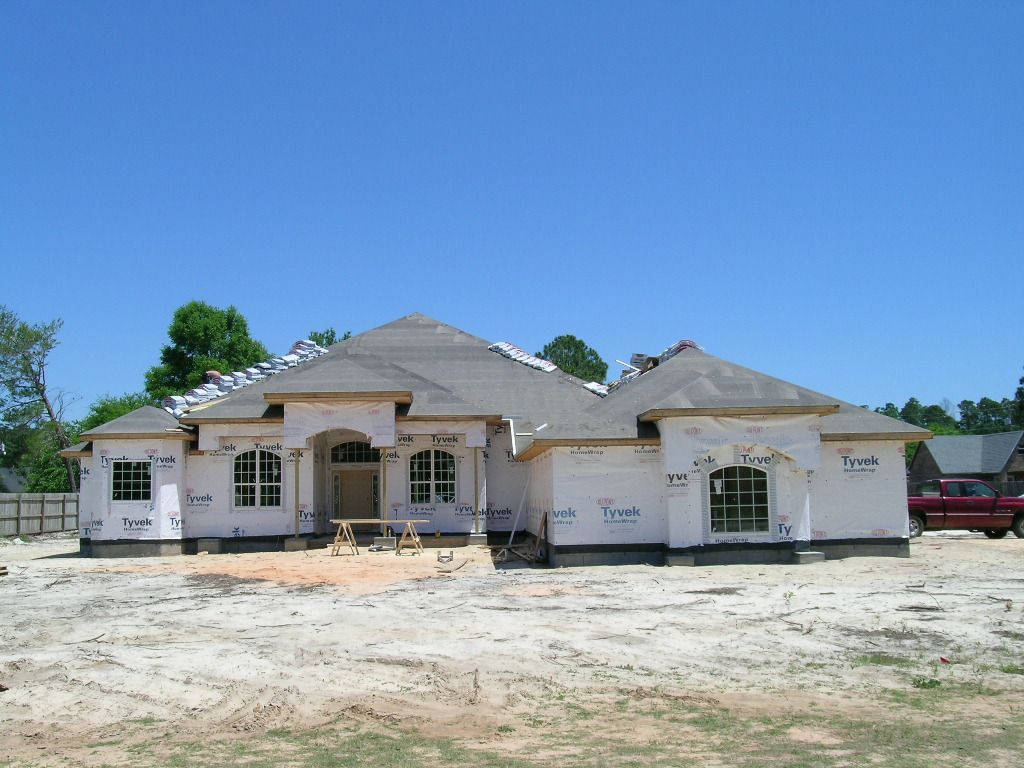
Sanders residence
This 3145 SF home in Holley by the Sea has plenty of room for large family gatherings. Storm-tuff construction features and a safe room make it safe for the owners not to have to evacuate during hurricanes. Mike is an avid fisherman so he’s getting a detached boat house and shop in the back yard. The shop has a bathroom, AC, and heat. Should make a nice man cave. Both are active in their church and placed verses in the foundation and wrote some on the framing during construction. You can see them placing their verses in the foundation in the first job photos.

This is a modified version of the Fishman plan using brick with stucco accents.
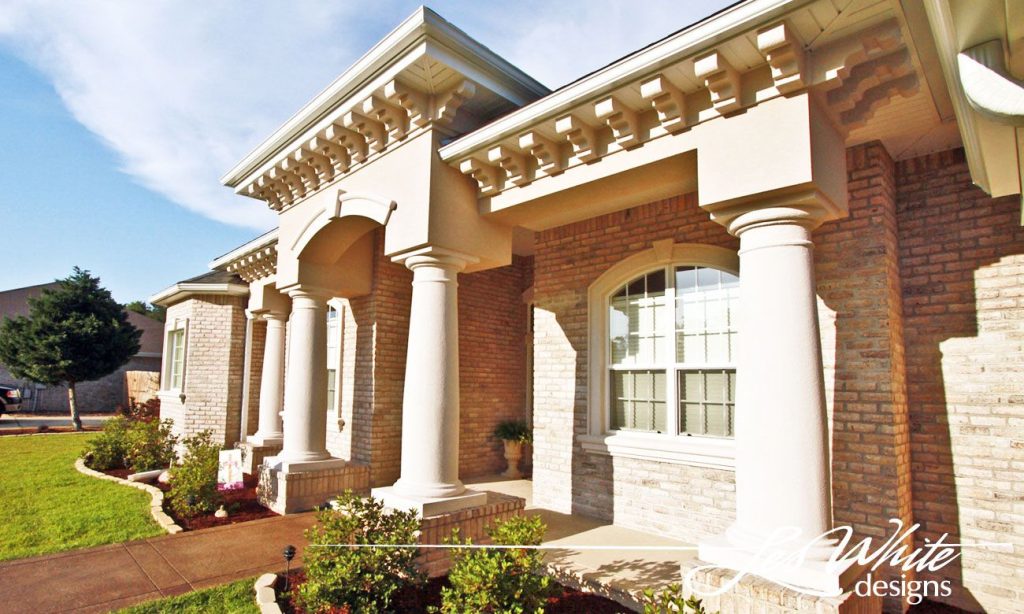
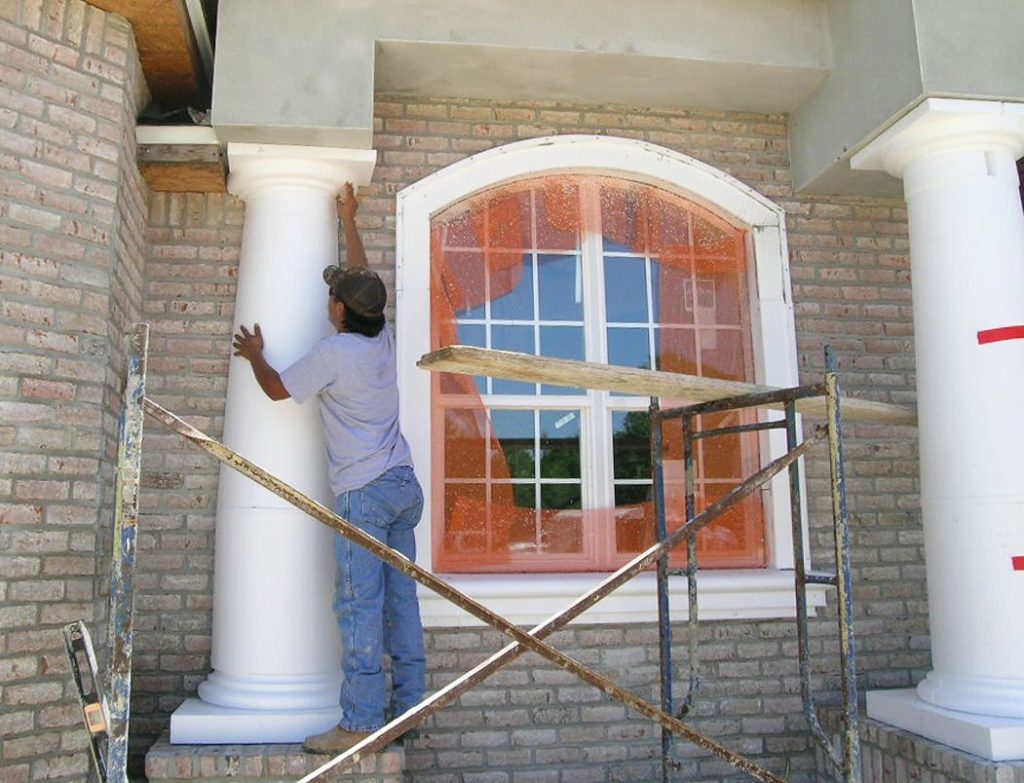
Front porch detail
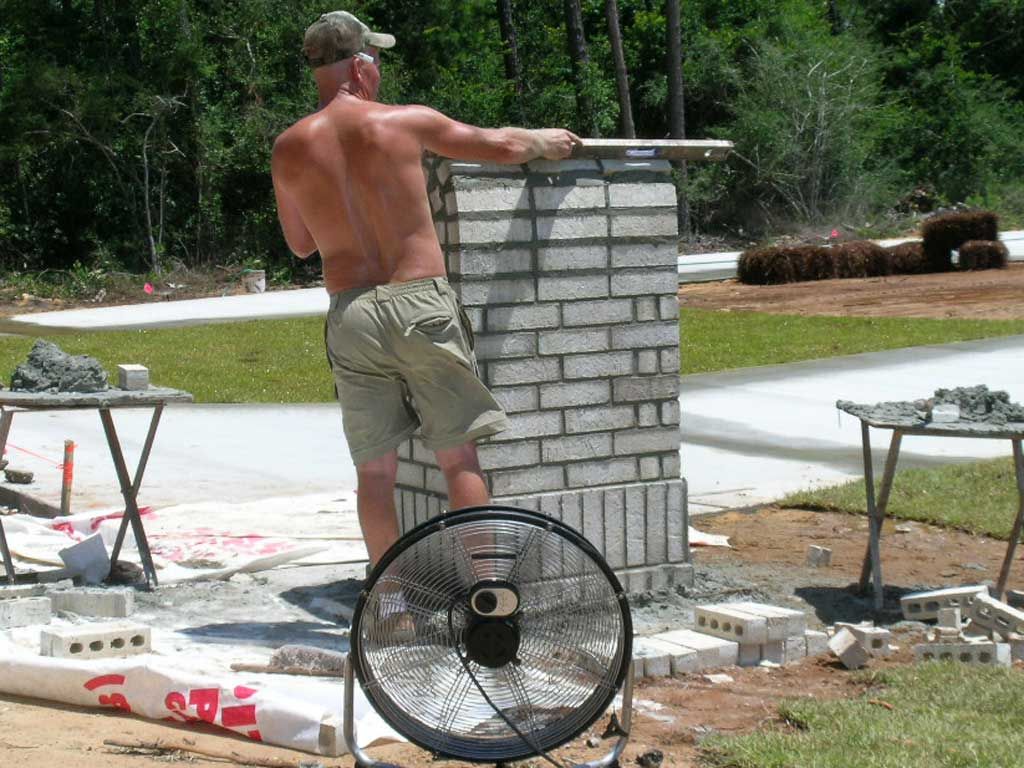
Mr. Sanders has a nice detached boat house and shop in the back yard.
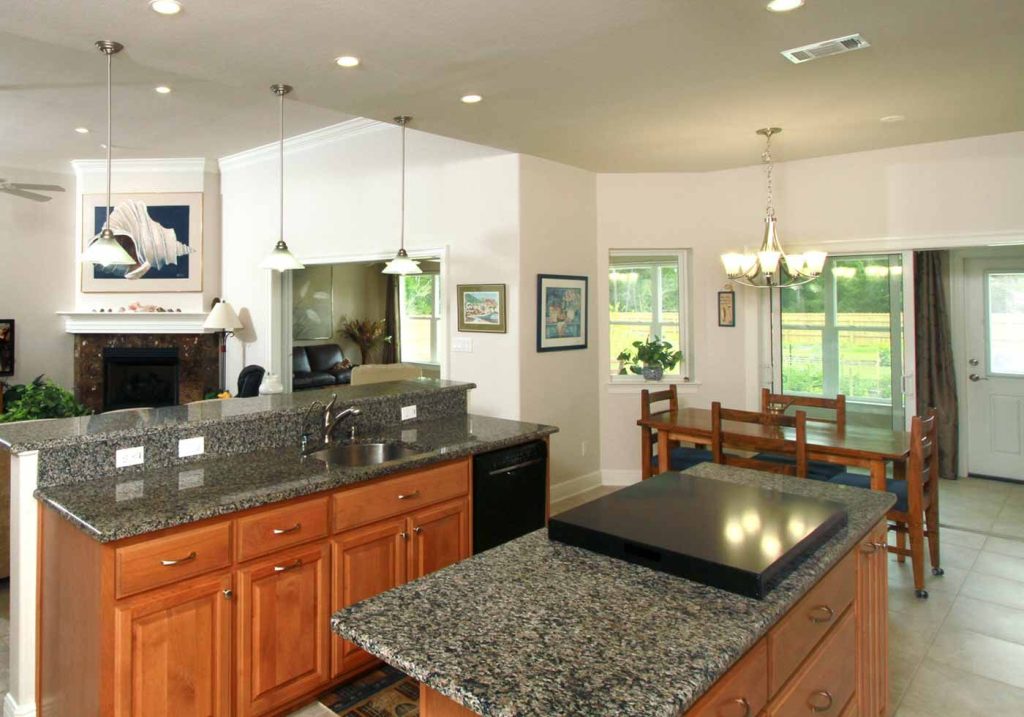
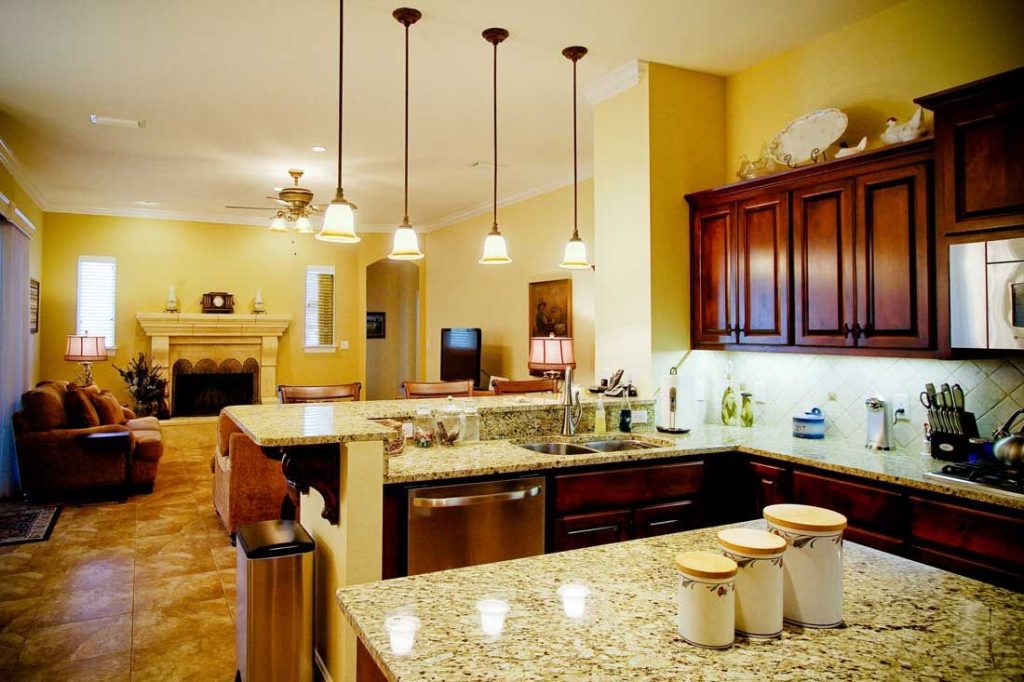
The island and bar overlooks the family room. The family room and breakfast nook connects to the sun room through sliding glass doors.
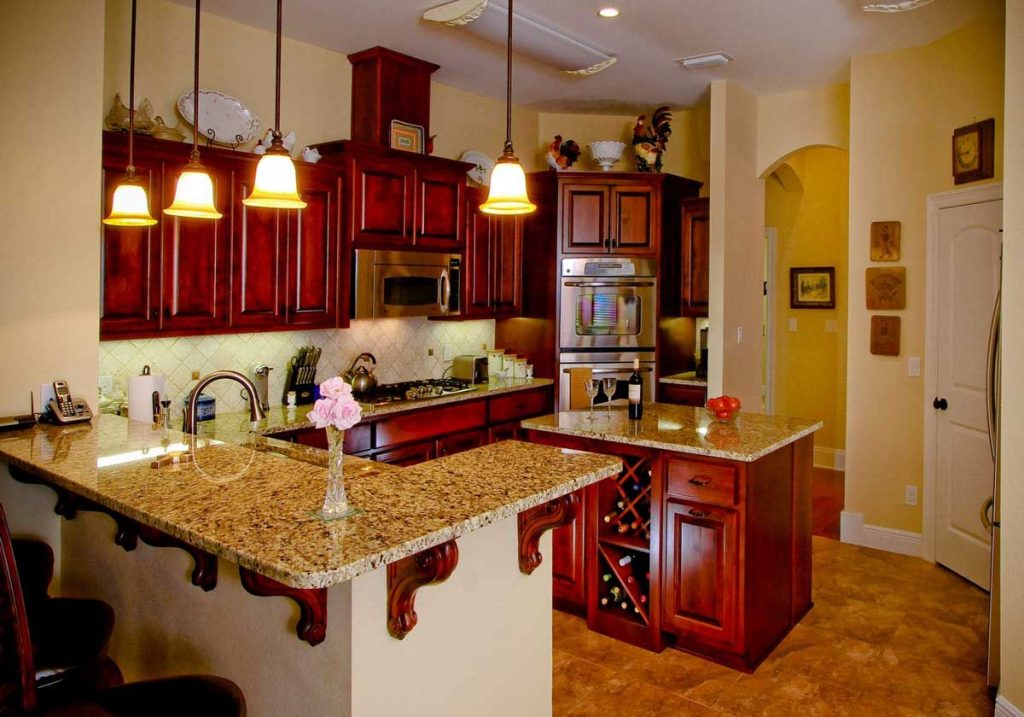
Kitchen
Family room
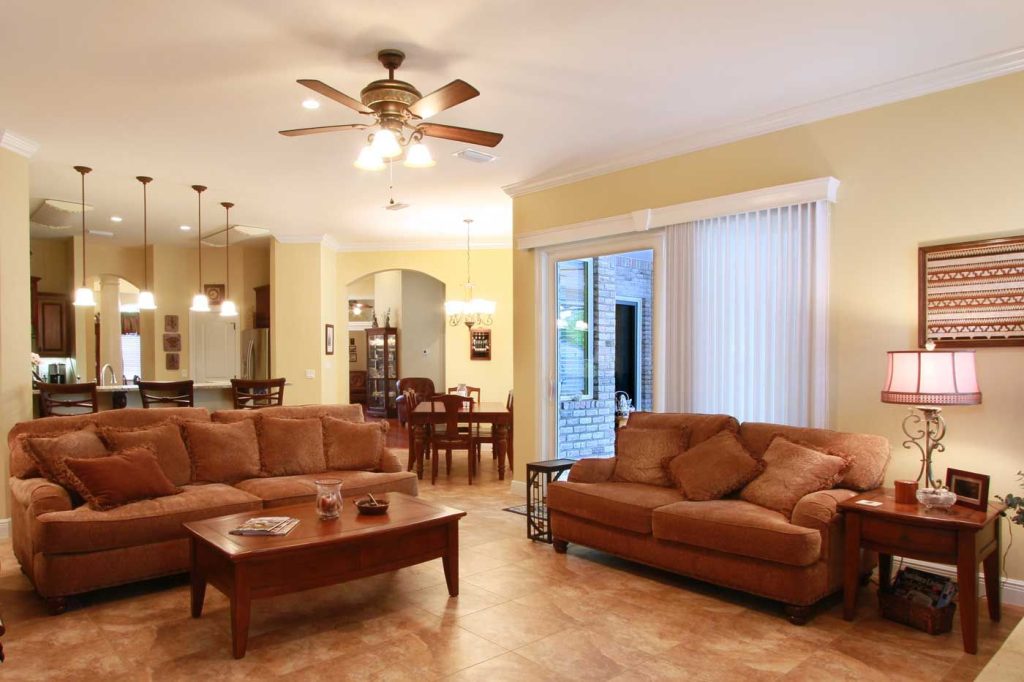
Family room
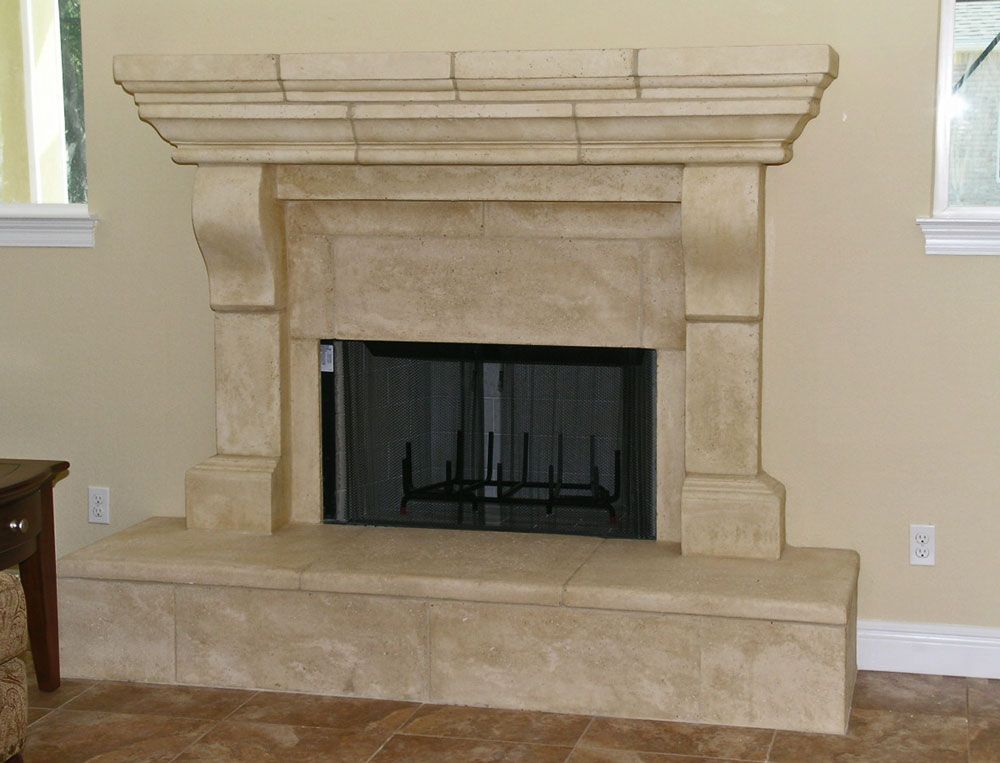
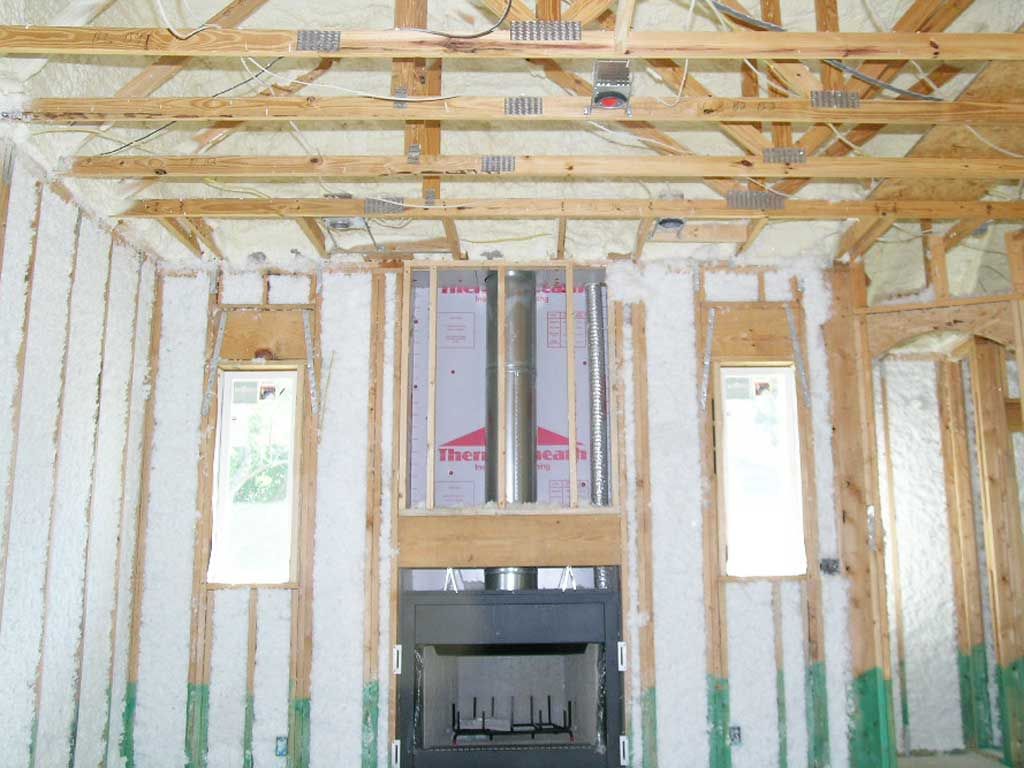
Cast stone fireplace in the family room
Mike trying to stay cool while building the mail box.
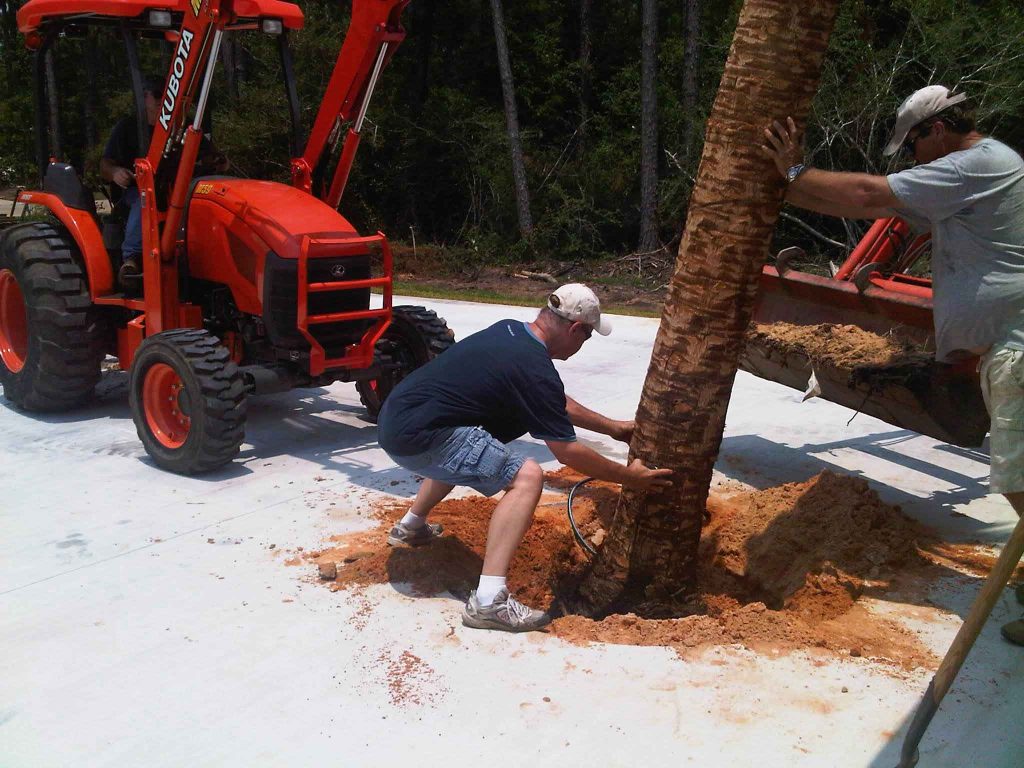
Newkirk Landscaping installing a palm in the front yard.
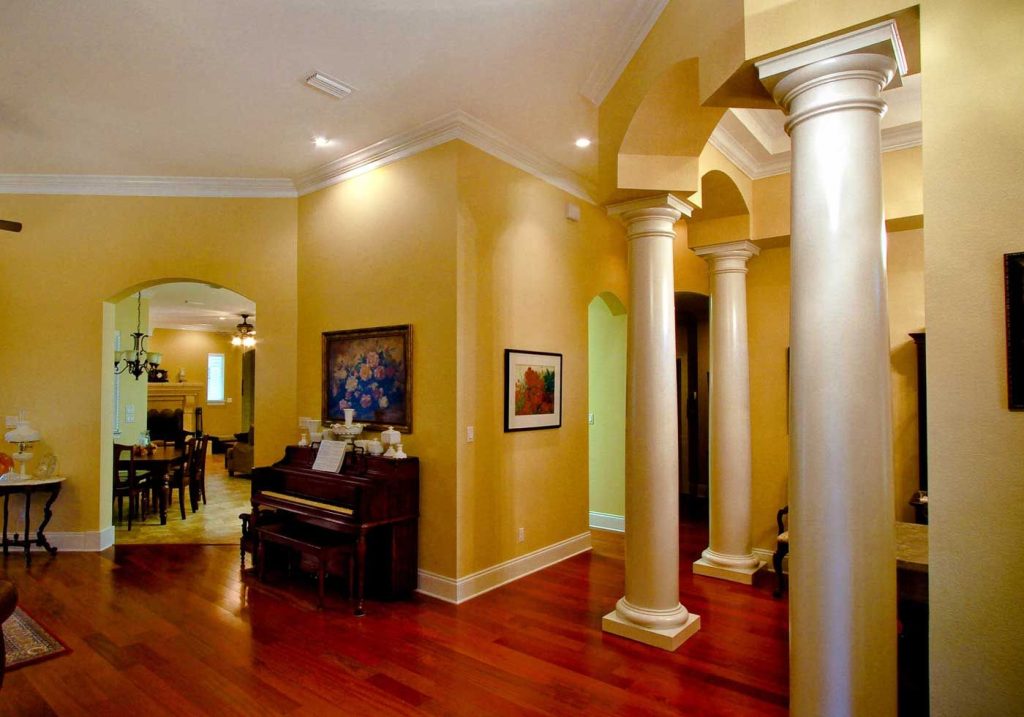
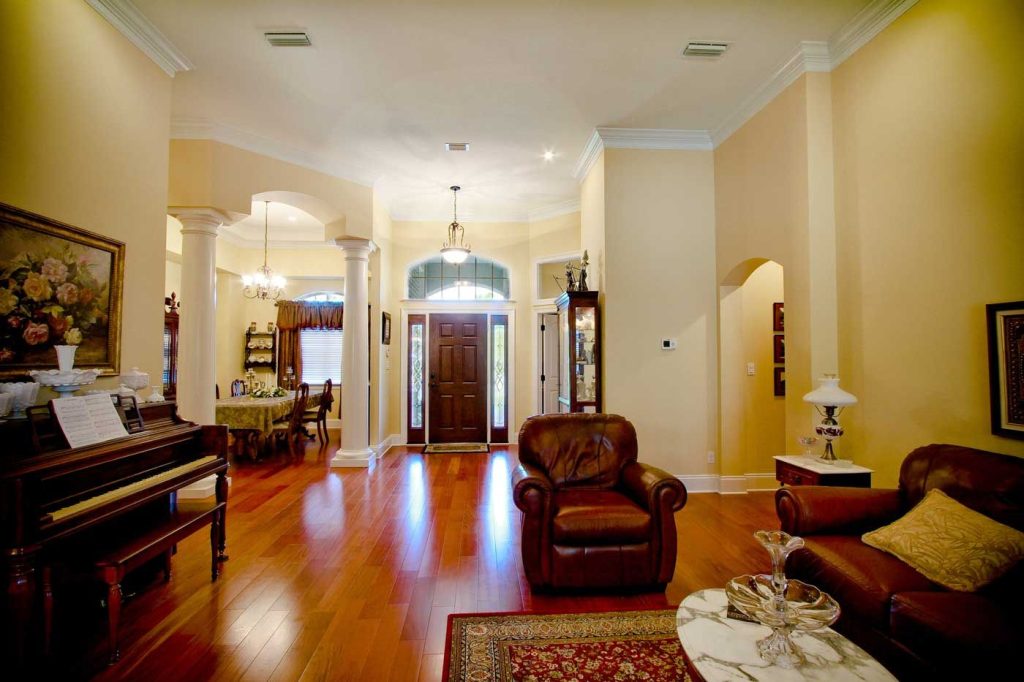
Living room
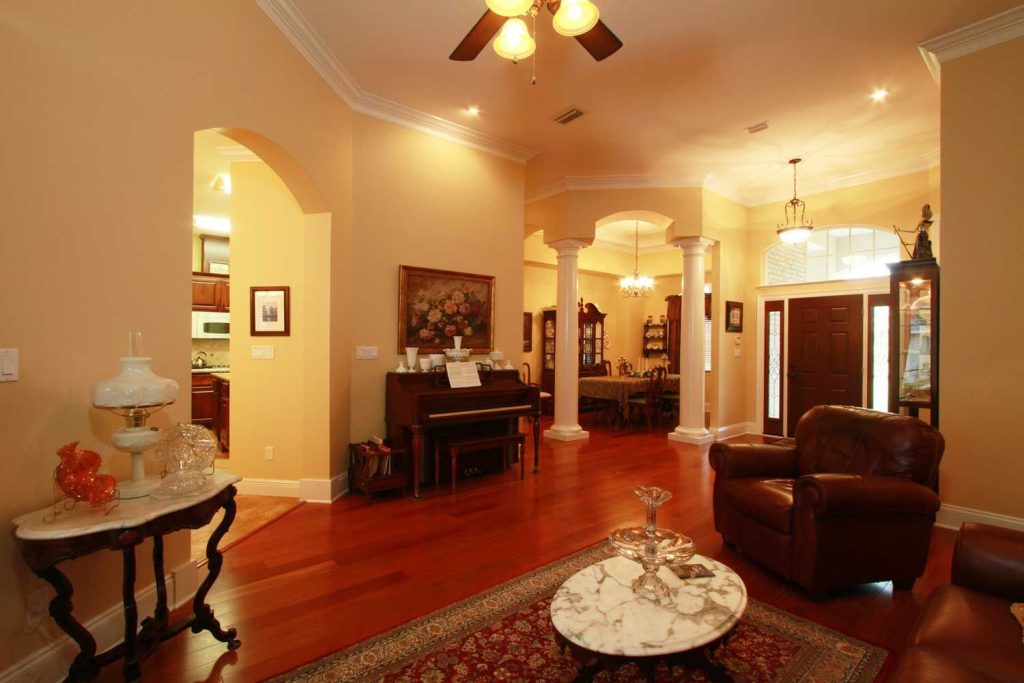
Living room
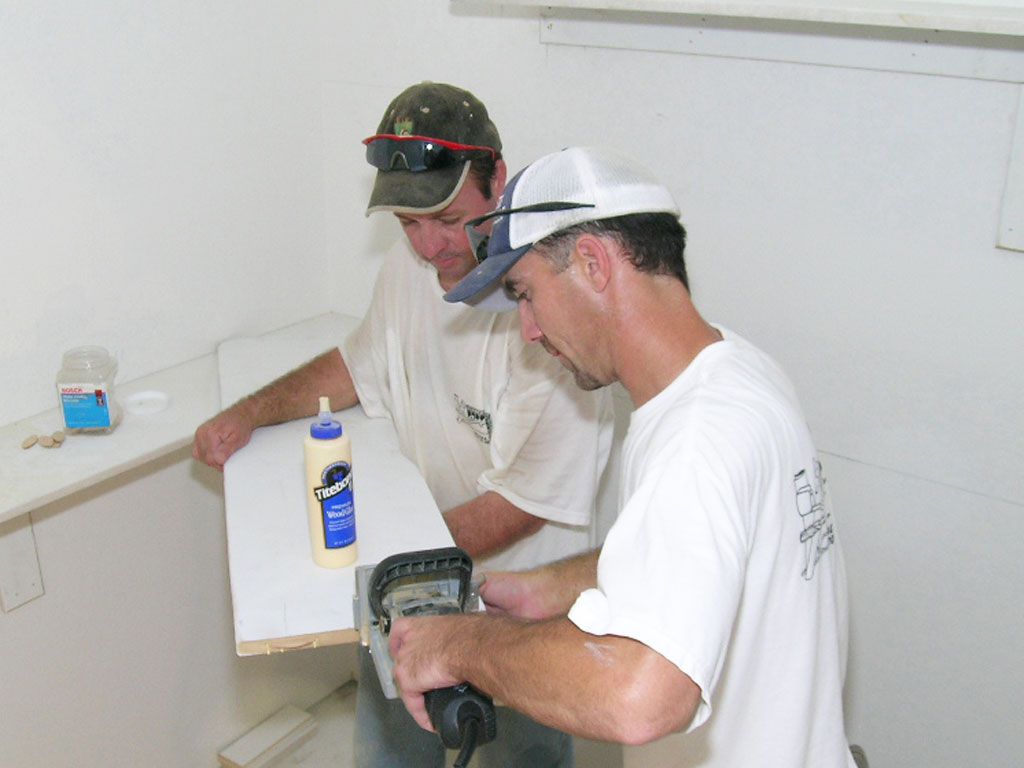
Darin cuts a grove in the shelving board with a biscuit cutter. William assisting

Darin glues a biscuit into the shelf end to make a solid connection to the next shelf.
Living room
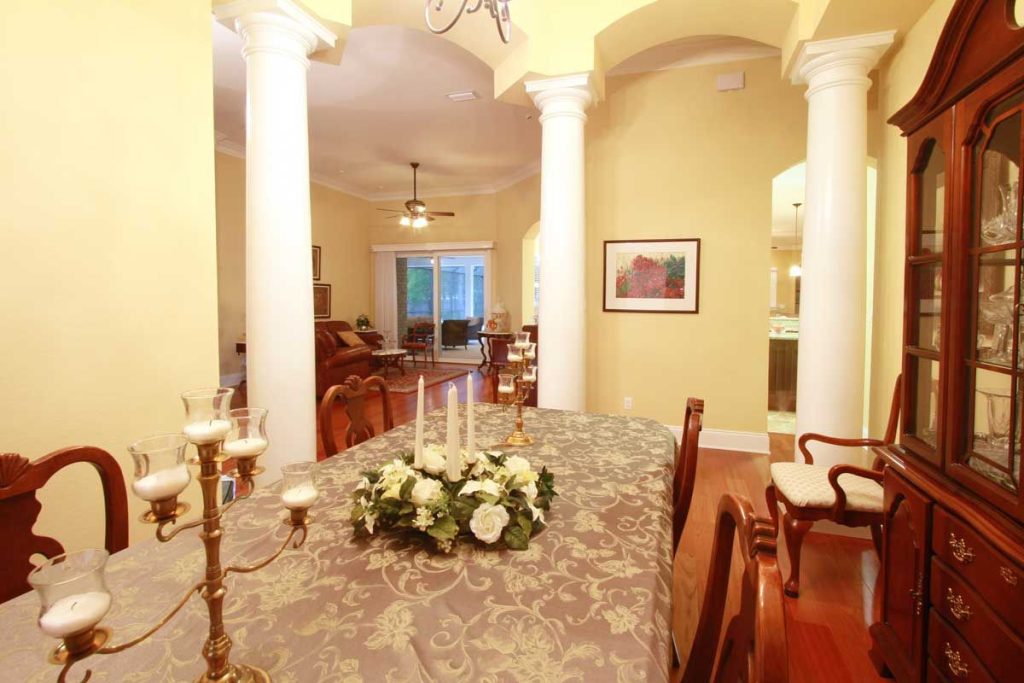
Dining room
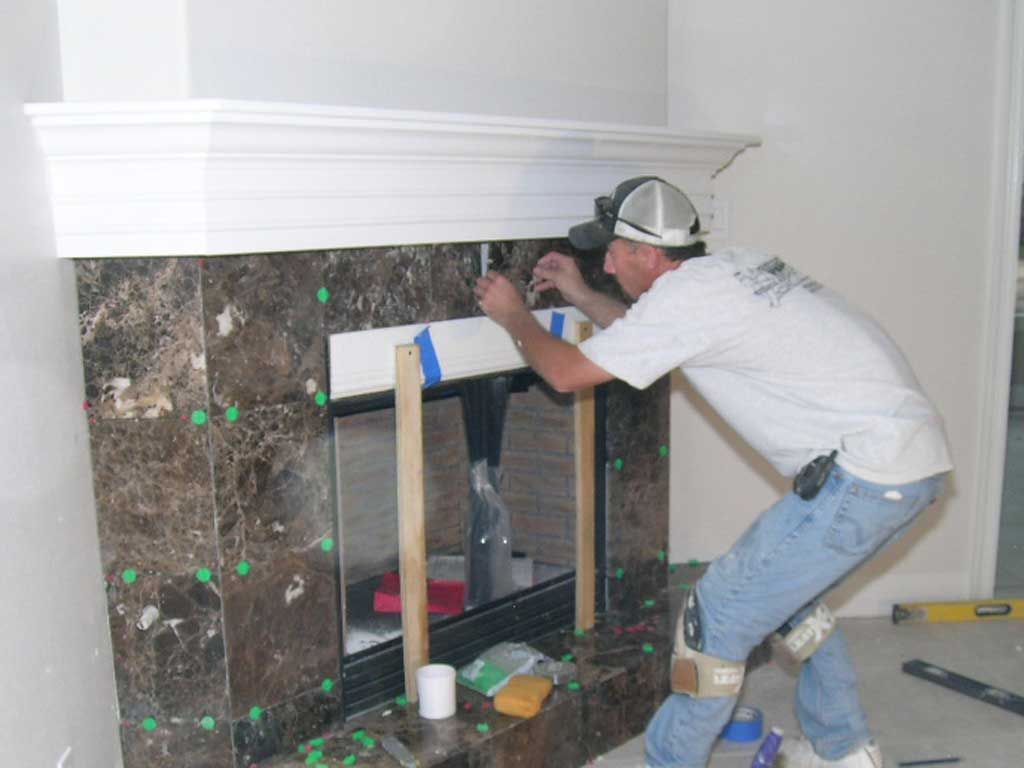
Darin sets the last tile on the marble fireplace surround.
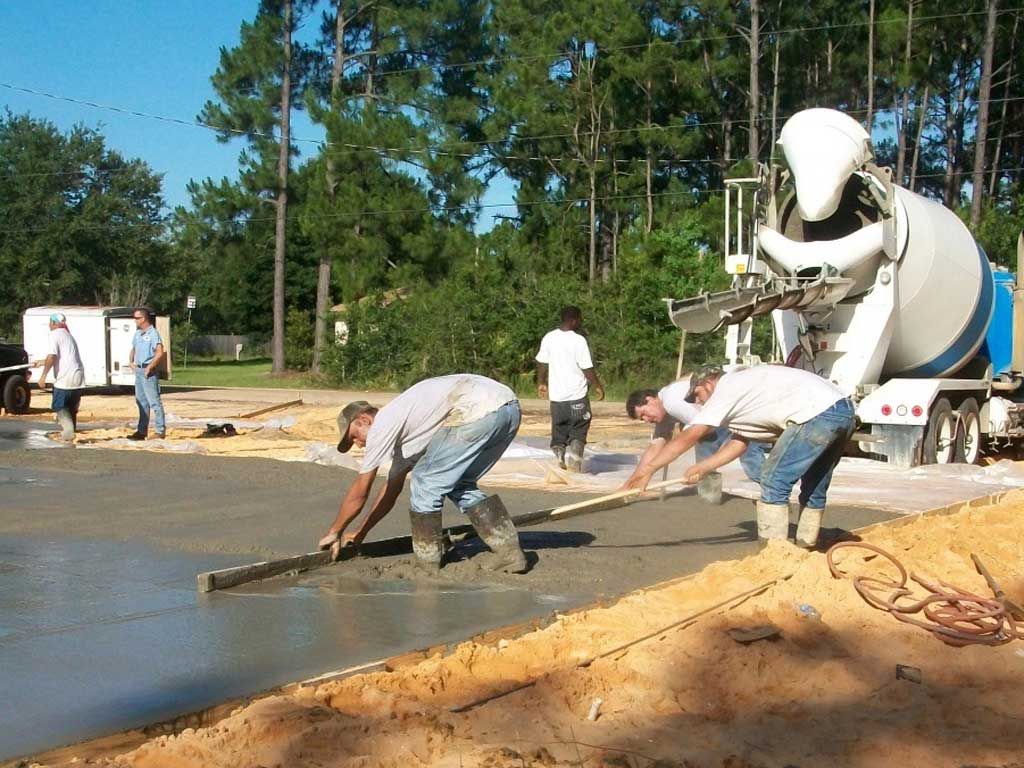
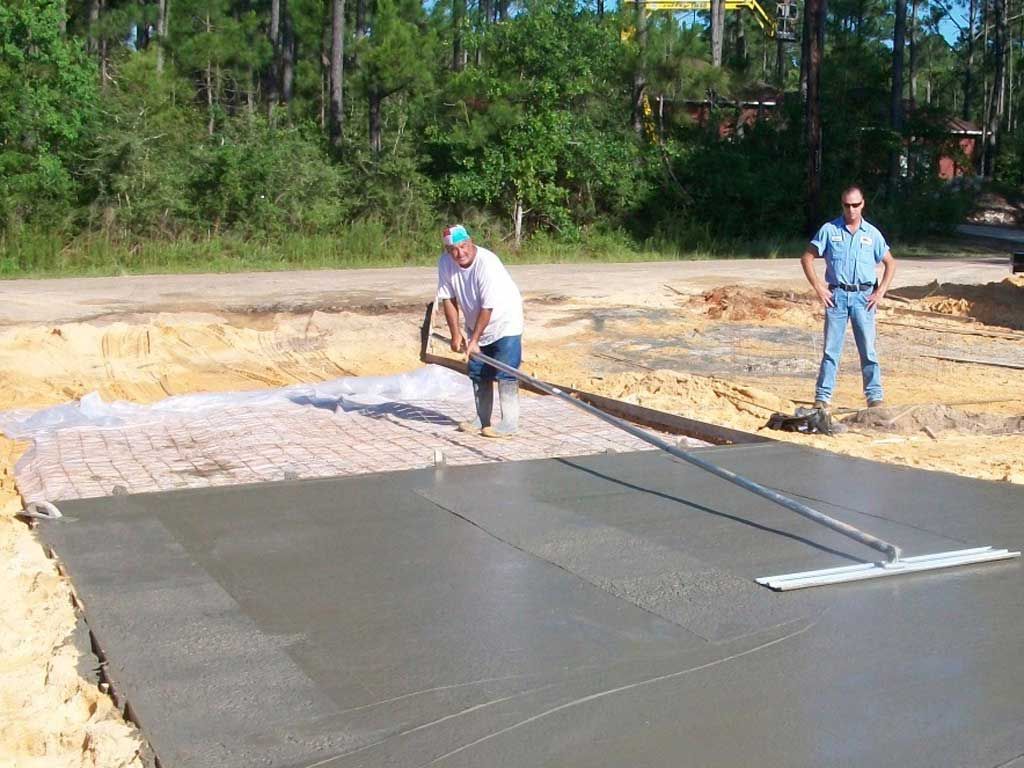
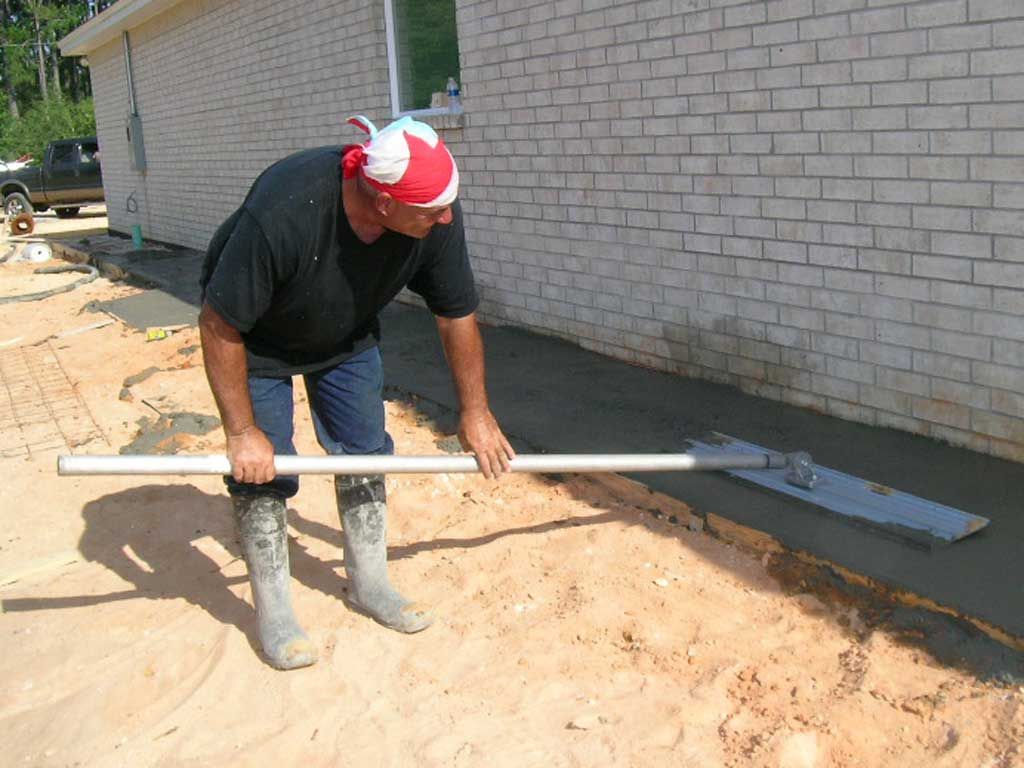
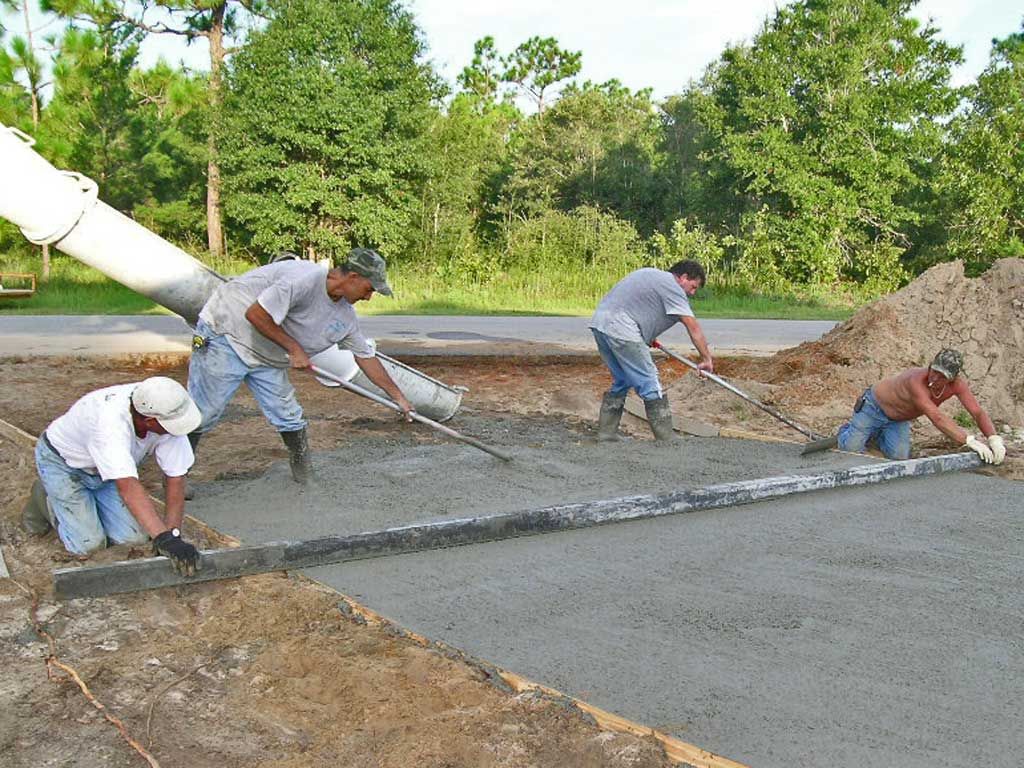
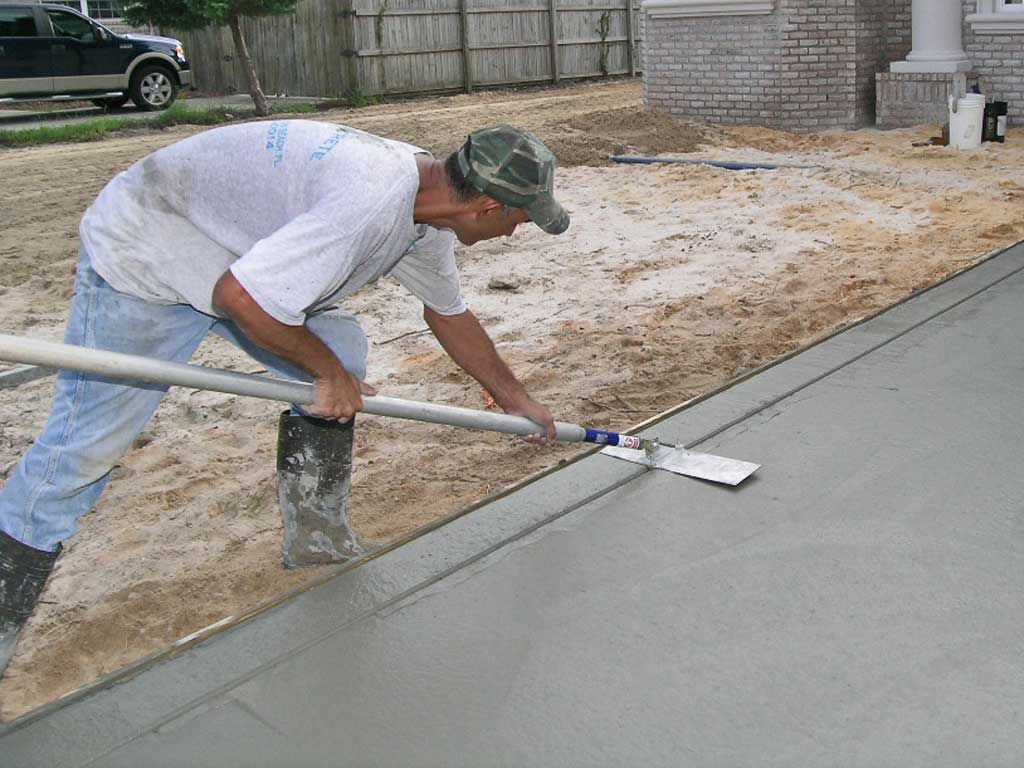
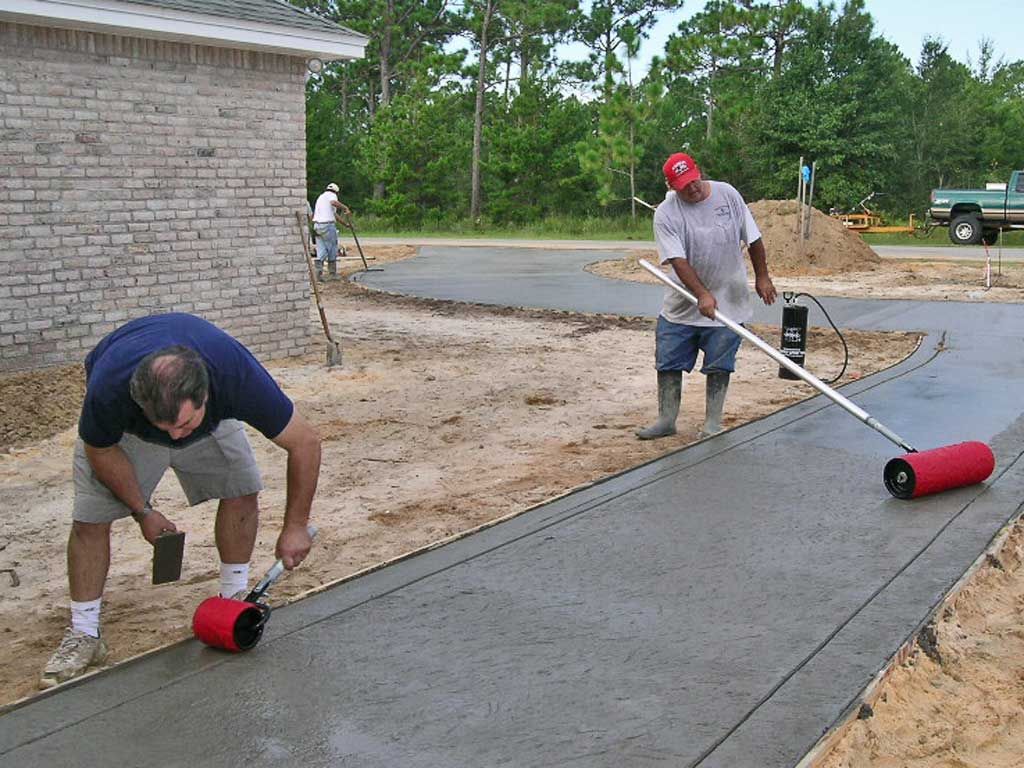
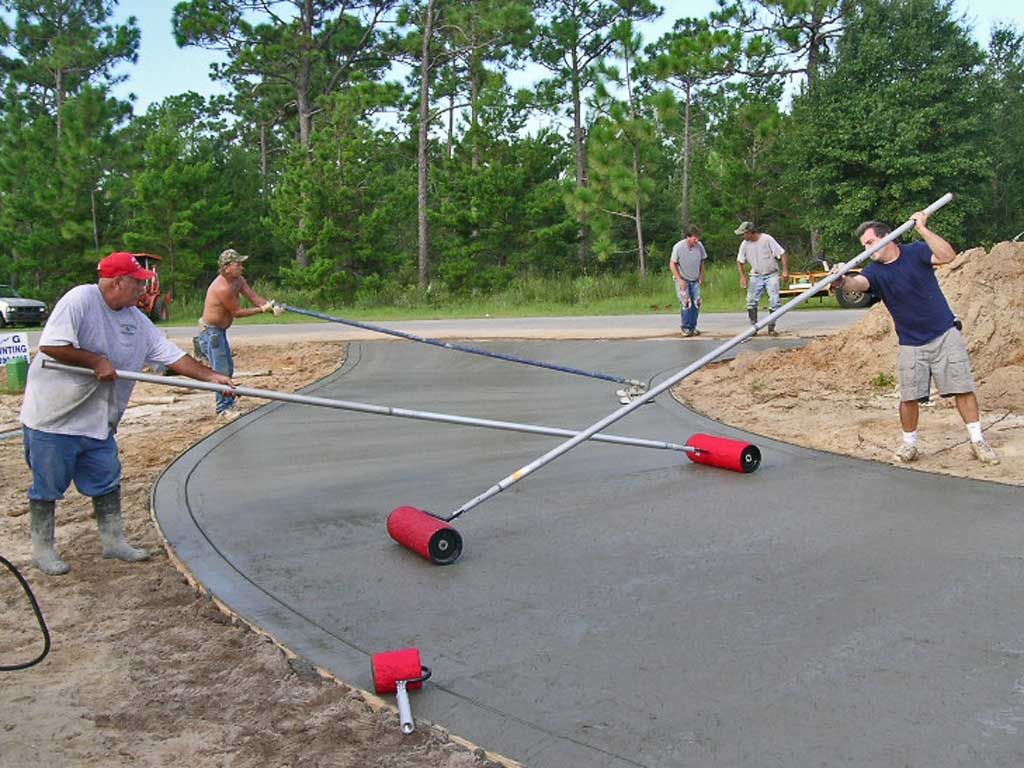
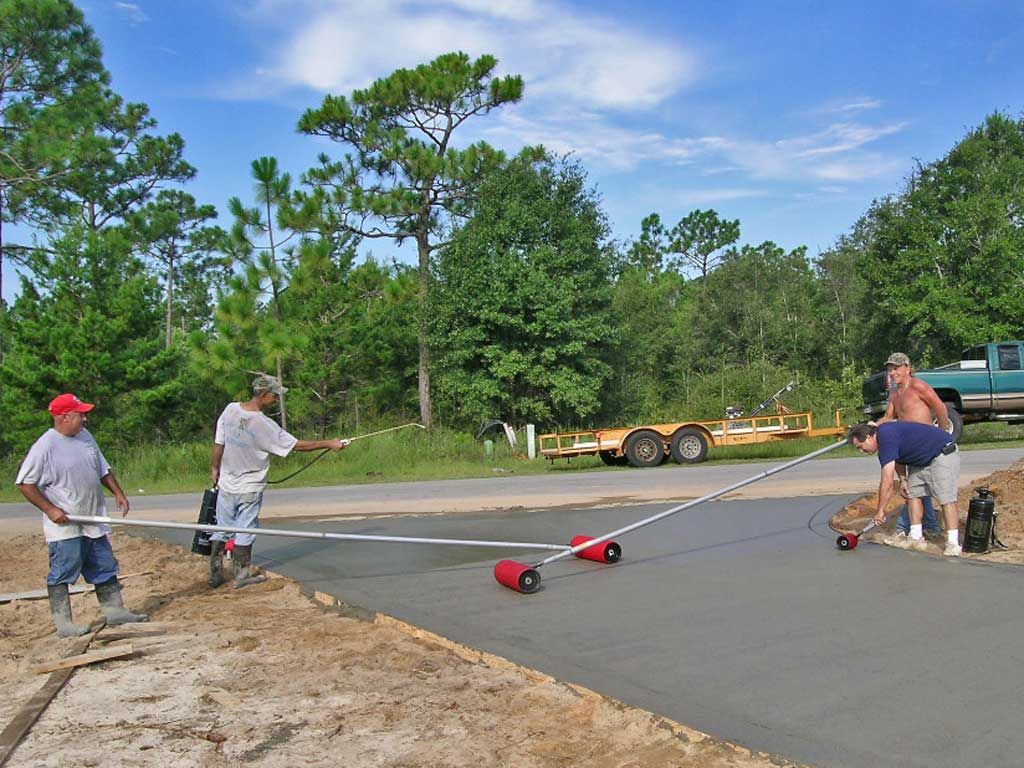
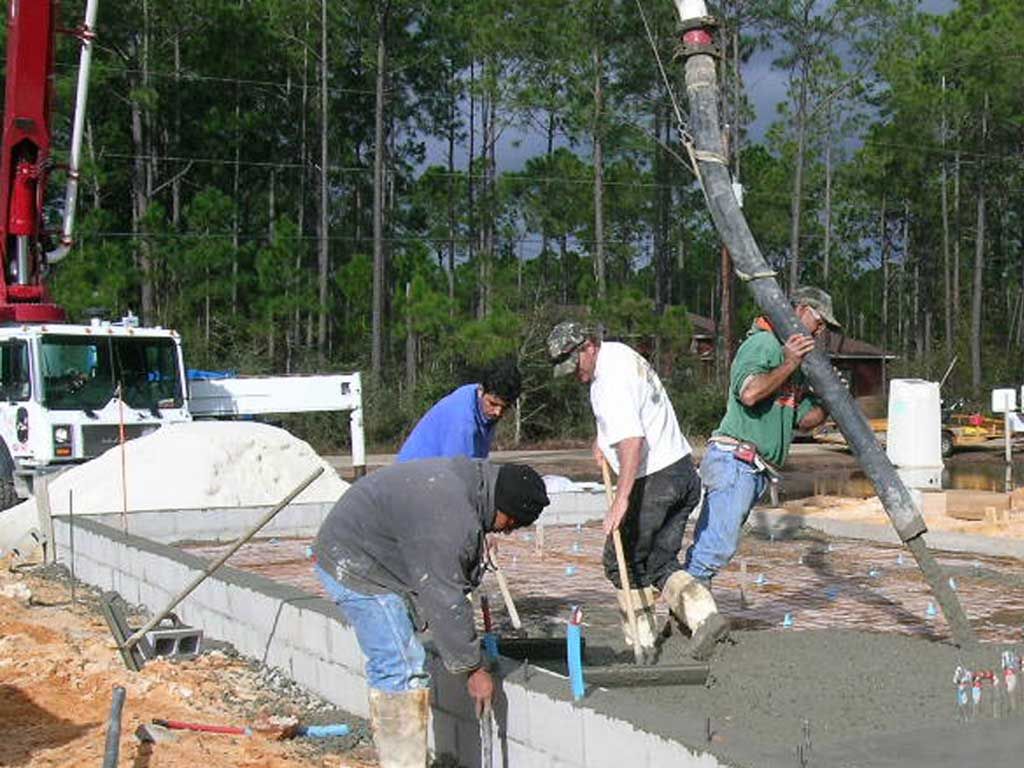
Pouring the driveway.
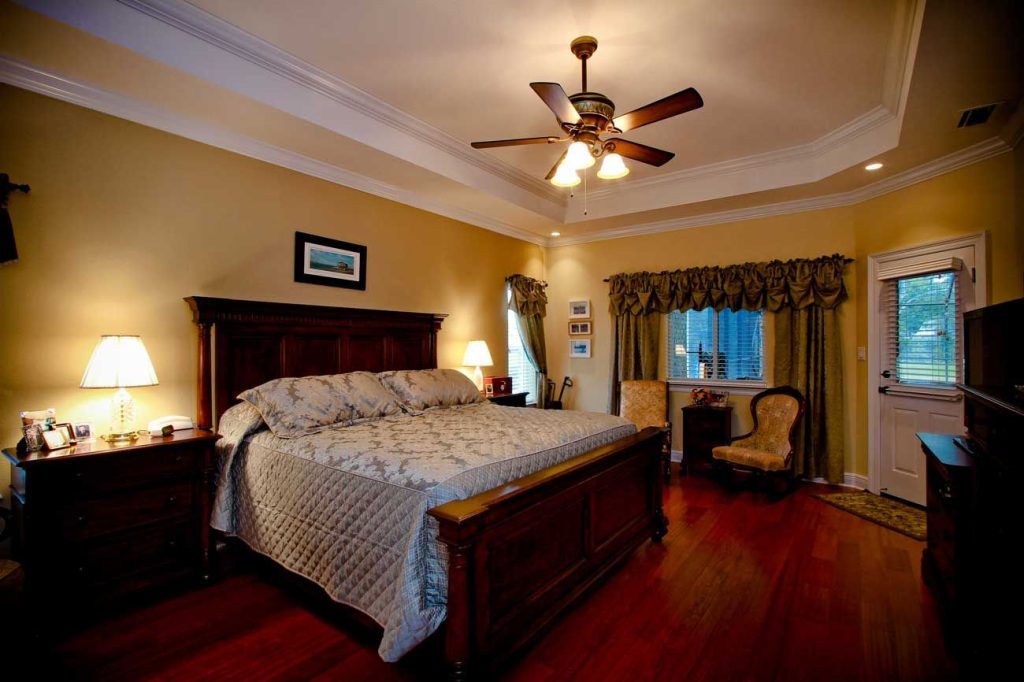
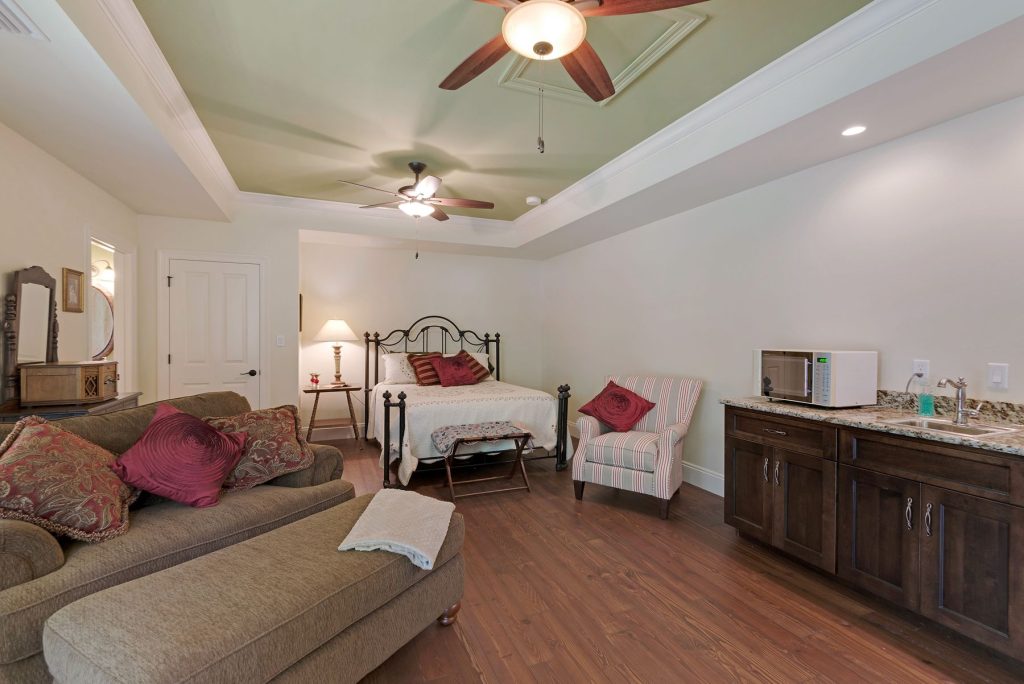
Master bedroom
Gomez on the bull float.
We used framed mirrors from lowes.

Frameless shower doors are a lot easier to keep clean.
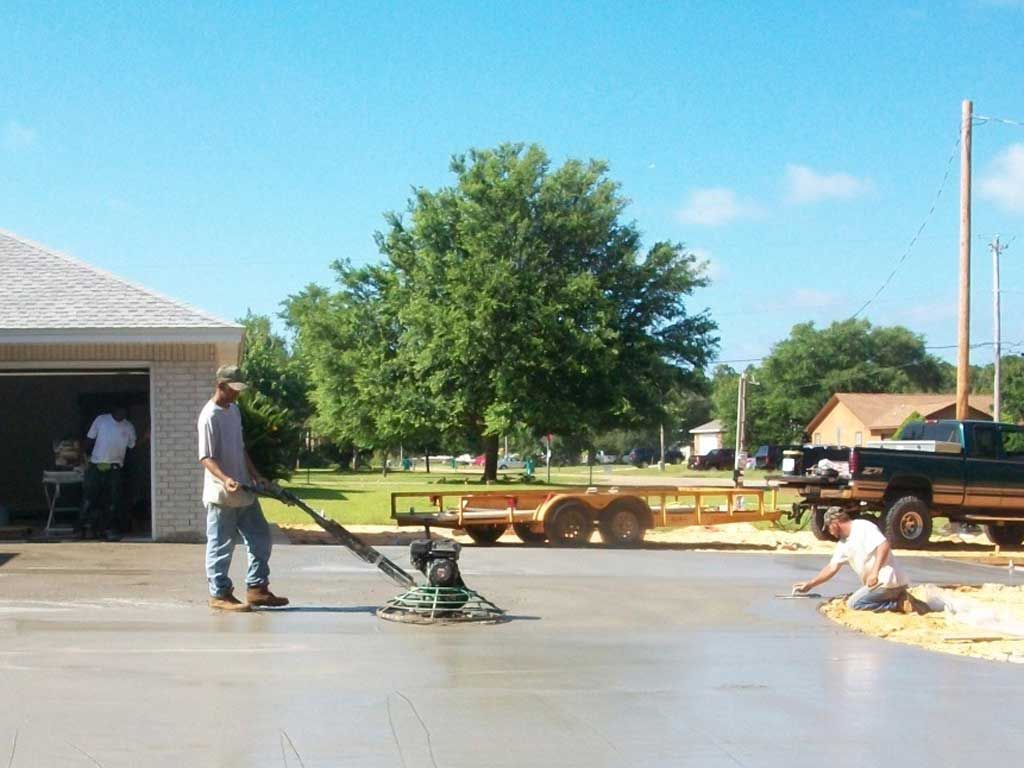
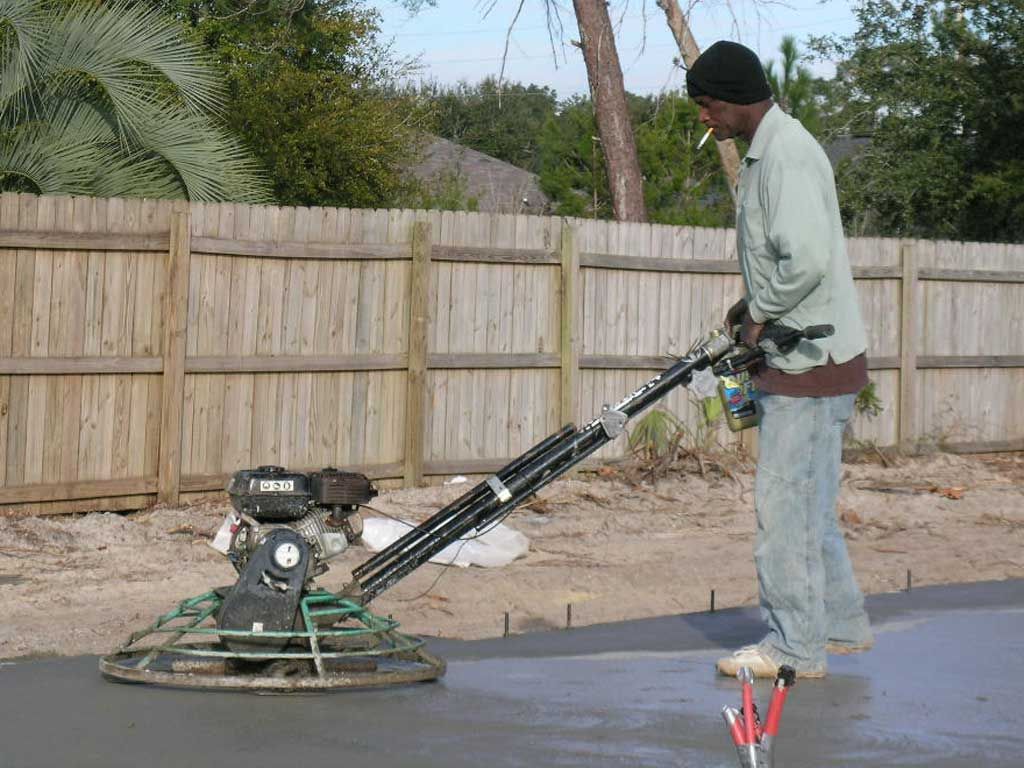
Junior on the rotary trowel.
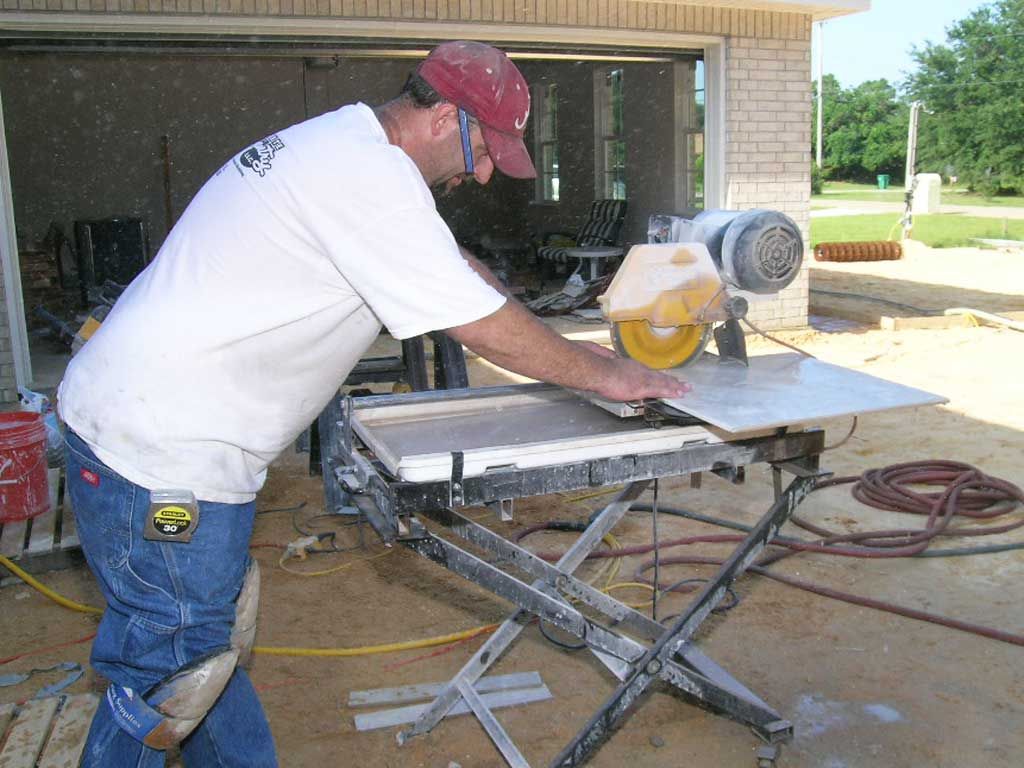
Jason cutting floor tile.
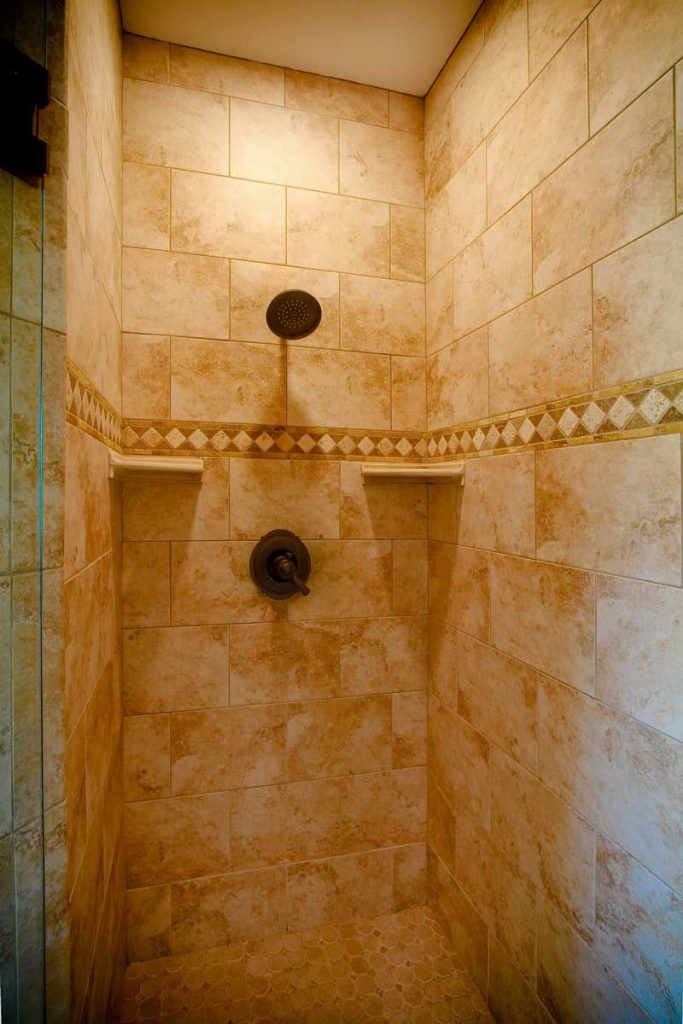
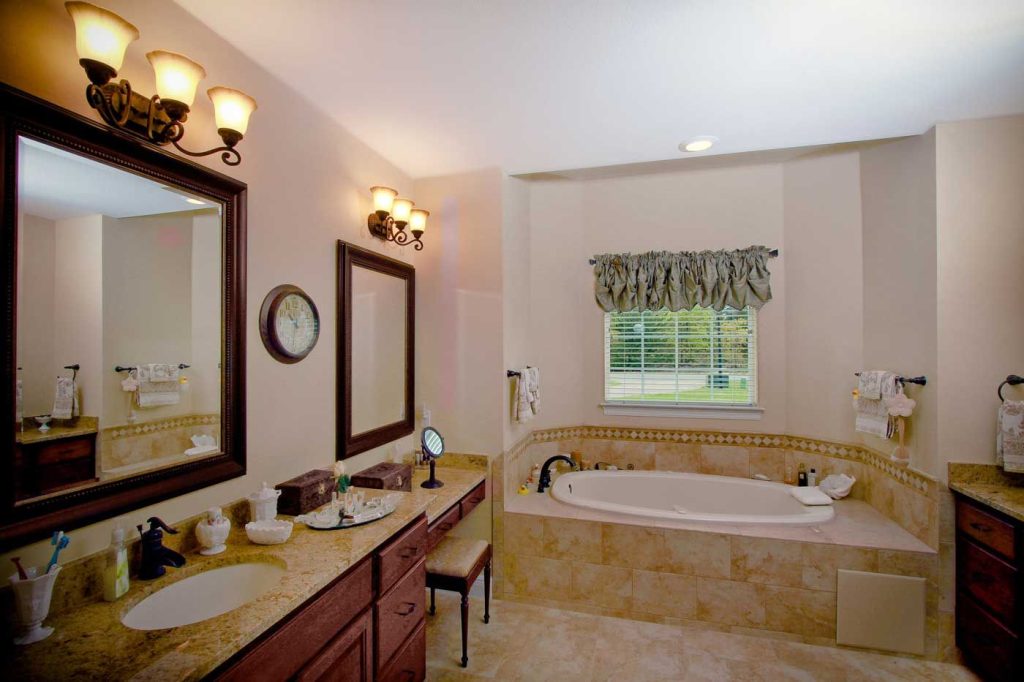
Tile shower with travertine feature strip.
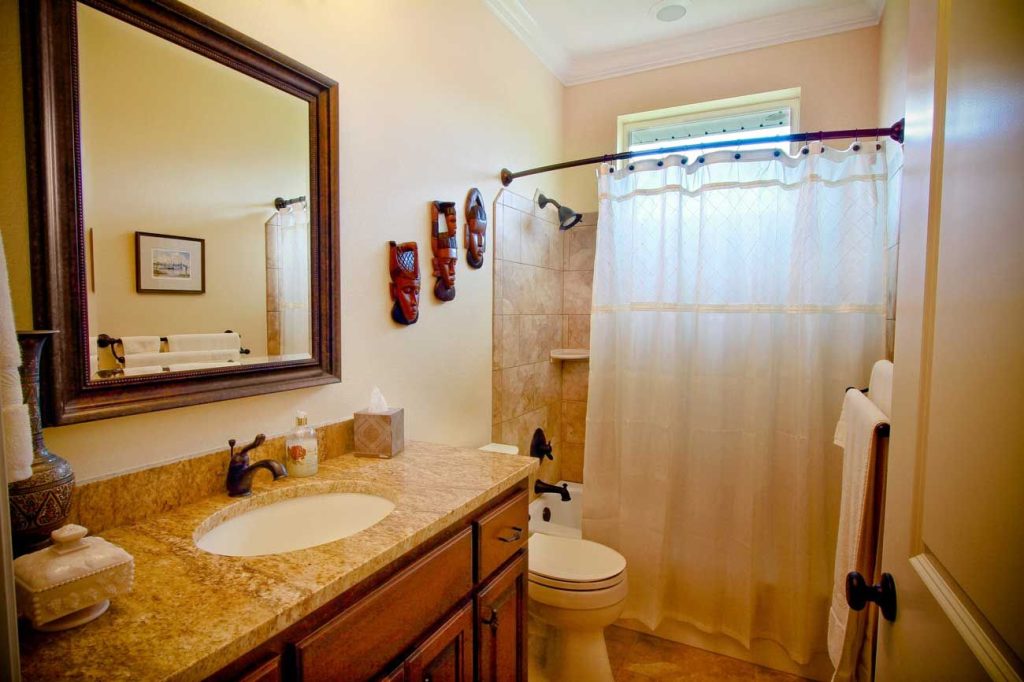
We used framed mirrors from Lowes and Home Depot for the bathroom mirrors.
Gomez bull floating the walkway. The owners wanted walkways all around the house.
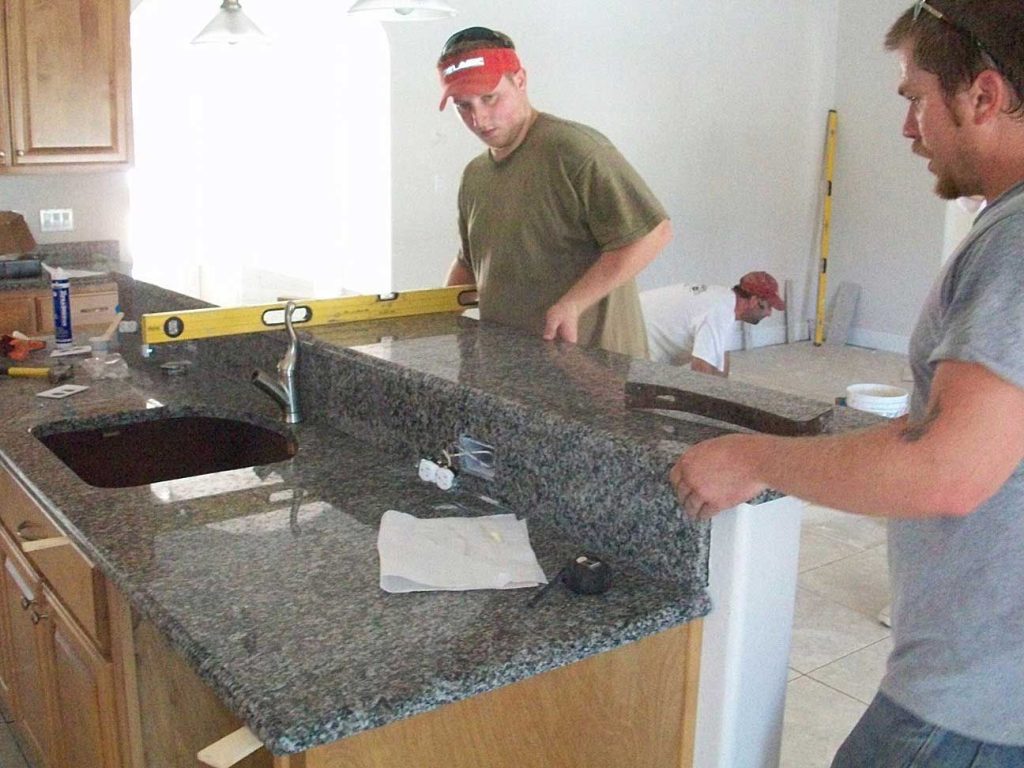
JR & Terry with Emerald Coast Granite installing the counter tops.
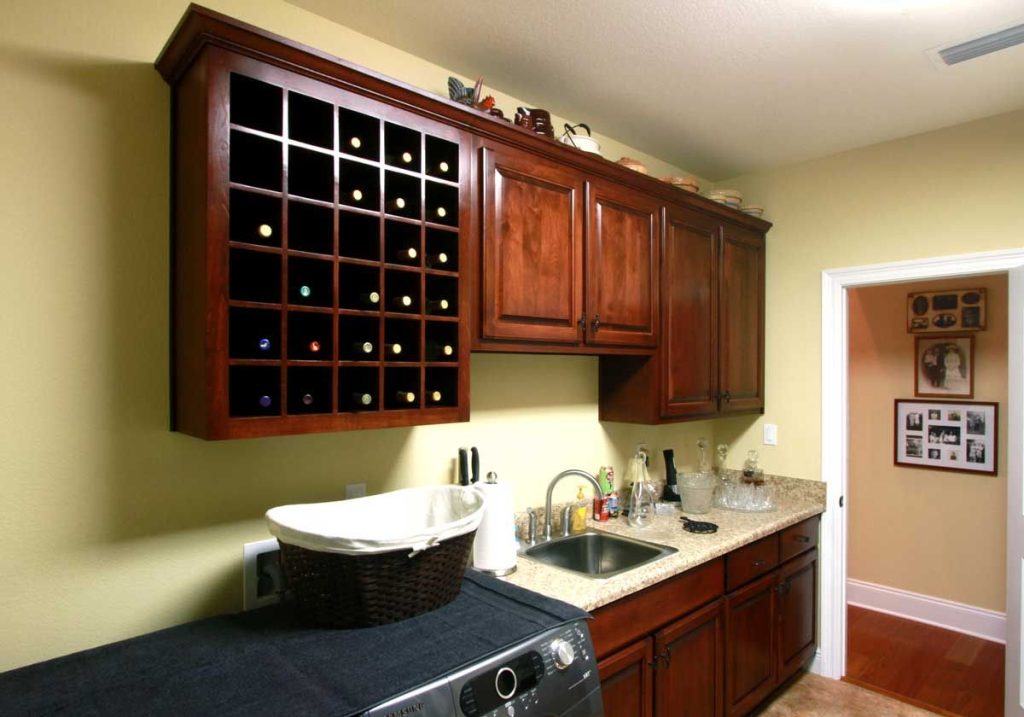
The Sanders wanted a wine rack in their utility room.

Aluminum pool enclosure.
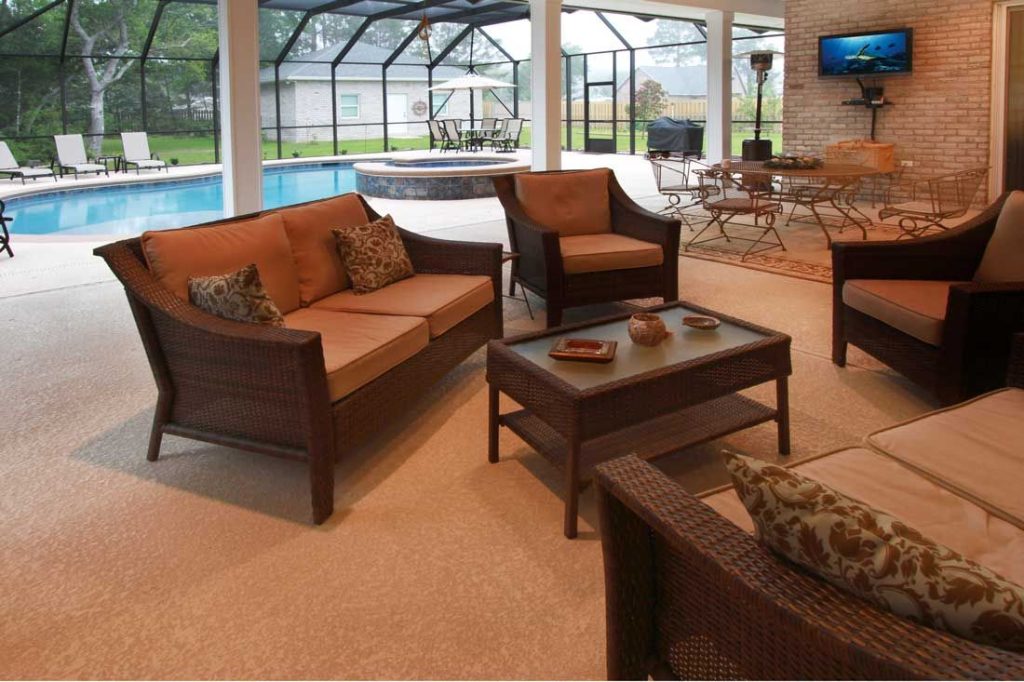
View from lanai out to pool.
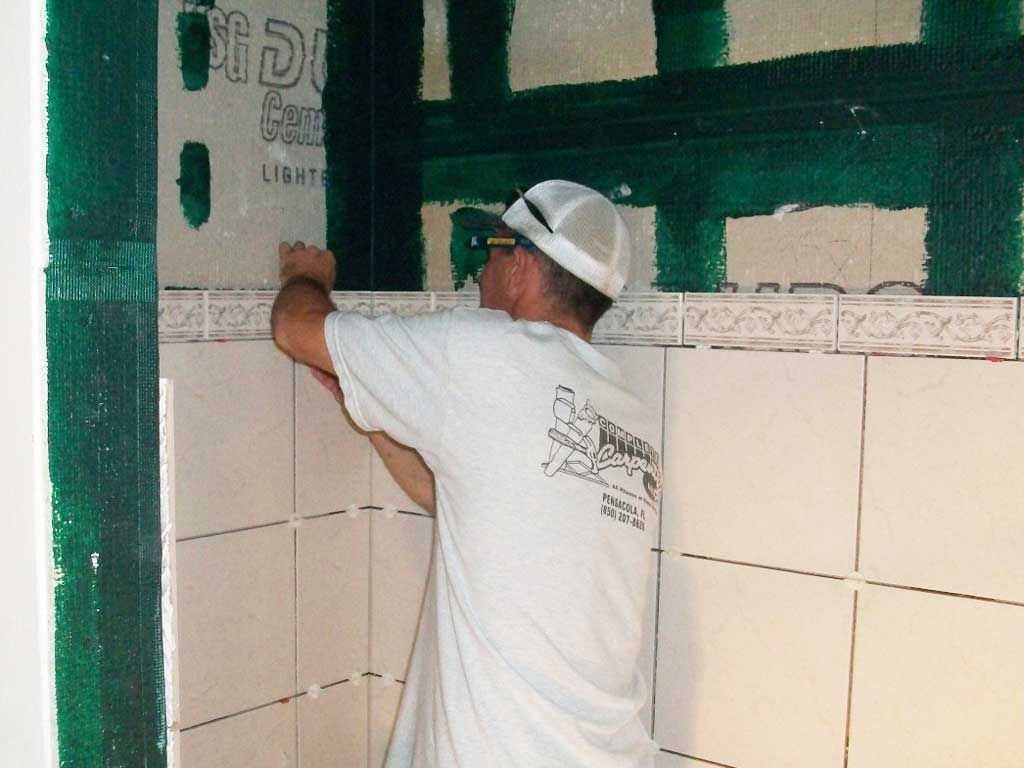
Darin installing the shower tile. Note the green aquaseal on the cement board which seals the joints.
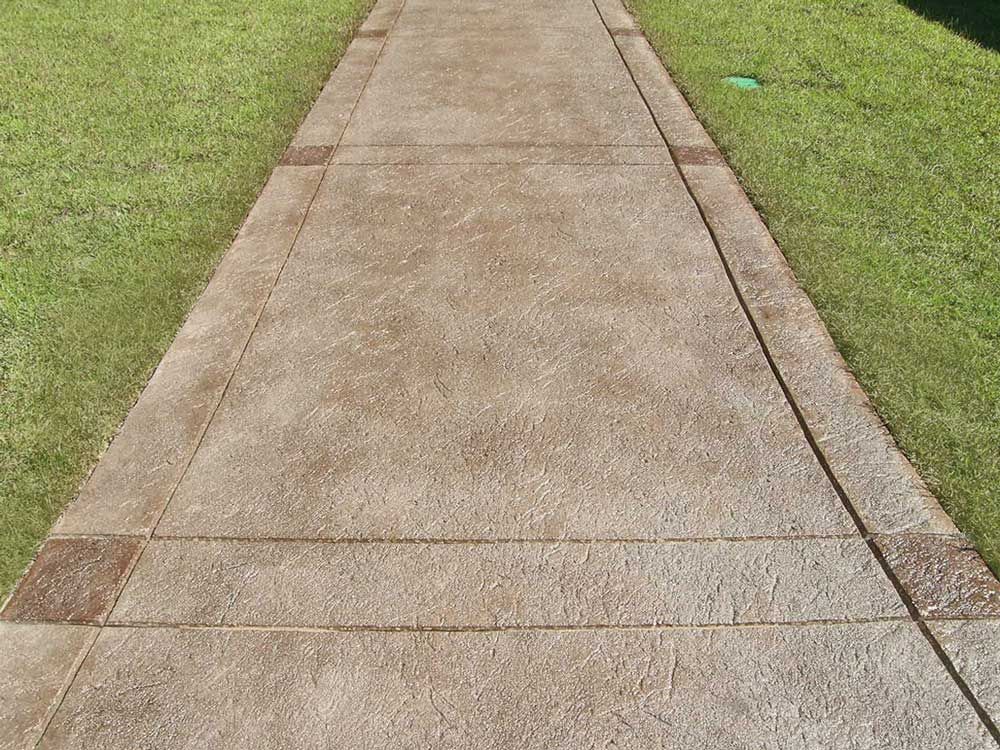
The stain brings out the textured surface and highlights the control joints which have been widened with a grinder to enhance their appearance. We put an extra application of stain on the border squares.
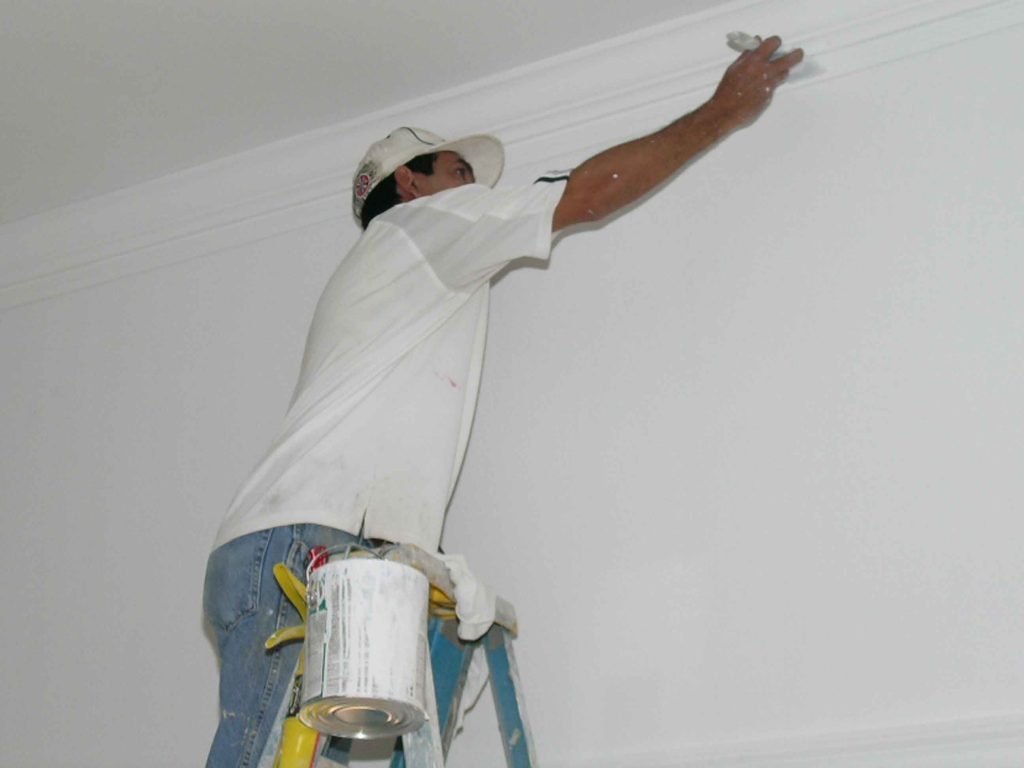
Jose running the crown. This is a 2 piece crown made of 5″ crown over inverted 4″ base. Makes a very nice effect on tall walls. We’re using it in the family room where we have 11′ walls.
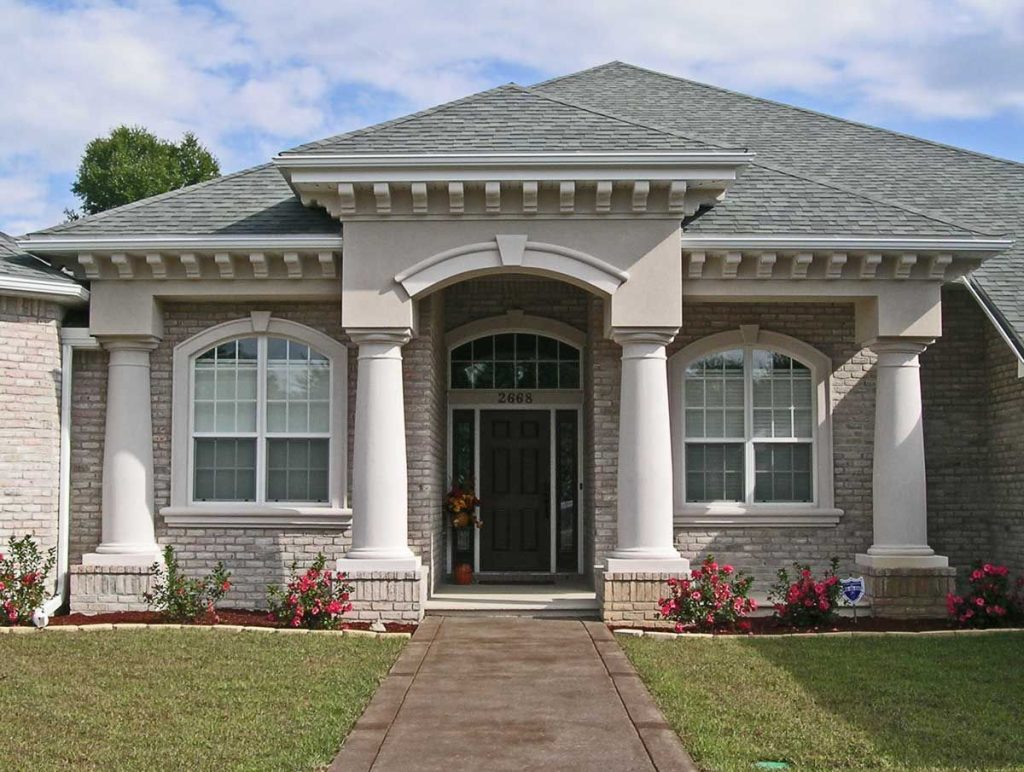
Front porch detail

Kingfisher
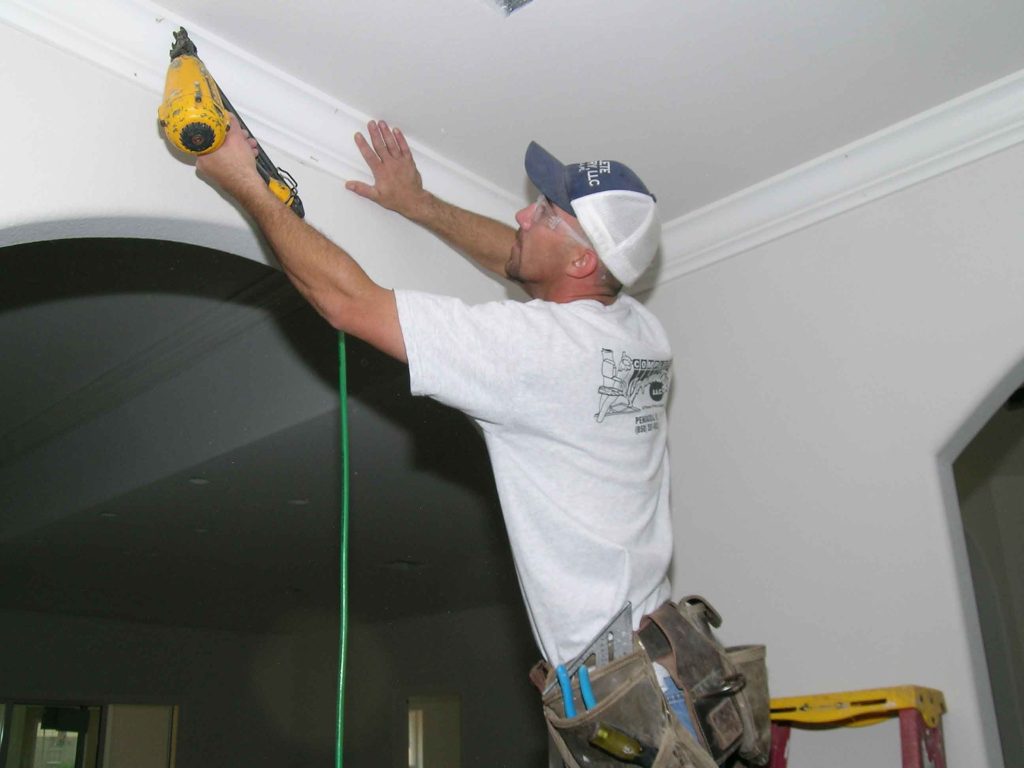
Darin installing the crown mold in the foyer.
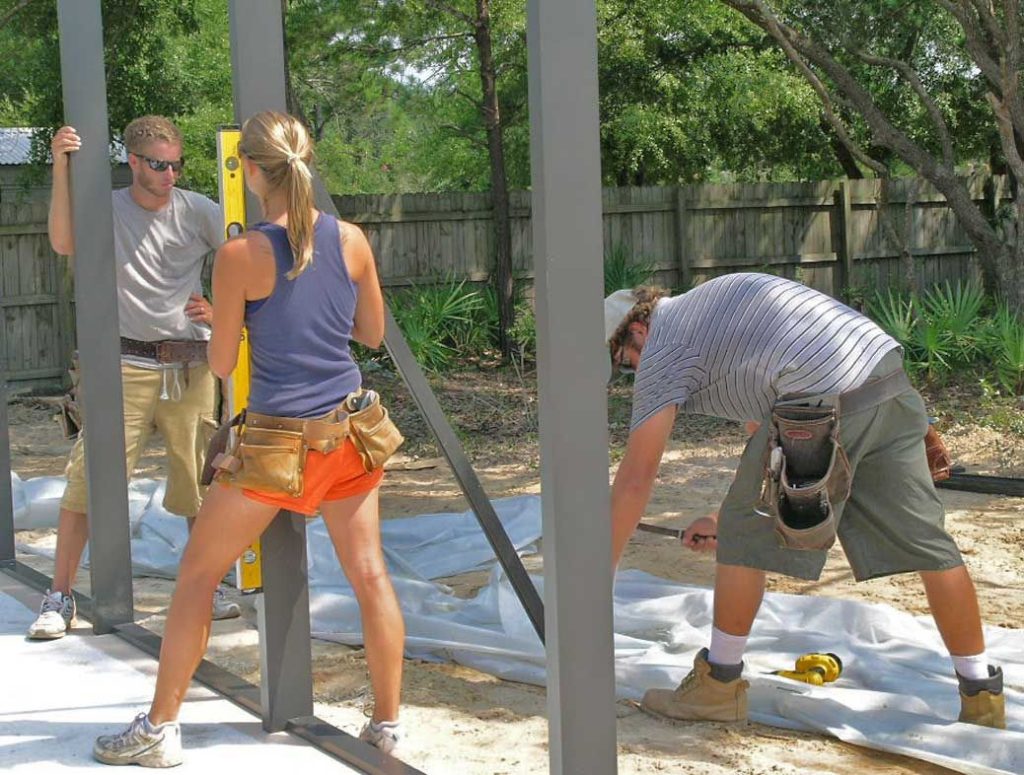
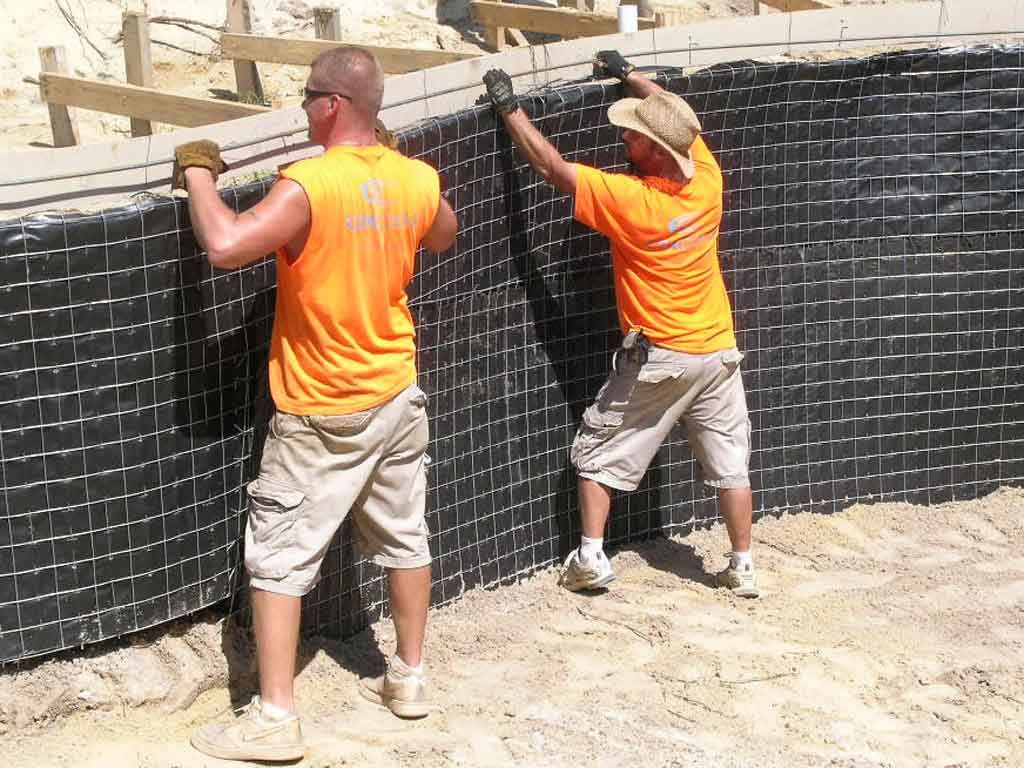
Austin, Carie, and Jay with Barnes Dream Screens plumb up the pool enclosure walls.
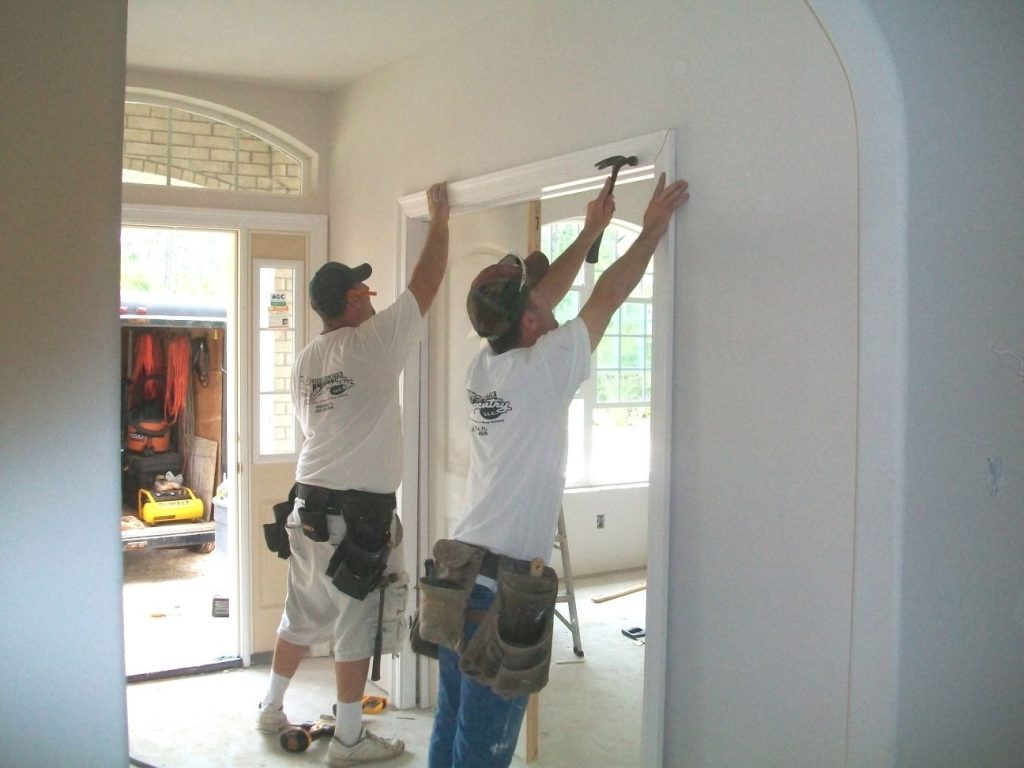
Darin and Jason setting the study double doors.
Austin and Shan anchor the walls to the pool deck. It is very important to anchor the cage to the slab properly to resist hurricane force winds.
William cutting a door jam to fit the sliding glass door.
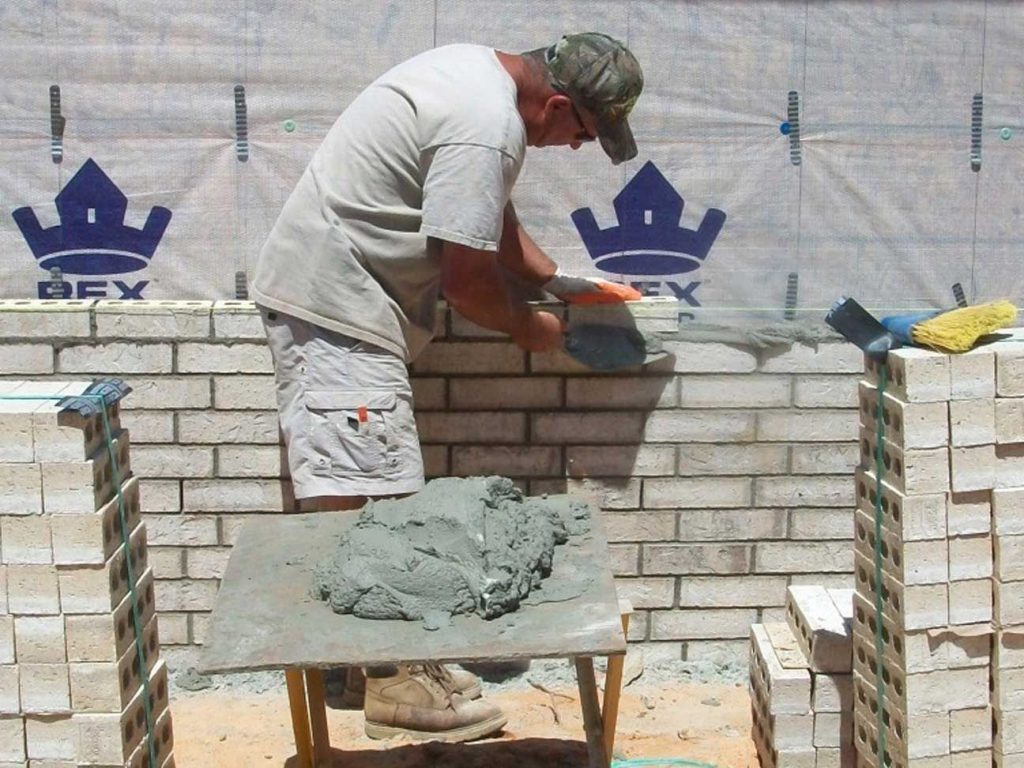
David Lowery, master mason and owner of Lowery Masonry laying up the wall. The owners chose king brick that is solid color all the way through so that it will weather well.

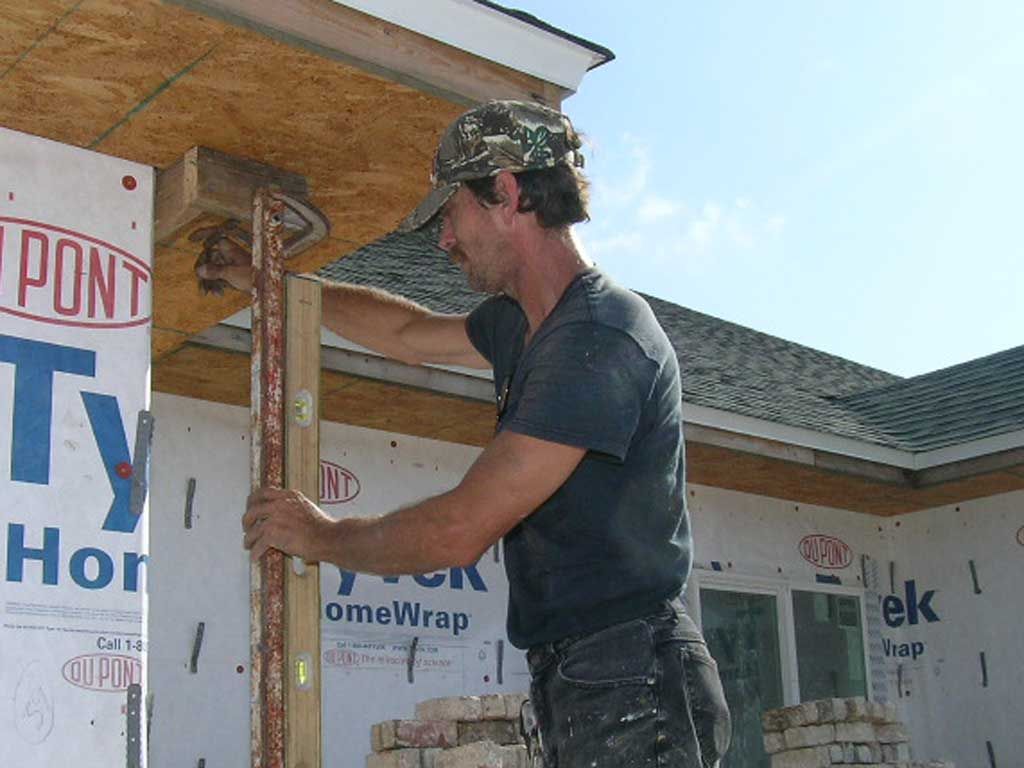
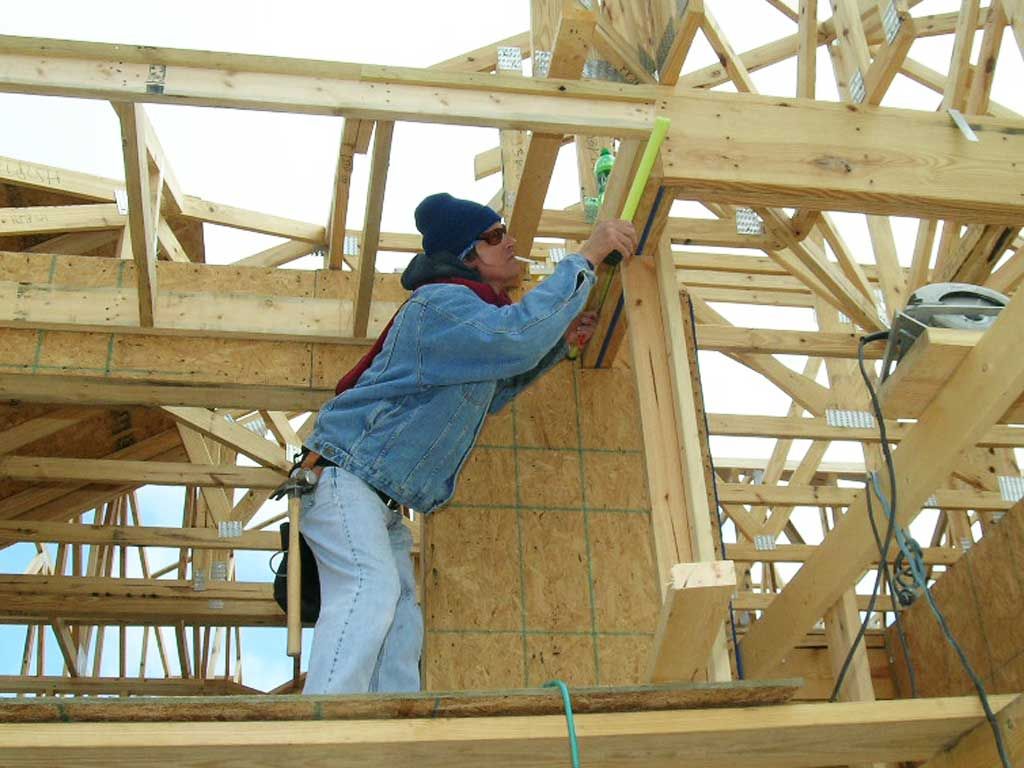
Stephany marks up the top plate for attachment of the studs to the porch beams.
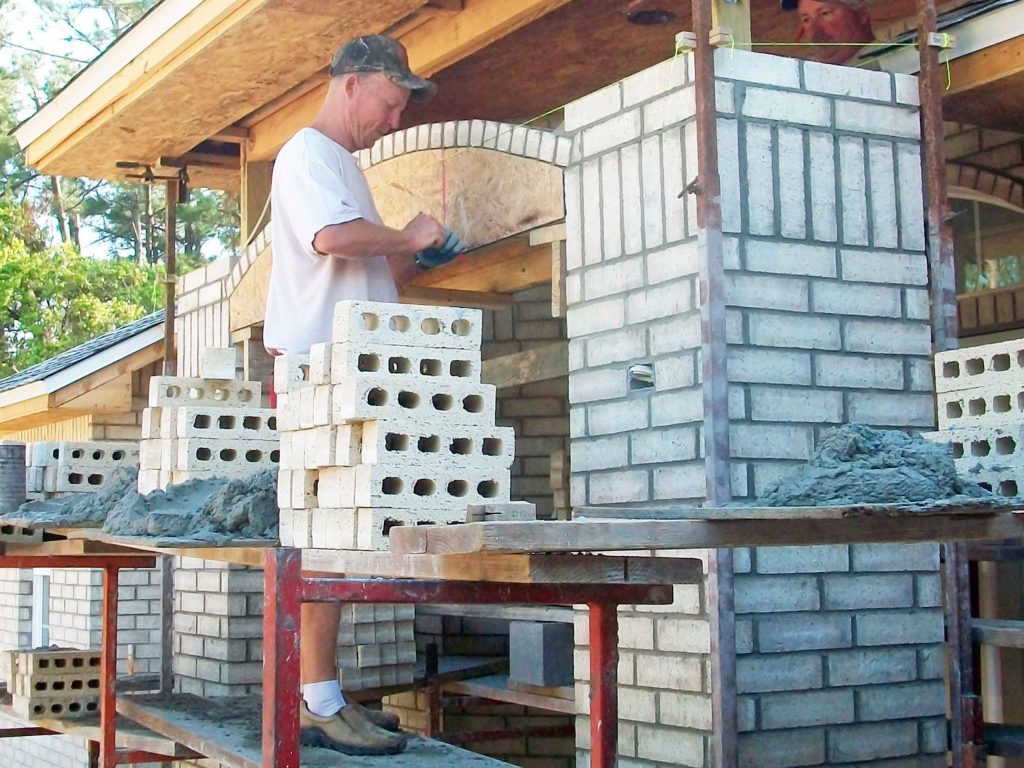
David laying up the free form arch on the front porch.
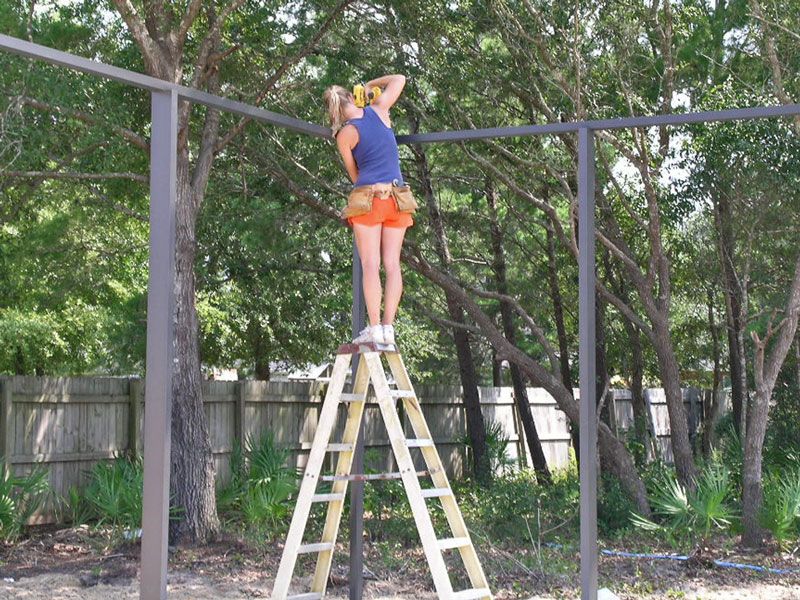
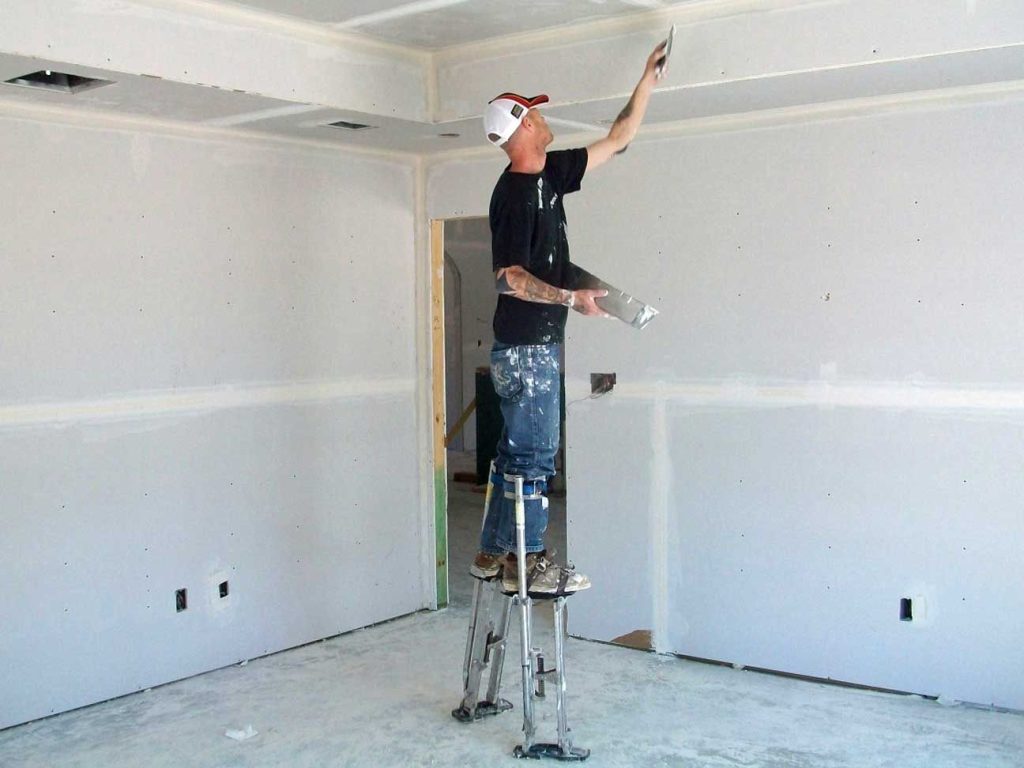
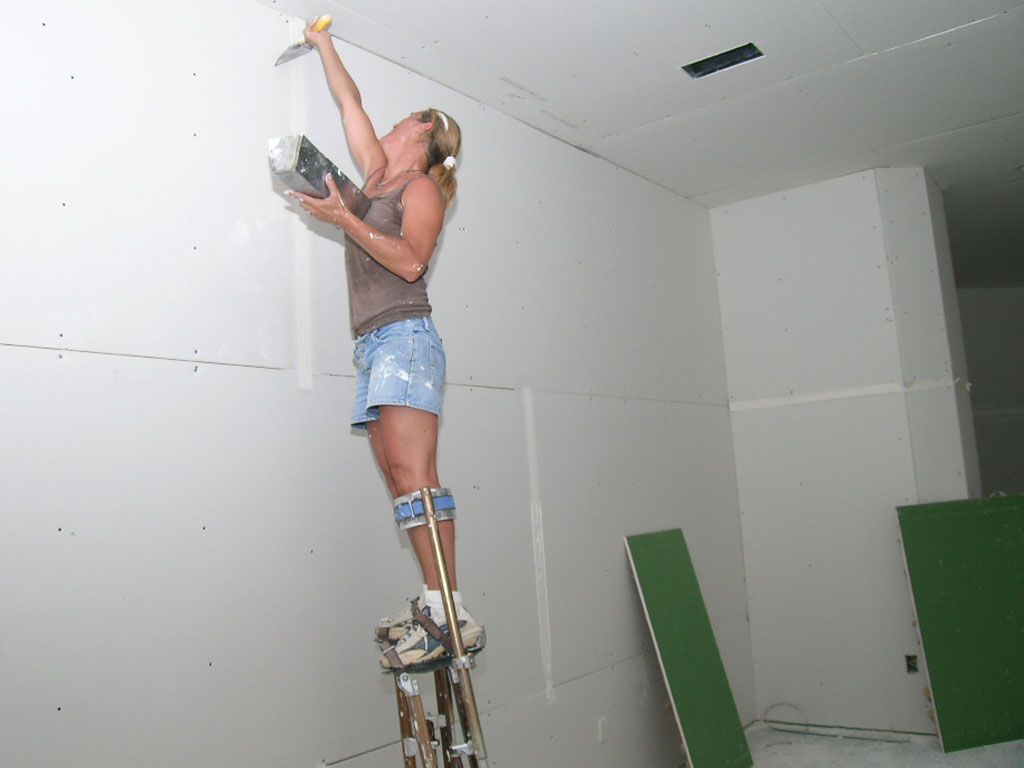
OSHA safety violation! Inadequate fall protection. There should be 3 guys standing around the ladder ready to catch her if she falls.
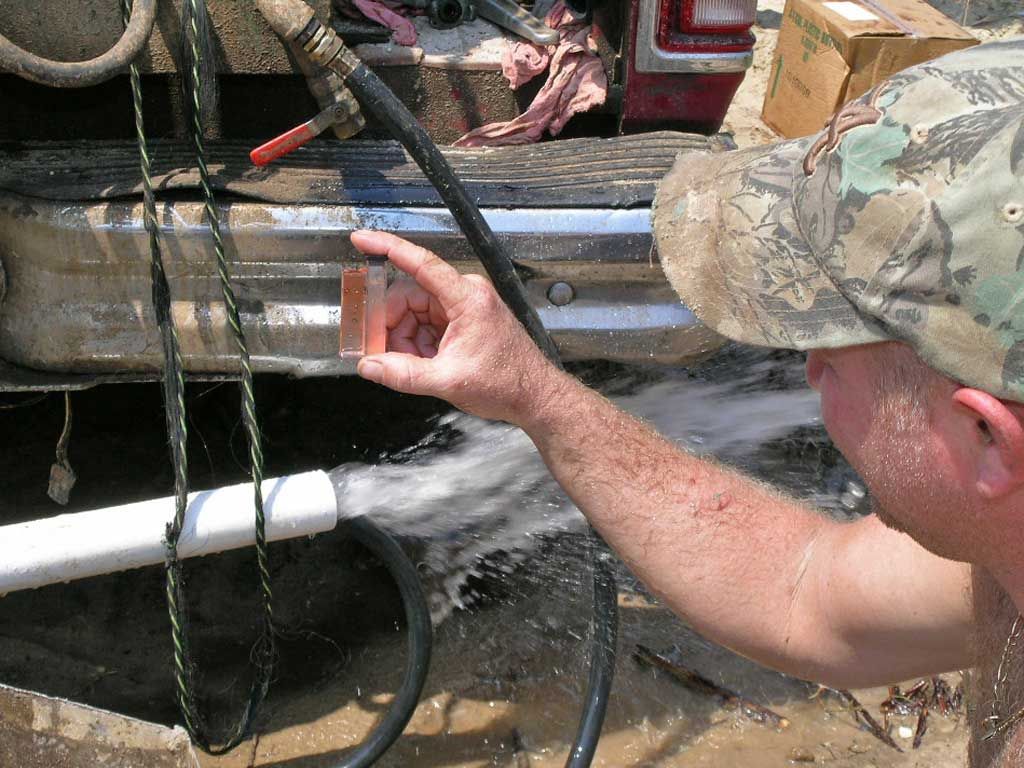
Tommy looks at the results of a test for iron content in the well water. No iron = no staining on the walls from the irrigation system. We found good iron free water in Holley by the Sea at 30′

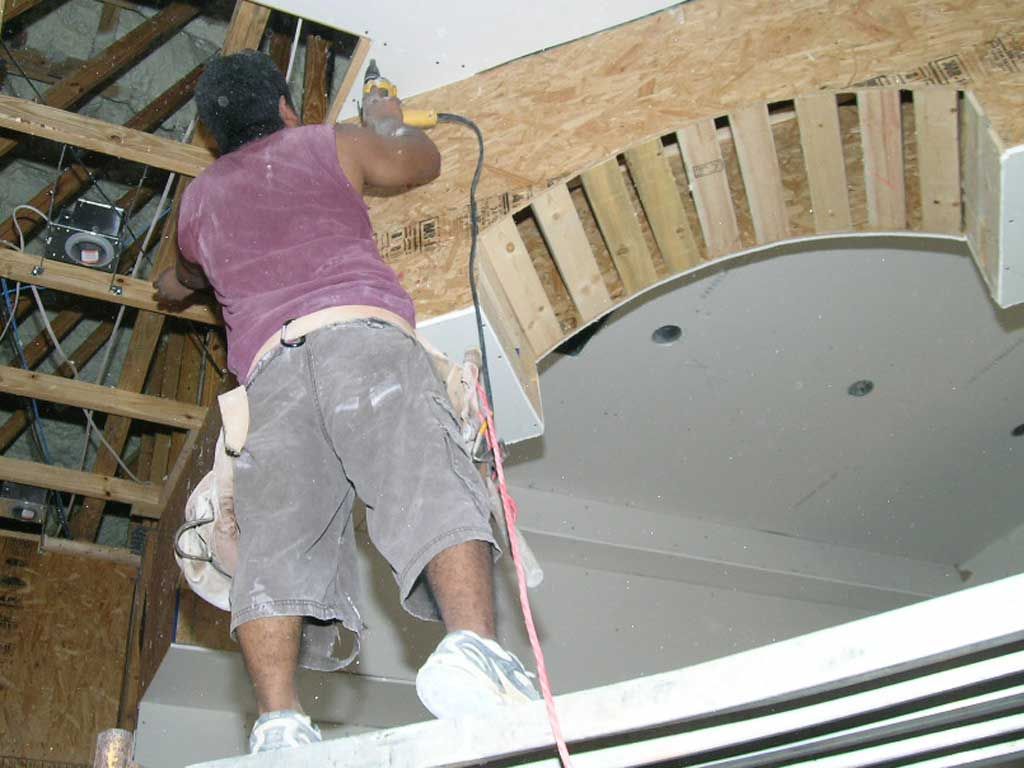
Working the drywall around the arched window in the study.
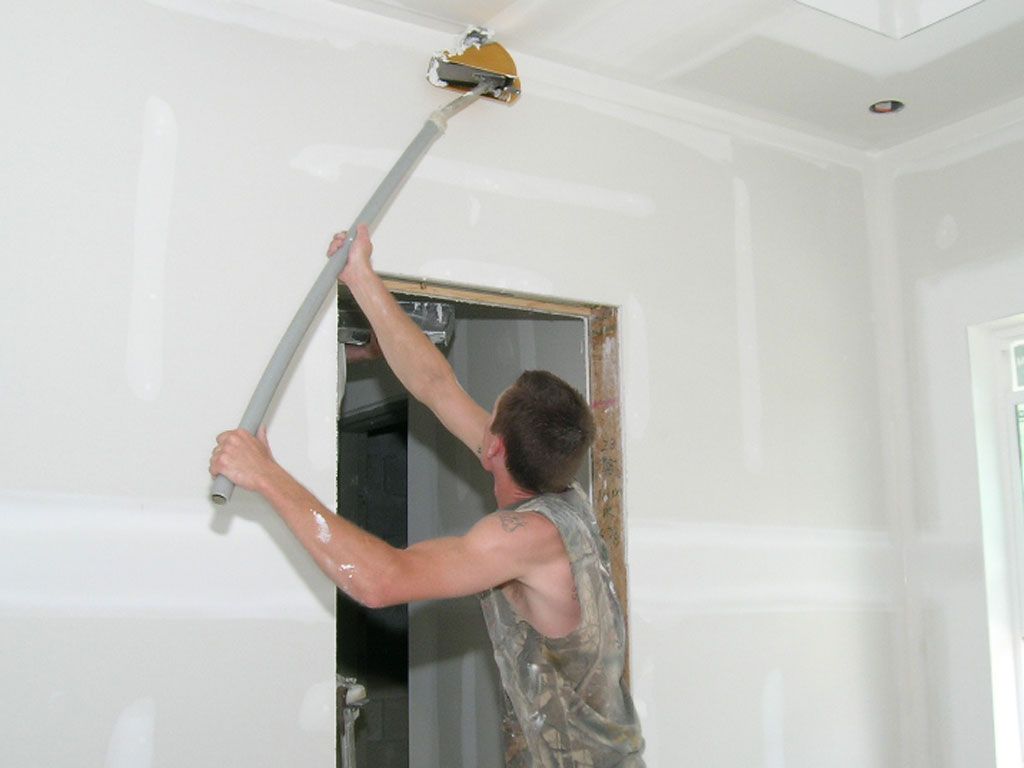
Finishing the joints.
TJ power stretches the carpet for a tight installation that won’t loosen up in the future. He also coats the slab with adhesive before laying the padding so the padding won’t crawl.
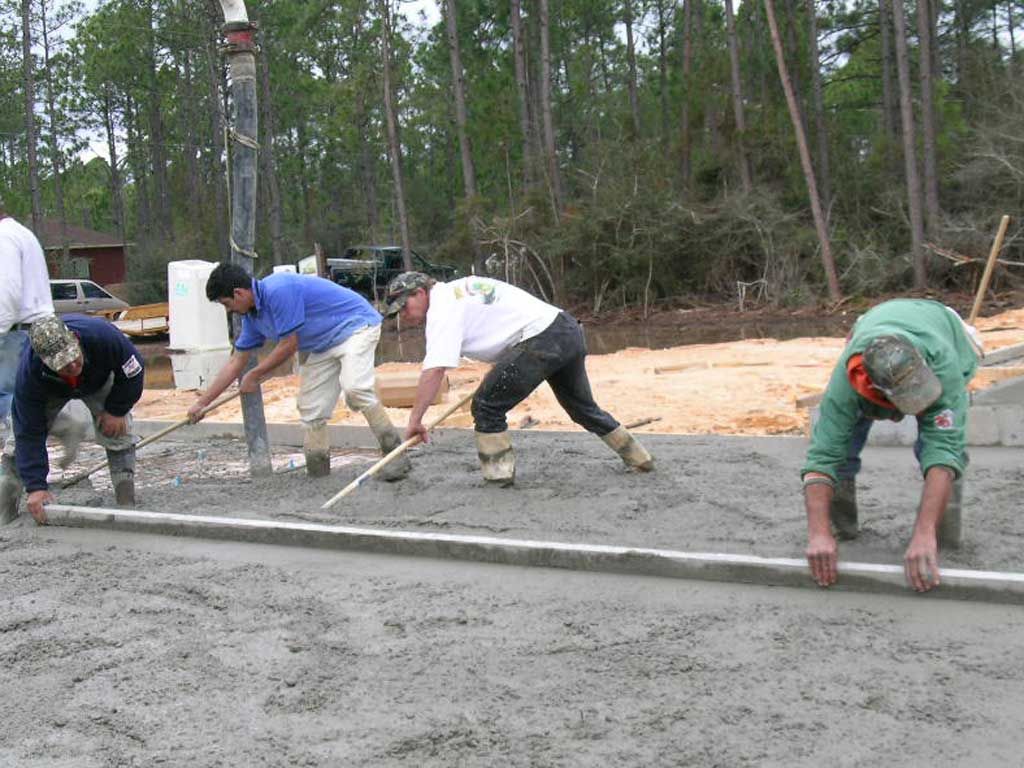
Pouring and screeding the circular concrete driveway.
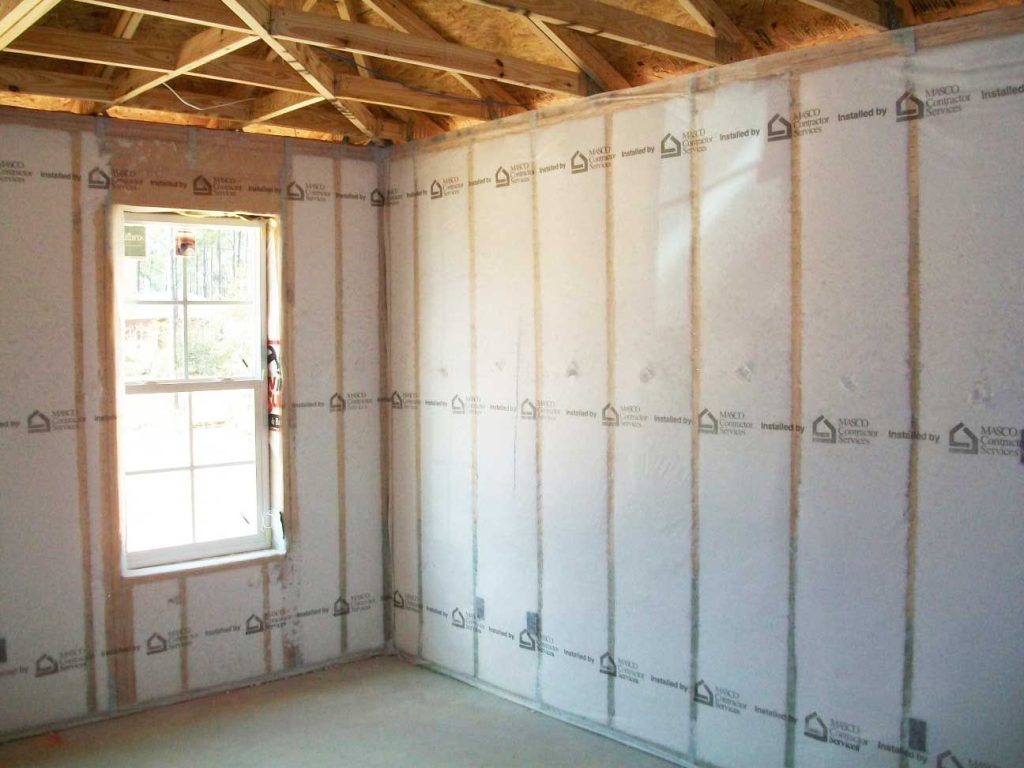
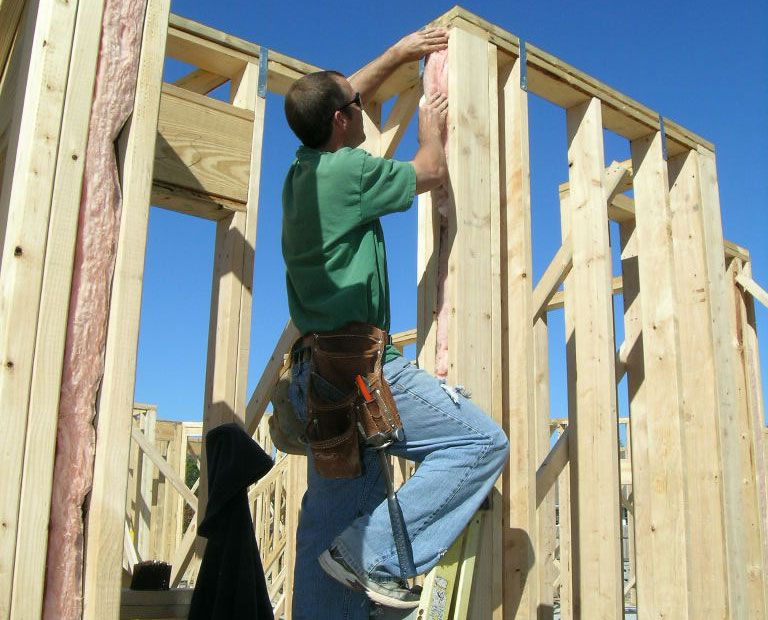
This is bibs insulation on the exterior walls (blown-in-batts). The insulation is blown into the wall cavities behind a cloth netting. This allows the insulation to be slightly over pressurized to create a full cavity with no future settling.
Gomez bull floats the concrete.
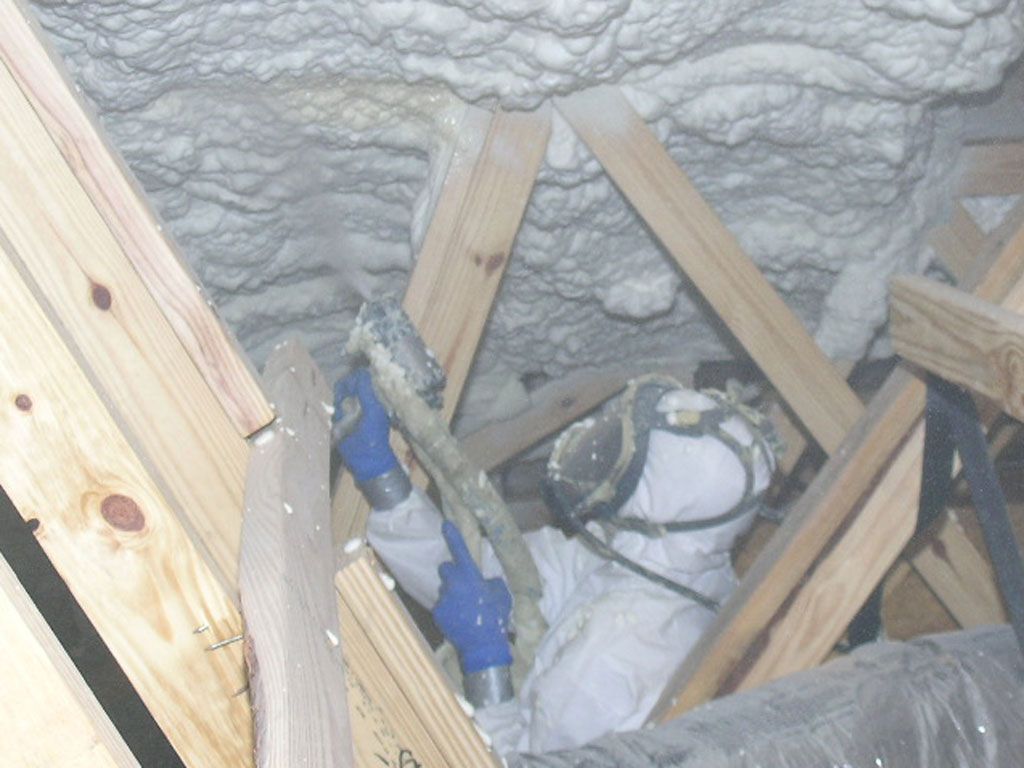
Arron from Coastal Insulation spraying open cell foam in the attic.
Junior uses an edging tool to create an 8″ border on the walkway.
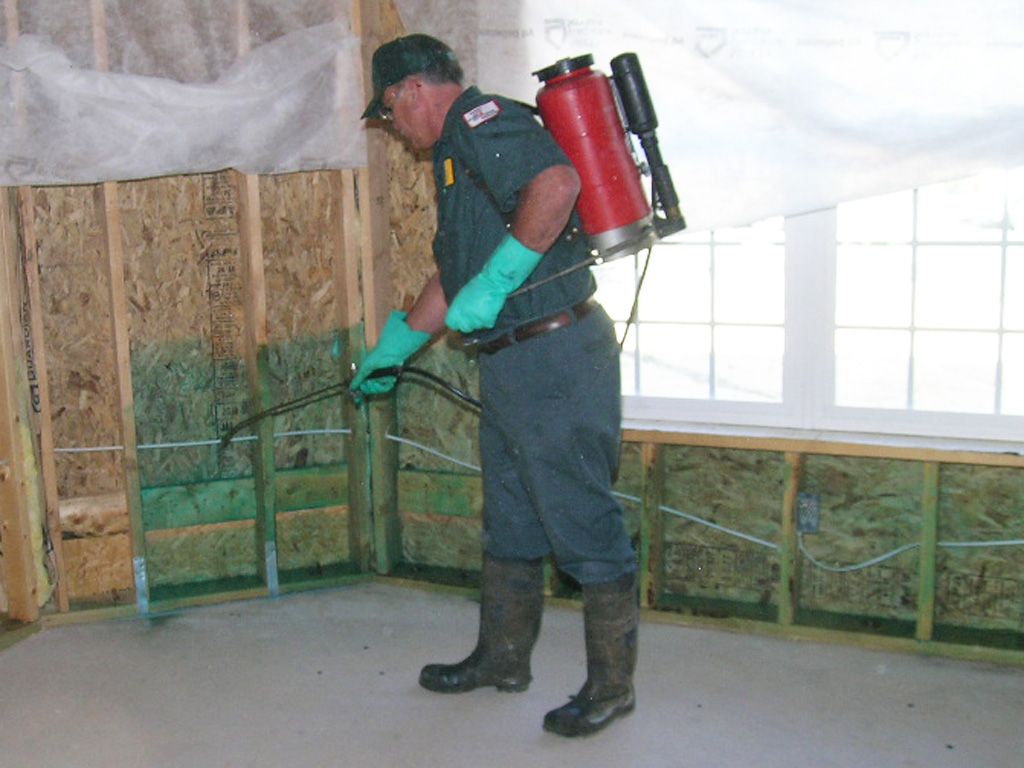
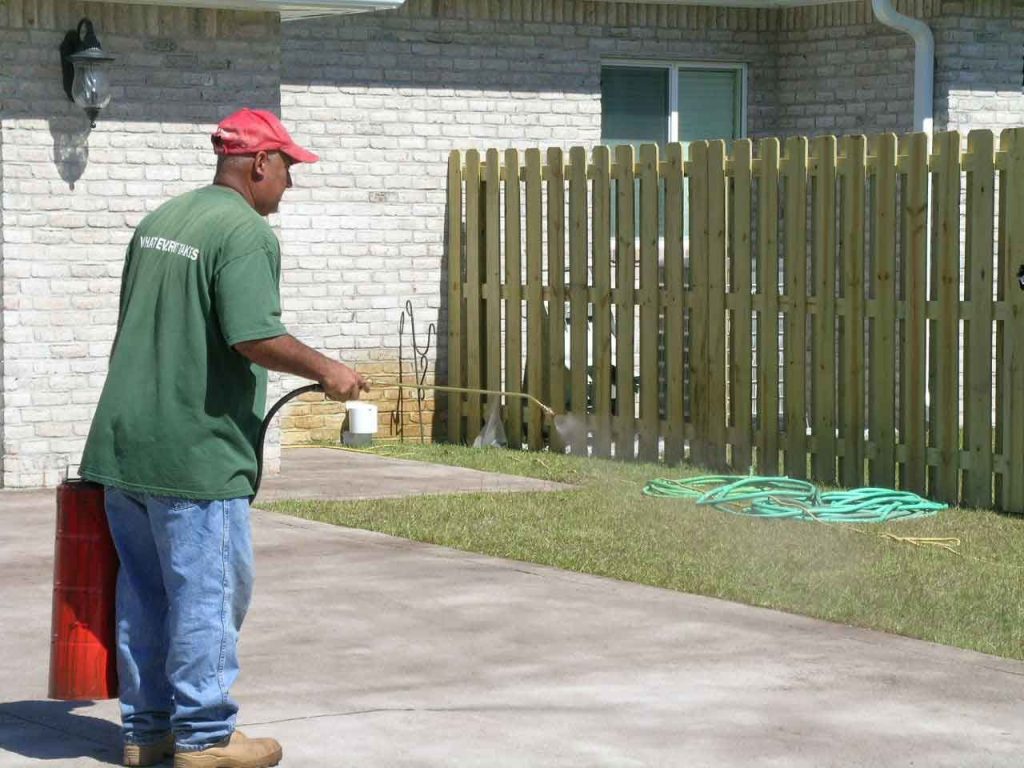
Pat with Florida Pest Control applies borate to the bottom 2′ of the walls. The blue dye in the treatment allows you to see where the termaticide has been applied. This second treatment, in addition to the slab pretreat provides additional termite protection should any termites breach the outer layers of barrier protection. When the home if finished we treat the exterior perimeter around the foundation to provide a total of 3 layers of termite protection. The white netting you see on the wall will be rolled down and stapled over the exterior walls so that the insulation can be blown into the walls.
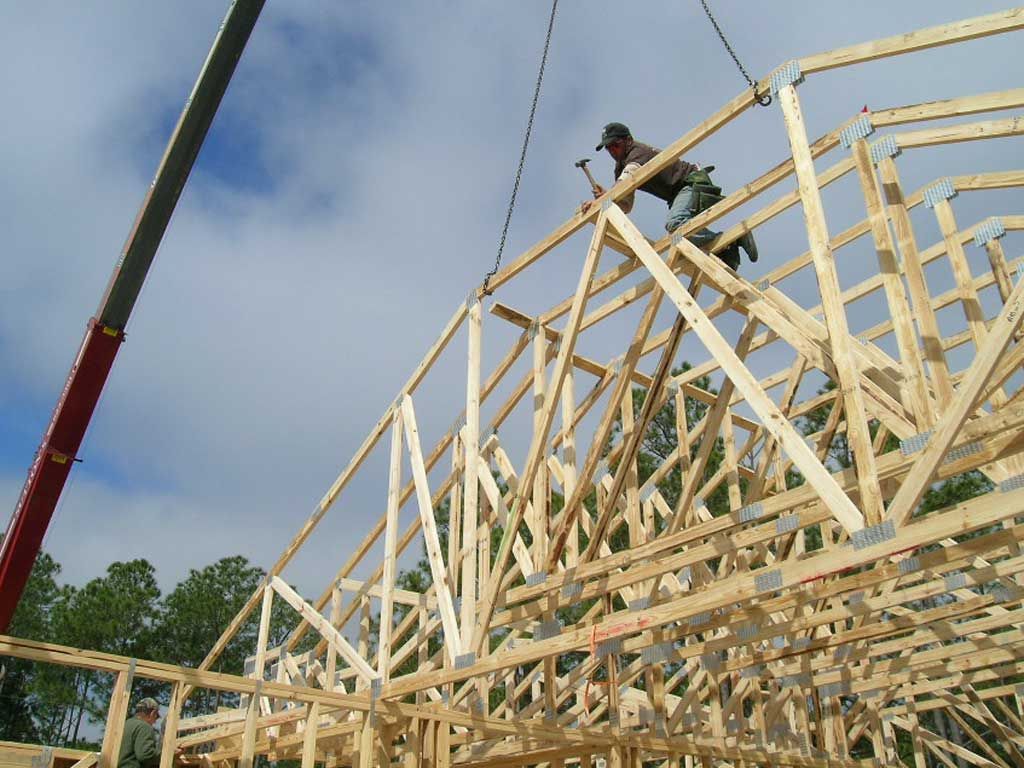
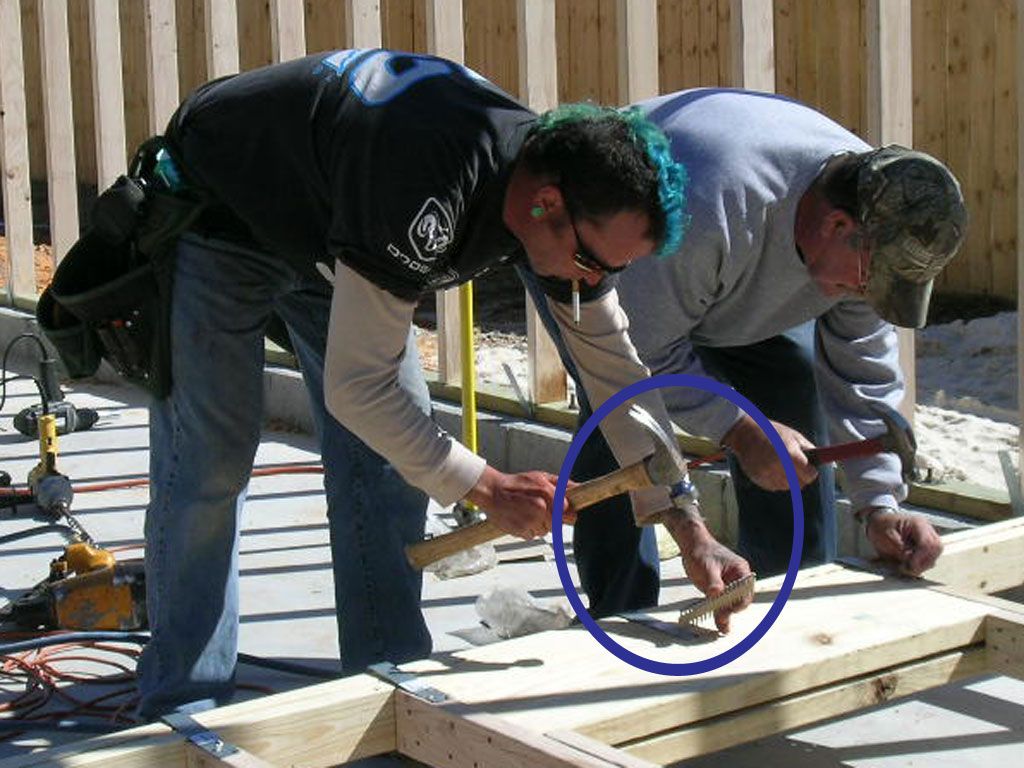
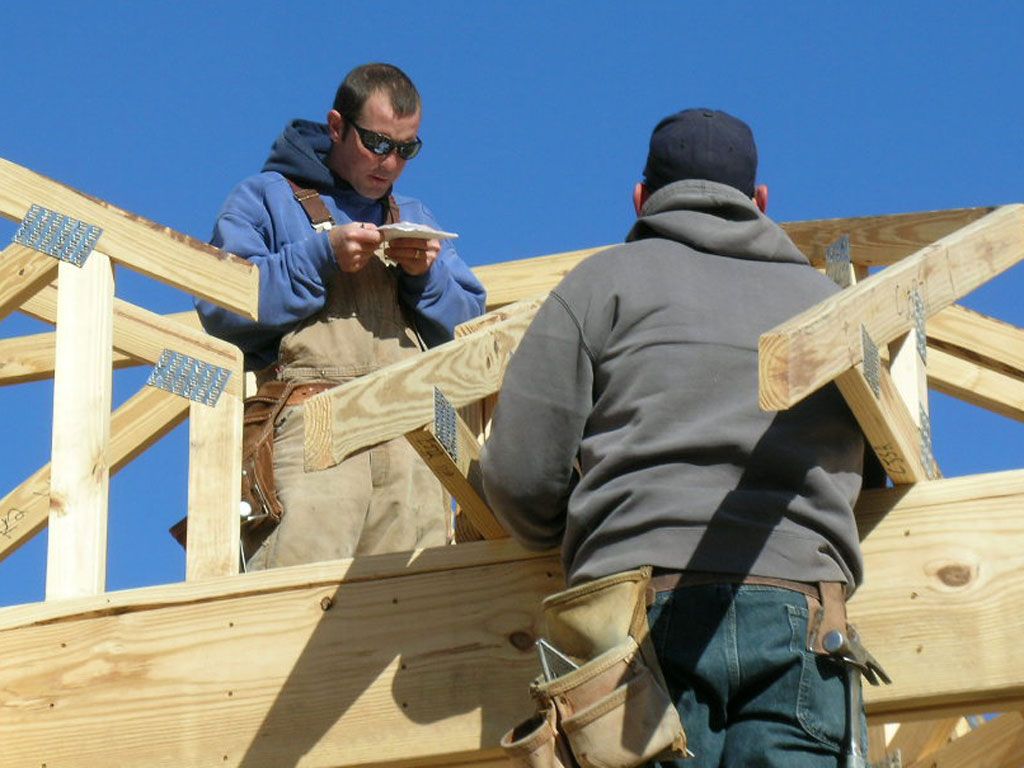
Wayne nails a block to the truss connecting it to the previous one to keep it in place.
John and Gomez texture the walk way with pattern rollers. These rollers create a granite pattern. Later we will stain and seal the concrete.
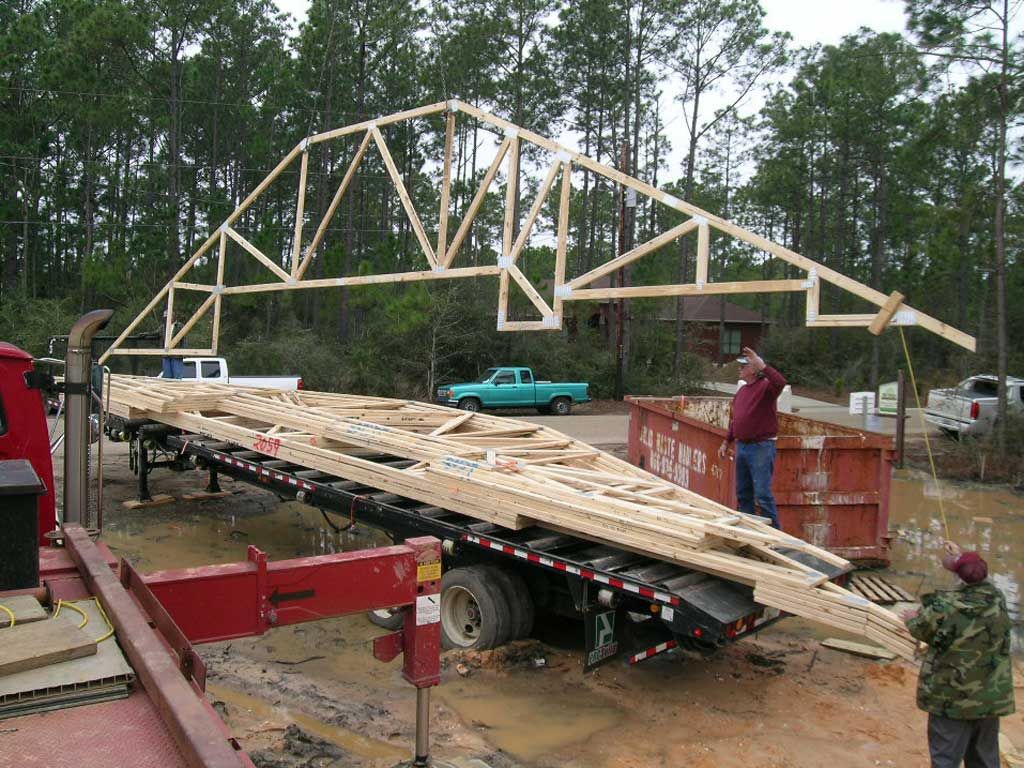
Lifting the trusses off the delivery trailer. You can see the hop ups for the living room and family room ceilings built into the bottom cords of the trusses.
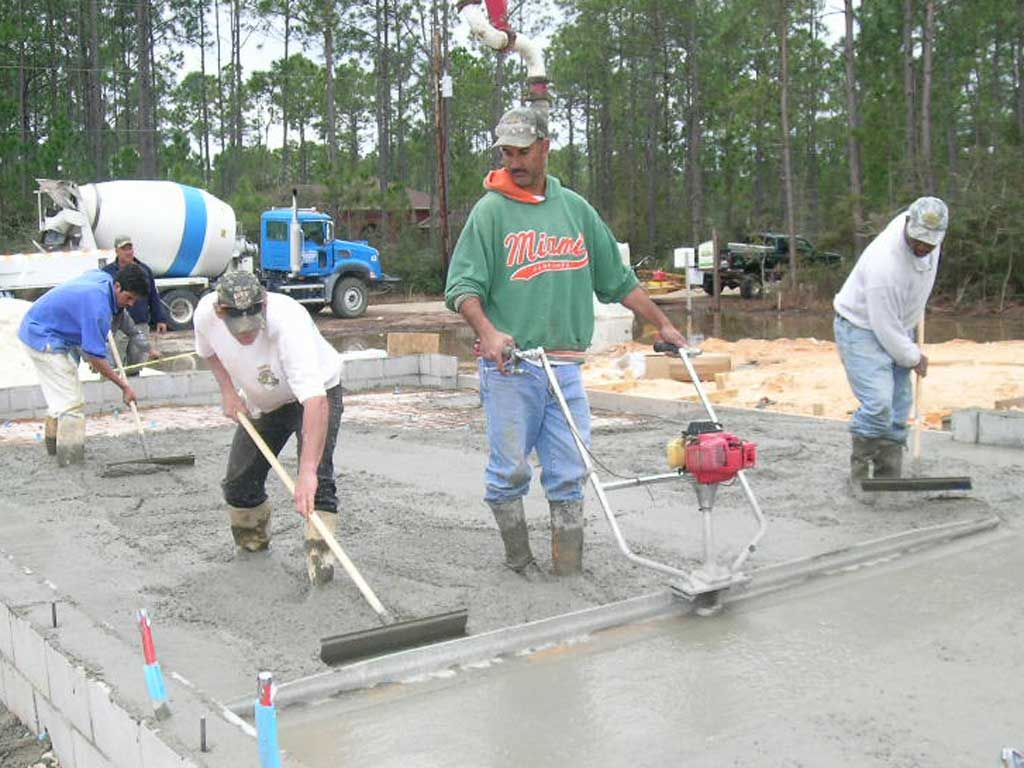
Gomez and John roller stamp the concrete. We used 4000 psi concrete which has more cement content to make the top layer of concrete harder and more able to hold the impressions made by the pattern rollers.
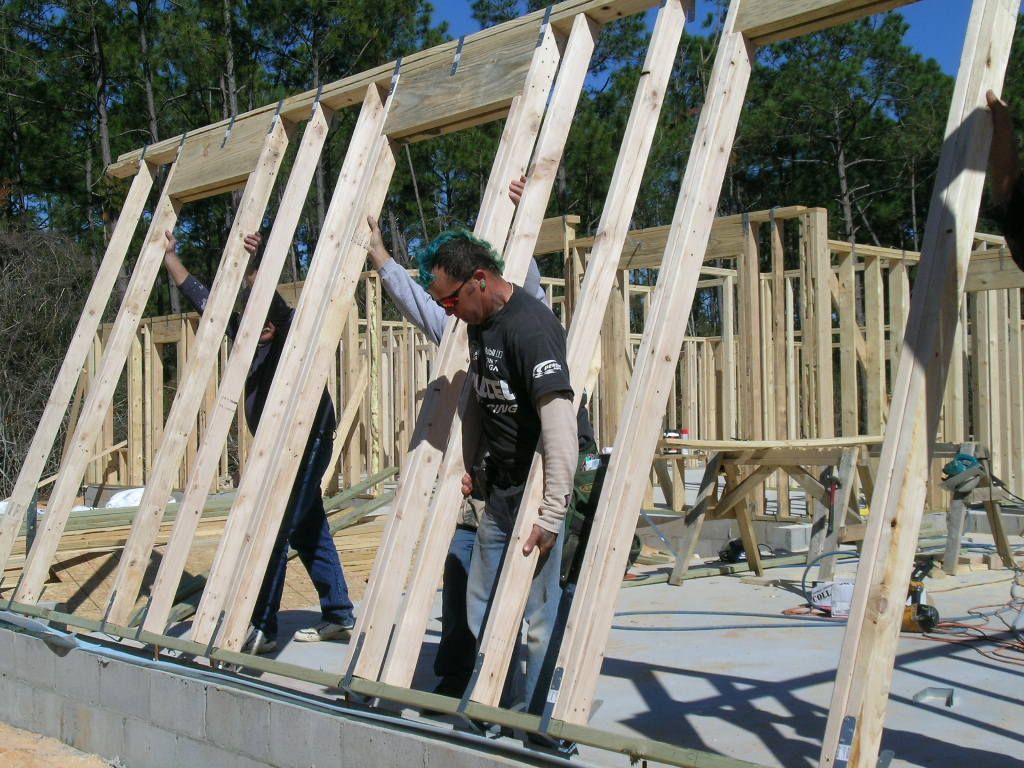
Wayne and the guys standing up the front garage wall.
Junior sprays release agent on the concrete to keep it from sticking to the rollers.
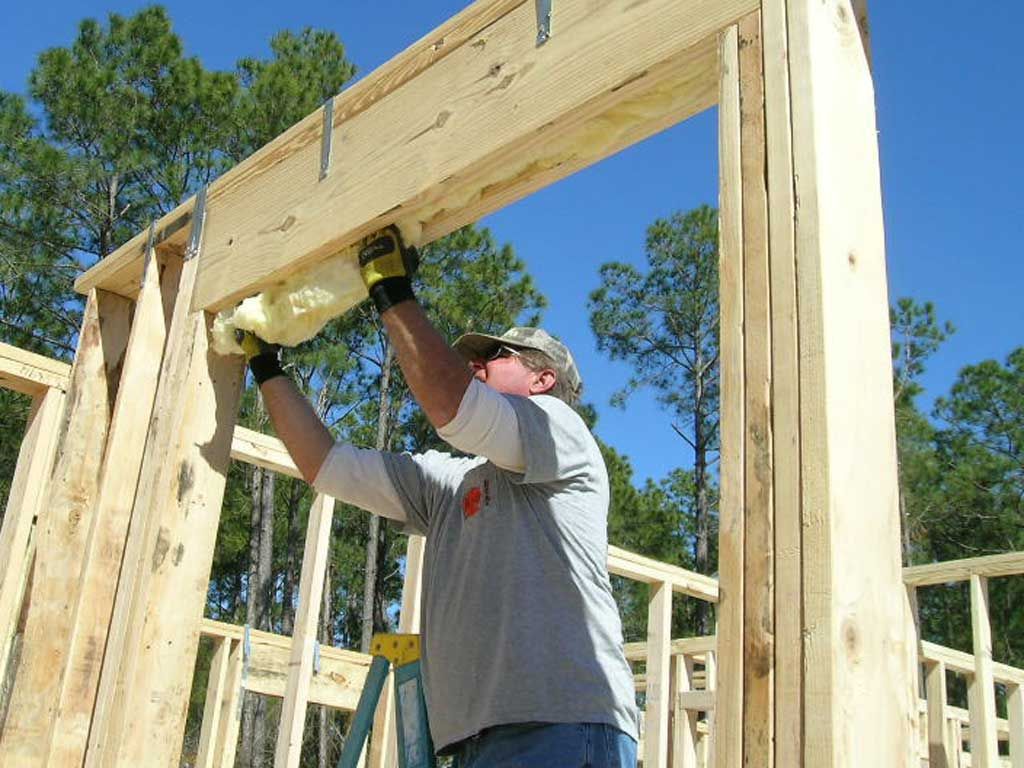
Jeff installing insulation in the headers. This is an often overlooked area that needs to be insulated during framing otherwise it becomes enclosed and can’t be insulated later on. All the headers, exterior tees and corners add up to about 3 rolls of insulation. Imagine removing 3 rolls of insulation from your home. Energy efficiency is about doing a lot of little things that add up to produce significant monthly savings.
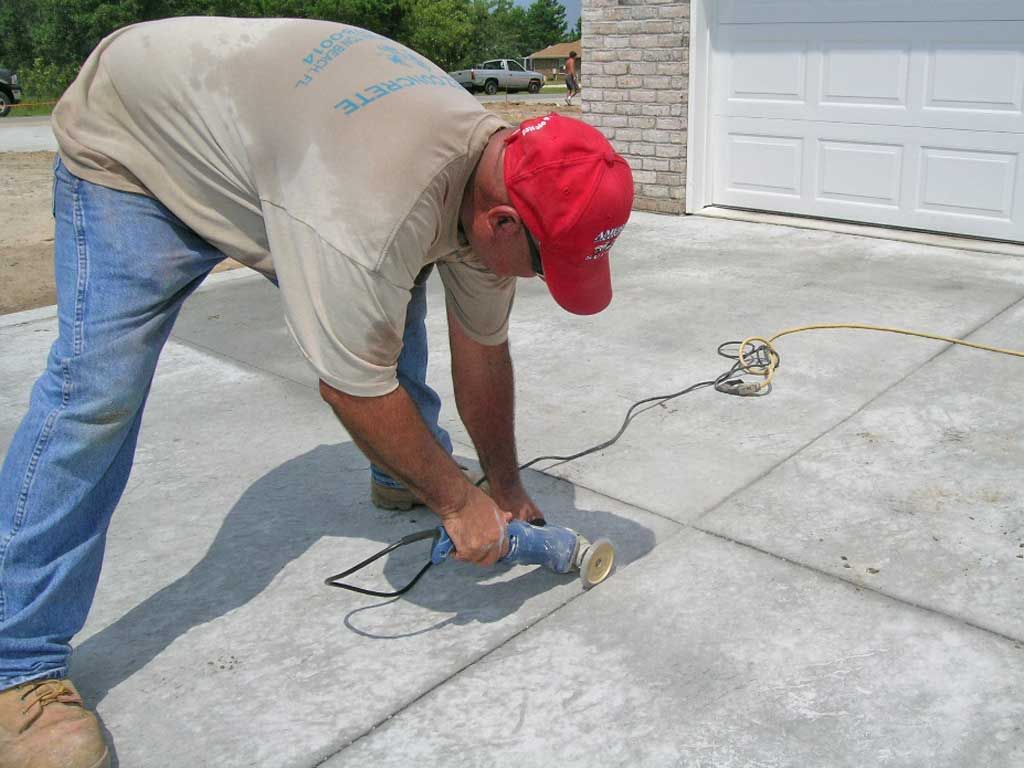
Gomez grinds out the control joints for a more decorative appearance.
Wayne nailing off hurricane straps with his Mexican nail gun.
Pouring the roof on the safe room. The safe room is engineered to withstand 250 mph winds and 100 mph missile impacts. This safe room is the master closet and will protect the owners from any tornadoes spawned by a hurricane.

You can see the improved appearance of the wider V cut joint. The left to right joint has been saw cut but not grooved out yet. The top to bottom joint has been grooved out to the shape of the diamond grinder wheel.
Gomez applies the concrete stain and sealer.
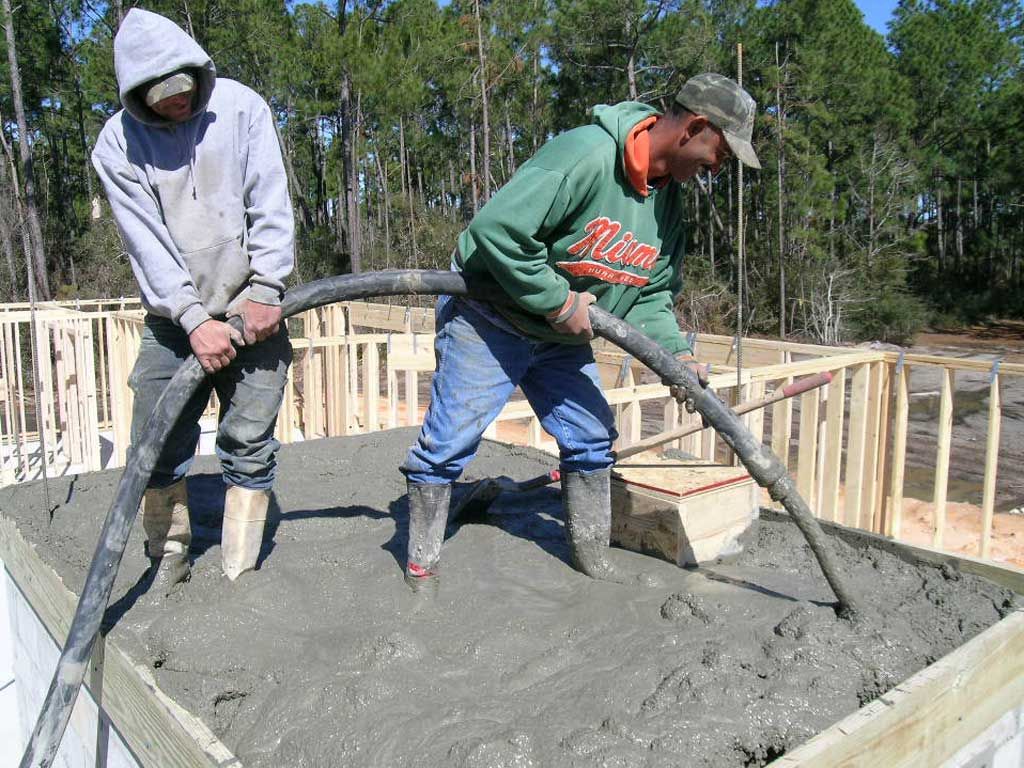
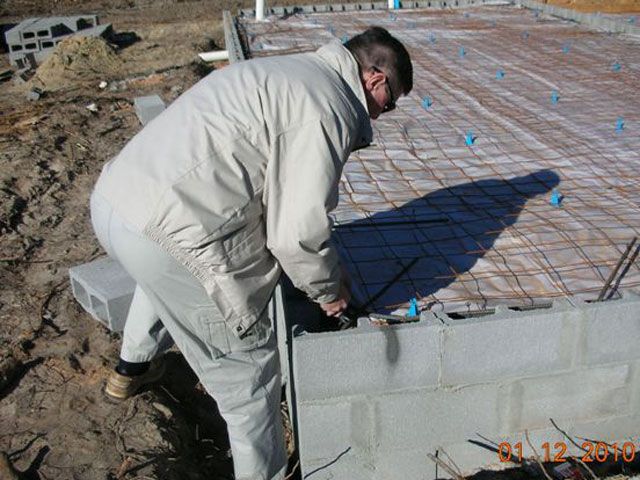
Pumping the concrete. Note the wire mesh reinforcement in the slab. You can see the little blue “chairs” which hold the wire up into the middle of the concrete as it dries.
Mitch and Allen spray the texture. Hammer follows behind them and trowels flat or knocks down the high spots to create a textured finish.
Screeding the concrete.
Junior uses a vibratory screed to smooth the concrete. The garage floor has a 1″ slope toward the door to allow water from wet cars to drain toward the door.
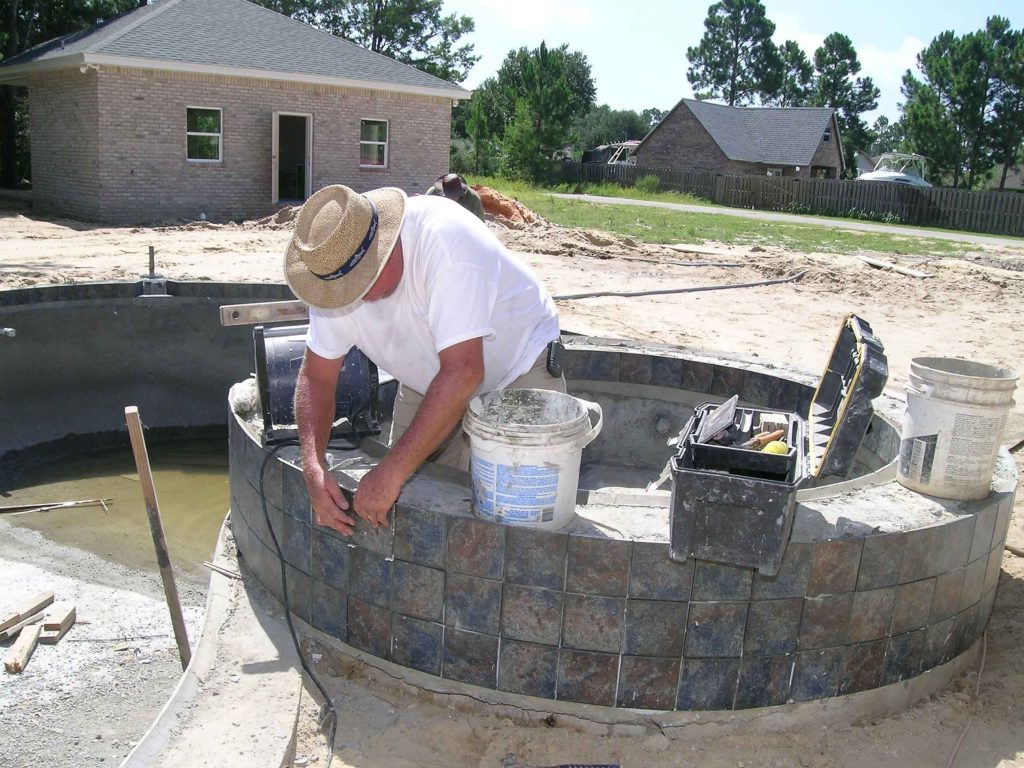
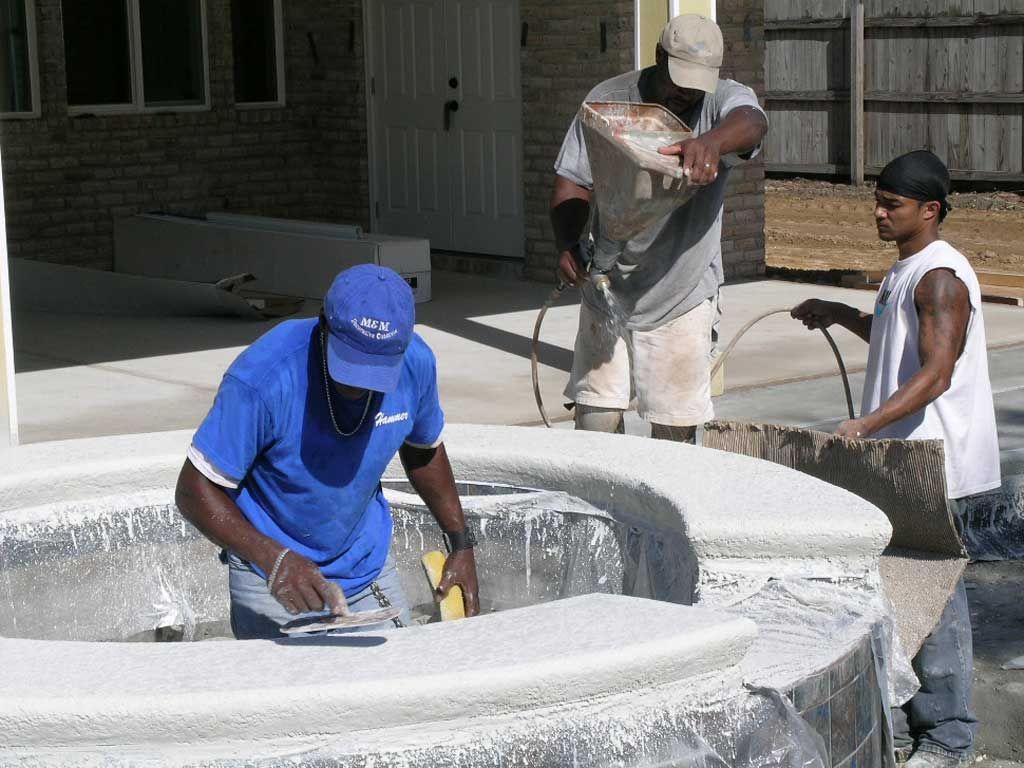
Jimmy with James Lenn Construction sets the tile around the spa.

Bald eagle
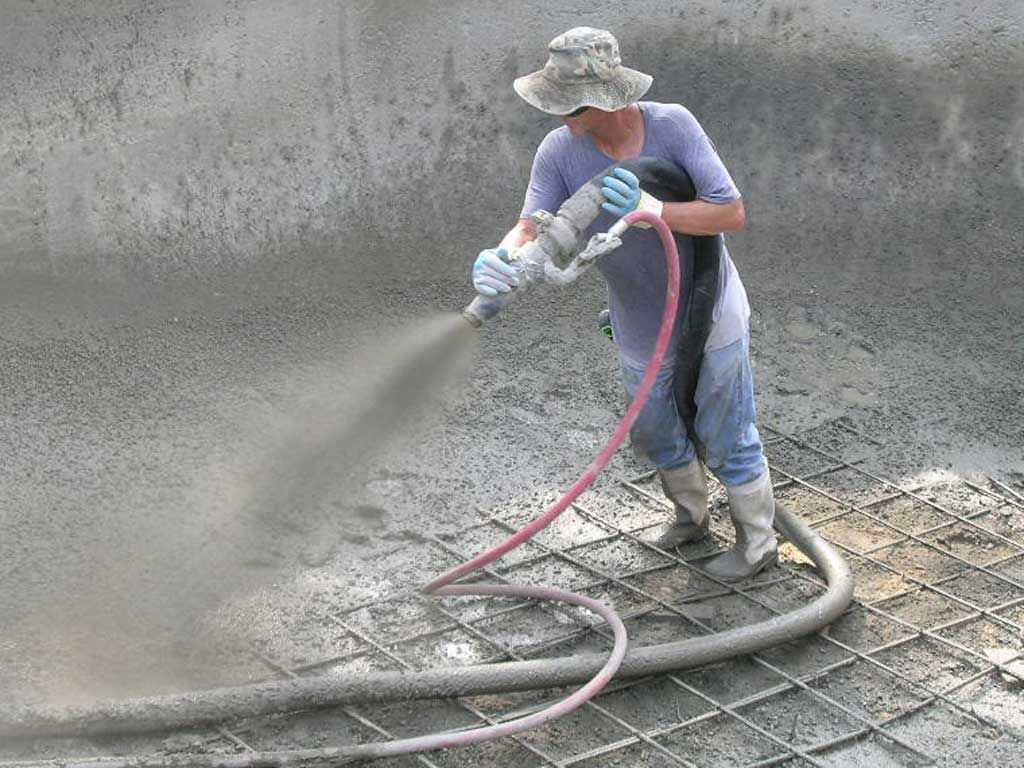
Mick with Cox Pools spraying the shotcrete shell.
Mitch and Mike with Cox Pools form steel to the shape of the beam at the curb edge of the pool.
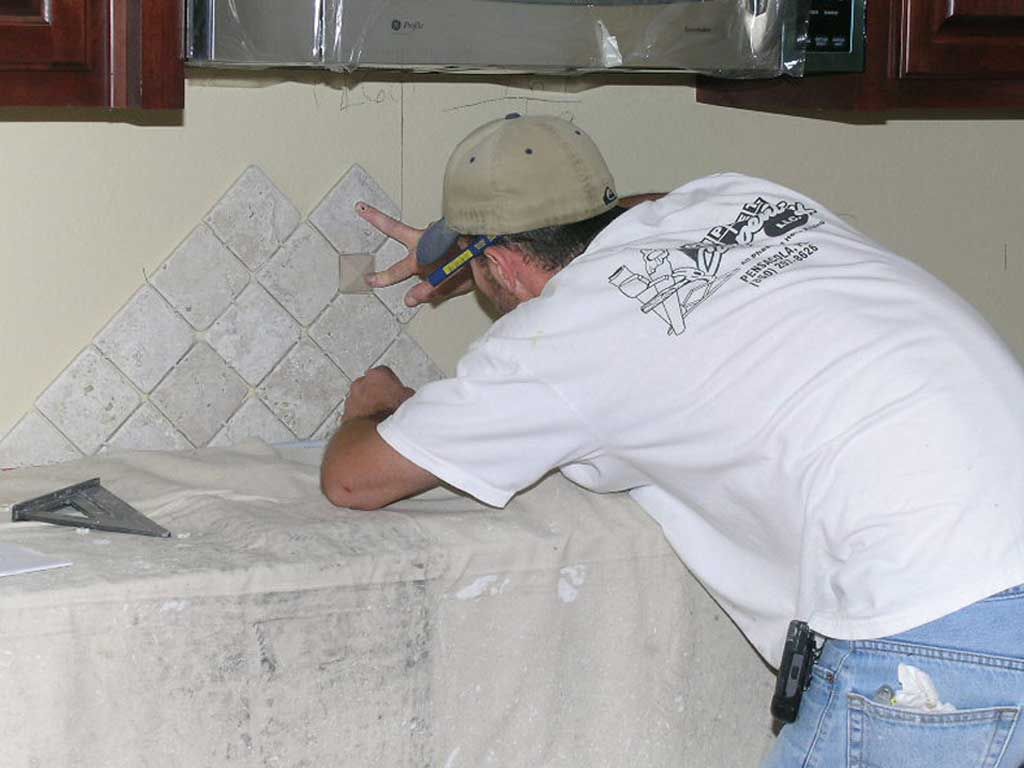
Darin sets the natural stone tile backsplash.
Troweling on the stucco finish coating.
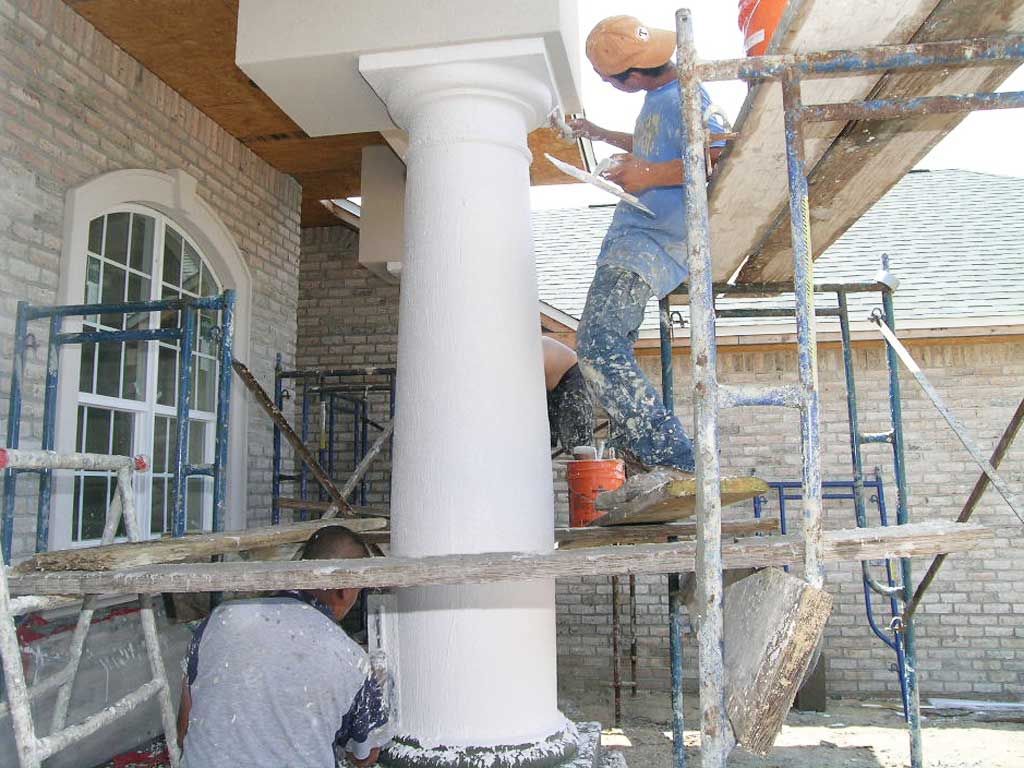
Stucco columns and accents browned in.
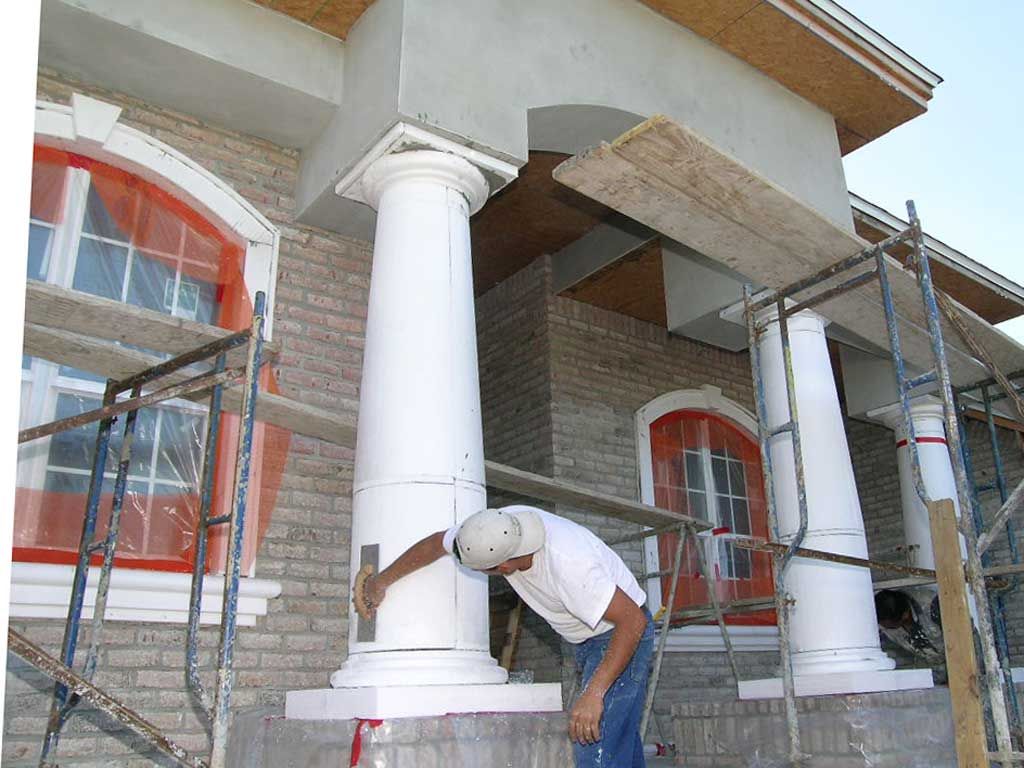
Arturo rasping the columns smooth. The columns will be wrapped with fiberglass mesh embedded in base coat.
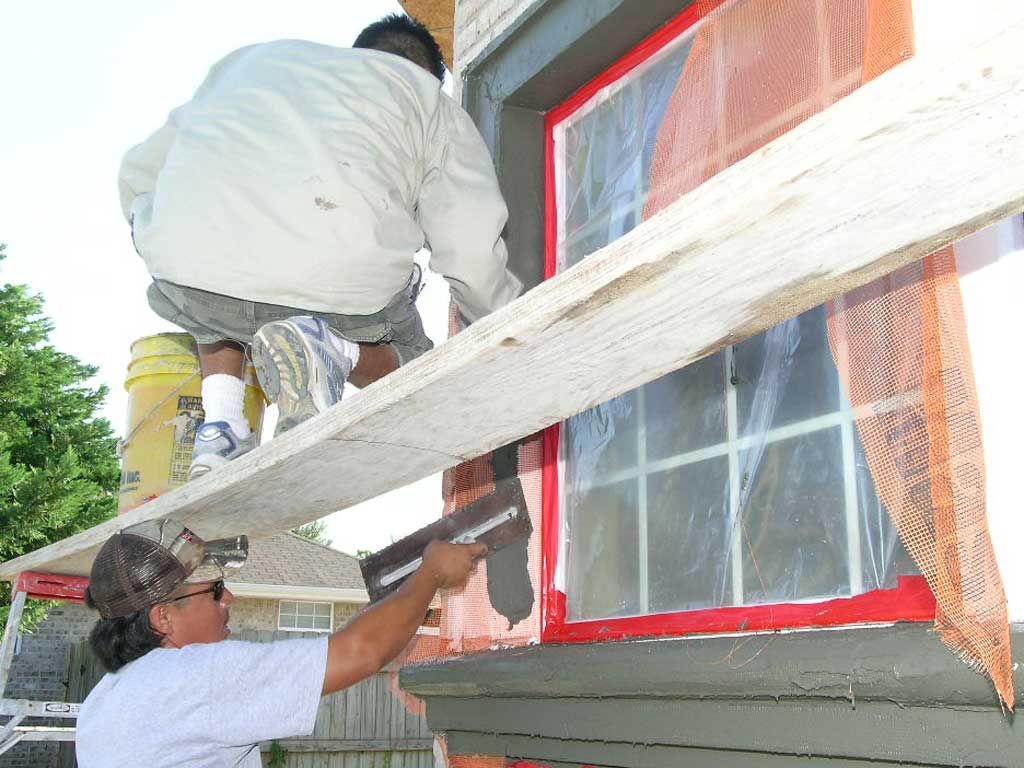
Francisco embedding the fiberglass mesh in base coast over the foam window trim. This gives strength, durability, and dimensional stability to the stucco trim.
Francisco setting the columns. These foam columns will be wrapped in fiberglass mesh and coated with base coat. You can see the orange fiberglass mesh ready to wrap on the window trim.
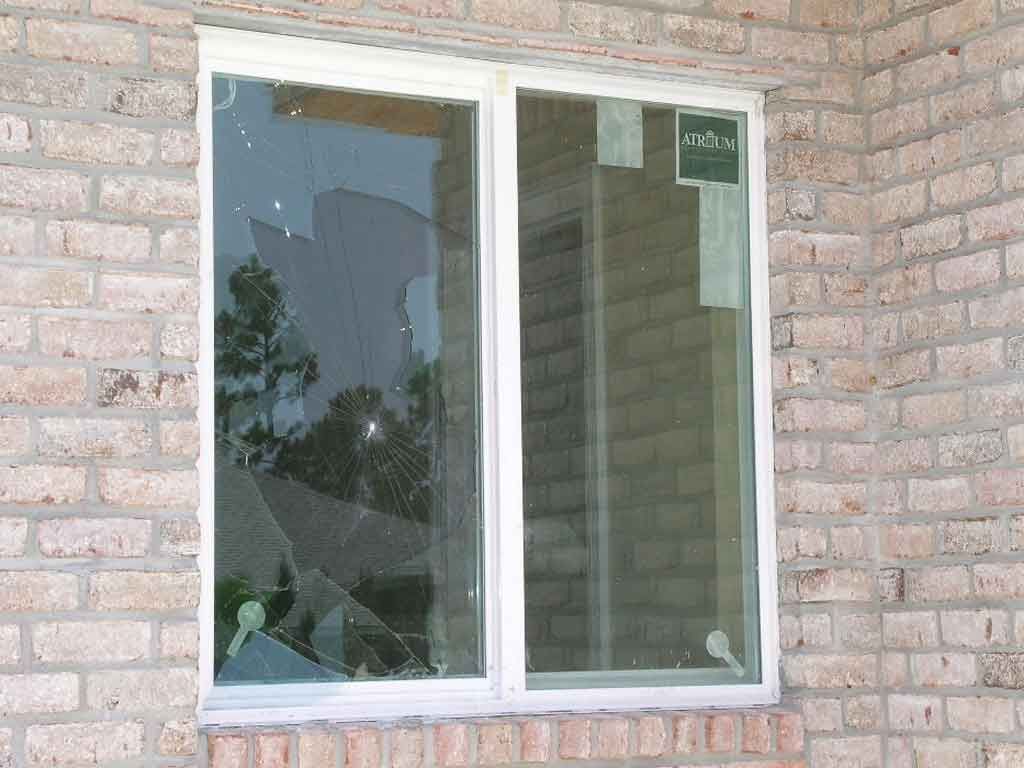
Impact glass windows add security. A vandal tried to throw a brick through the window and you can see where the outer pane was broken but the inner pane with the protective laminate film remained intact similar to an automotive windshield.
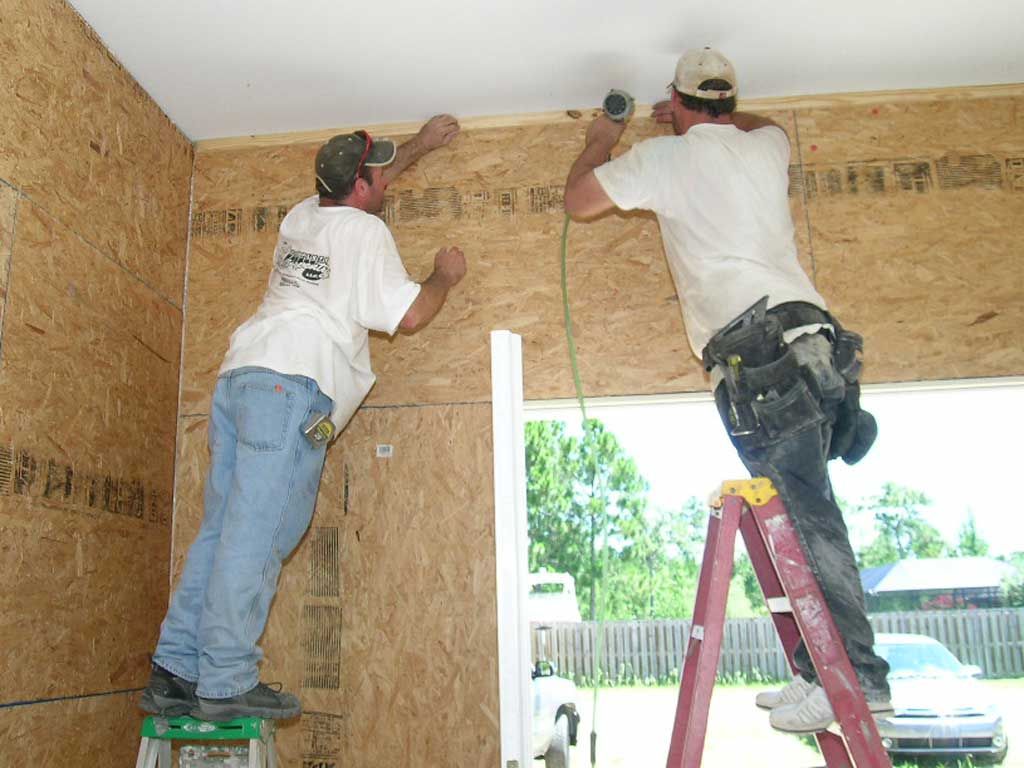
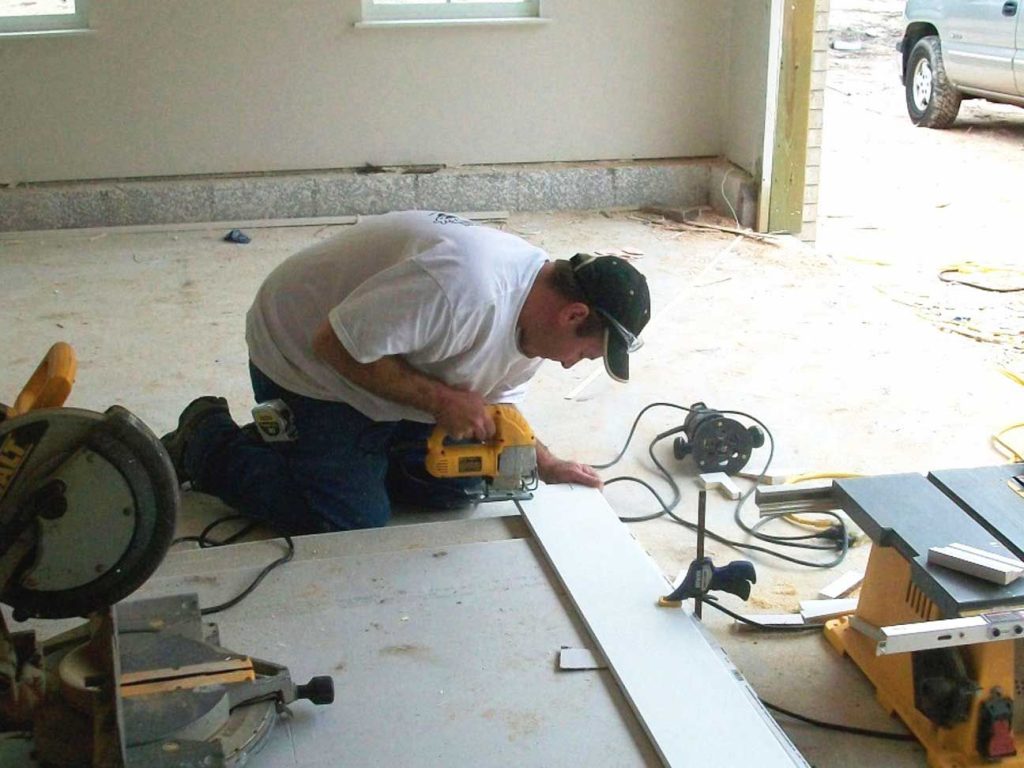
William and Jason installing trim in the shop. We used OSB for interior wall covering.
Mark working around the garage arched window. The wood forms around the window hold the brick away from the window frame where the stucco trim will be applied.
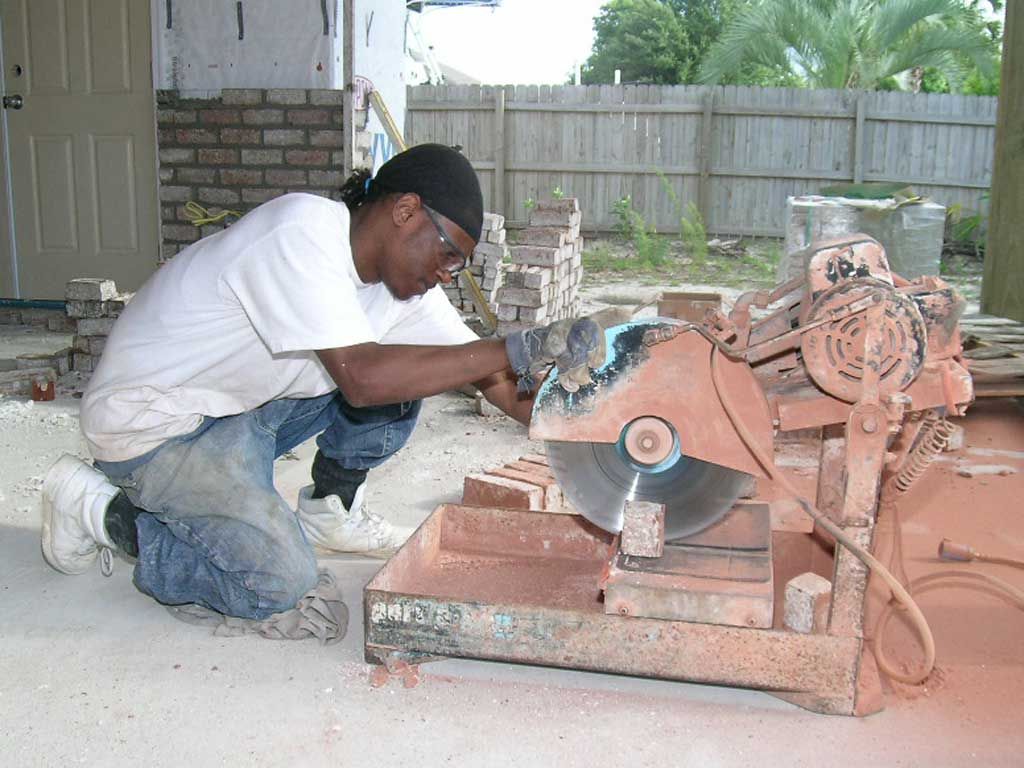
Kenny cutting the bricks with a masonry saw.
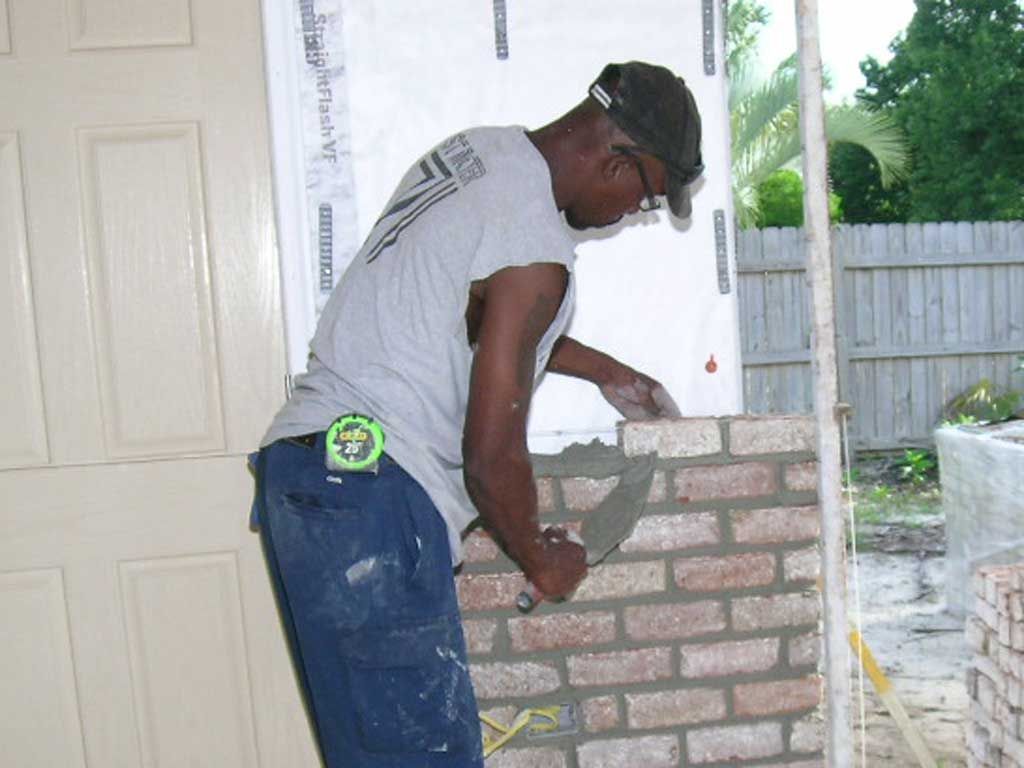
Edgar laying up brick on the back porch.
Von plumbs up the story pole. This is what is used to keep the brick courses lined up and the corner straight, level, and plumb.
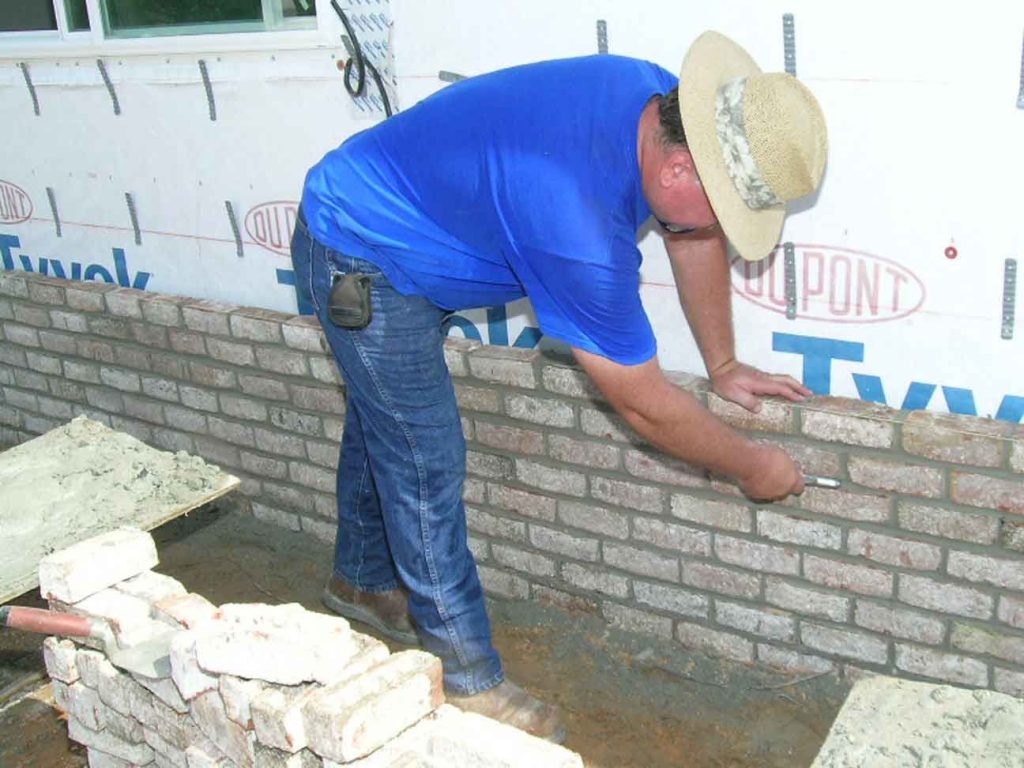
Dave with CW Masonry tools the brick joints.
Karen wiping the joints. Some pair of heels she’s got there. Is Karen starting a new fashion trend with that joint compound streak in her hair? You saw it here first.
Troy running the corners with his angle plow.
Troy finishing the dining room arched window jam.
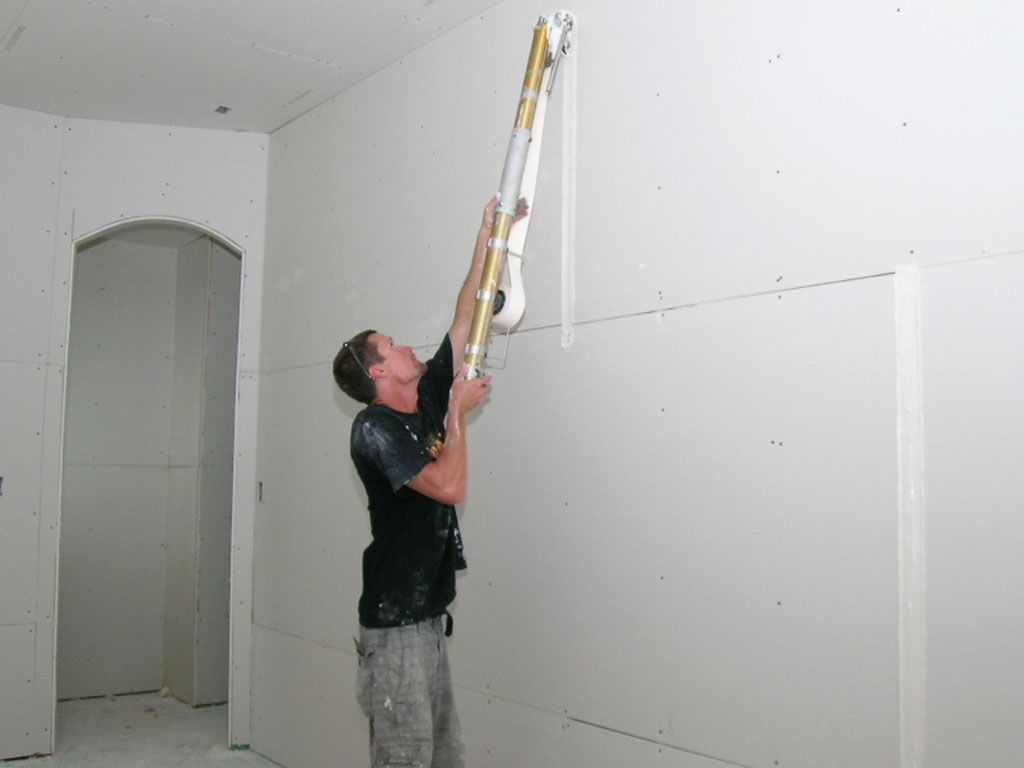
Troy taping the joints with his bazooka automatic taping machine.
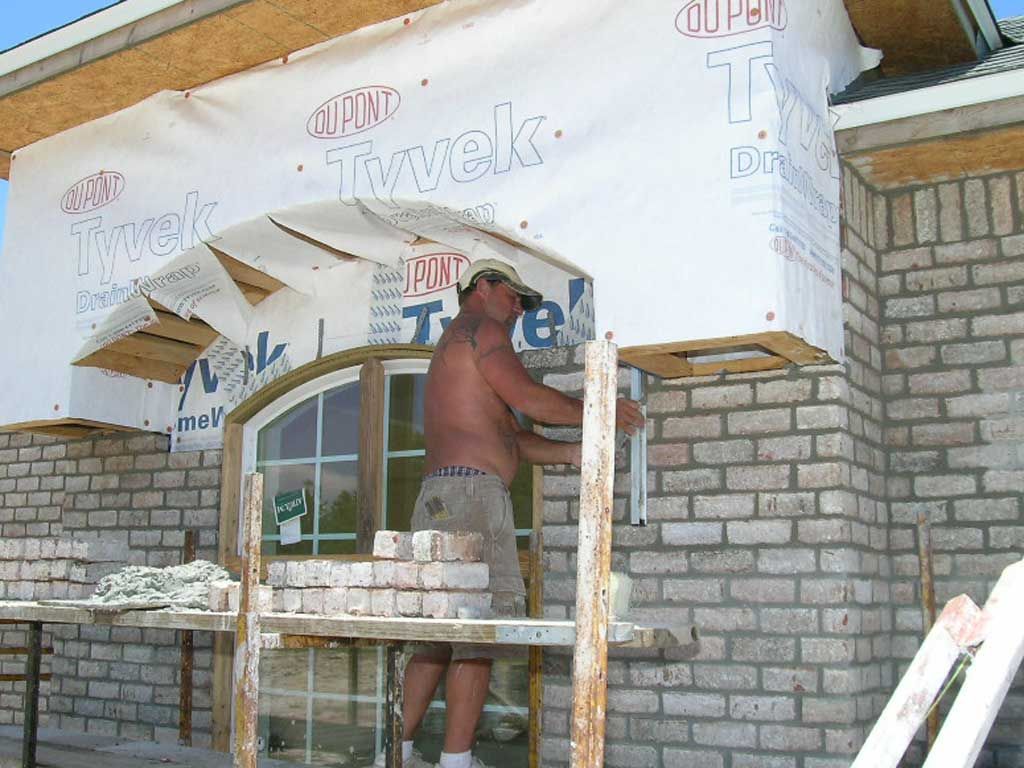
House wrap installed. It’s a good idea to let it rain on the secondary rain barrier to check the window, door, and wall flashing for leaks.
Angel installing screws into the ceiling board. Adding screws helps prevent nail pops in the future. Note the foam attic insulation to the left applied to the underside of the roof decking. This house is cool inside, even during construction.
High performance thermal envelope. Foam in the attic, assure R on the walls.
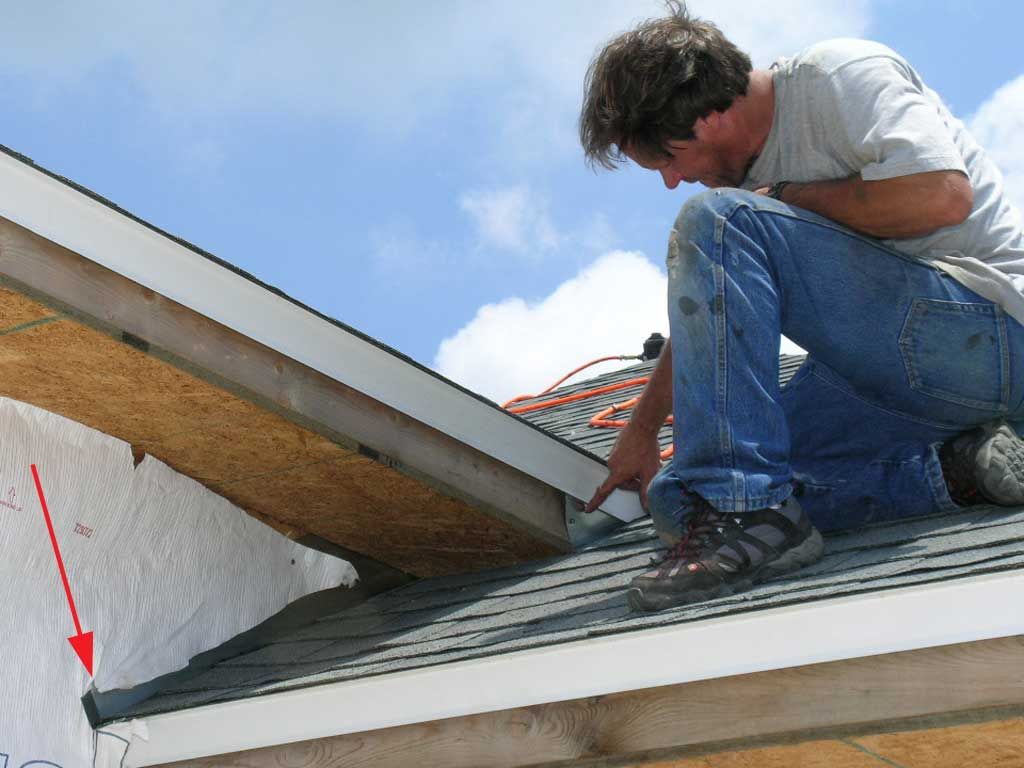
Mark with Mark Kelly roofing point out counter flashing where the facia meets the roof which prevents blowing rain from getting in behind the shingles at the soffit. You can also see kick out flashing where the roof meets the wall which will prevent water from getting into the wall where the soffit meets the wall.
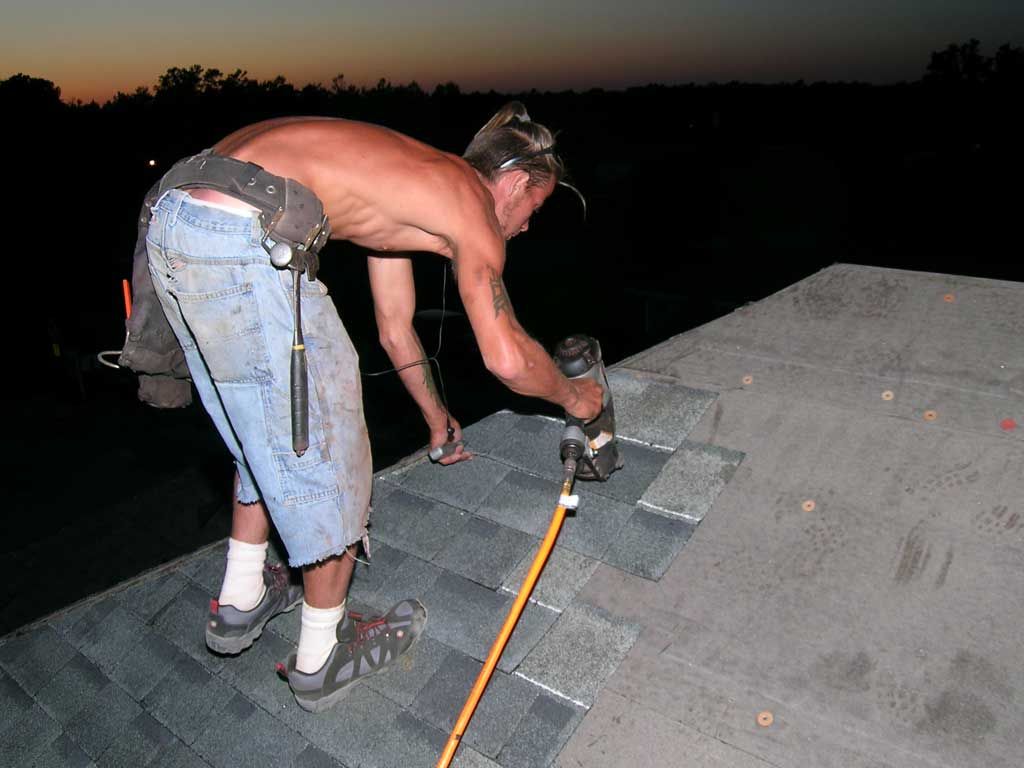
Robert with Mark Kelly roofing knows how to beat the heat. Just work at night. You can see the 50 mil subroof under the shingles. This subroof is a complete secondary water resistant barrier so if you loose some shingles during a hurricane you’ve still got a water intrusion barrier.
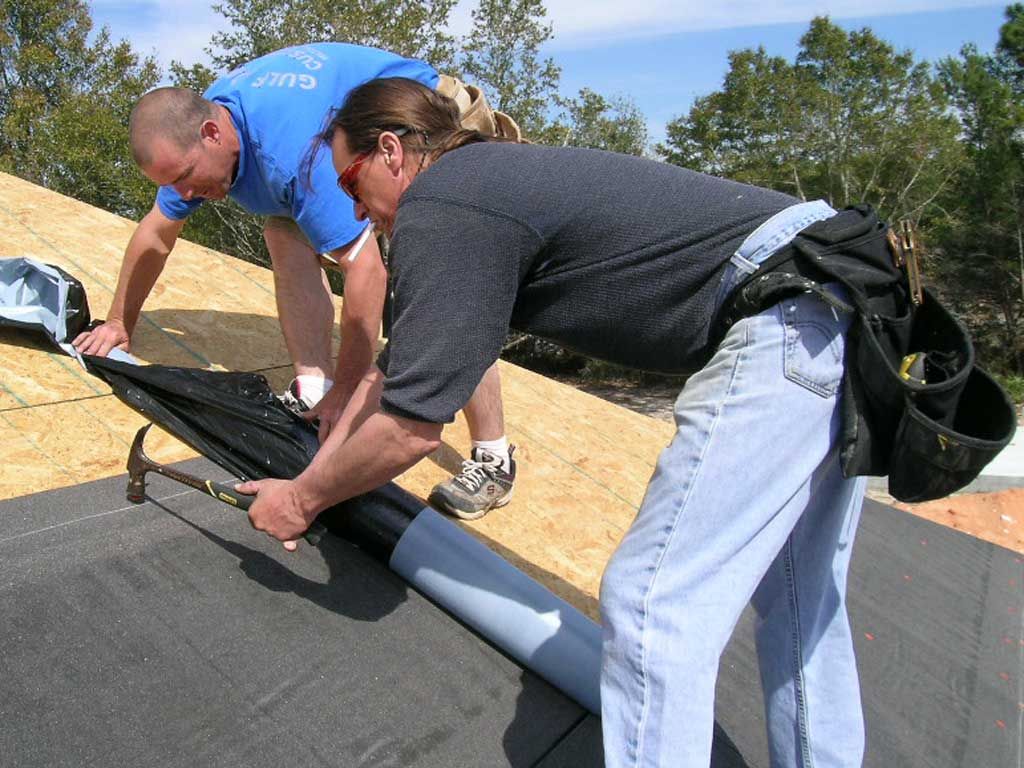
Trey & Damian install peal & seal roofing underlayment. This 50 mil subroof will protect the home from water intrusion if a shingle gets damaged or blown off in a wind storm. The self adhesive backing sticks to the plywood when the sun heats it up. The material will seal tight to the shingle nails so it won’t leak if a shingle gets ripped off. This will prevent major water intrusion damage due to the loss of a few shingles.
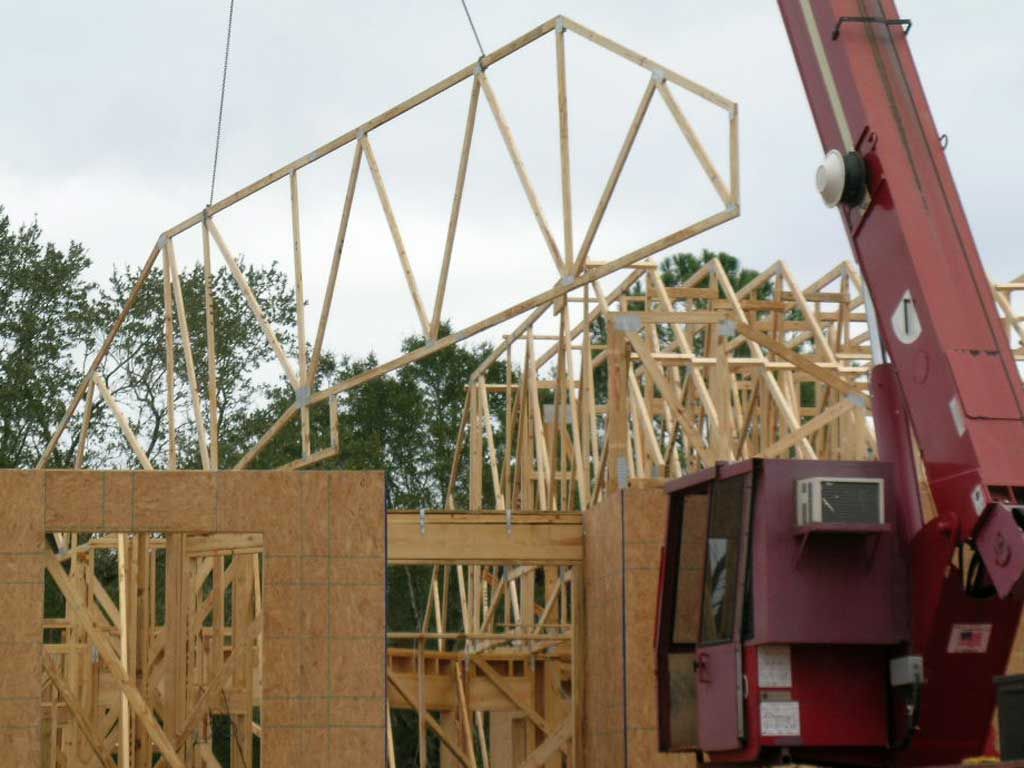
Setting the roof trusses
Trey checking his measurements on the front porch.
Damian making sure it’s done right.
Damian installs insulation in the exterior tees and corners before the walls are sheathed. Once the plywood exterior sheathing is installed there’s no way to insulate these hidden parts of the wall so there are a lot of voids in the thermal envelope of a typical wood framed home. We used 3 rolls of insulation on the tees, corners, and headers. Imagine removing 3 rolls of insulation from your home and how much that would impact your utility bill. This is an important part of stacking up lots of nickles and dimes to make hundreds of dollars per year worth of energy efficient improvements and providing a more comfortable home.
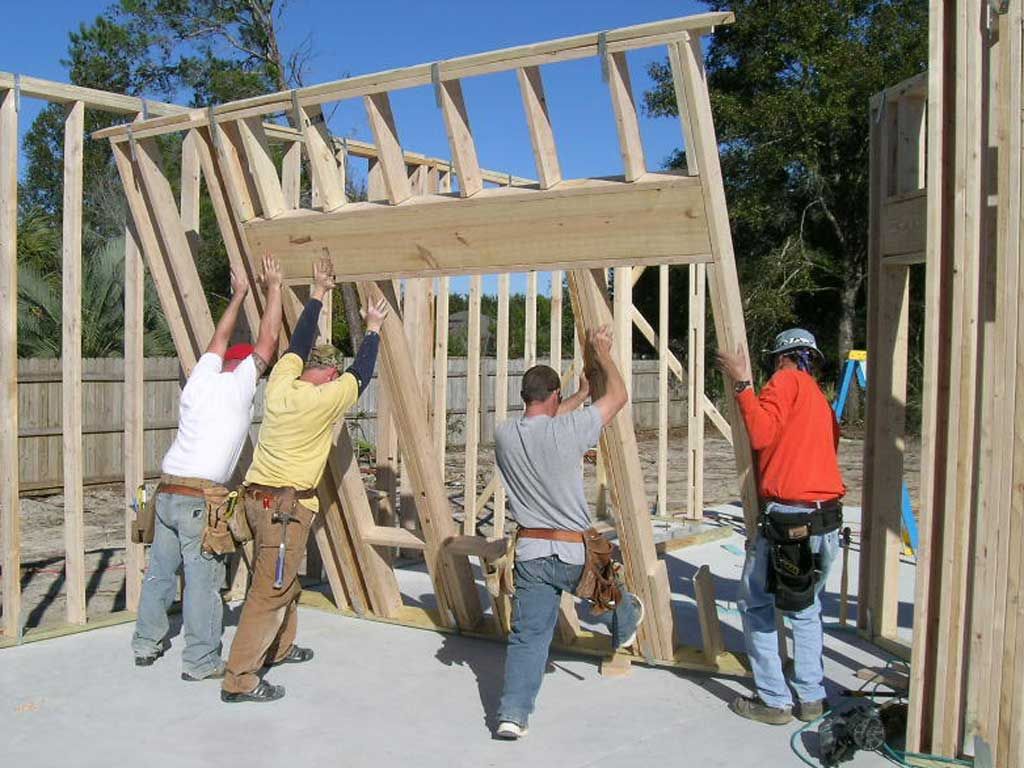
Trey, Damian, and crew lifting the master bedroom wall into place.
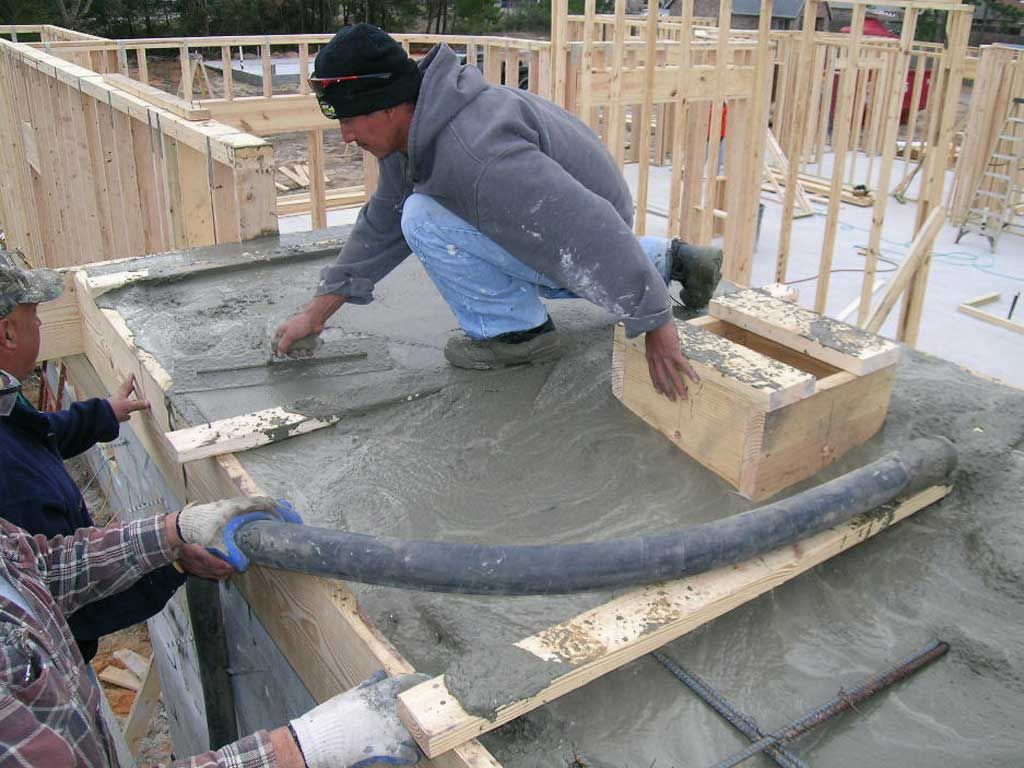
Pouring the safe room roof. Note the steel reinforcement showing in the lower right corner. The box sticking out of the concrete is where the AC duct and fresh air vent will go into the room. The ducts will cut into the 2×12 sides of the box and the top will be covered with 2 layers of 3/4″ plywood for impact resistance.
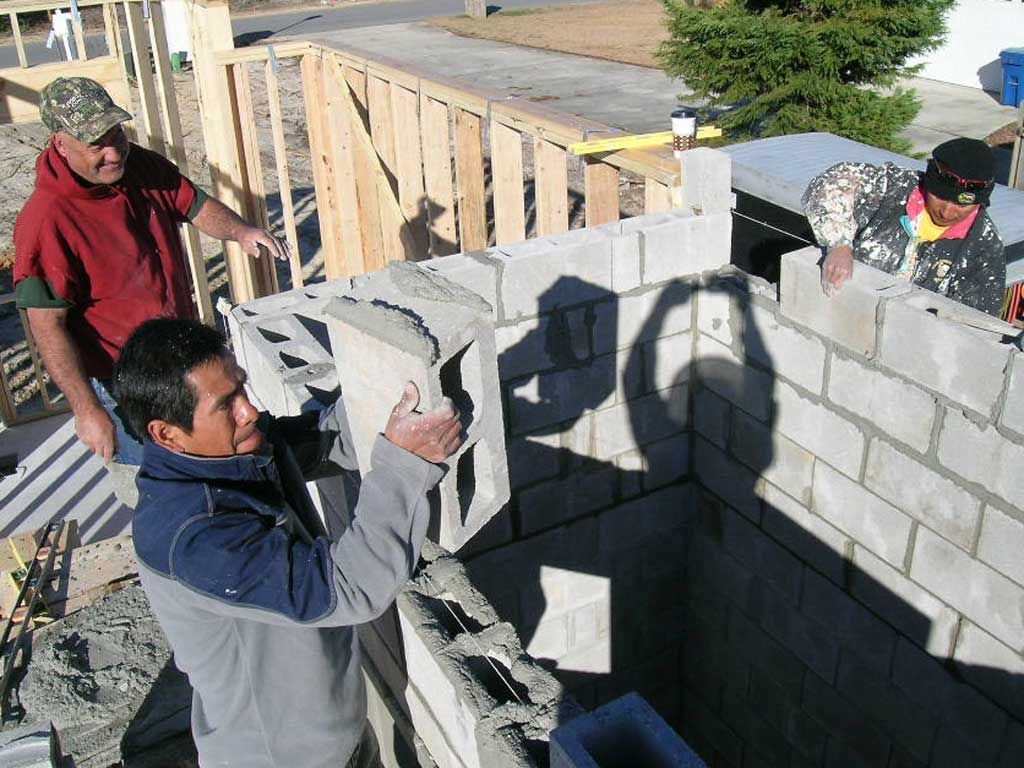
Laying up the block for the safe room.

Gomez and crew lifting the safe room lintel over the door.
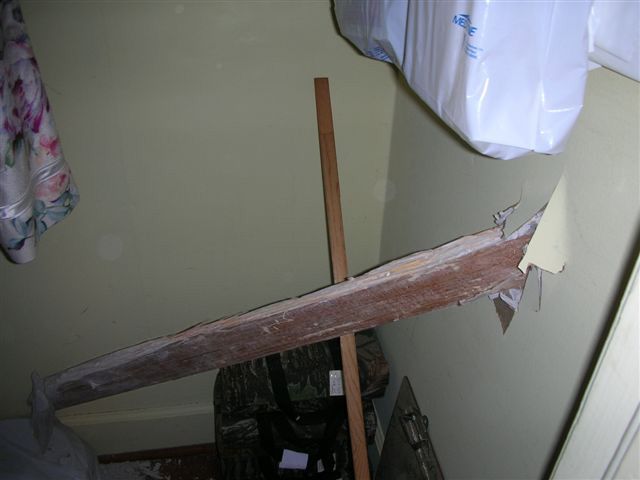
This is why you need a safe room. That large piece of lumber plunged through the roof and speared an inside closet during a tornado which severely damaged Ms. Sanders mother’s home in Enterprise, Alabama in 2007. That same tornado destroyed Enterprise High School and killed 8 students.
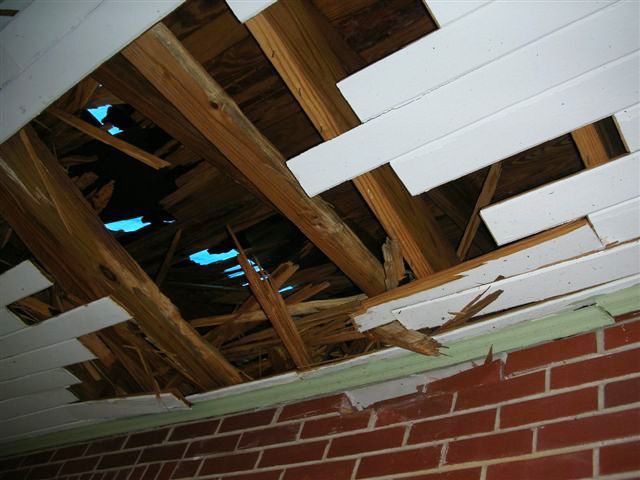
Flying debris from the tornado penetrated 3/4″ tongue and groove roof decking and ceiling boards. You can imagine how easily penetrated 1/2″ roof decking and drywall ceilings are in modern homes. This is why you need a concrete and steel reinforced safe room to truly be safe at home during hurricanes and tornadoes.

Gomez figuring it out.
Screeding the concrete.
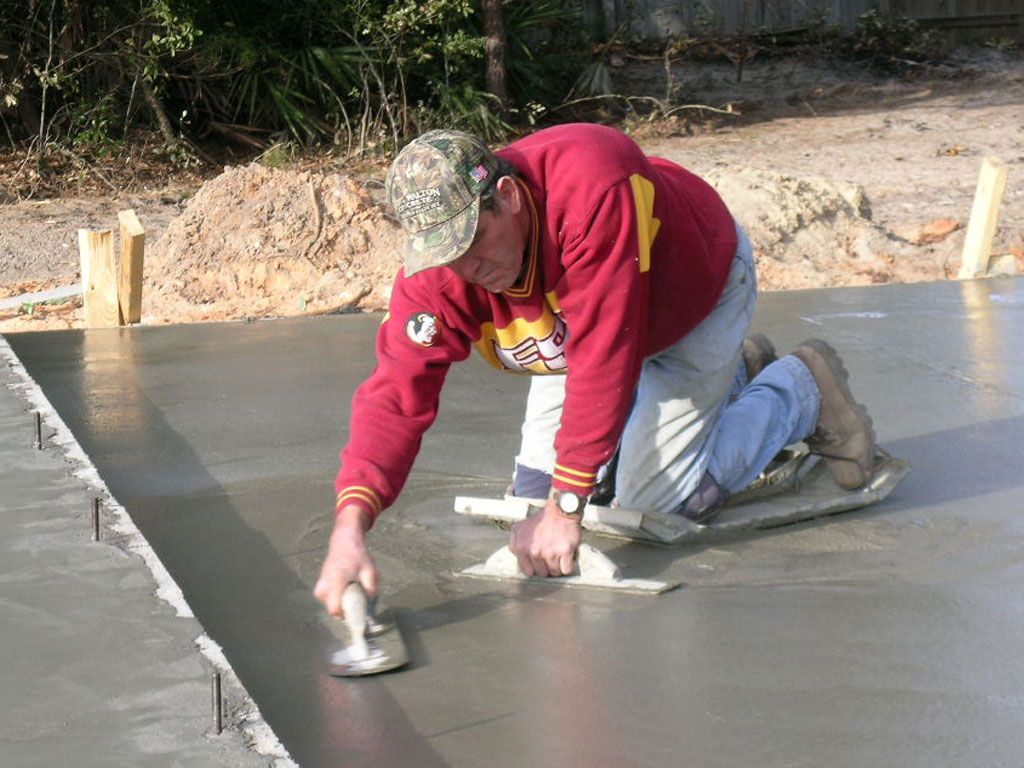
Phillip finishing the slab with a rotary trowel.
Tony hand troweling the slab. Is that a wrist watch on his hand? Haven’t seen one of those in a while.
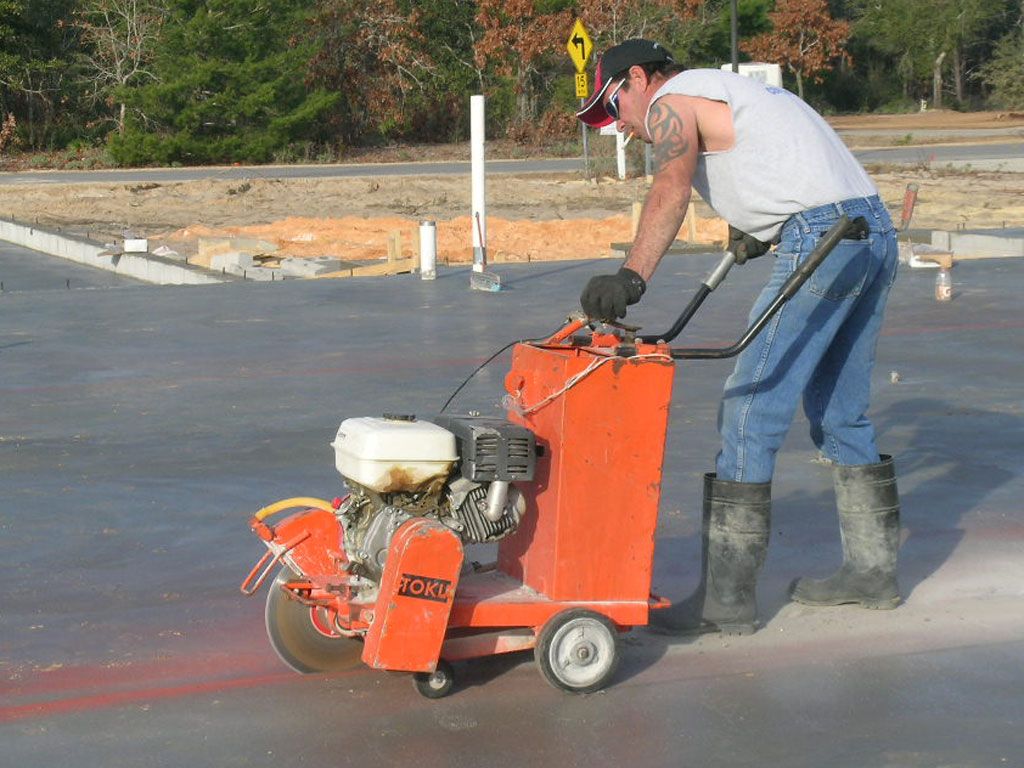
Roy cuts control joints into the slab. These joints prevent uncontrolled shrinkage cracking in the slab from cracking through tile floors. It’s important to cut in the joints within 24 hours of pouring the slab before the slab decides on its own where it’s going to crack as it cures and shrinks. The joints are 1″ deep.
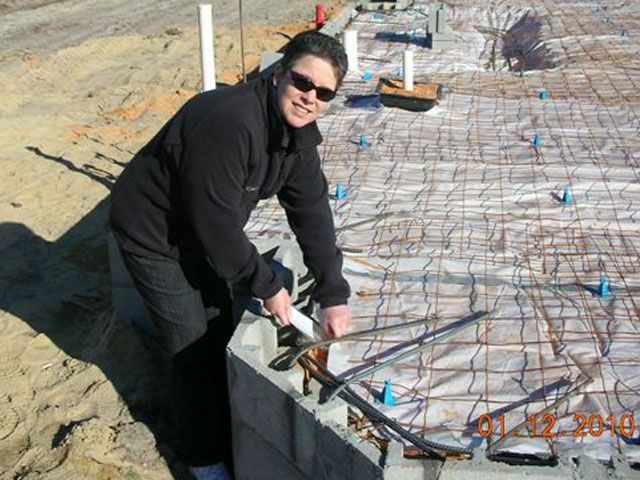
Jennifer places her favorite verses in the foundation under the master bath tub. One of her favorite places?
Mike places his favorite verses in the foundation of his shop.