
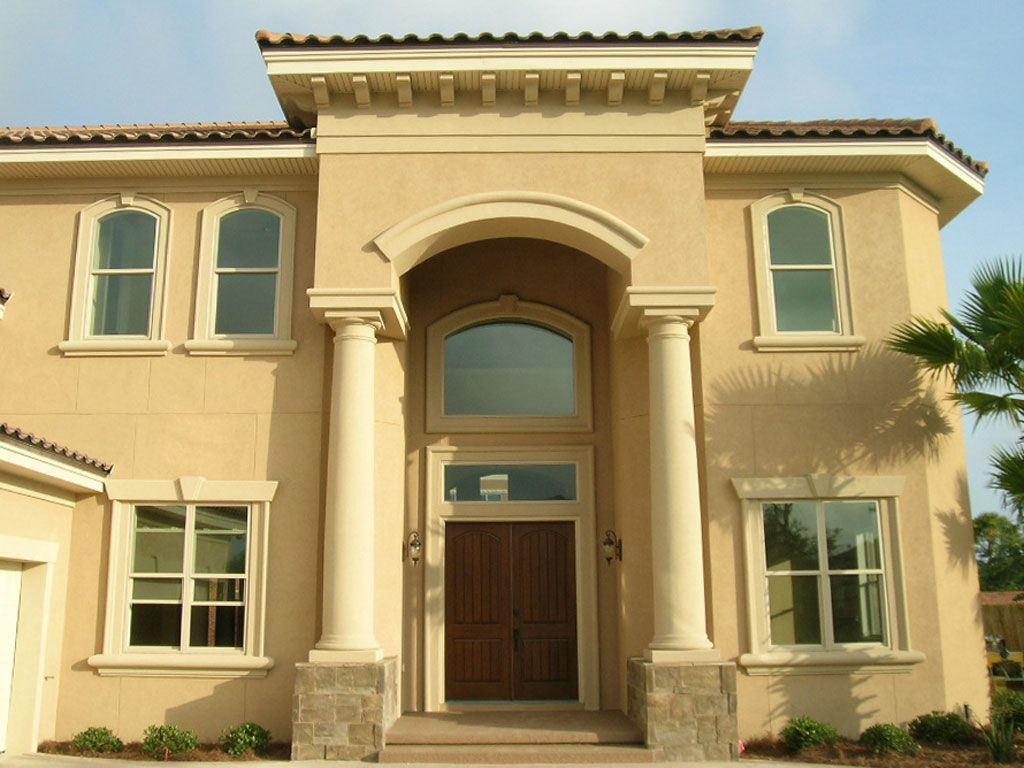
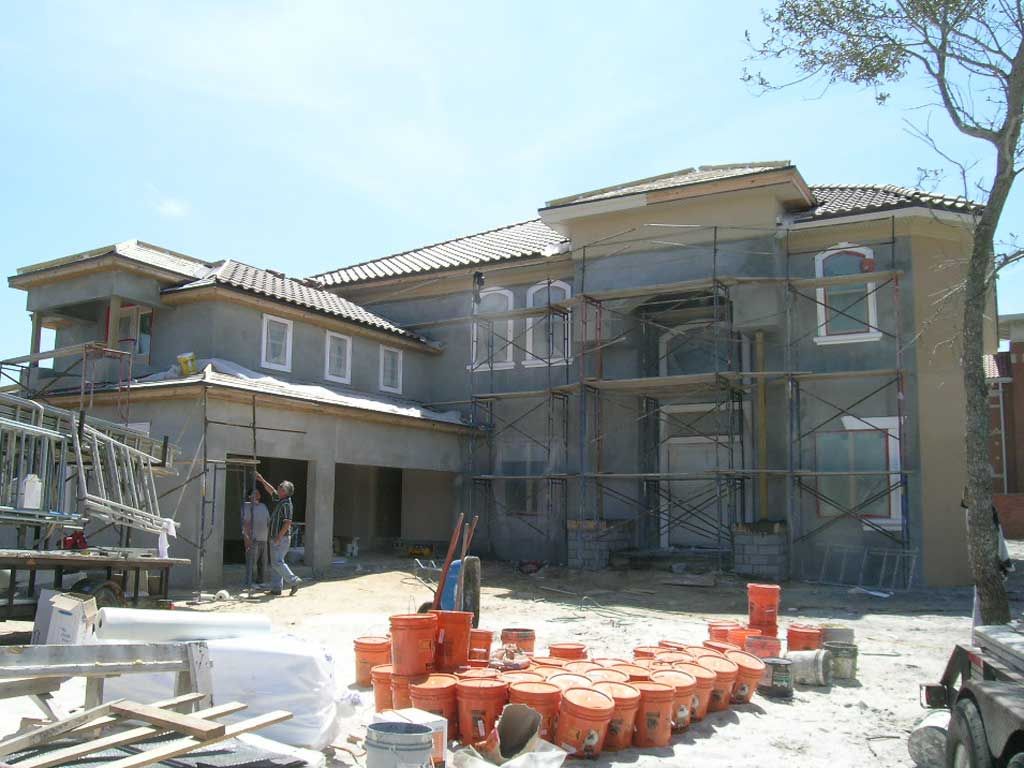
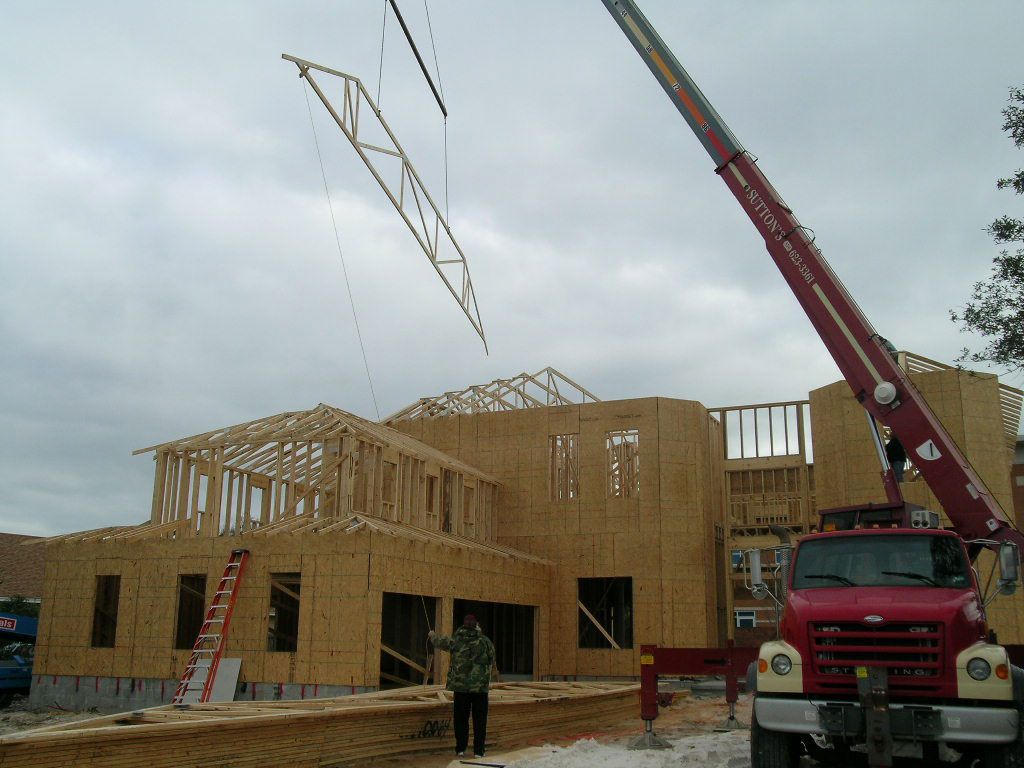
Kesler residence
I’m building this 6087 Sf home for Dr. Roman Kesler, his wife Marina, and their little princess Ava. It may be more accurate to say I’m building it for Ava as she seems to have a lot more stuff than her parents. The Kesler’s lived in a home that had 12′ ceilings in Mississippi so now they feel cramped in their current home with 10′ ceilings. See how easy it is to get spoiled. This home has 12′ first floor walls and 10′ second floor walls and is one of the first homes I designed using Softplan’s 3D modeling software.

6087 SF, 8 months start to finish.

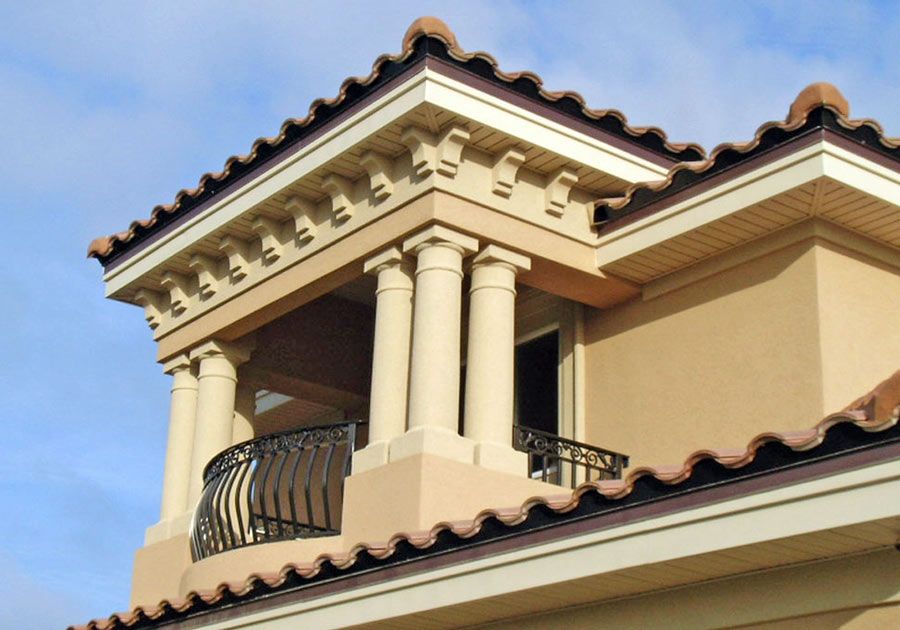
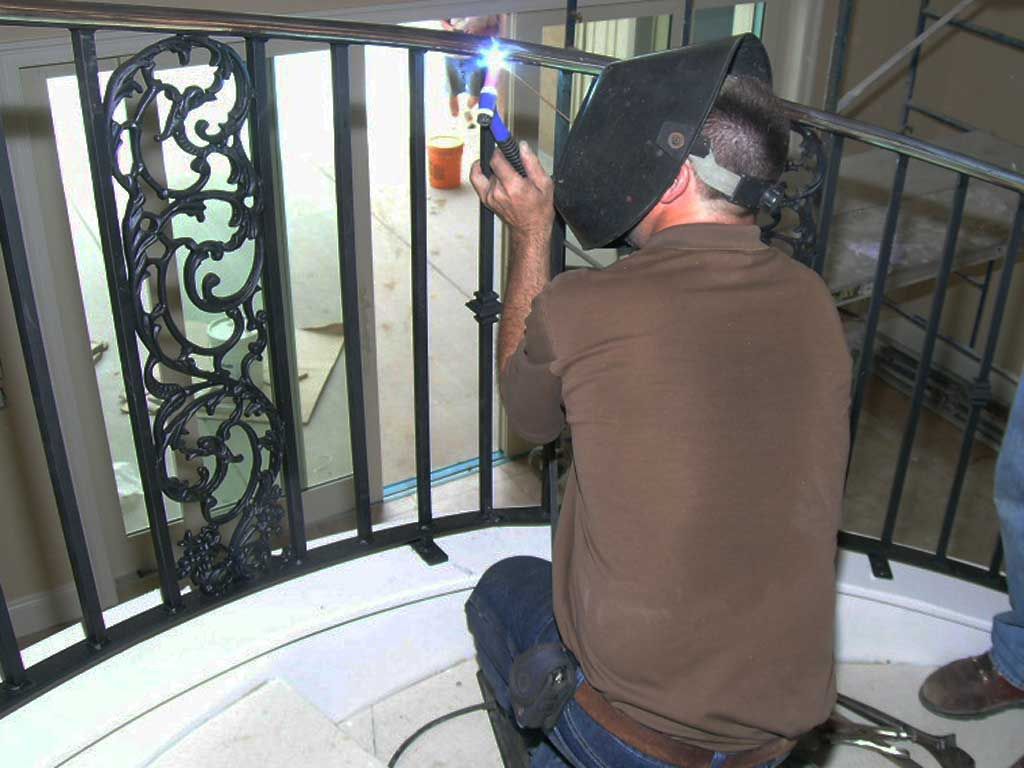
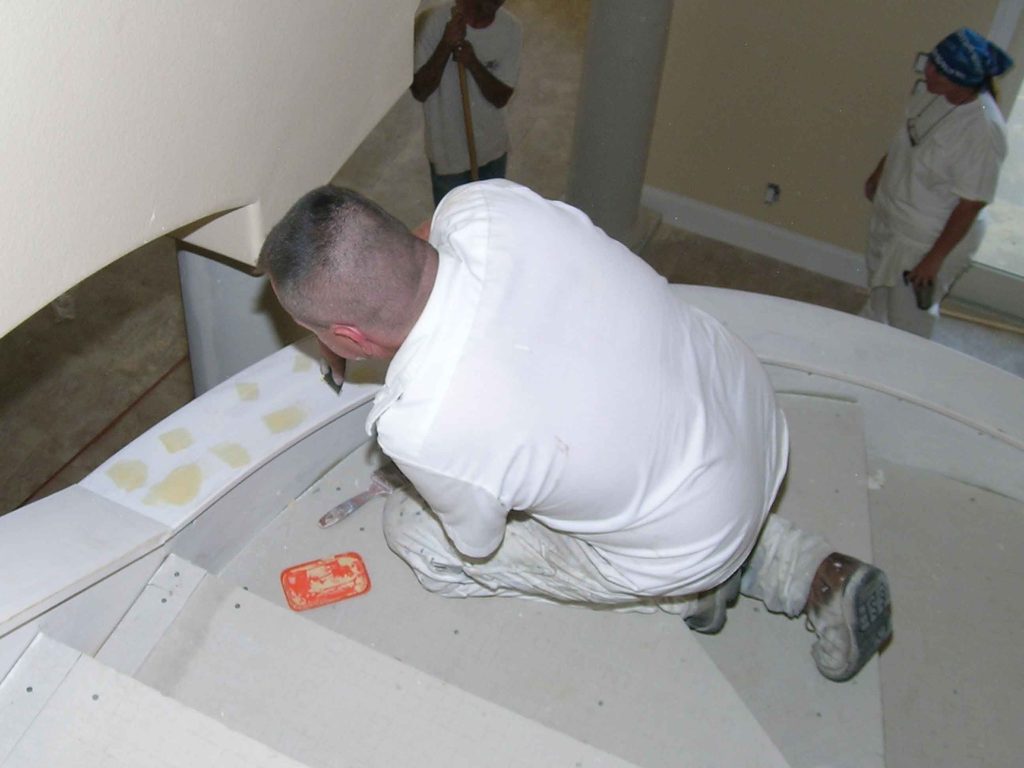
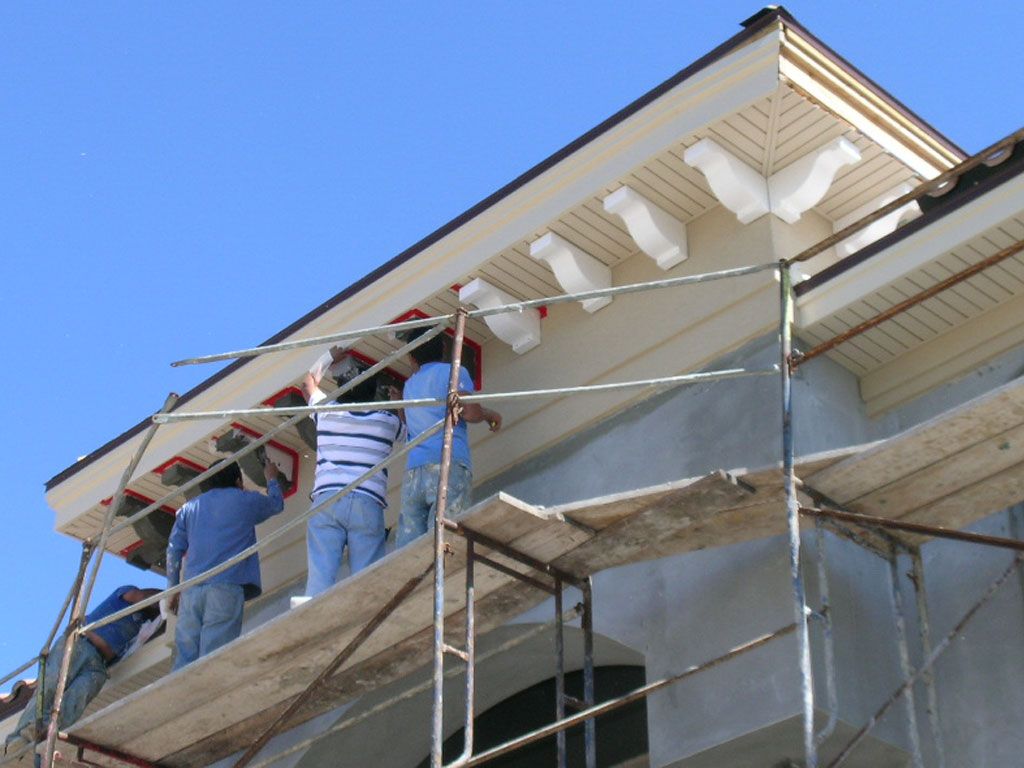
Balcony detail over the garage. Way cool!
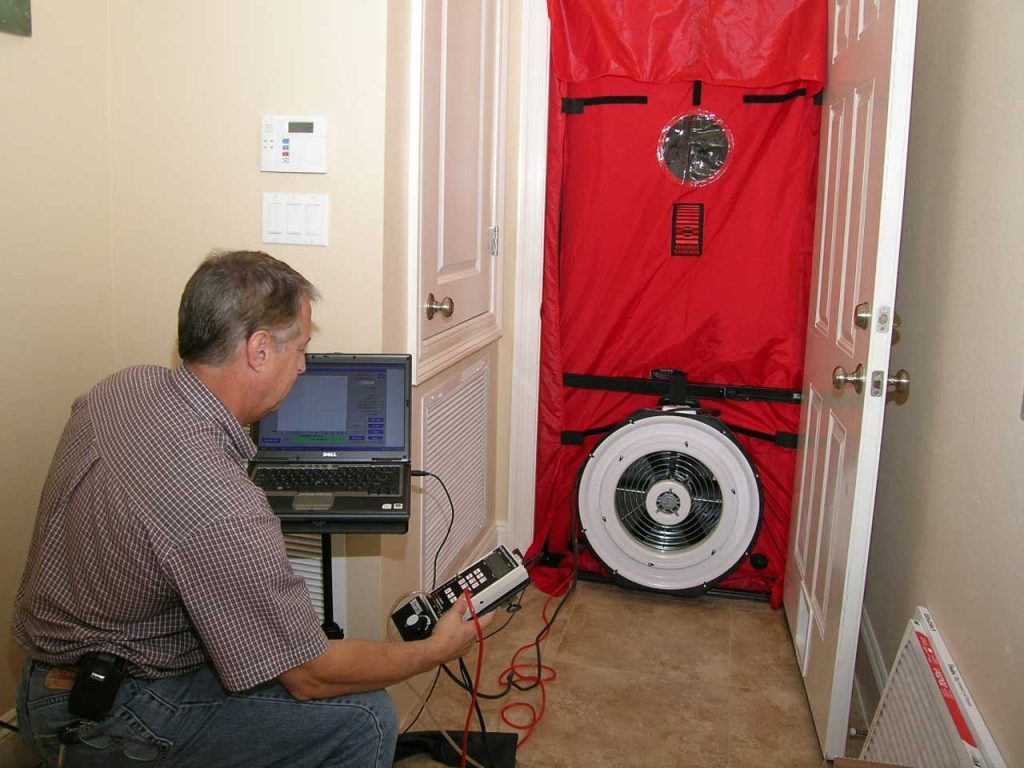
Joe Jones with Gulf Power has installed a blower door in one of the
exterior door openings. The blower door draws a vacuum on the home so
that the air tightness of the home can be measured in terms of air
changes per hour. The test is run at 50 pascals of vacuum which
simulates a 20 mph wind on all 4 sides of the building. This test is a
very important part of building a high performance energy efficient
home. It’s the only way to know for sure how well our methods are
working. We test for success.
We tested at 1.98 air changes per hour. We
were almost off the chart!
These are the performance guidelines:
1.5 – 4 ACH = High Performance Home
4 – 7 ACH = Energy Efficient Home
8 – 12 ACH = Standard New Home
11 – 21 ACH = Standard Existing Home
18 – 35 ACH = Standard Older Home
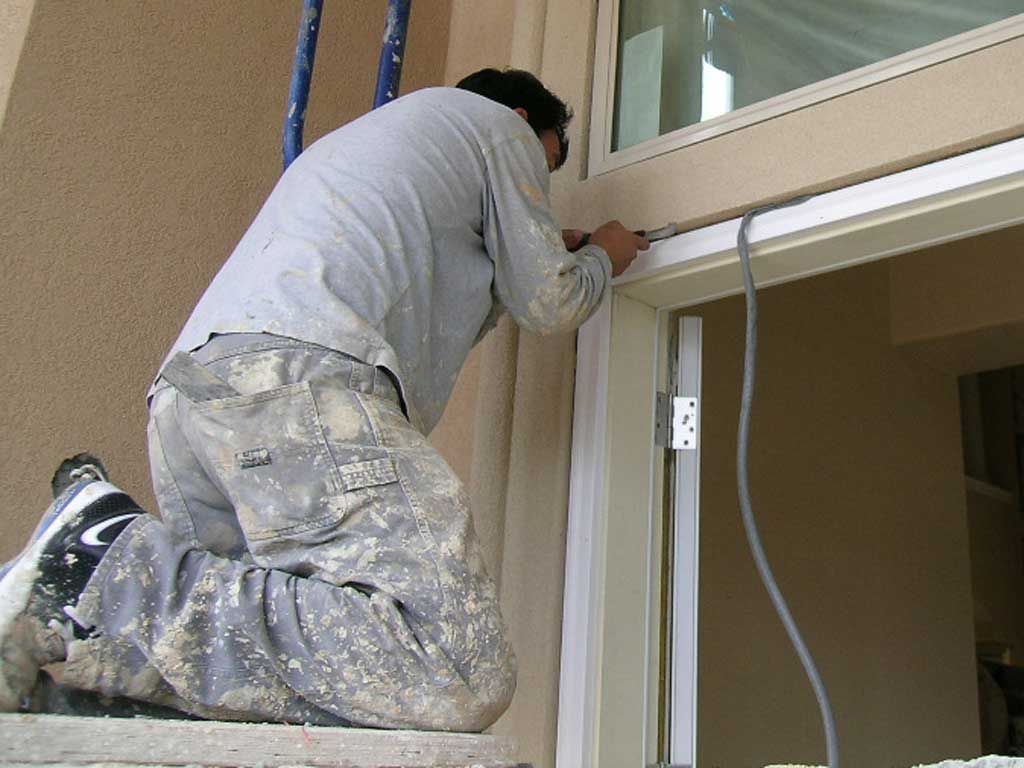
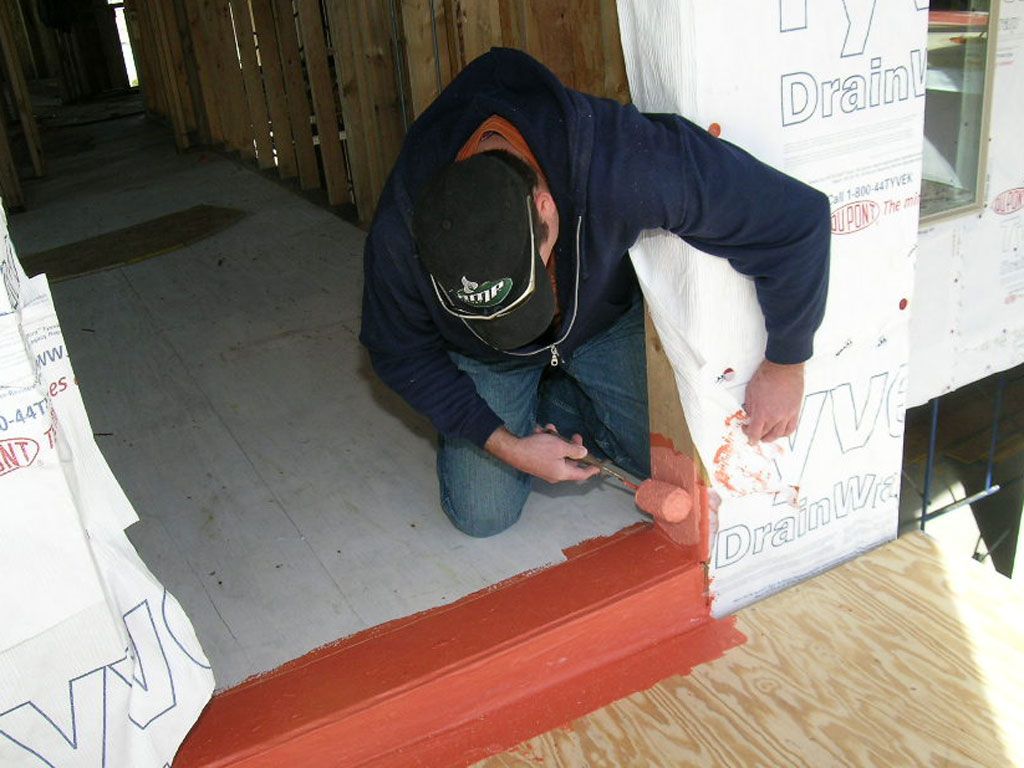
Arturo is cleaning out the gap between the door frame and stucco stop. The grey 1/2″ foam backer rod is then tucked into that gap. Then the gap is caulked with NP-1 sealant. This is the right way to seal stucco to windows and doors. Typically this joint will leak years later if it’s not sealed properly.
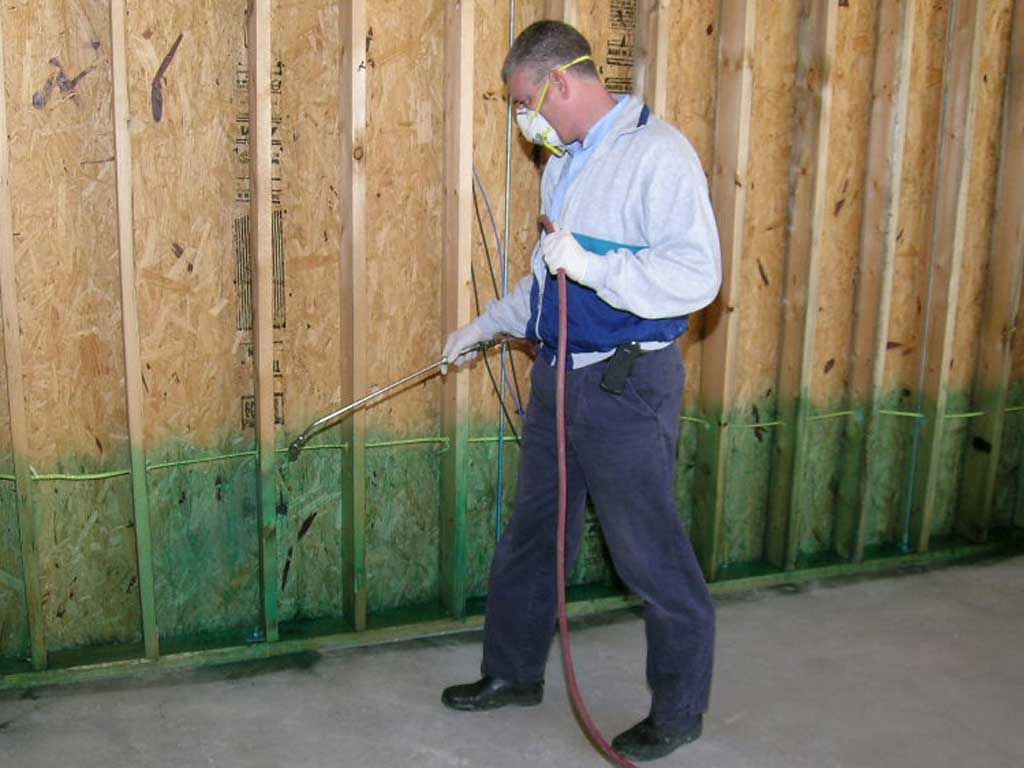
Kenny sprays termite treating on the bottom 2′ of the wood framing so any termites that get past the pretreated soil under the slab will encounter poisoned wood. This is one part of a 3 part system of our termite defense. 1. pretreat under the slab. 2. Poison the wood. 3. Perimeter poisoned soil barrier when the home is complete. We want the termites to give up and go next door.
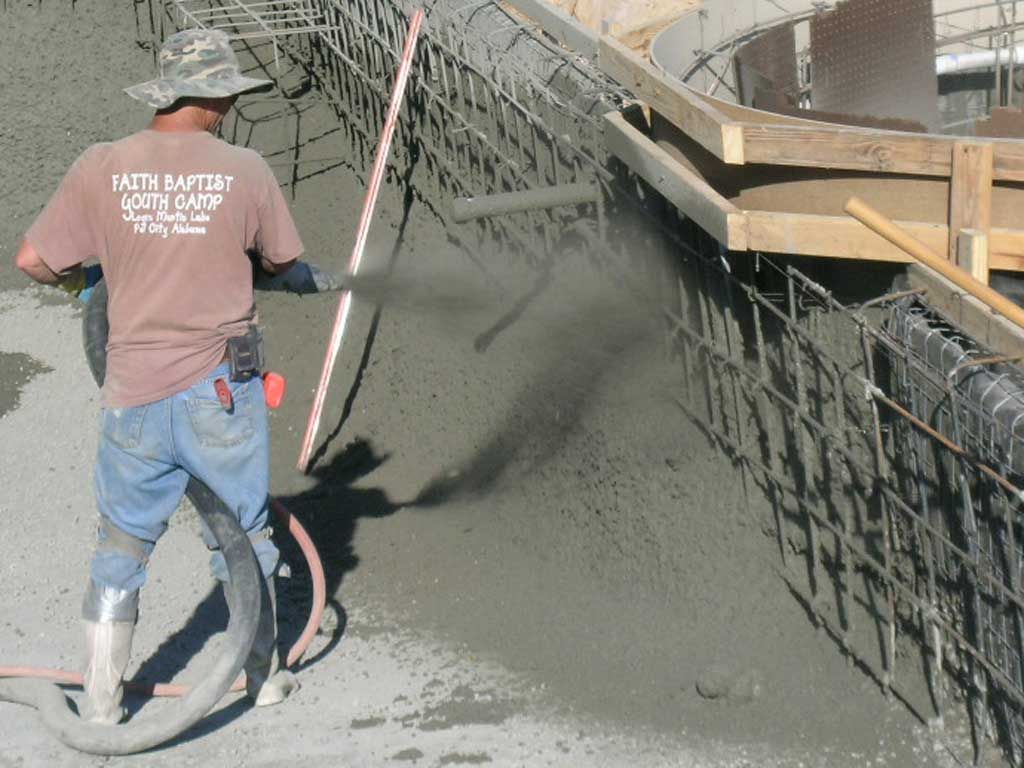
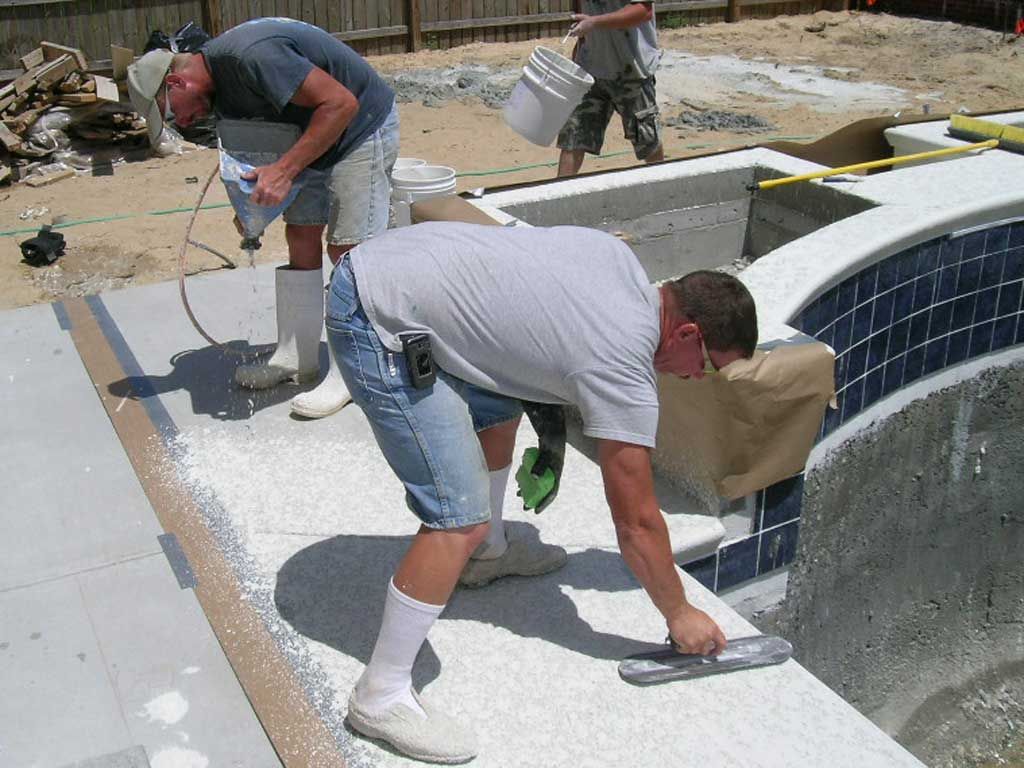
Mick with Cox Pools shooting the shell. 12″ concrete walls on this pool.
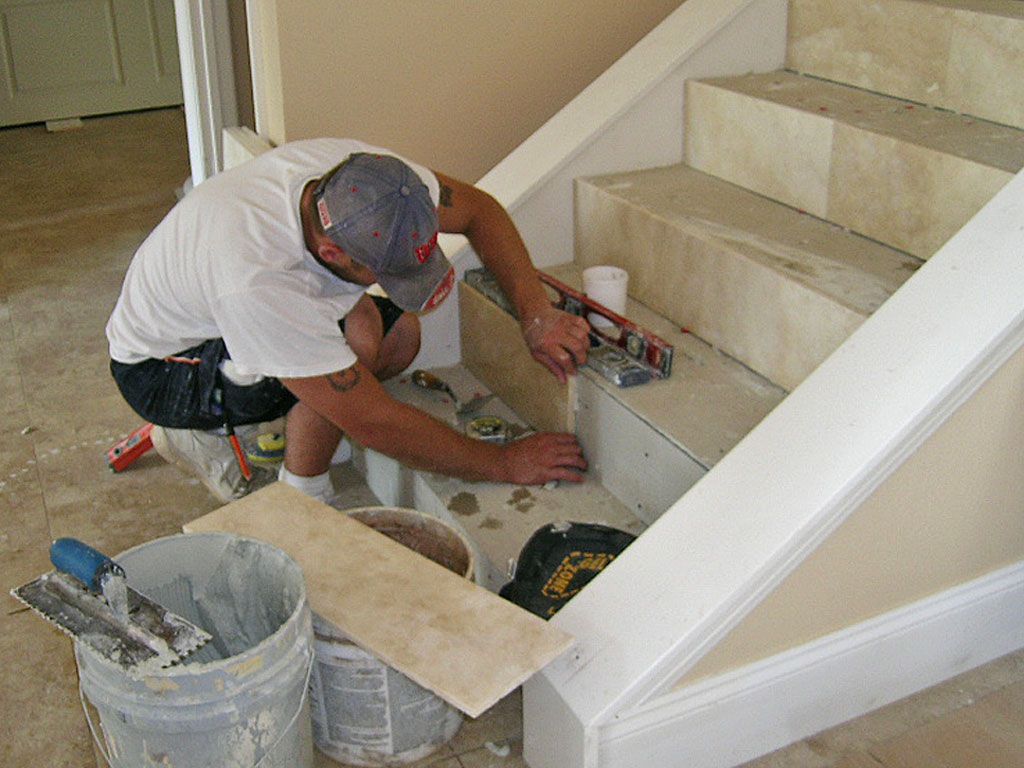
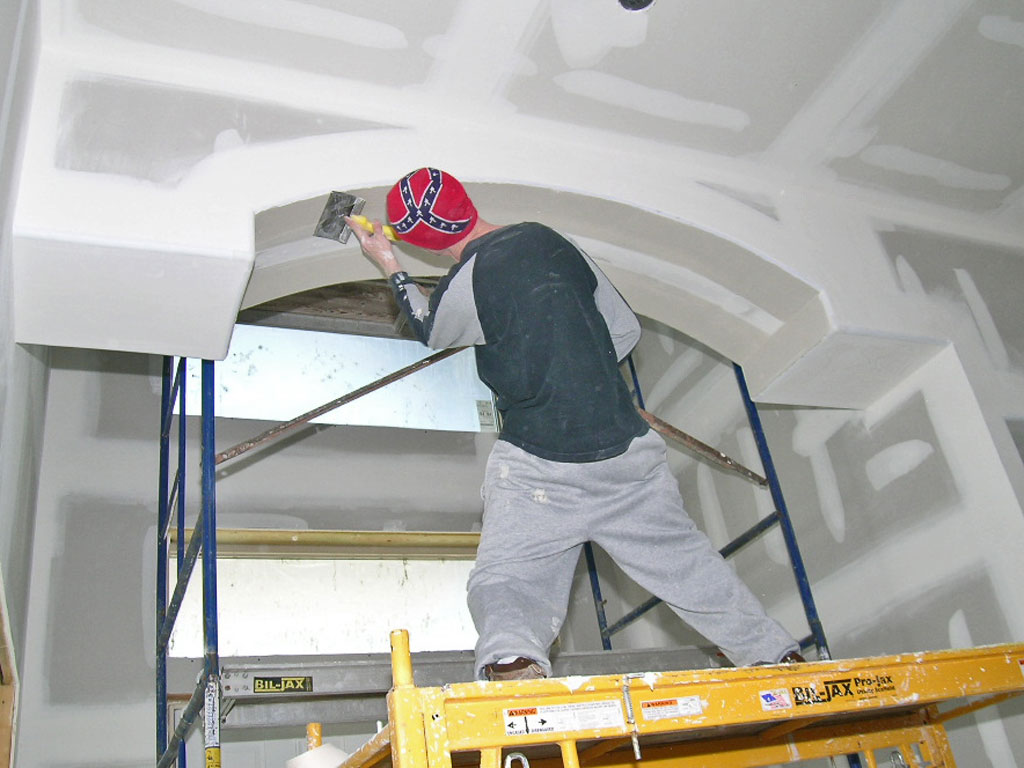
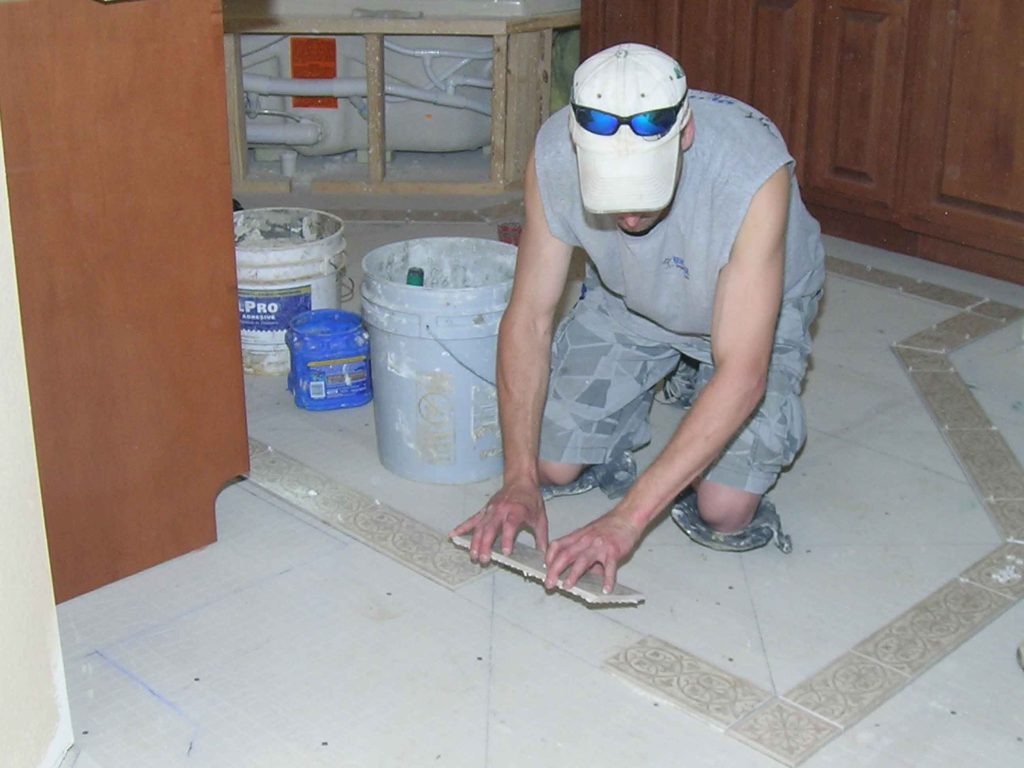
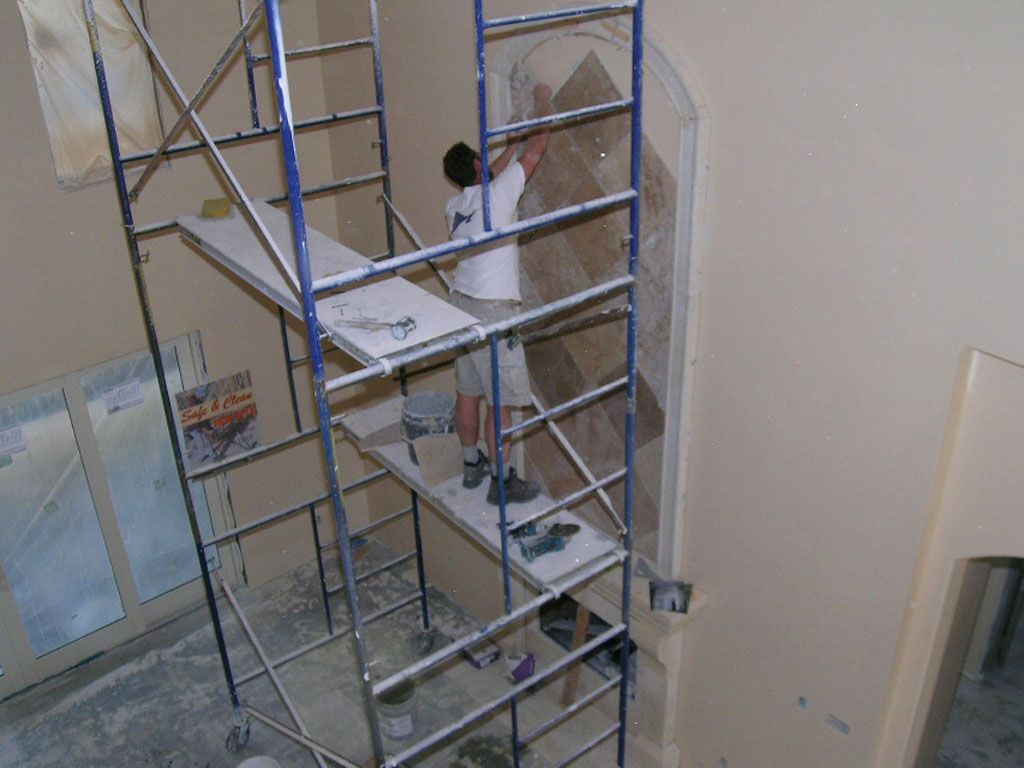
Installing travertine on the living room stair case.
Working on the 2nd floor.

This is how ants move giant bugs.

Keith, Brandon Josh, and Chaz assemble Ava’s playground. I wish I had cool stuff like this in my yard when I was a kid.
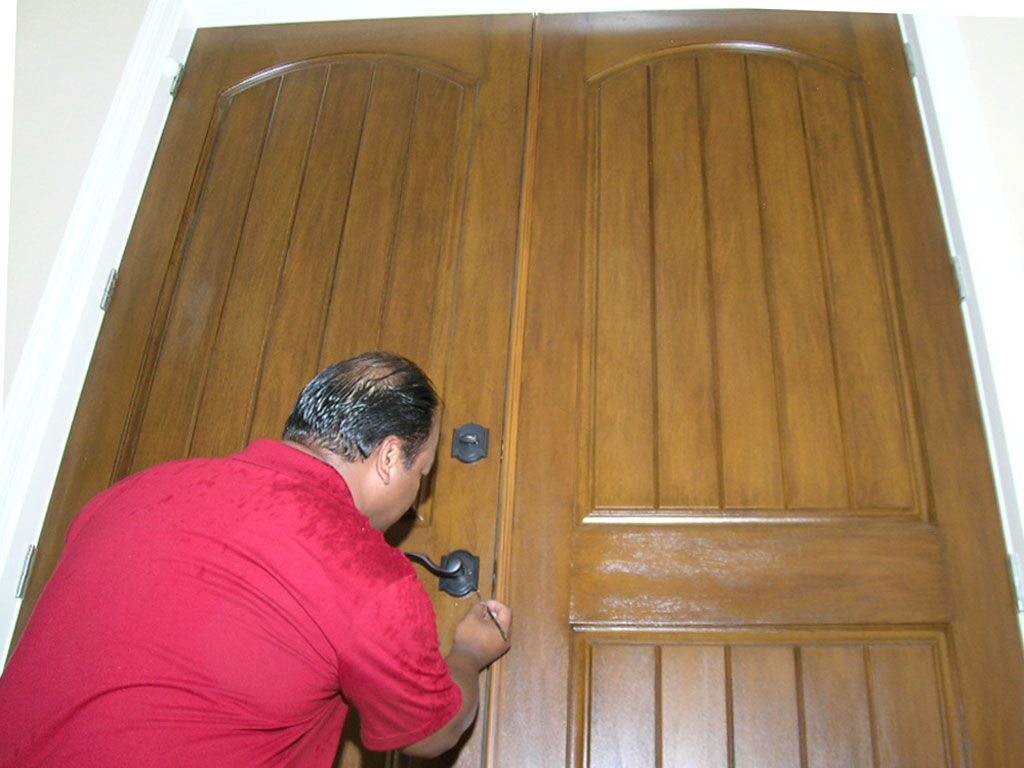
Jimmy with JQ, Inc. puts the finishing touches on the front door. This is a fiberglass door. Jimmy has stained and finished it to look like oak. His finish work is so good you don’t really know it’s fiberglass until you touch it. Jimmy applies his furniture finishing and restoration skills to creating durable stained fiberglass doors.
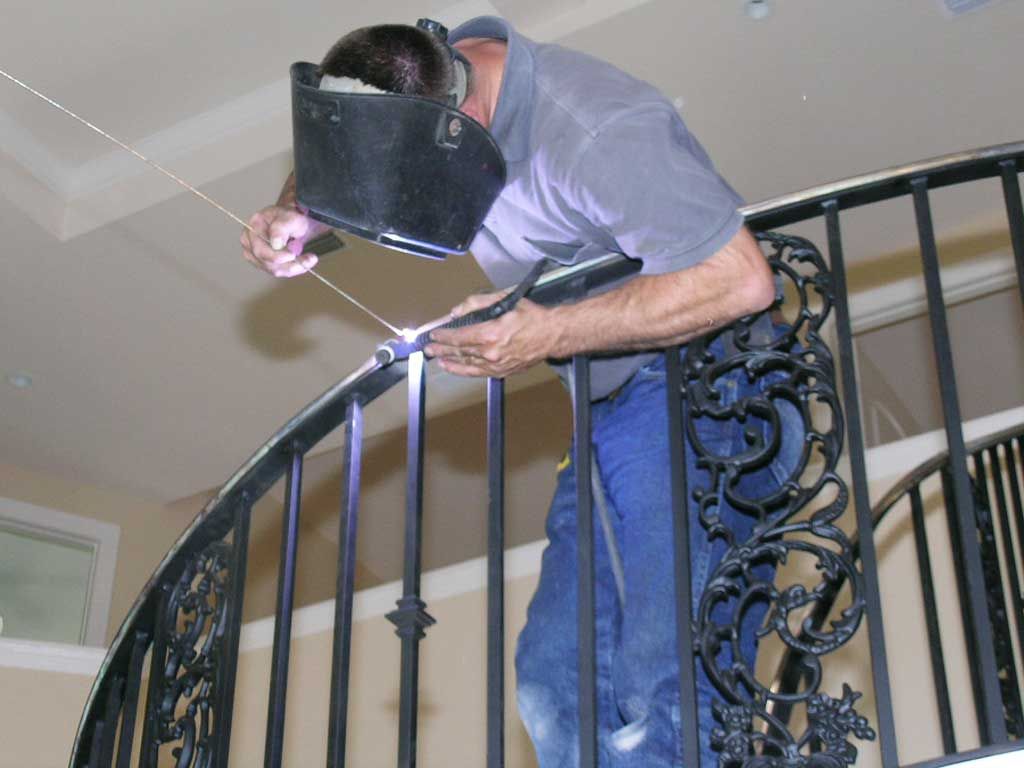
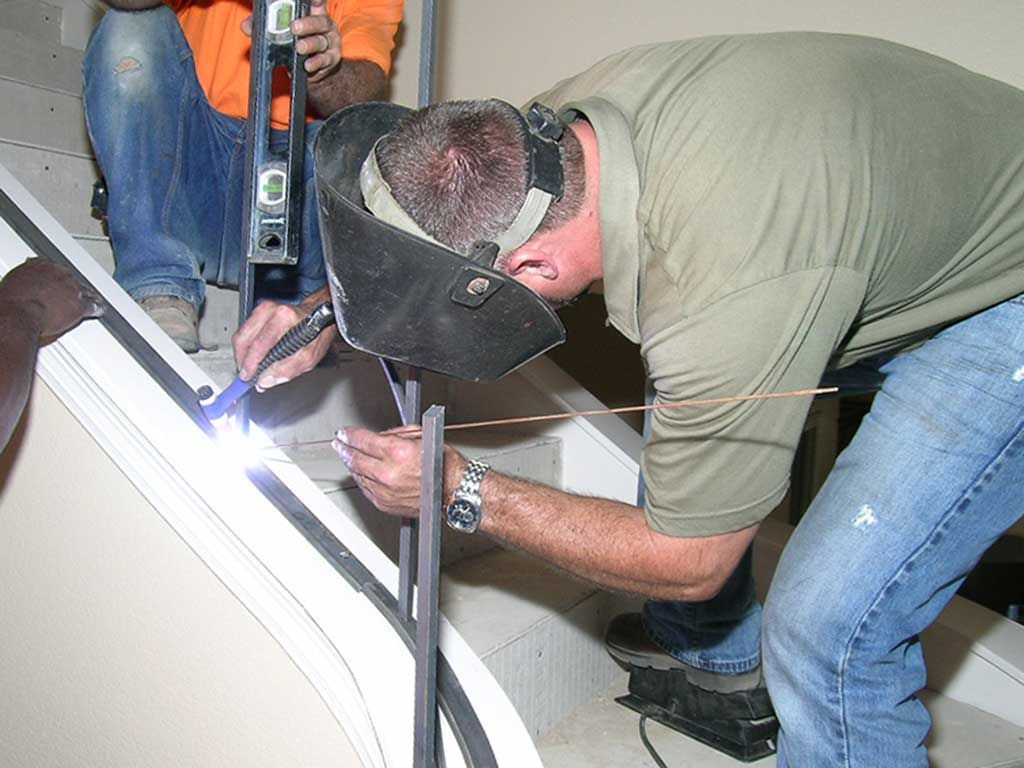
Tony with Brownsville Ornamental Ironworks welding the stair railing sections together.
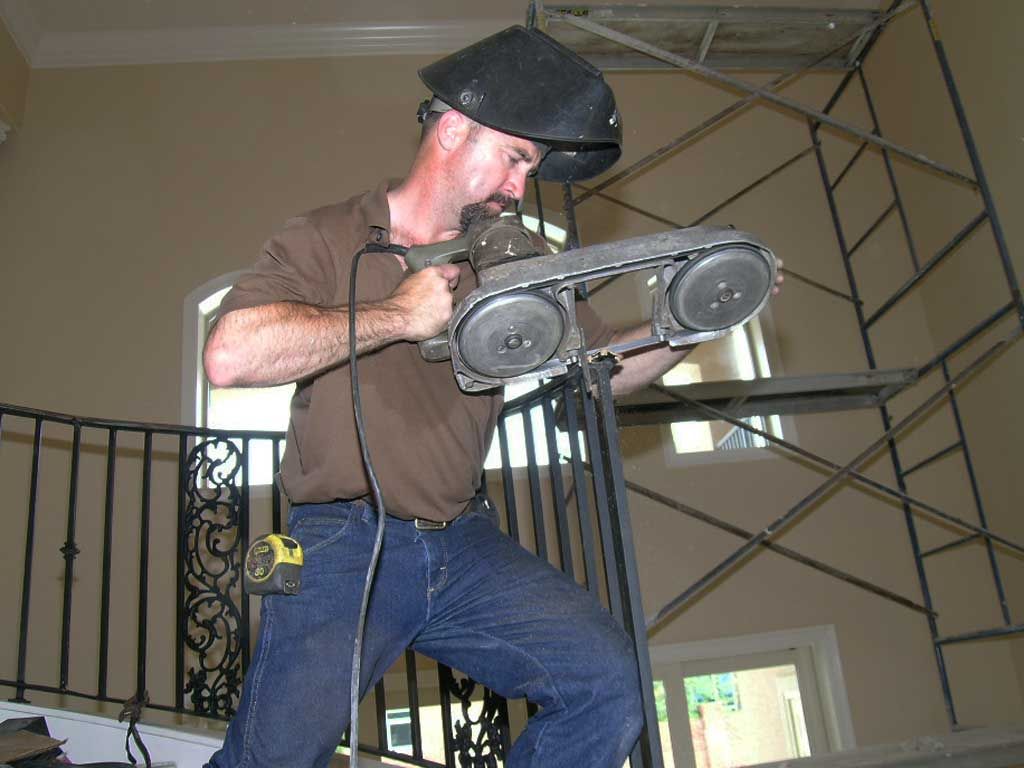
It's a little too long. No problem if you've got a giant electric hack saw.
Installing the LR stair railing
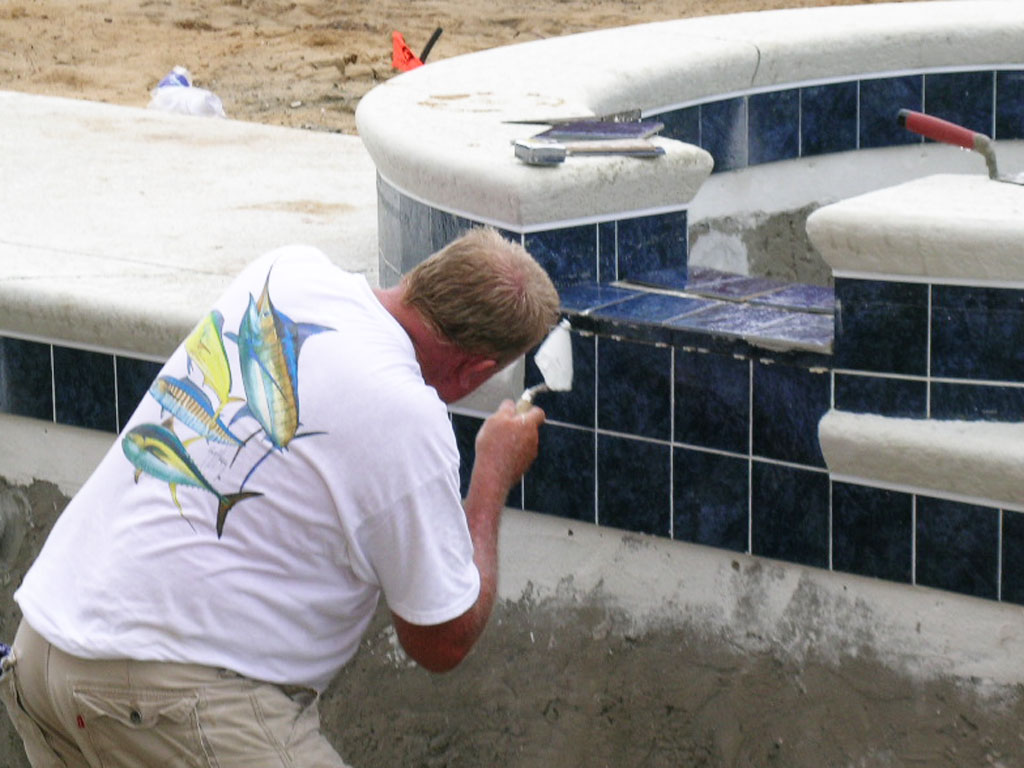
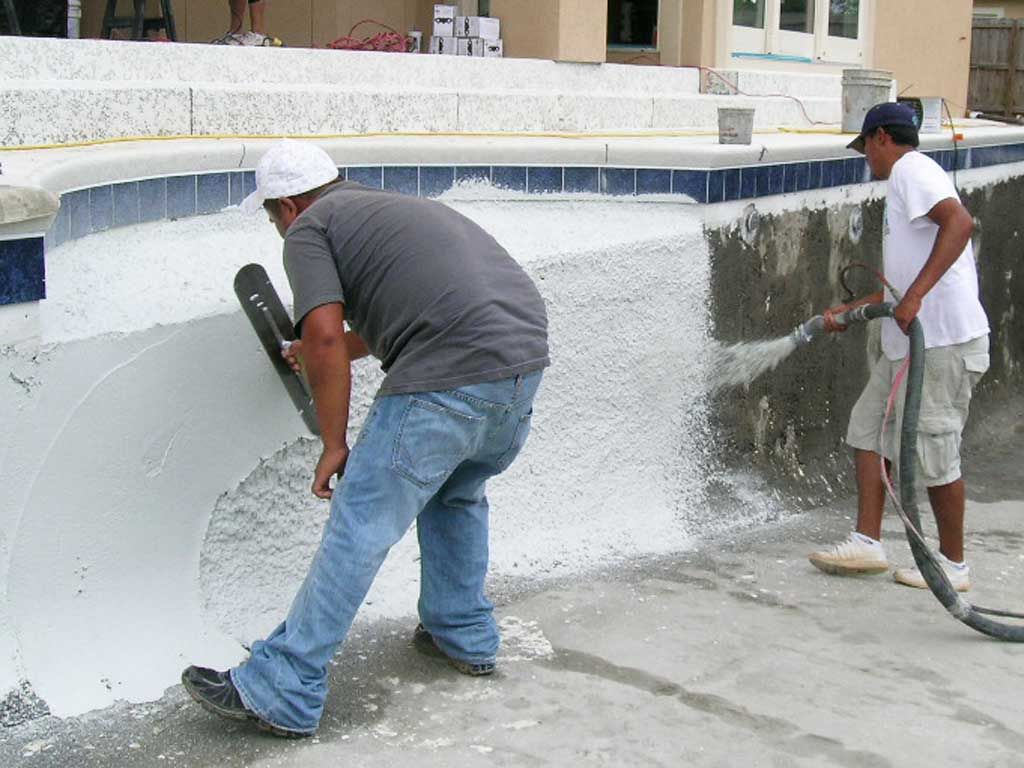
Plastering the pool shell.

Mark setting the listello tile in the mater shower.
Spraying texture on the pool deck.
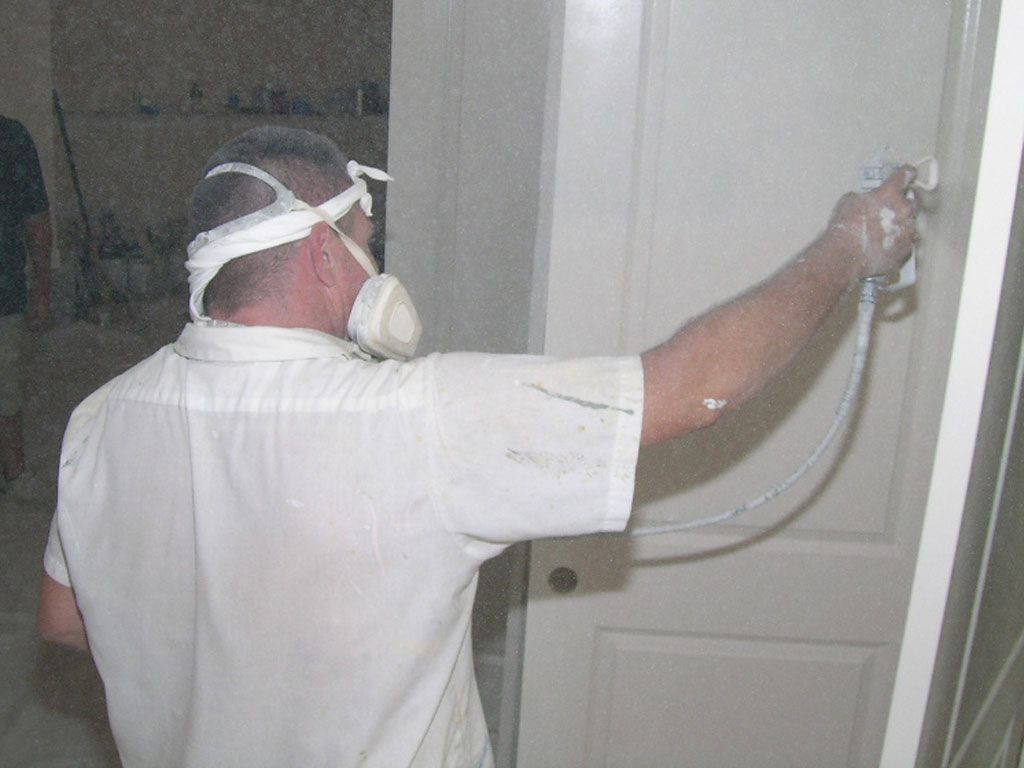
James spraying the doors. Baby butt smooth doors coming up.
Doug with Brownsville Ornamental Ironworks templating the stair railing. Doug bends the metal onsite to fit the curves in the stair case and welds the pickets in the plumb position. He takes these templates back to the shop and fabricates the railing to match the templates.
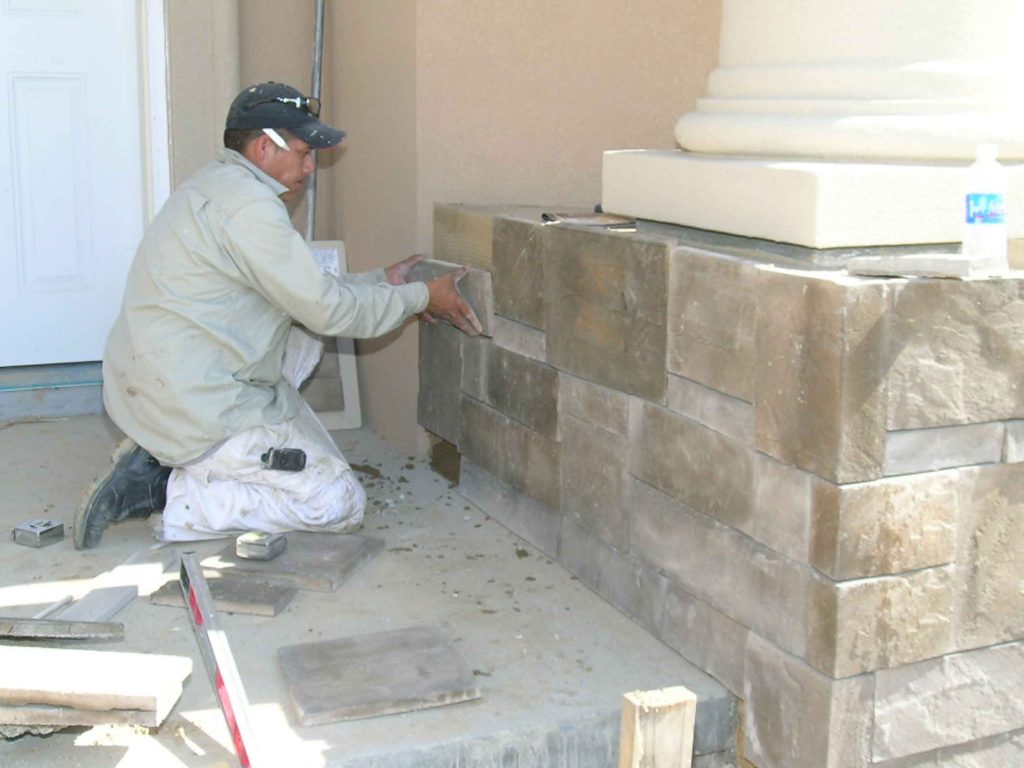
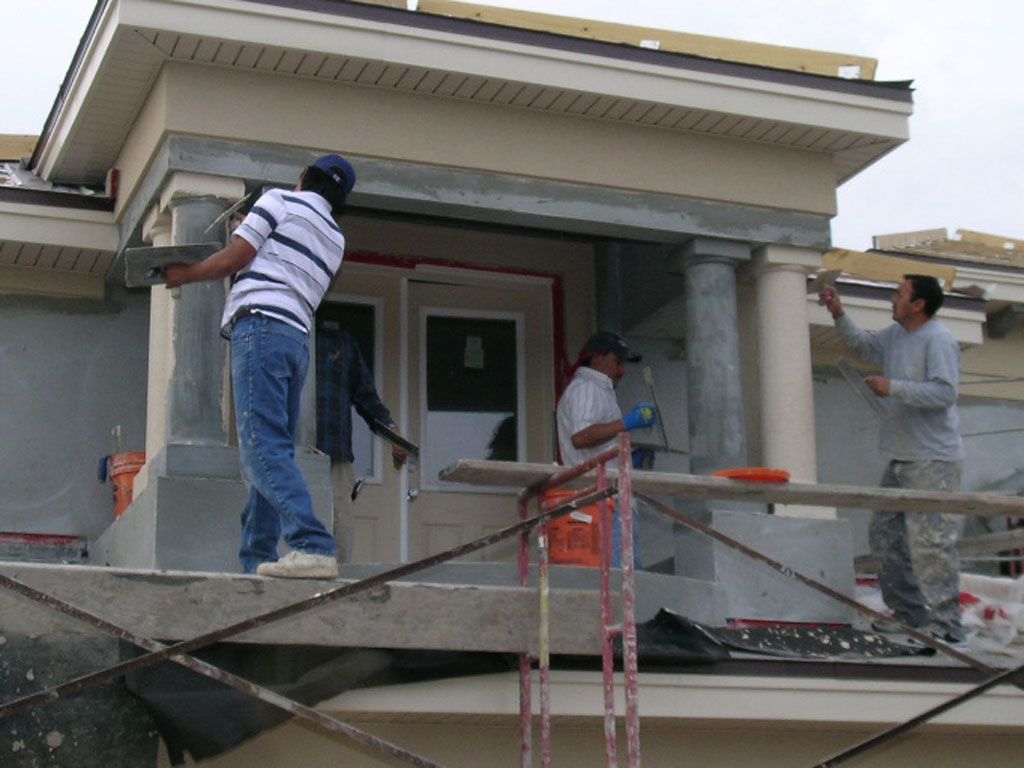
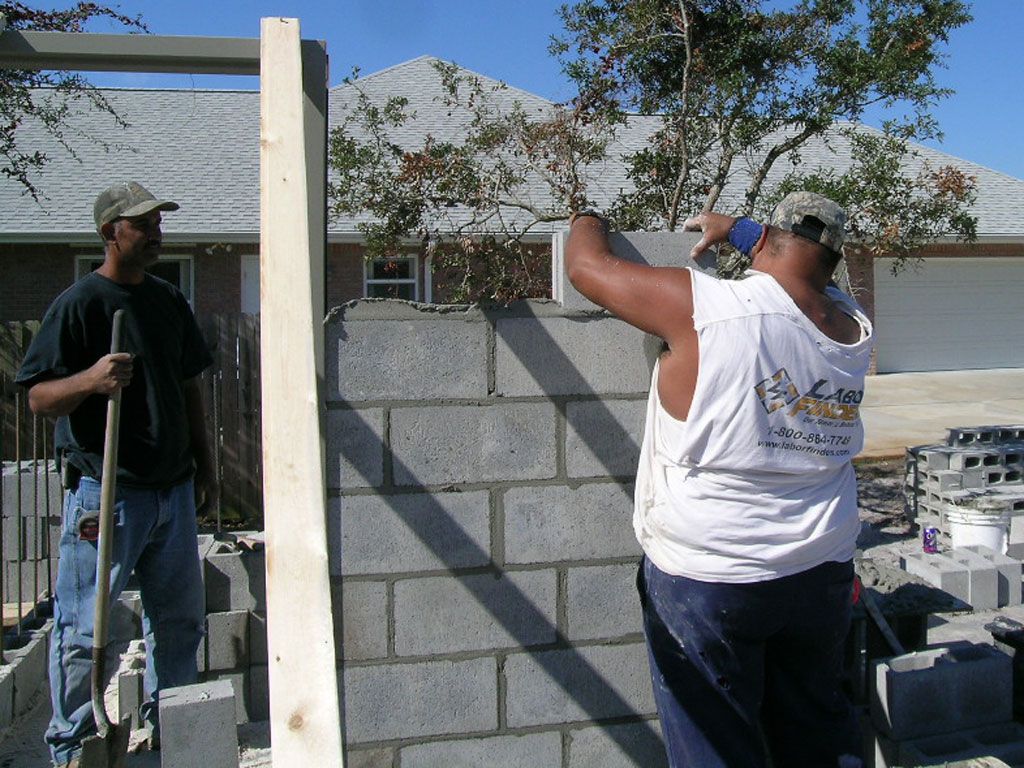
Setting the stone veneer on the front column pillars.
Mark setting the listello border in the master bath. He spent a lot of time laying that border out so the field tile will tie into it with full cuts instead of filler cuts. This is where craftsmanship separates from workmanship.
James with S&G paint prepping the stair skirt. Your paint job is only as good as the prep.
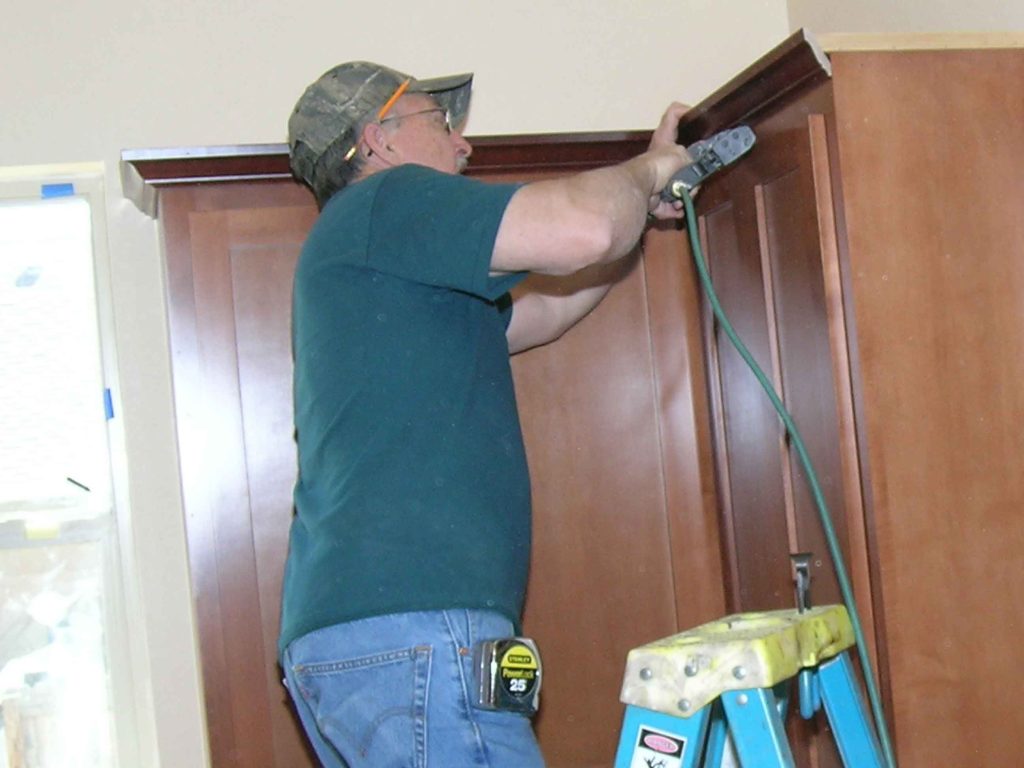
Bill installing the cabinet crown.
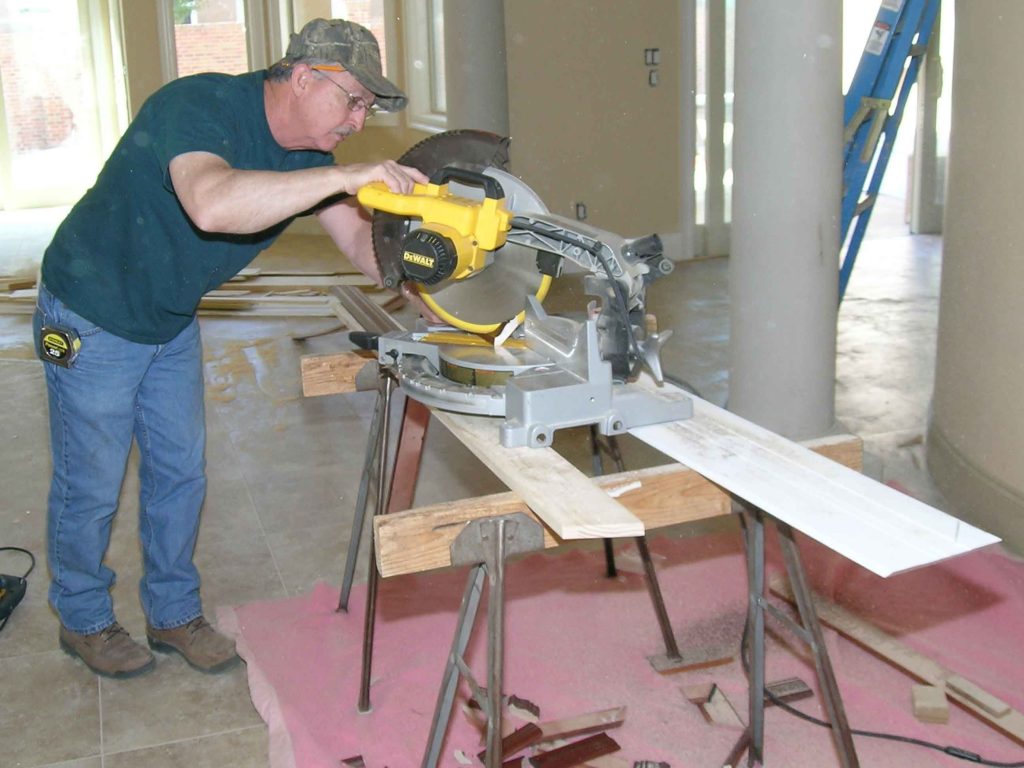
Bill with Gulf Coast Cabinets precision cutting crown molding for the cabinets.
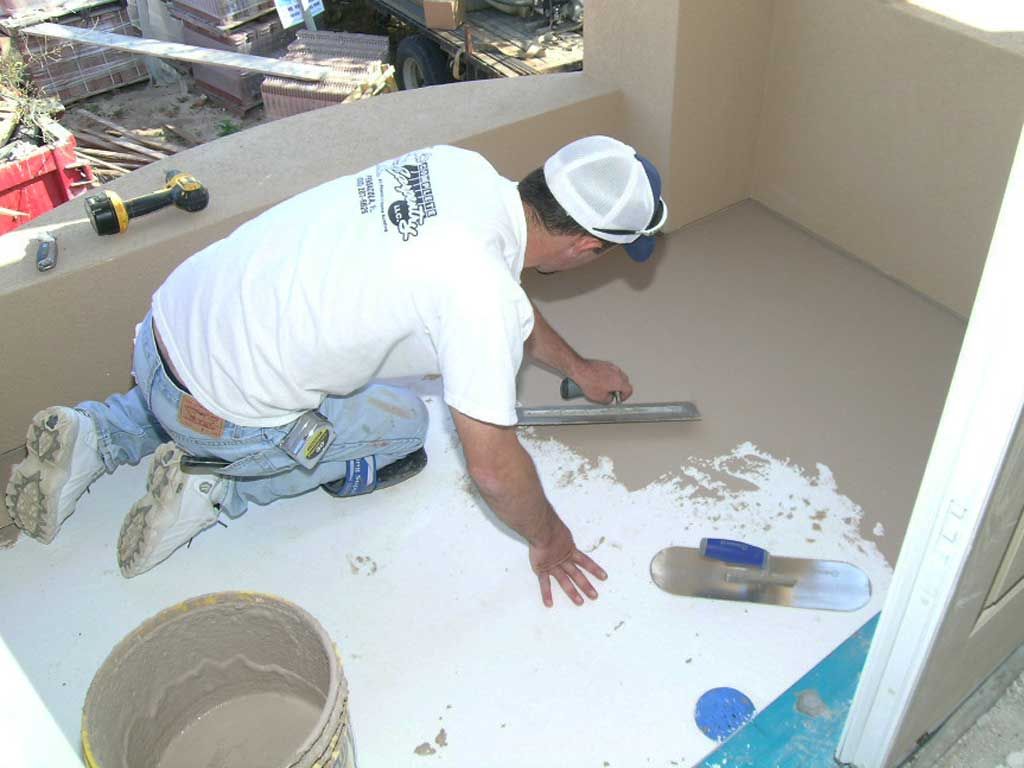
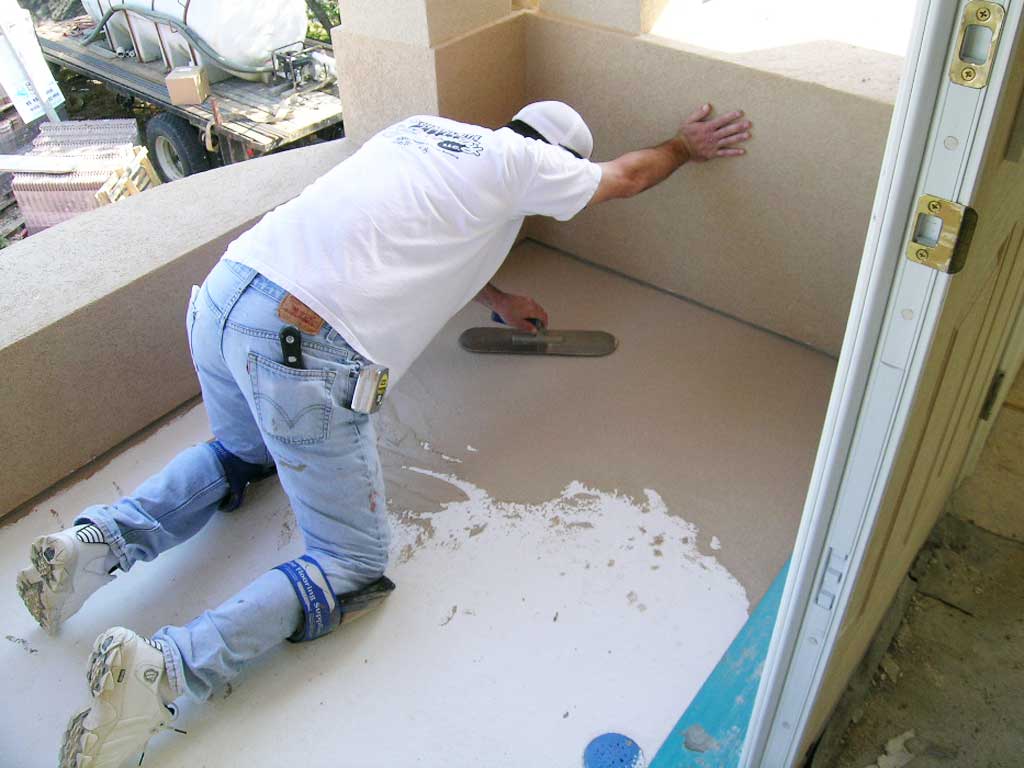
Darin trowling on the wear coating of the Sealoflex roof/deck coating system. This deck is encapsulated so we installed a floor drain just in front of the door (covered with blue tape). The deck is slightly pitched toward the drain for complete drainage, like a shower pan.

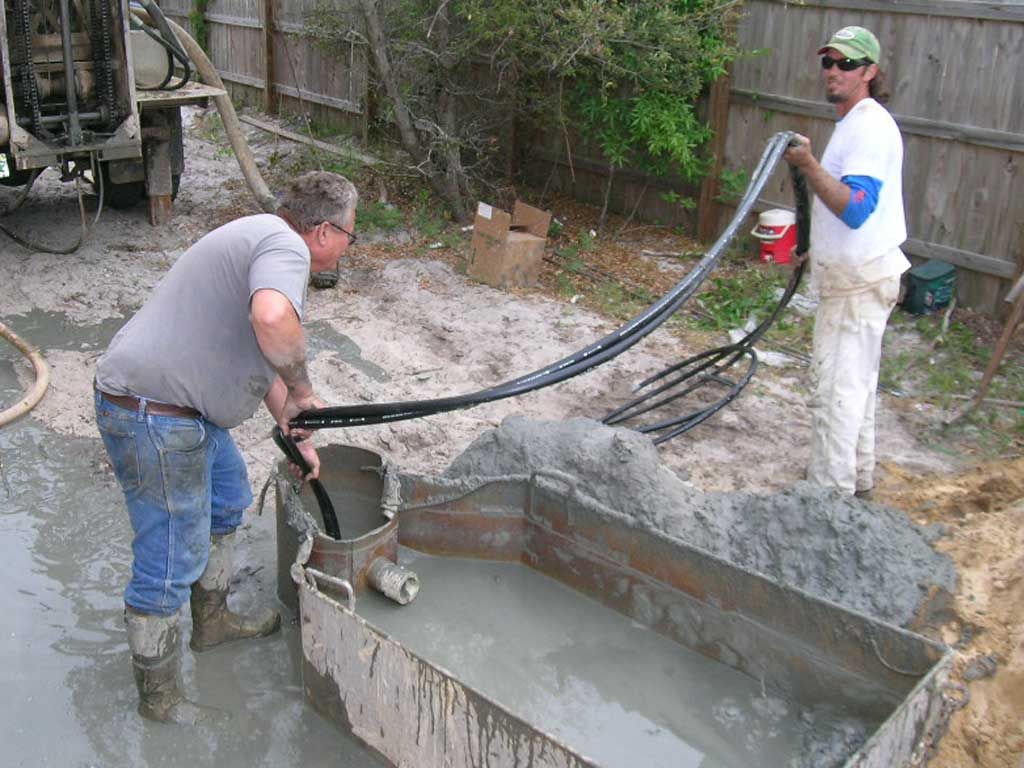
Alan feeds the loops into the holes. Fluid will circulate through these loops and exchange heat into the ground from the air conditioners.
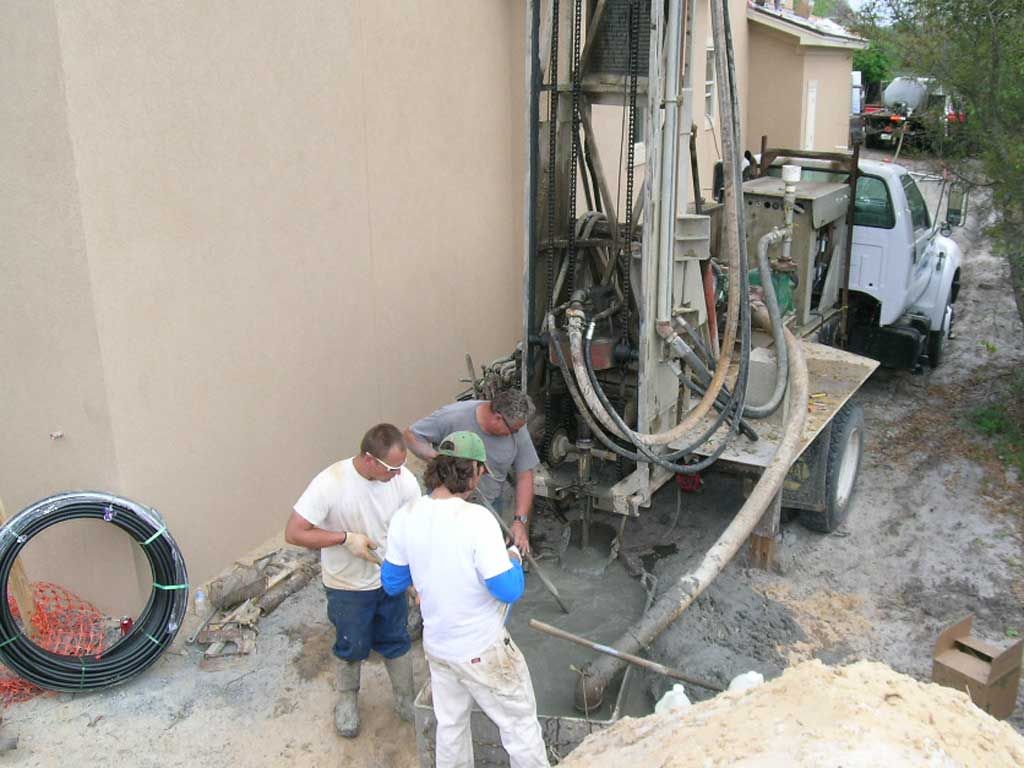
Alan Ard drilling the holes for the geothermal gound loops. Each well is 250′ deep. There will be 8 wells for a total of 6000′ of loops in the ground or roughly 1′ of loop per square foot of living area.
Bob Nordhues with Coastal Stoneworks puts the finishing touches on his fireplace masterpiece.
Hubert with Cox Pools digs the deep end.
Trowling on the finish color coat.

Bob and Kim installing the vinyl. Note the solid wood soffits which provide backing for the vinyl to resist high wind pressures without blowing off. The attic roof has foam applied to the underside of the decking and does not need any ventilation. No vents in the roof means no way for water intrusion during hurricanes.
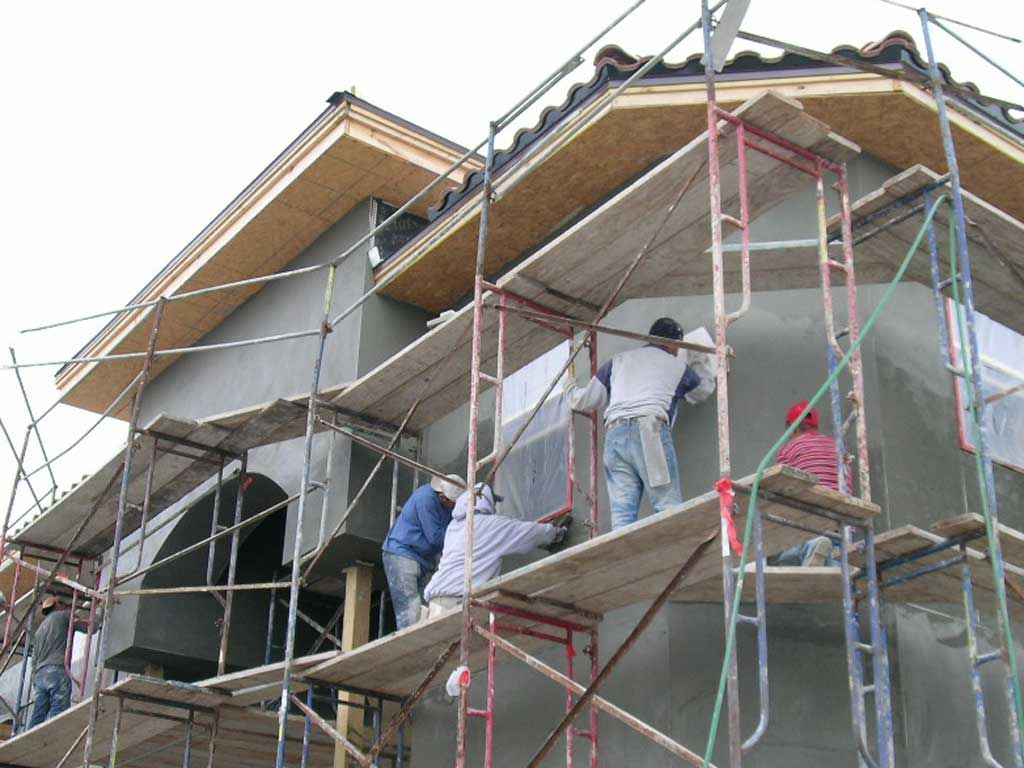
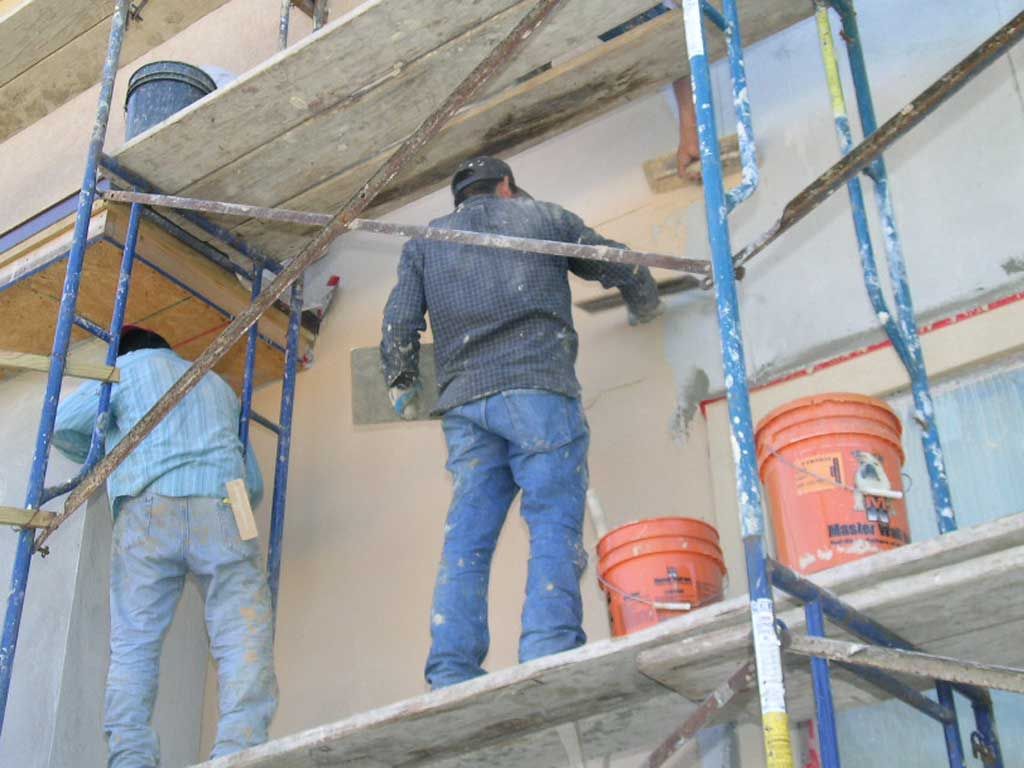
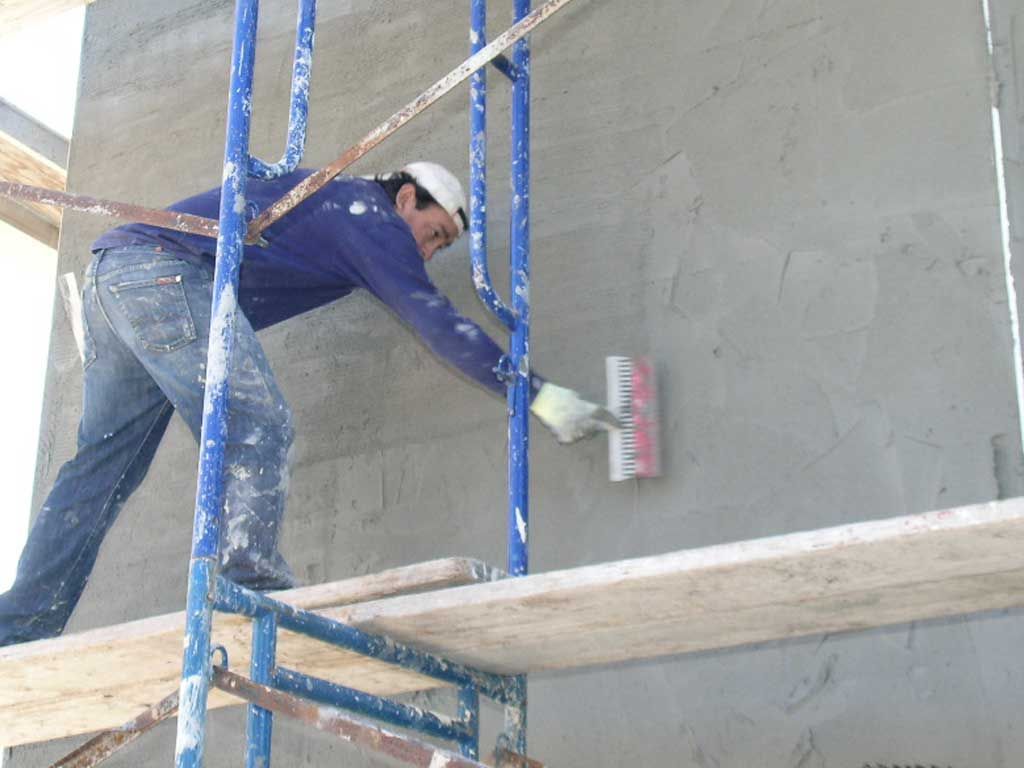
Applying the second coat or “brown coat” which must be screeded and trowelled flat, smooth, and true. This is the surface to which the finish coat will be applied so it must be near perfect like body work on a car before it’s painted.
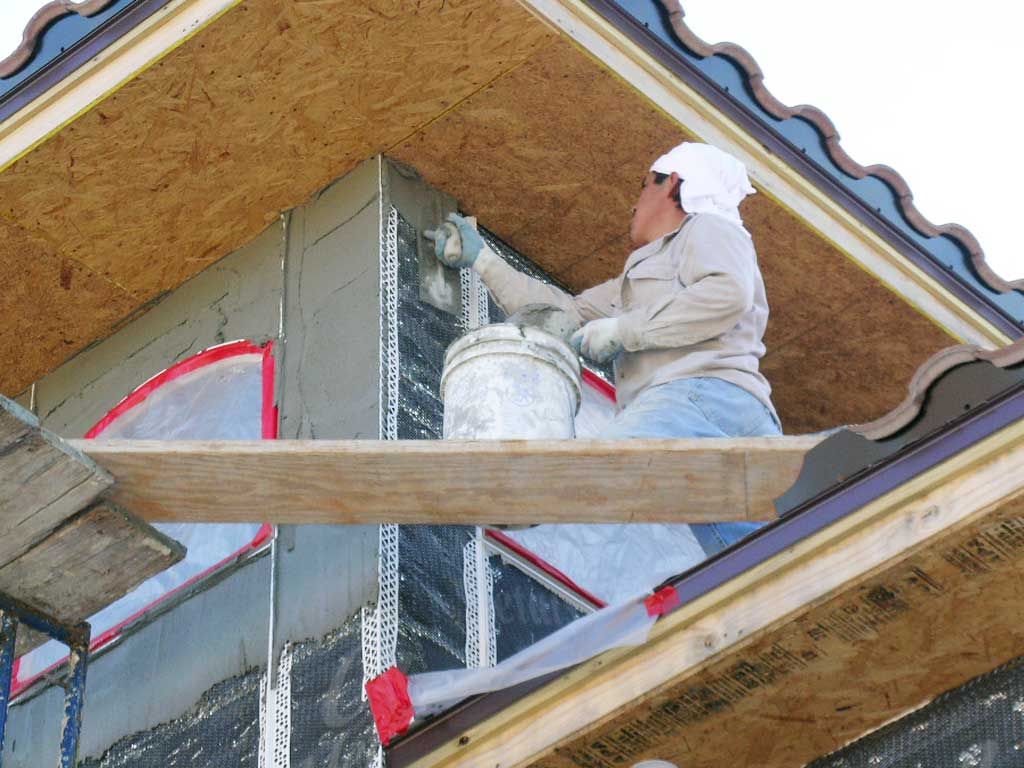
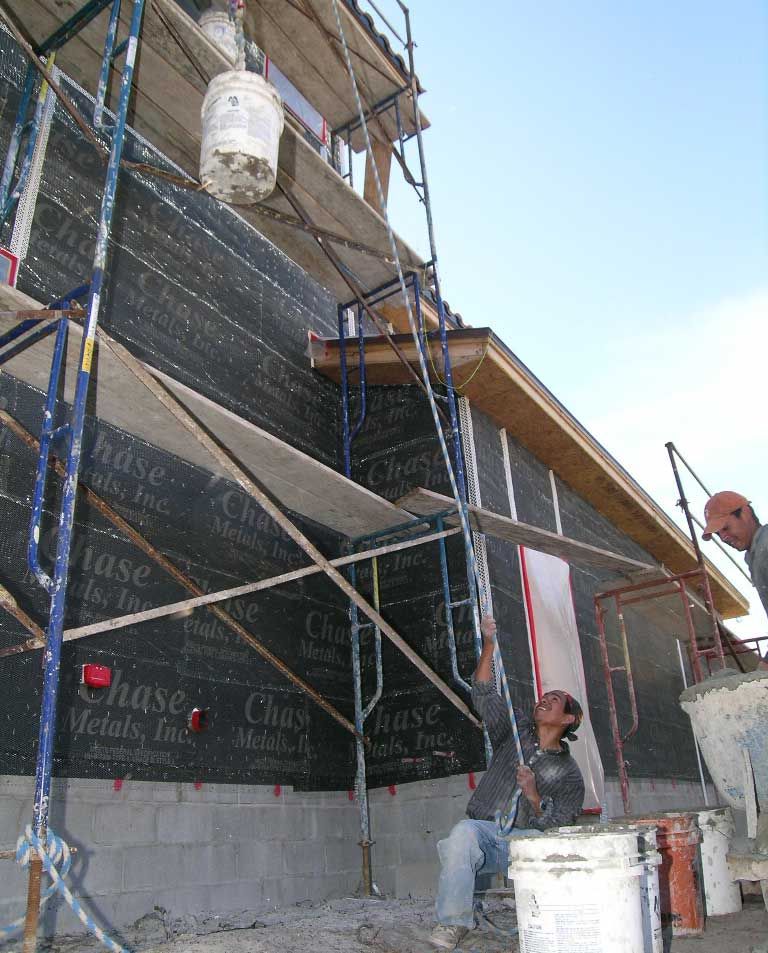
Filling the wire lath with stucco mud (scratch coat). Notice the white expansion joints. These joints are placed at the windows and every 10′ to prevent the stucco from cracking.
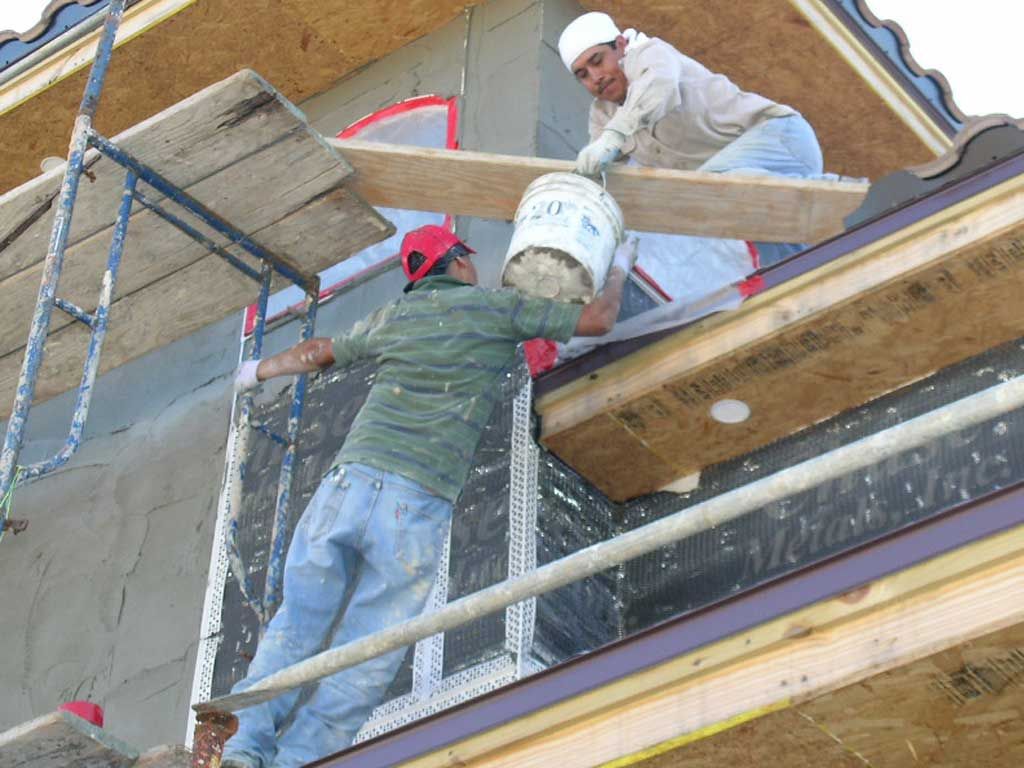
Miguel lifts the bucket up to Ernesto. It took a lot of calories to get that bucket up there.
Hohan hoists a bucket of mud up to the workmen.
Combing the wet stucco to rough it up so the next coat bonds properly.
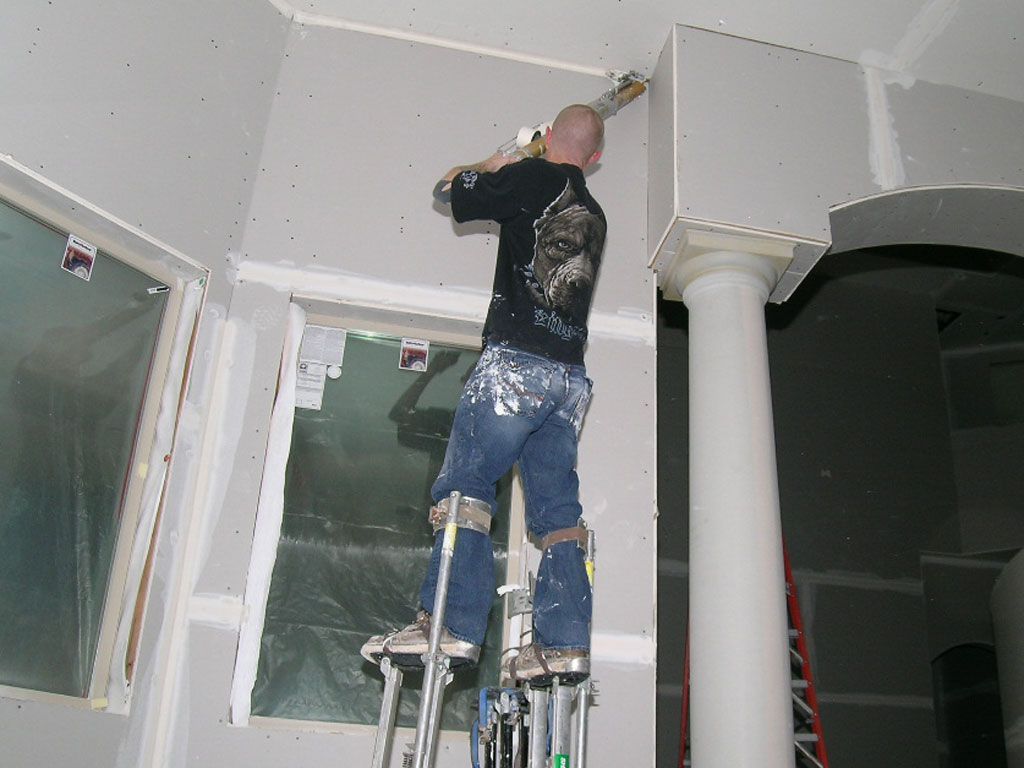
Dennis applies tape and joint compound with a “bazooka” automatic taper. I think I heard that dog growling at me.
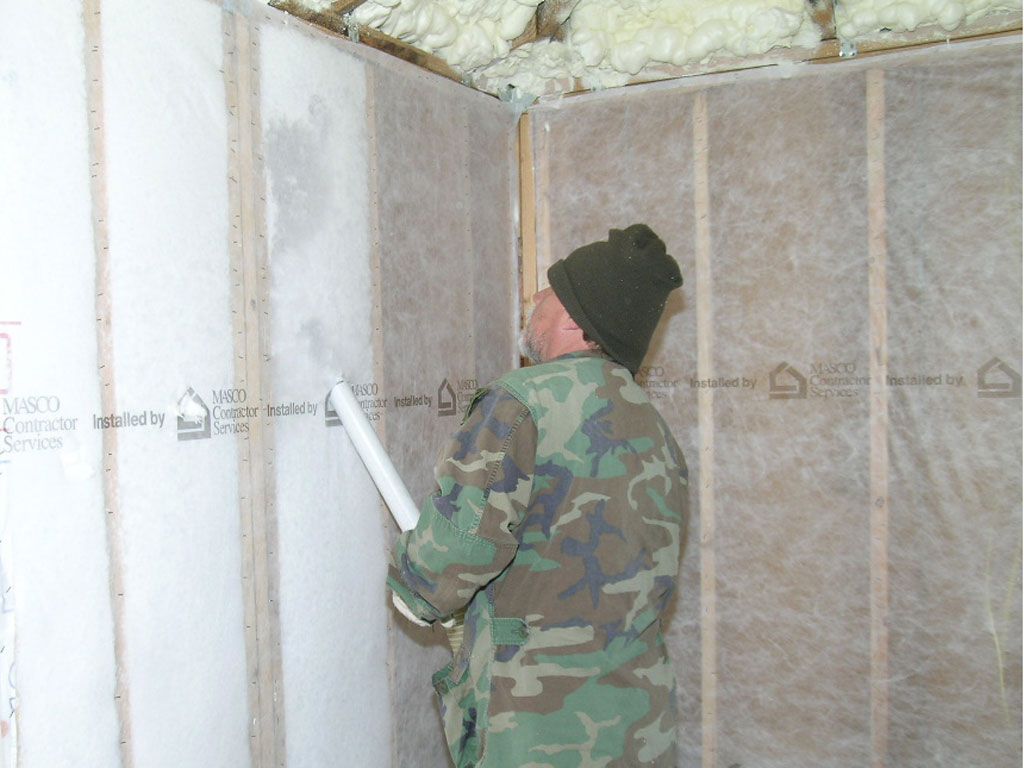
Carry spraying blown-in batt insulation (BIBS) for Coastal Insulation. I asked him how he knows when a cell is full. He said he can tell by the sound of the cell filling up, like a bottle filling up with water, then when the fabric puffs out a bit he knows it’s filled to the right density. Just full enough so the drywall will push it back in but not so full that it will bow out the drywall. We can get R-23 out of a 2×6 wall with BIBS. You can see the foam attic insulation in the top of the photo.
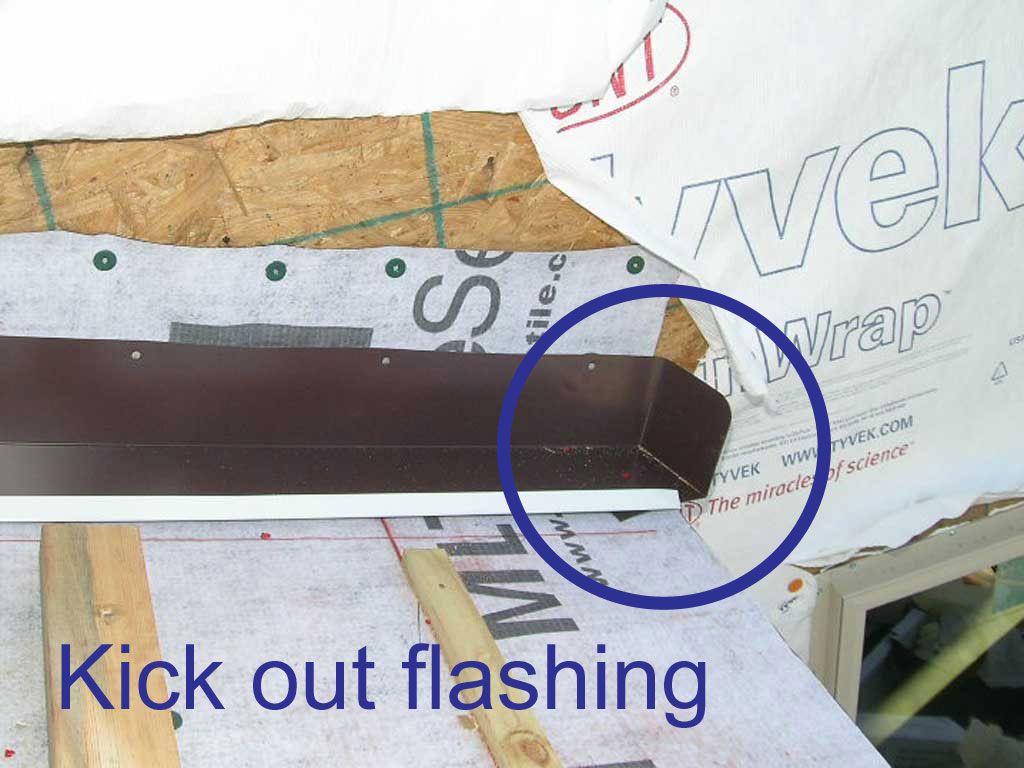
This is called a kick-out. It prevents water from getting behind the stucco and rotting out the wall where the facia abuts a wall. This is a very common omission and typically results in a rotted out wall which will go unnoticed for several years.
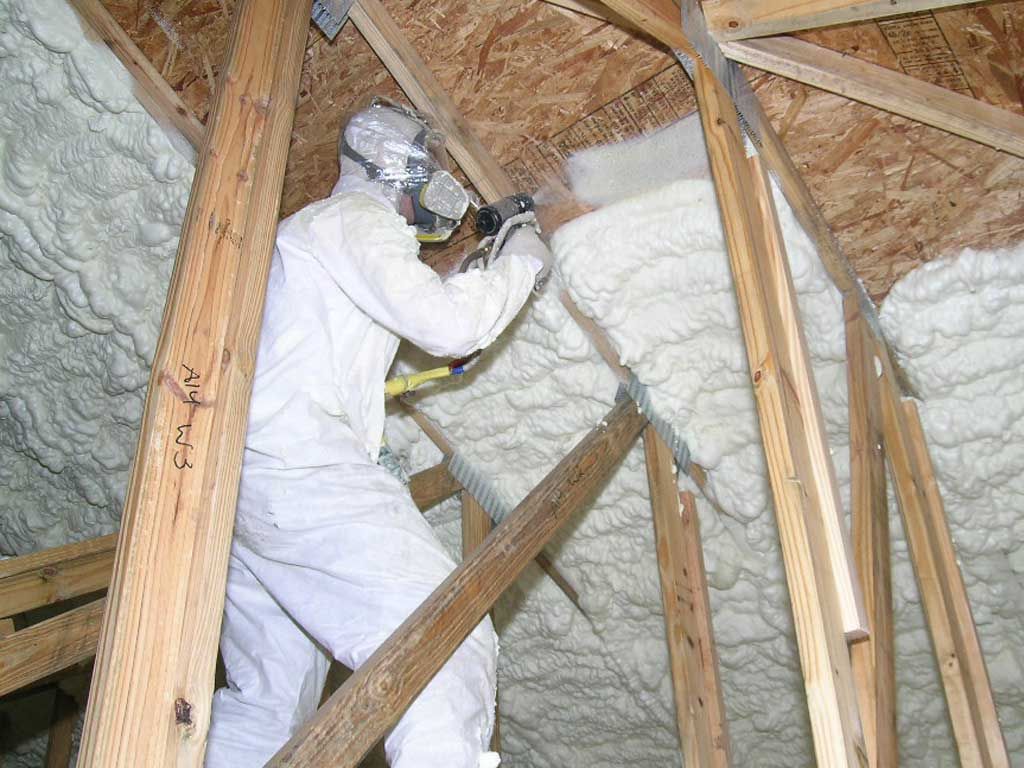
Josh with Top Foam Solution spraying open cell foam insulation to the underside of the roof decking. With this type of attic insulation the attic is completely sealed. No soffit vents, no ridge vents, and no way for blowing rain to ever get in during hurricanes. The attic will be completely air tight cutting way down on air leakage. With the thermal envelope enclosing the attic the AC ducts are in cooler semi conditioned space which results in less duct loss and a much more efficient heating and cooling system.

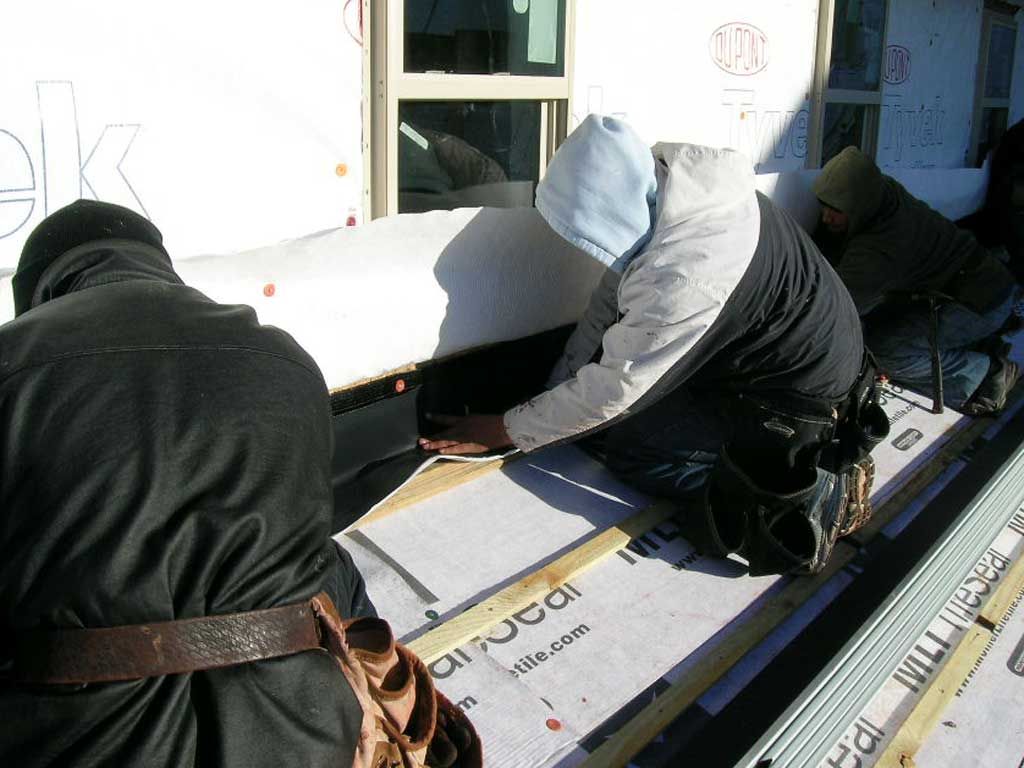
Tyvek drain wrap installed and windows properly flashed so that if there ever is any water intrusion behind the stucco it has a path to drain down to the ground without damaging the wood structure.

Ken installing recessed light housings. Ken’s got a lot of experience. I hear he wired up Fred Flinstone’s house.
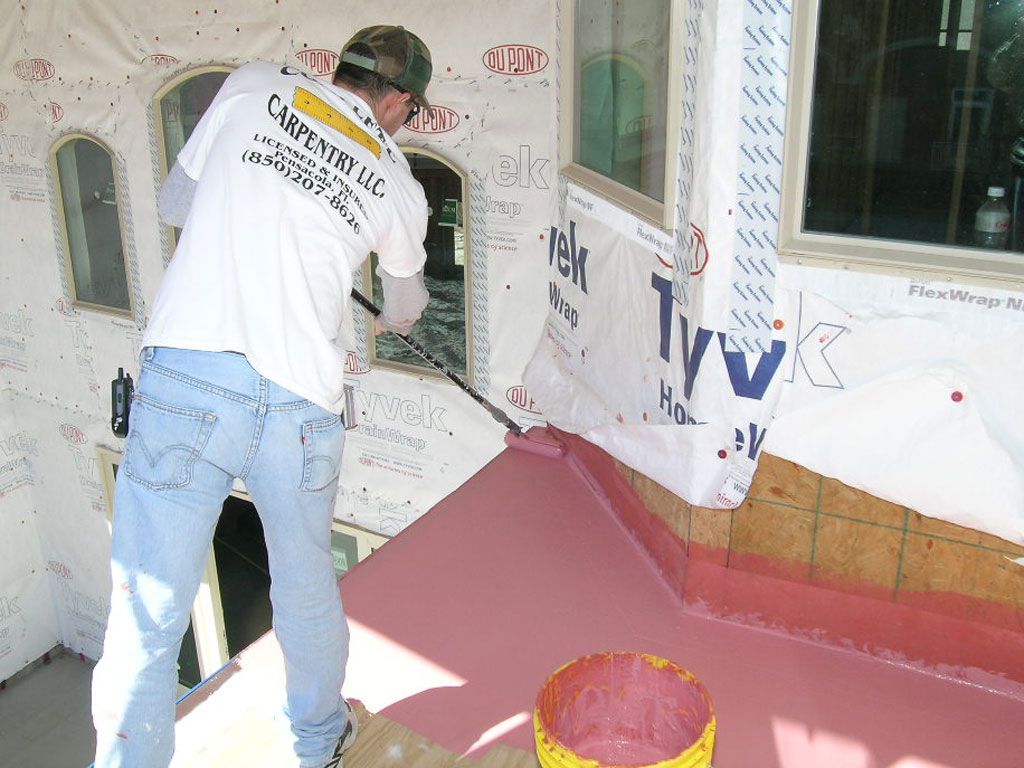
Darin applies sealoflex to the master BR balcony decking. Notice how the fabric reinforced sealoflex coating turns up the wall behind the secondary rain barrier. This deck will never leak and no leak from above will ever rot out the deck below. This is the bullet proof way to seal the deck. No call backs, ever.
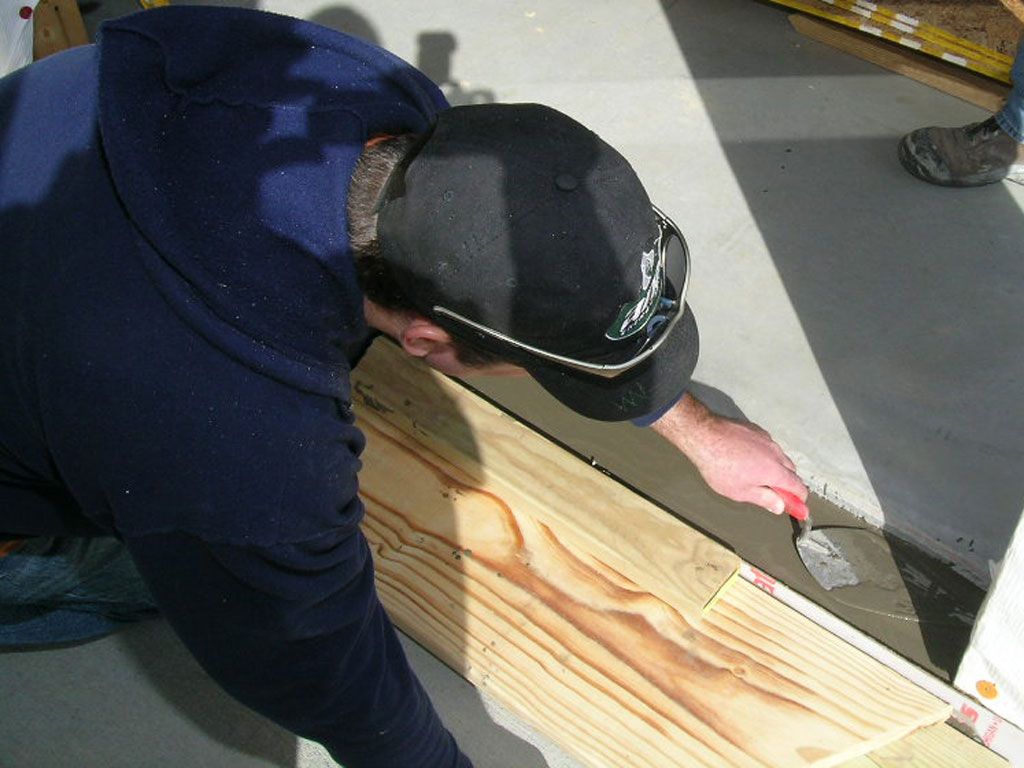
Steve trowels the self leveling compound. Note that the SGD track is recessed into the slab to create a smooth transition between the tile and track.
The ground floor thresholds are coated with a self leveling compound to make sure the sliding glass door tracks set on a perfectly level surface.
Steve installs sealoflex around all the second floor door openings to make sure the threshold areas are completely sealed and impervious to water intrusion. This is a typical area where water intrusion will rot out an elevated deck if not sealed properly.
The guys from Southern Tile Roofing installing the subroof and wall flashing. Note how the house wrap is pulled up so the flashing can be installed behind it and the house wrap lapped down over the flashing. That’s the right way. I often see this step being skipped and the flashing being taped off over the house wrap. If done this way, any leak in the wall or around a window can find its way behind the flashing and rot out the roof deck. Man, it was freezing that day.
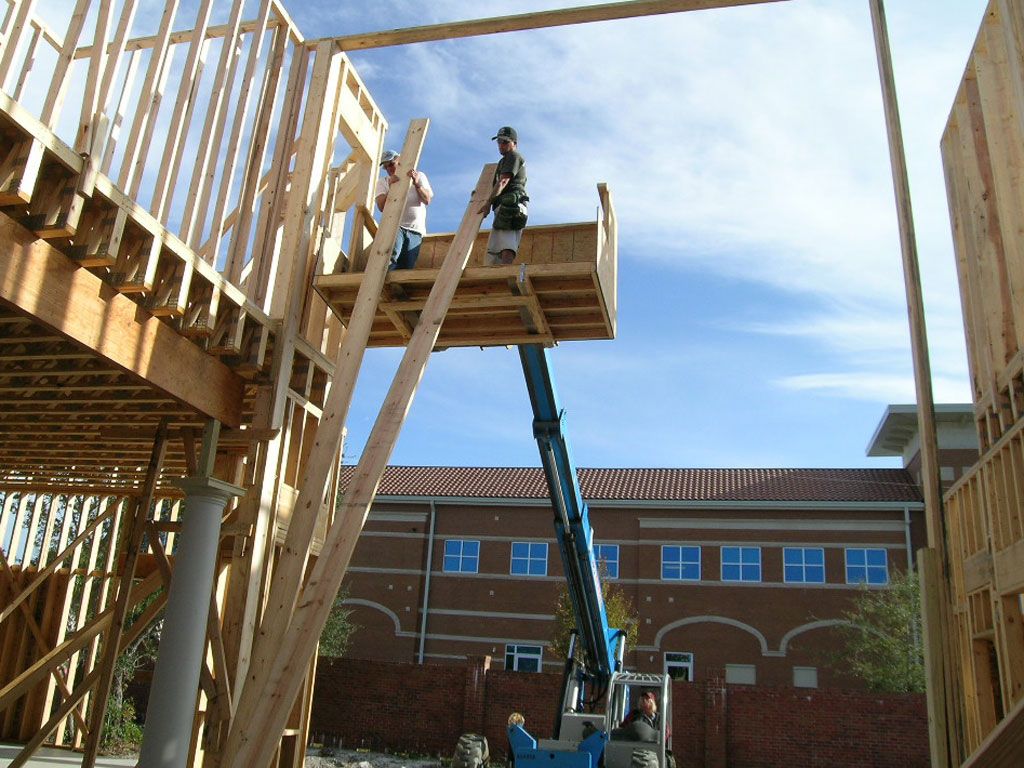
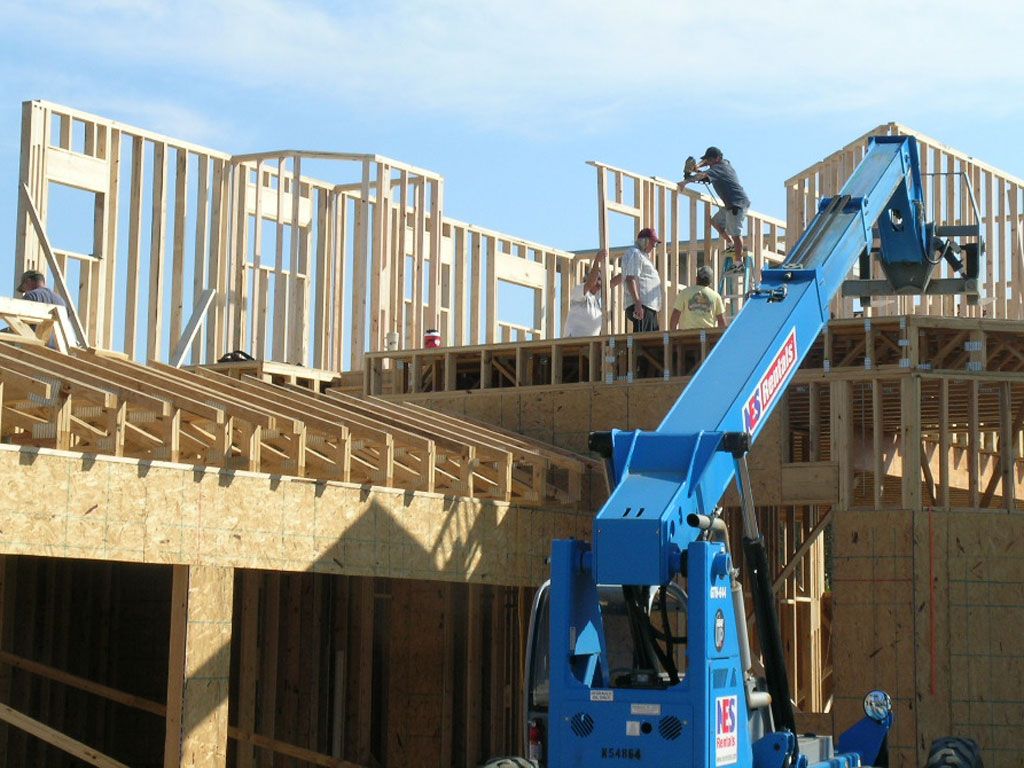
Framing up the 24′ living room wall

Ed insulates the exterior tees and corners which are another place that’s impossible to insulate once the exterior sheathing has been installed.
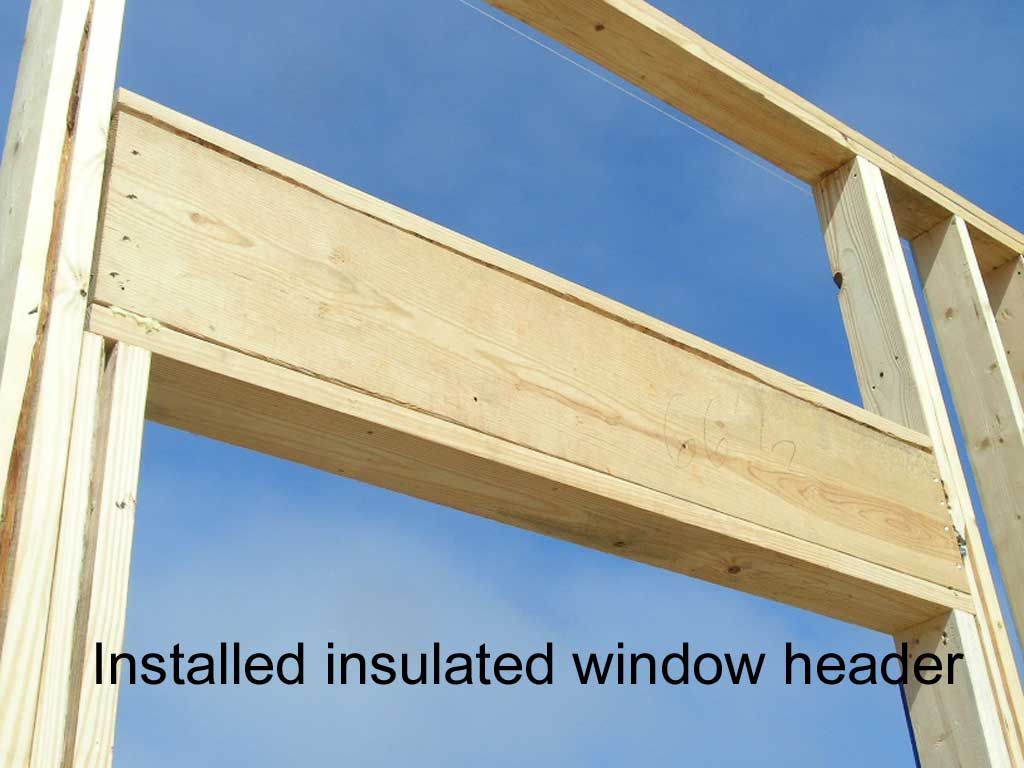
Here’s how the installed header looks. As you can see, there’s no way to insulate these enclosed spaces and there’s enough of them in the average home to create a significant gap in the thermal envelope.
Closing up the insulated header.
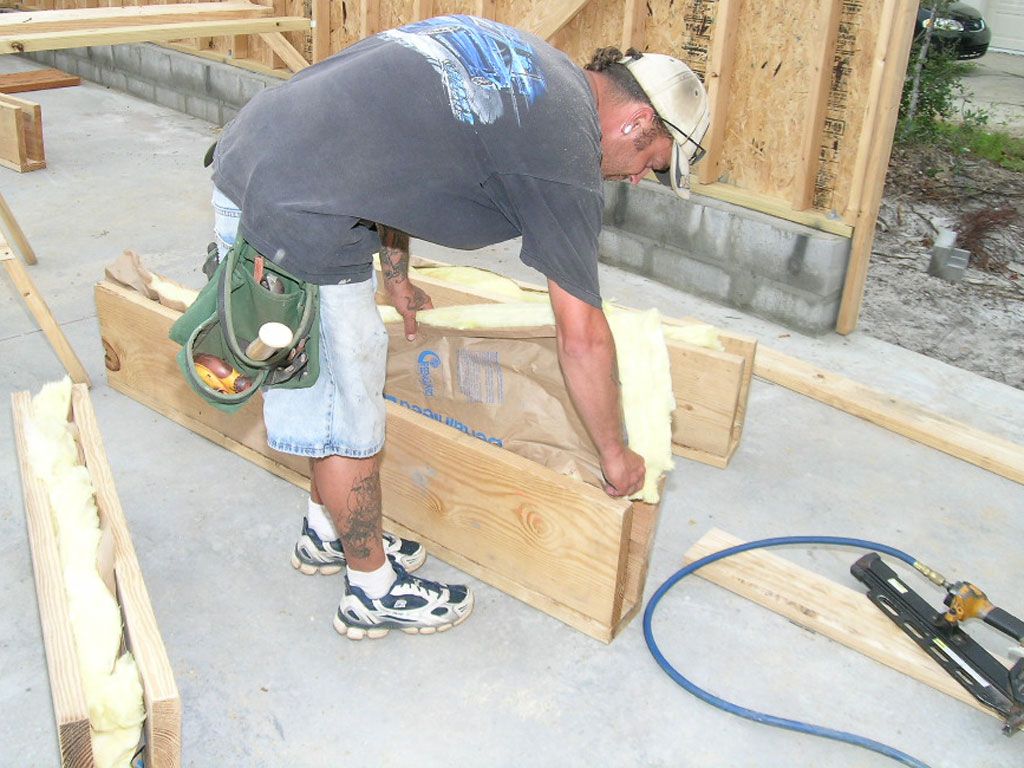
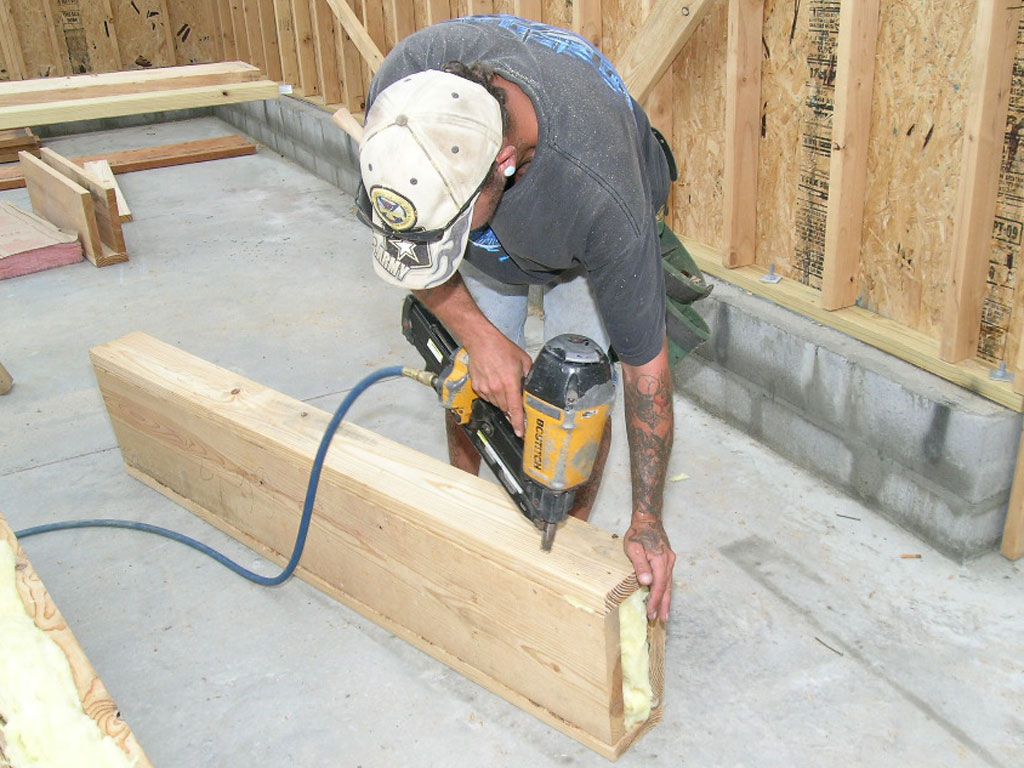
Wayne insulates the exterior window and door headers during fabrication and prior to installation in the wall. There's no way to insulate them once they've been assembled and installed. Most wood framed homes have these insulation voids above every window and door which add up to quite a bit of uninsulated wall space in the home.
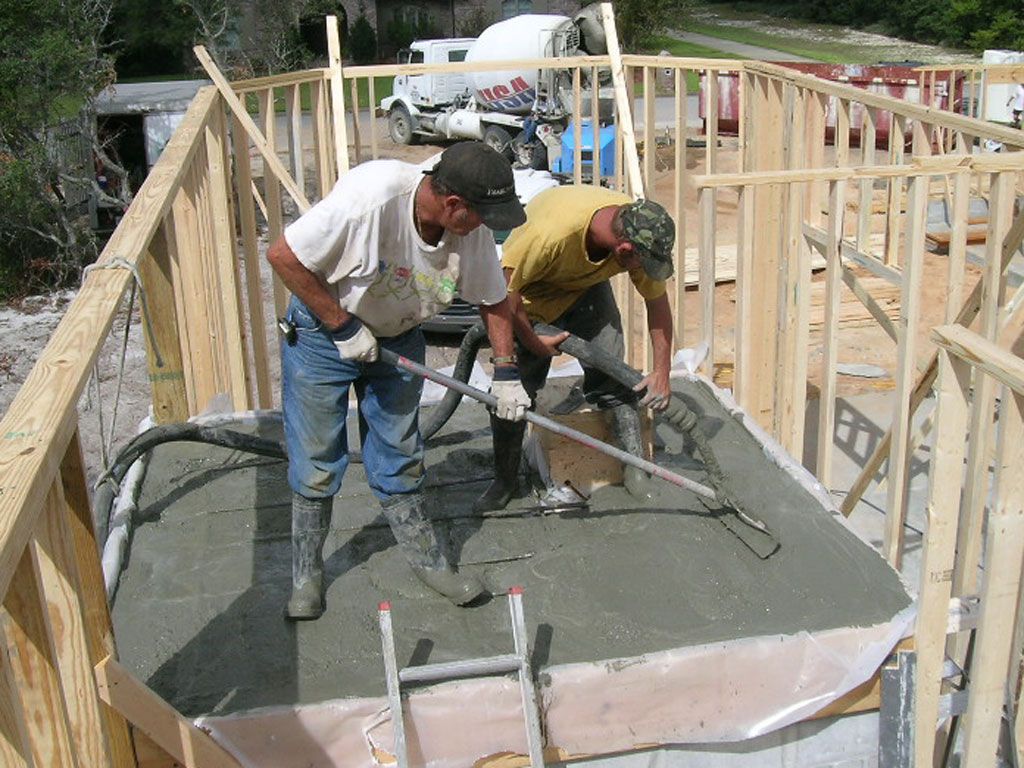
Pouring the lid on the safe room. Notice the steel cross bars. The box is for the ventilation ducts to enter the room.
Joe laying up the block for the safe room.
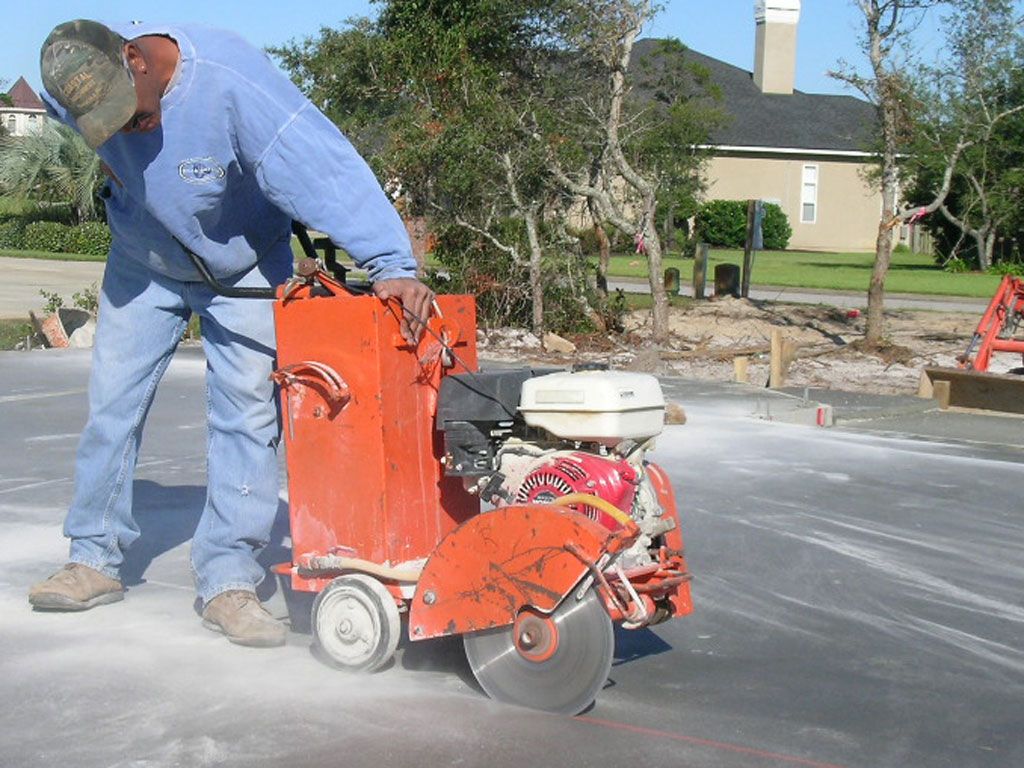
Junior cutting in the control joints with a diamond blade. These are 1″ deep cuts in the concrete slab to allow the concrete to crack along designated lines as it shrinks. Without these joints the slab may crack in random areas and cause cracks in the tile. These control joints are bridged with flexible membranes before the floor tile is laid so that there can be further movement in the slab without cracking the tiles.
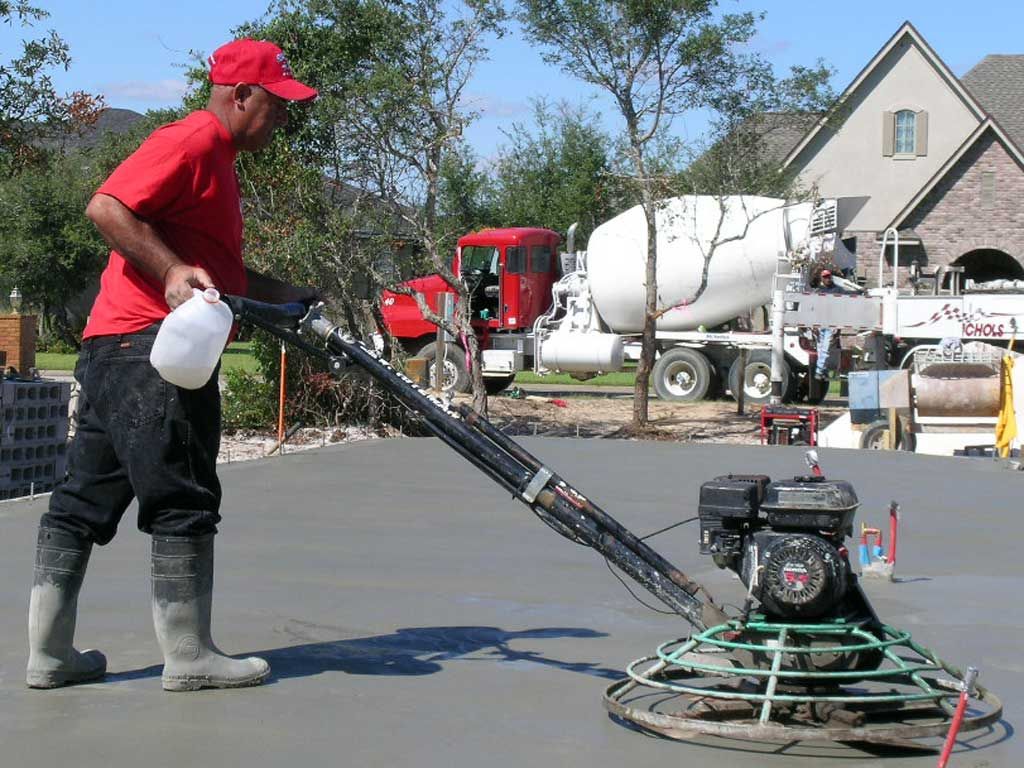
Gomez on the rotary trowel.
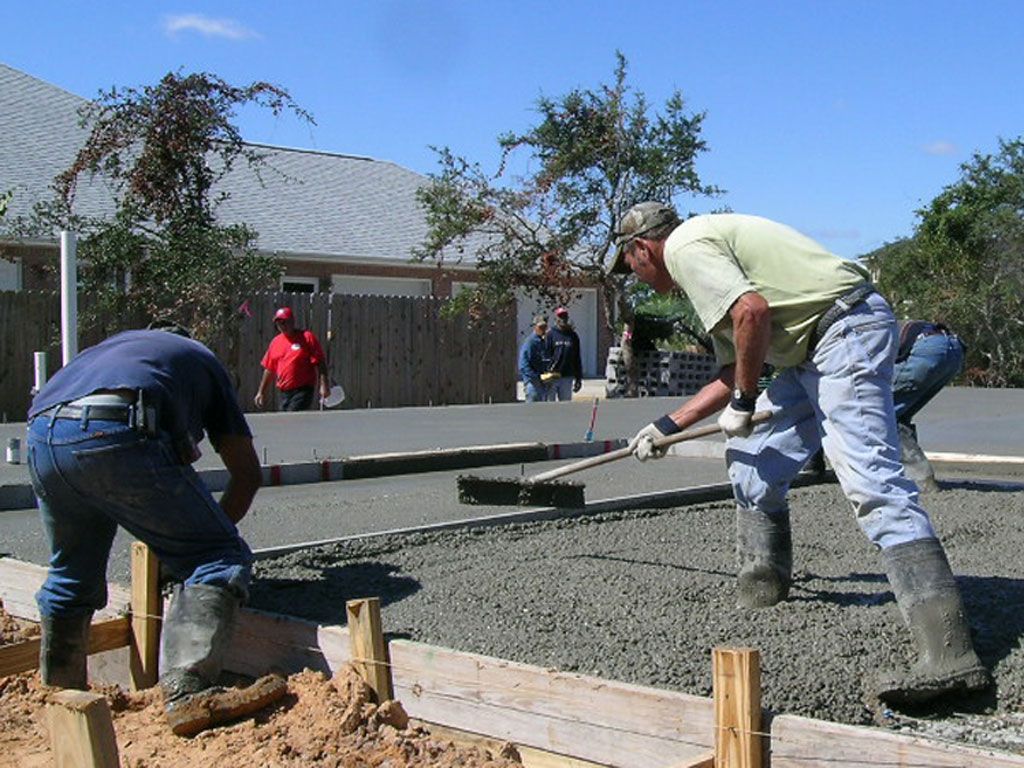
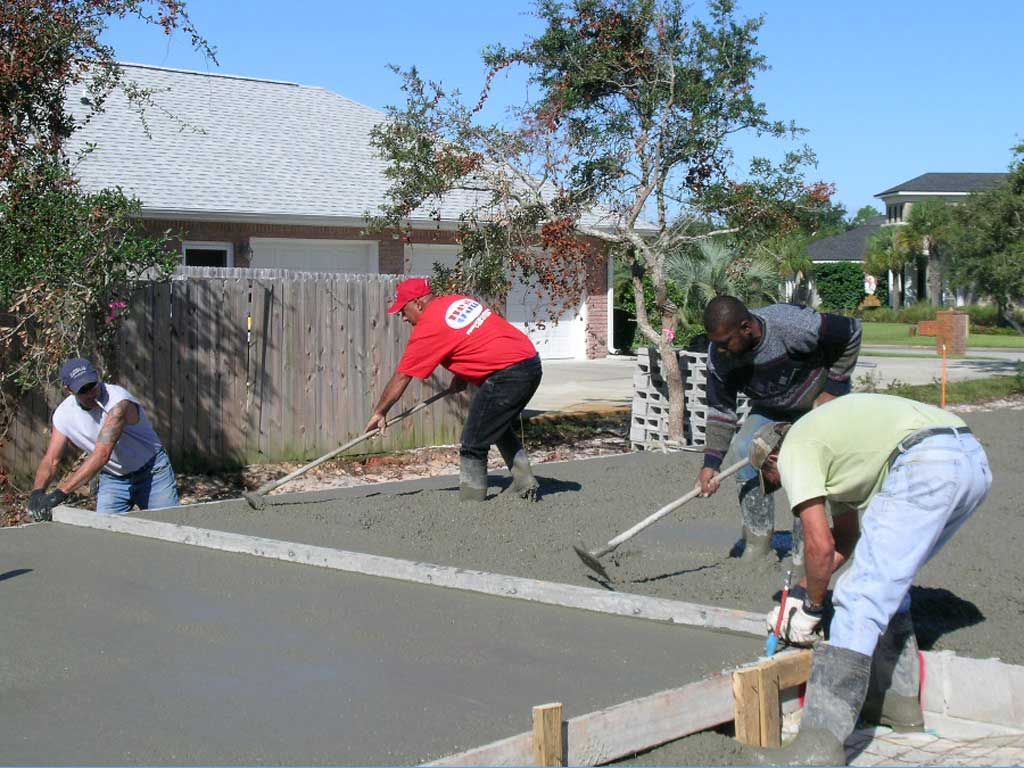
Screeding the concrete.
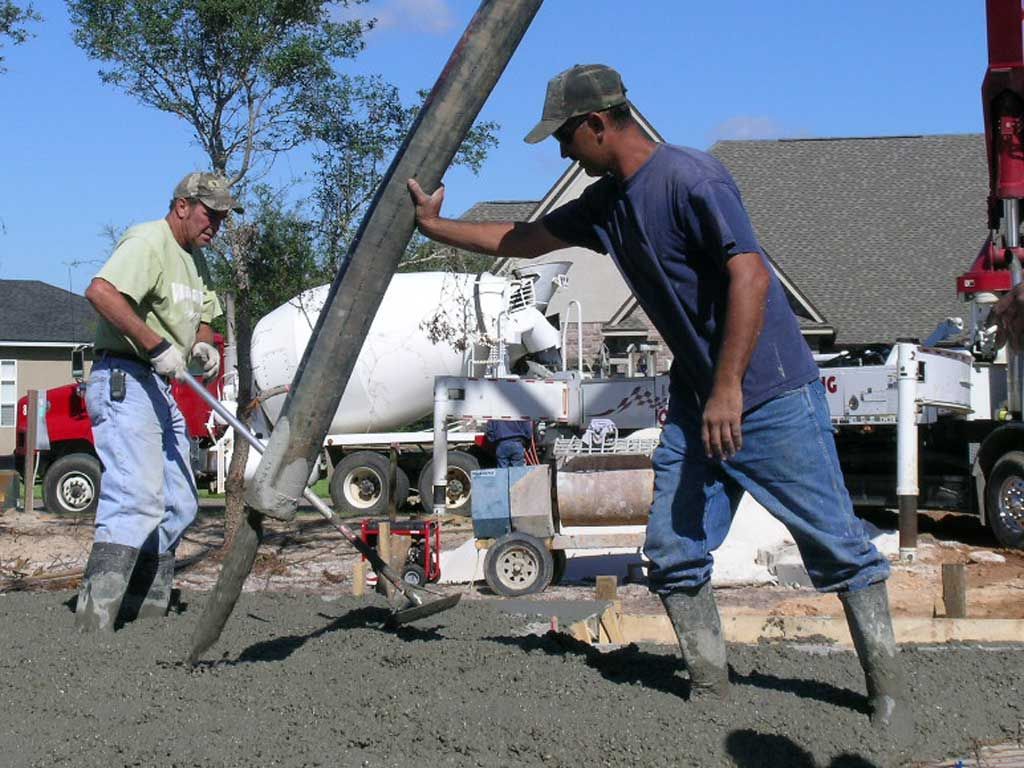
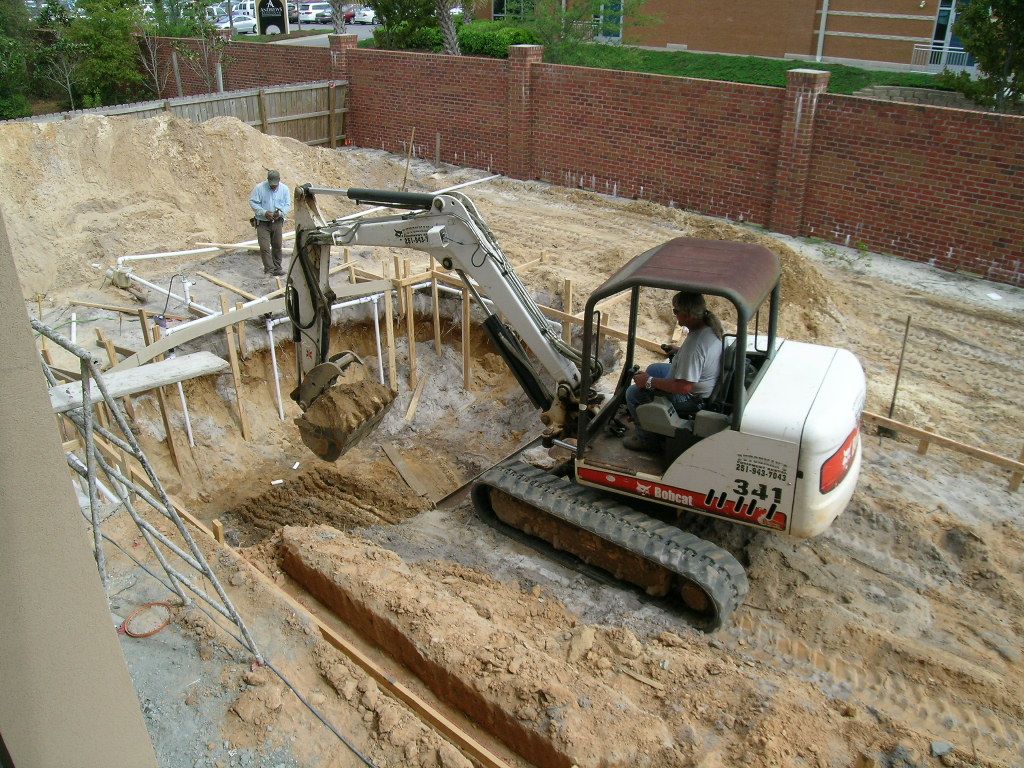
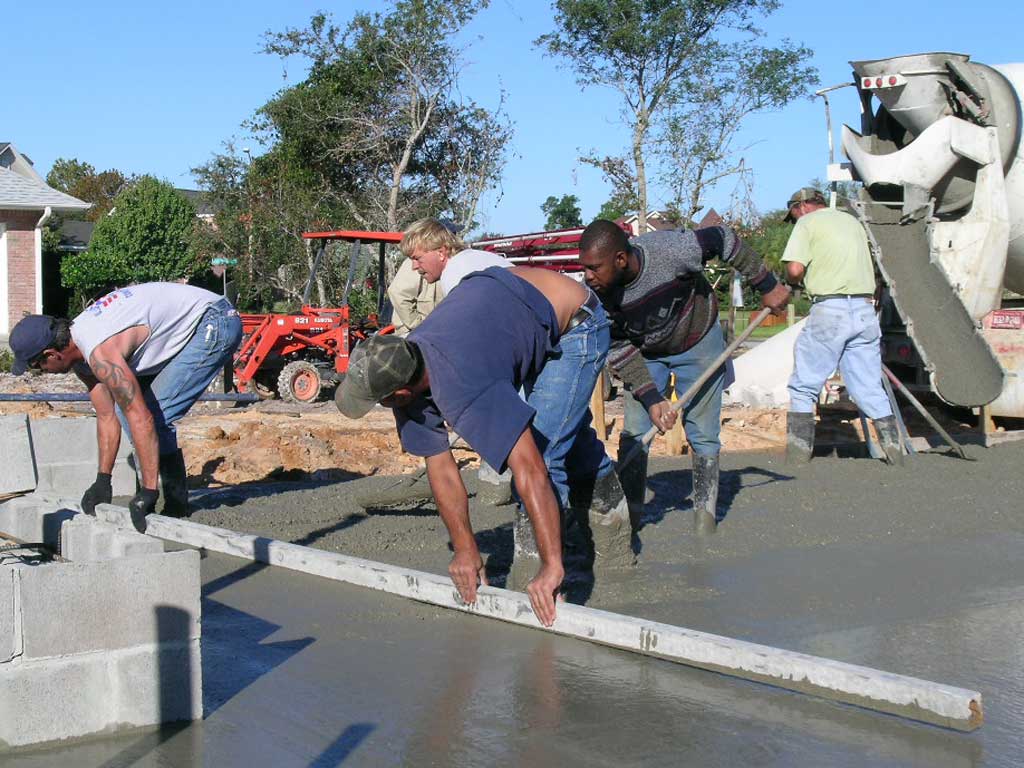
Junior placing the concrete with the boom pump.
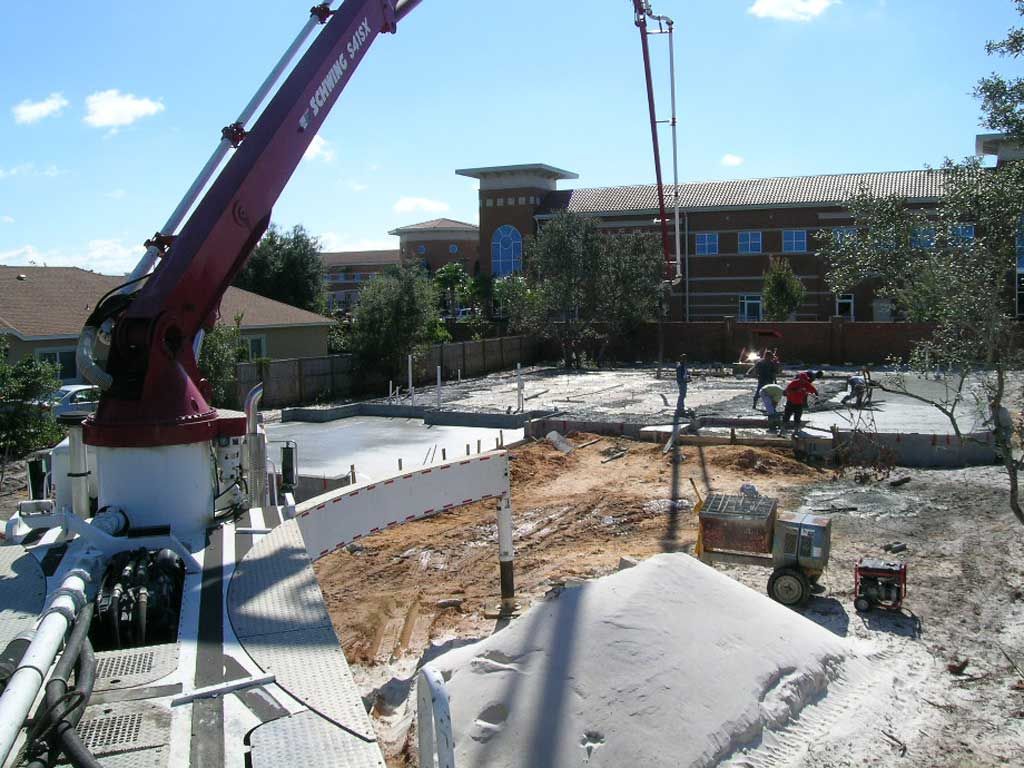
We used a 100′ boom pump truck to reach back into the rear of the foundation.

Matt filling the foundation.