
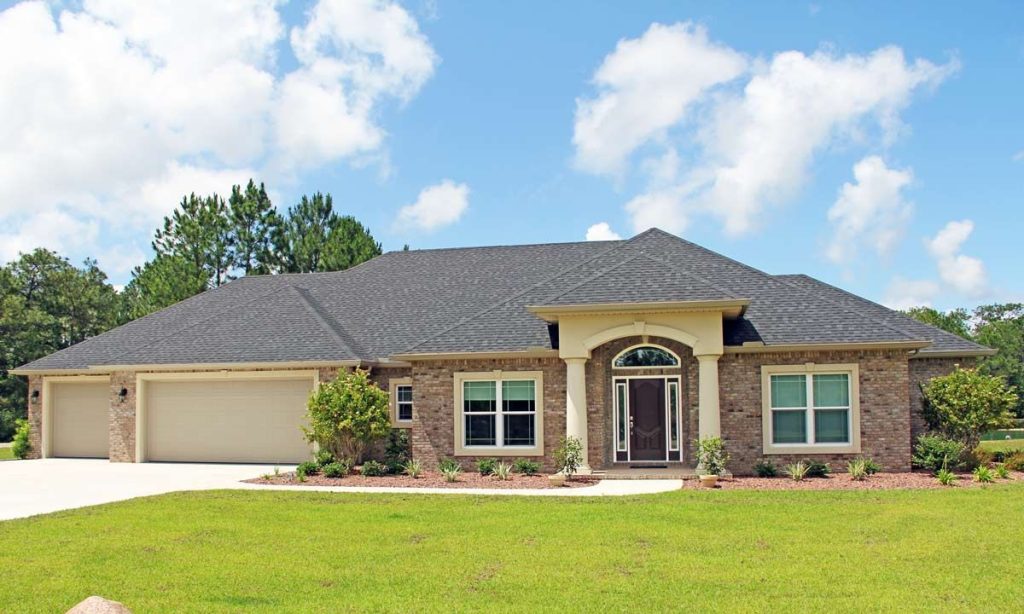
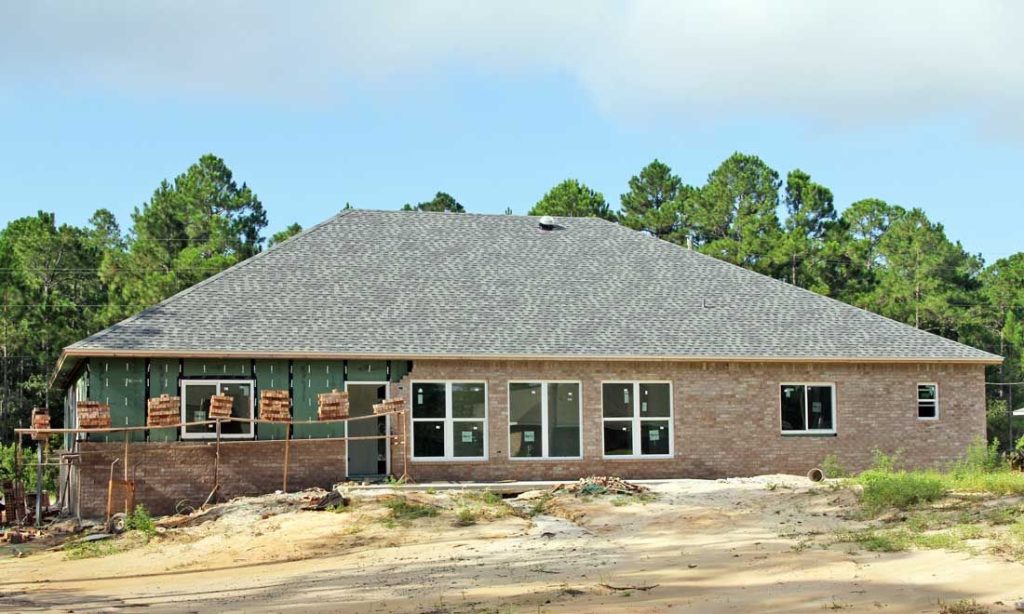
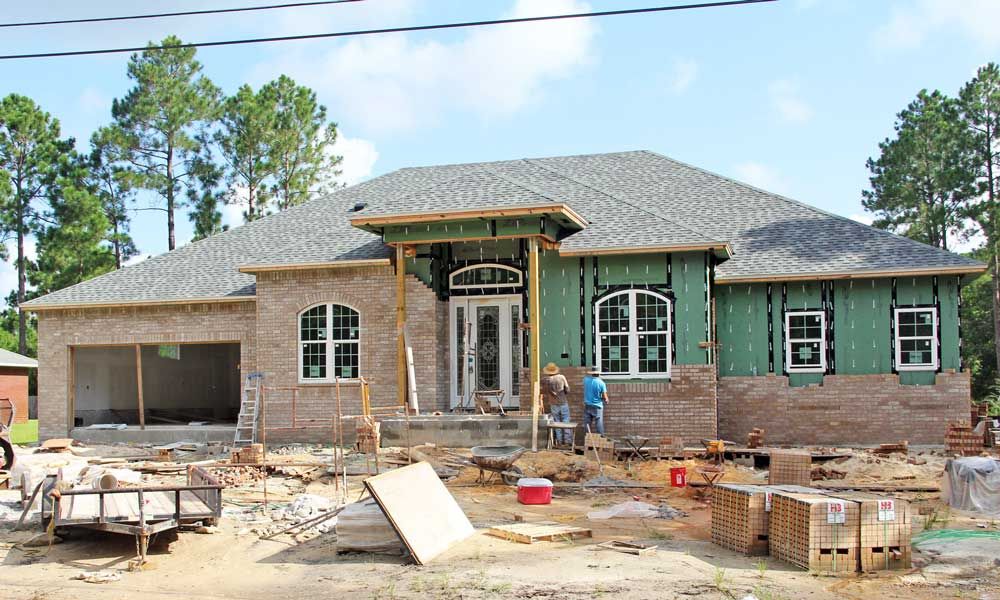
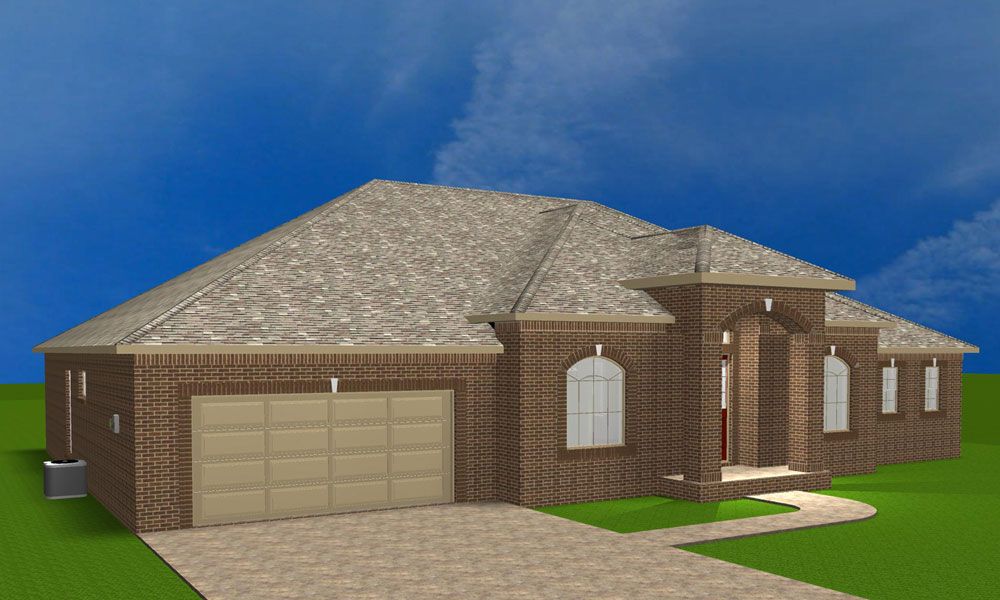
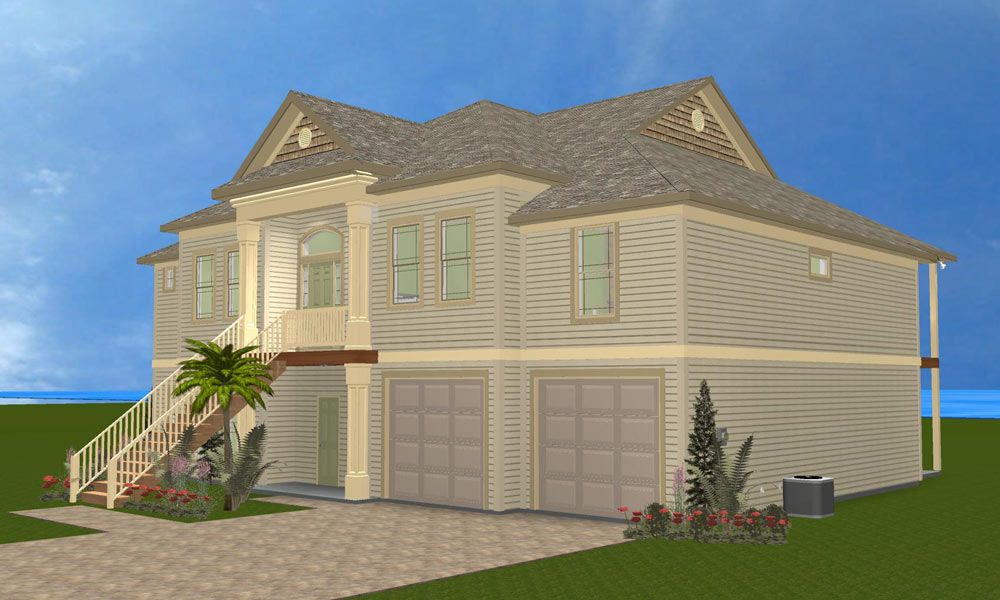
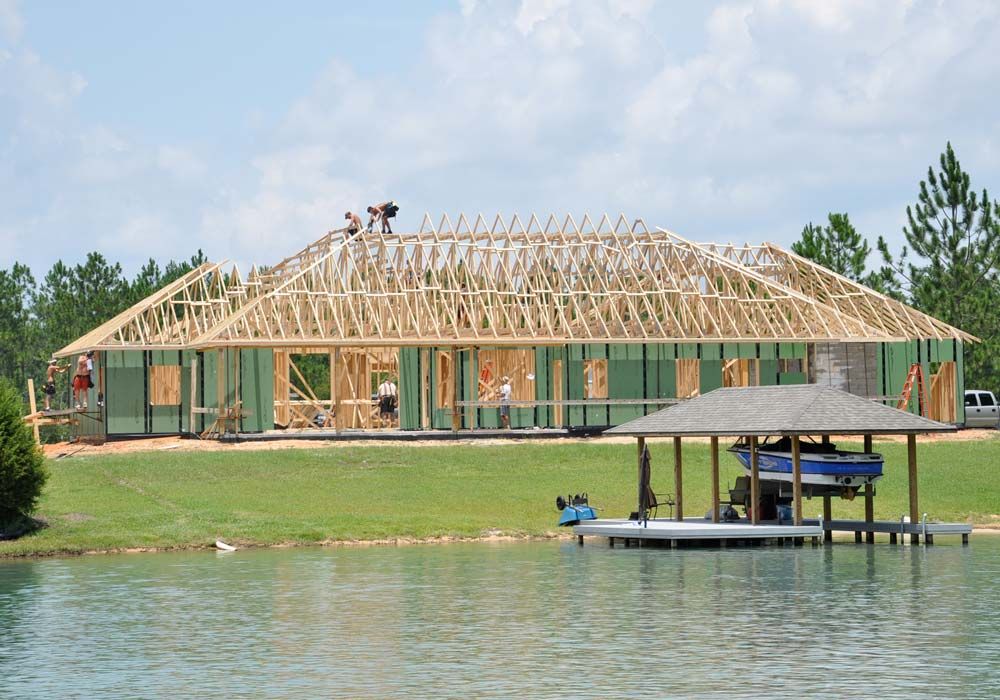
Kelly residence in Ski Lake Estates
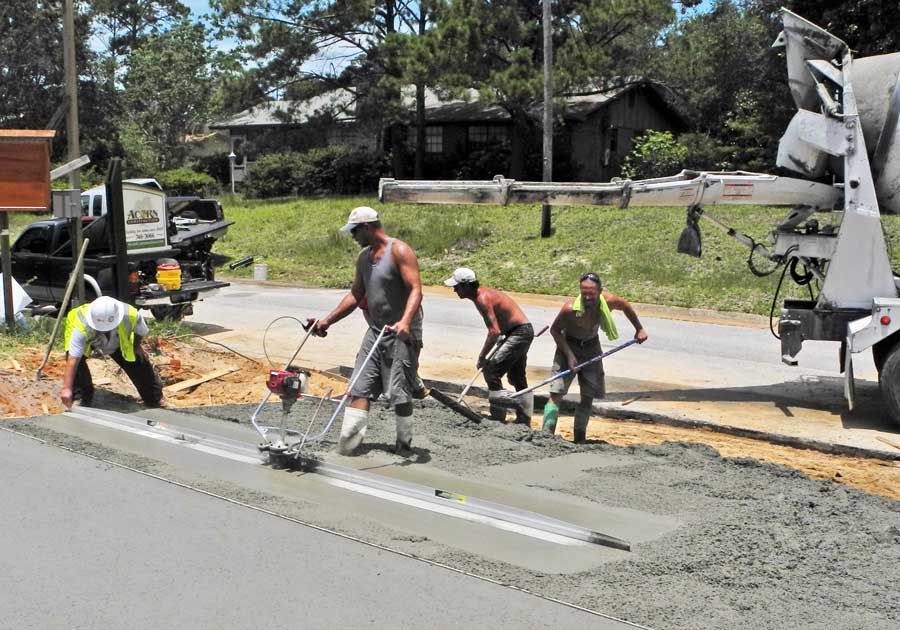
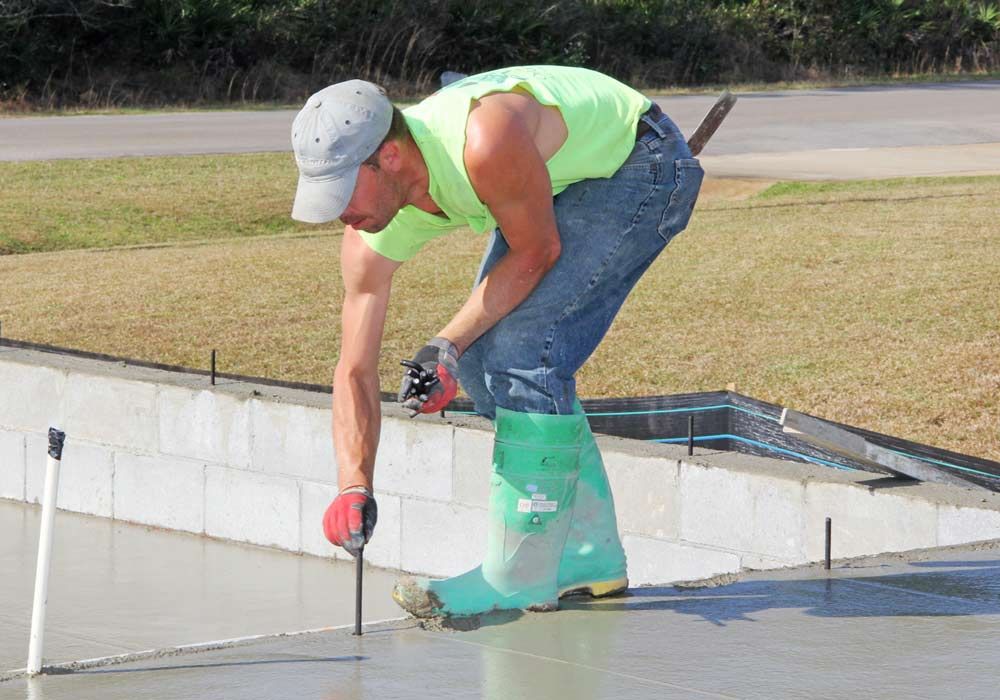
Kurt operates a vibratory screed to create a uniform consolidation of the aggregate in the concrete.

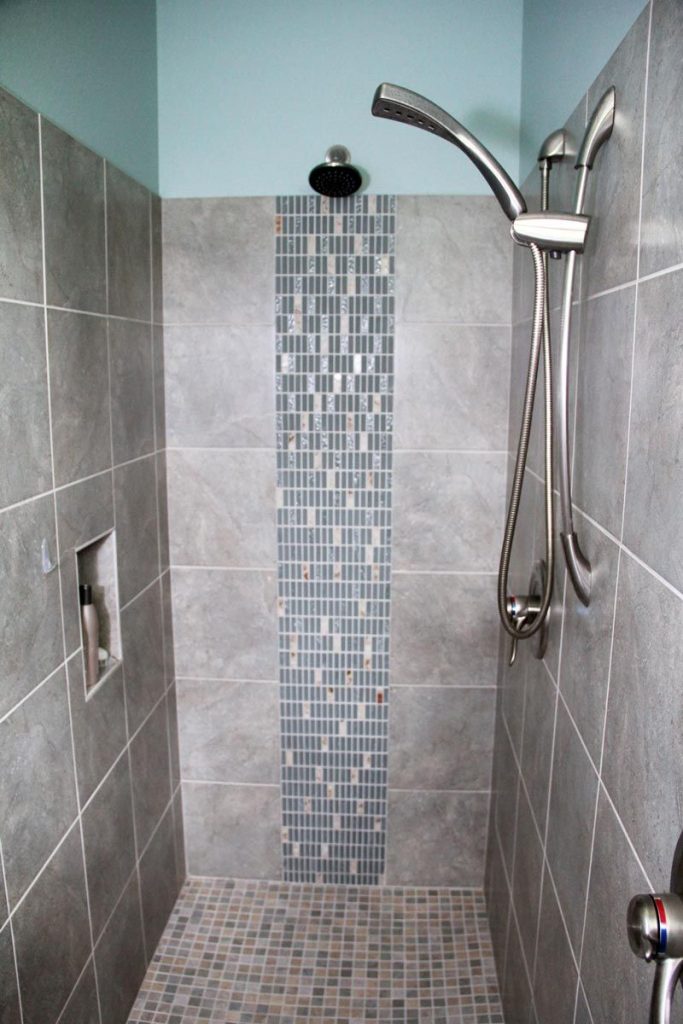
Master shower

Here’s the proof. 1.45 air changes per hour at 50 pascals of vacuum. Off the chart and we’re not even done yet.
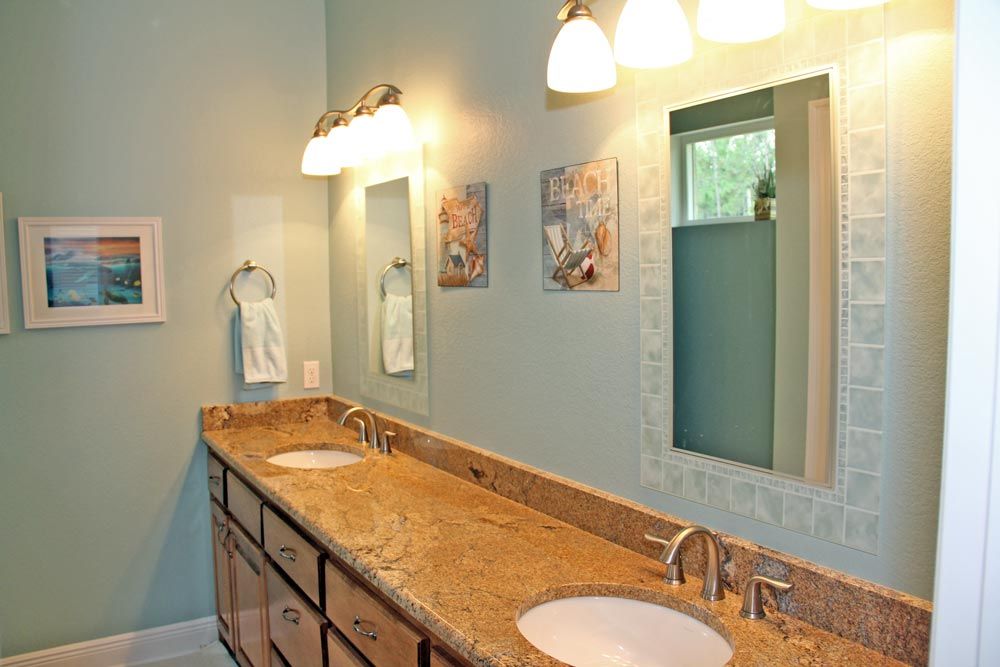
Master bath
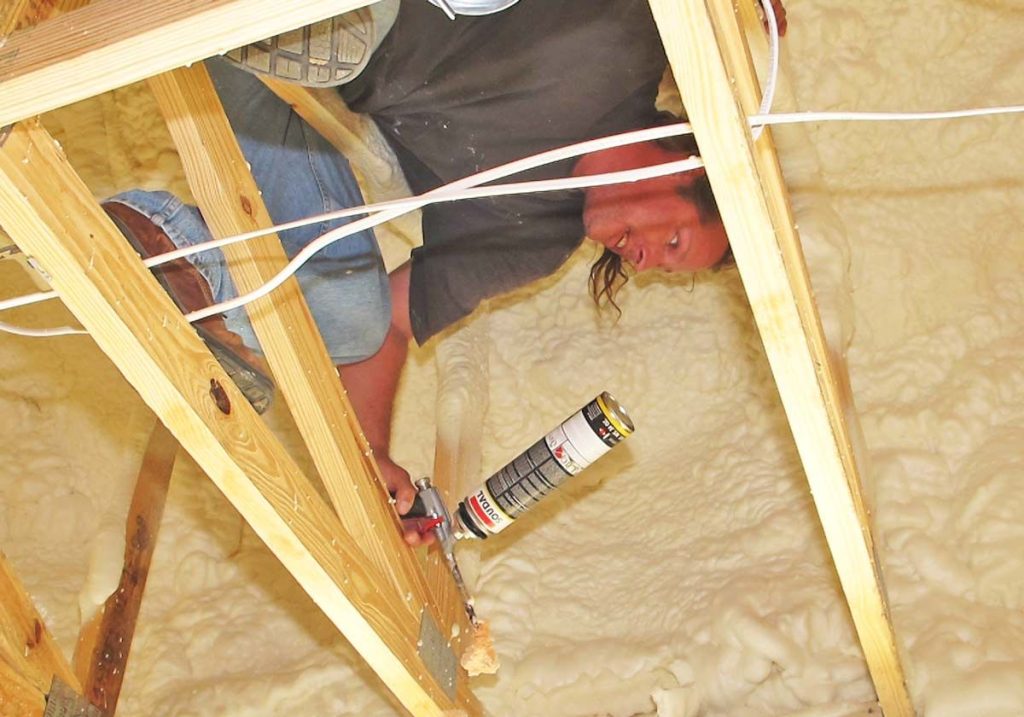
Gerry tracks down and seals up air leaks in the thermal envelope. This is how we perform so well in our air leakage testing.
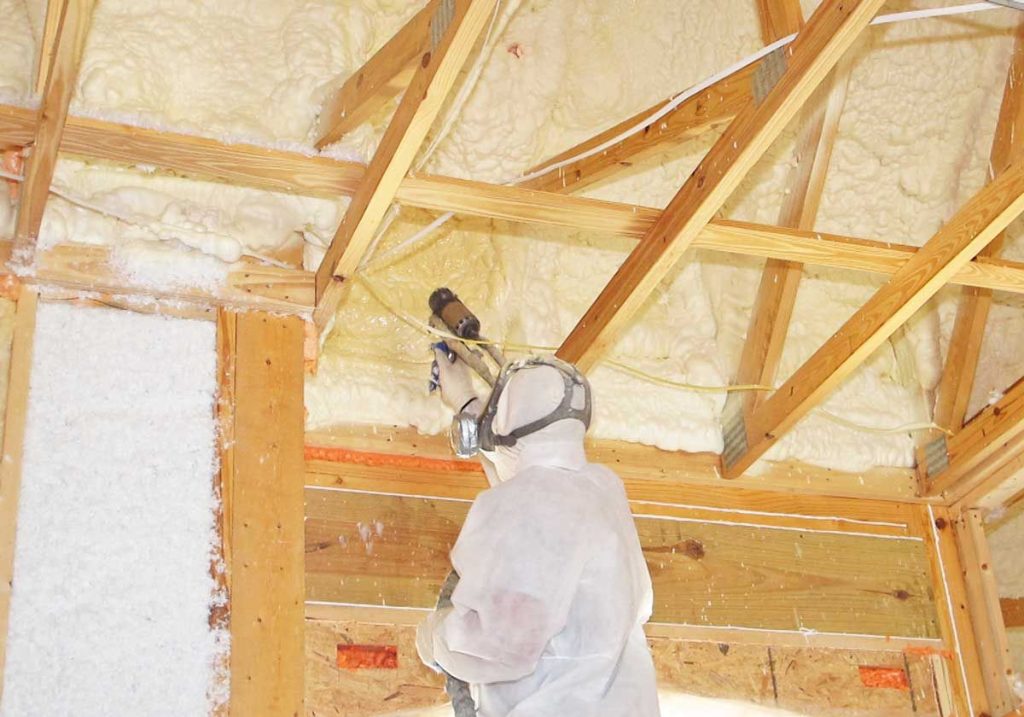
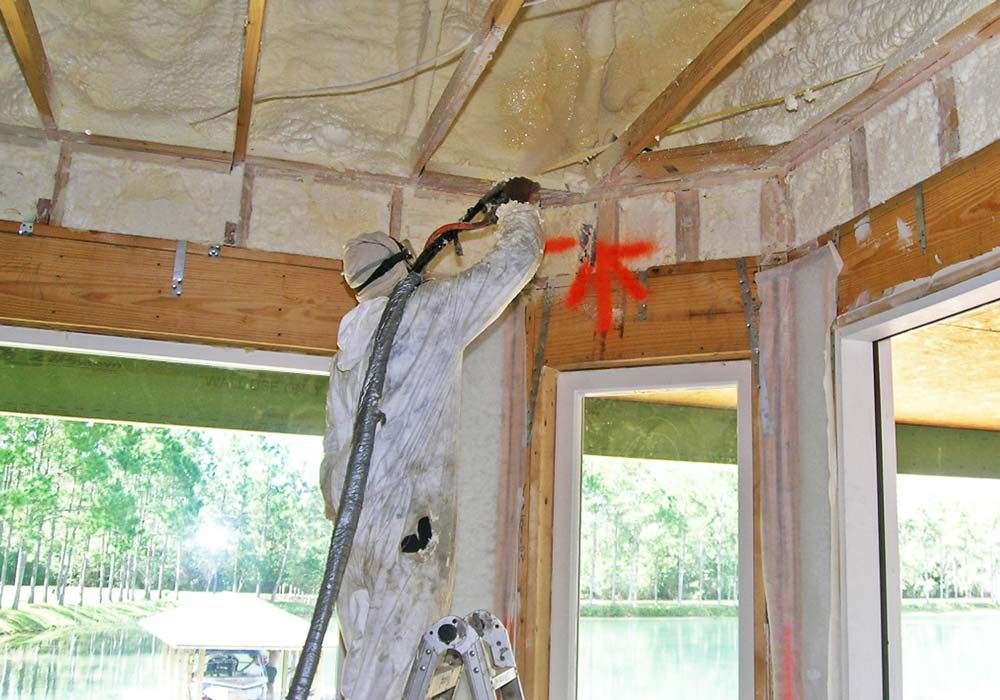
A Polar Foam technician sprays closed cell foam in the attic. This creates an almost airtight and highly efficient thermal envelope. Learn more at Polar Foam Insulation.
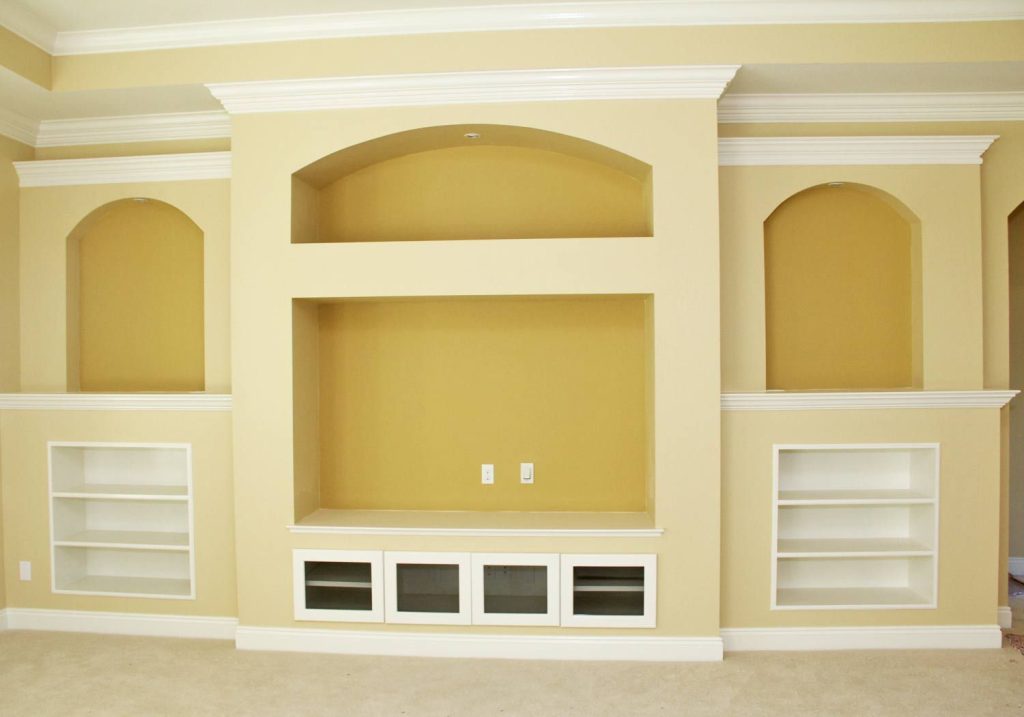
A built-in entertainment center for the Kellys.
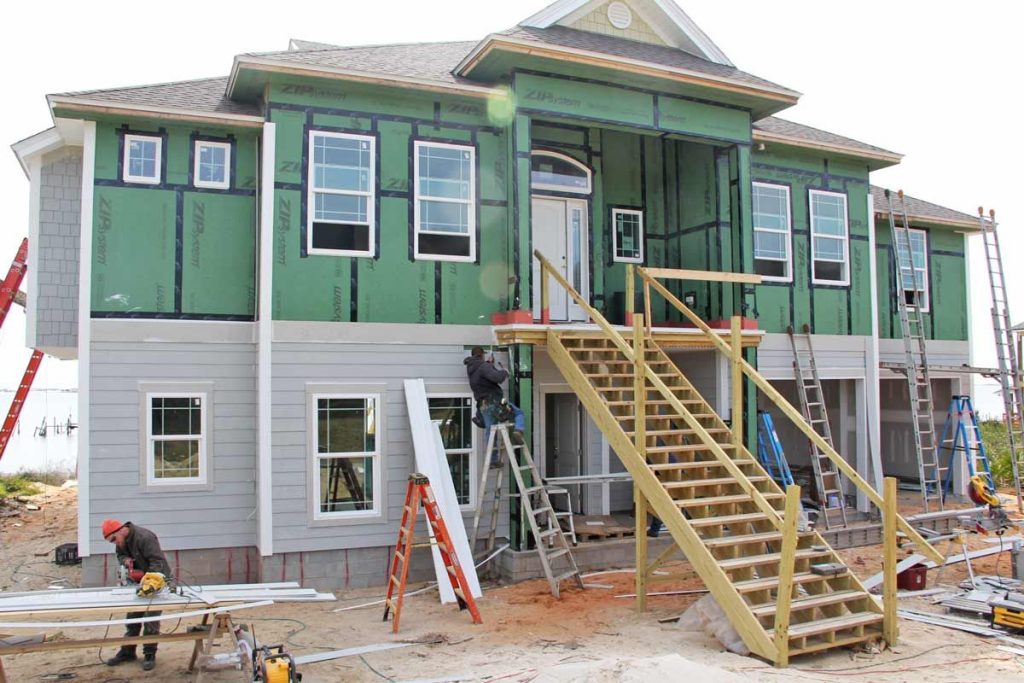
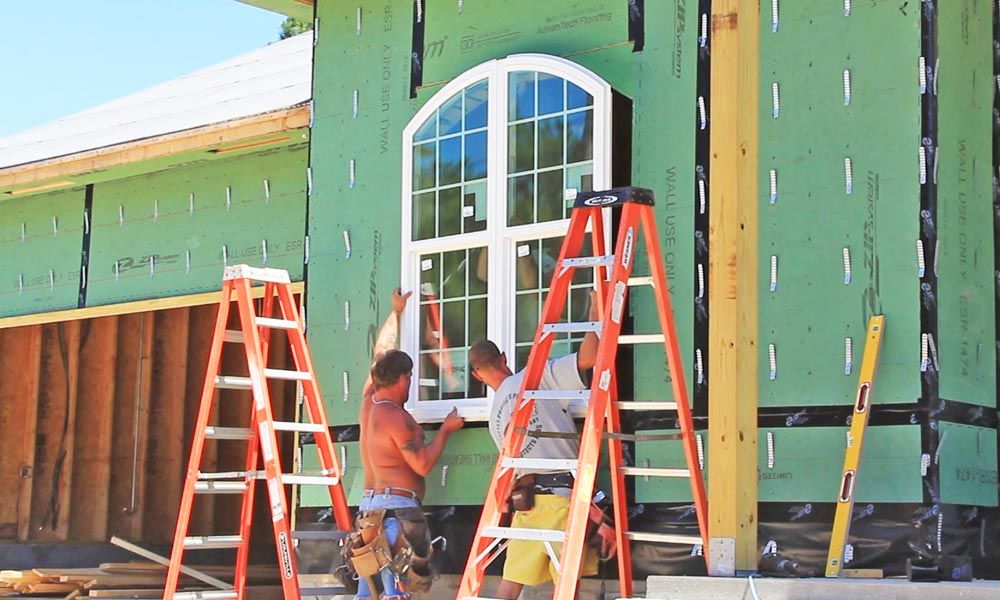
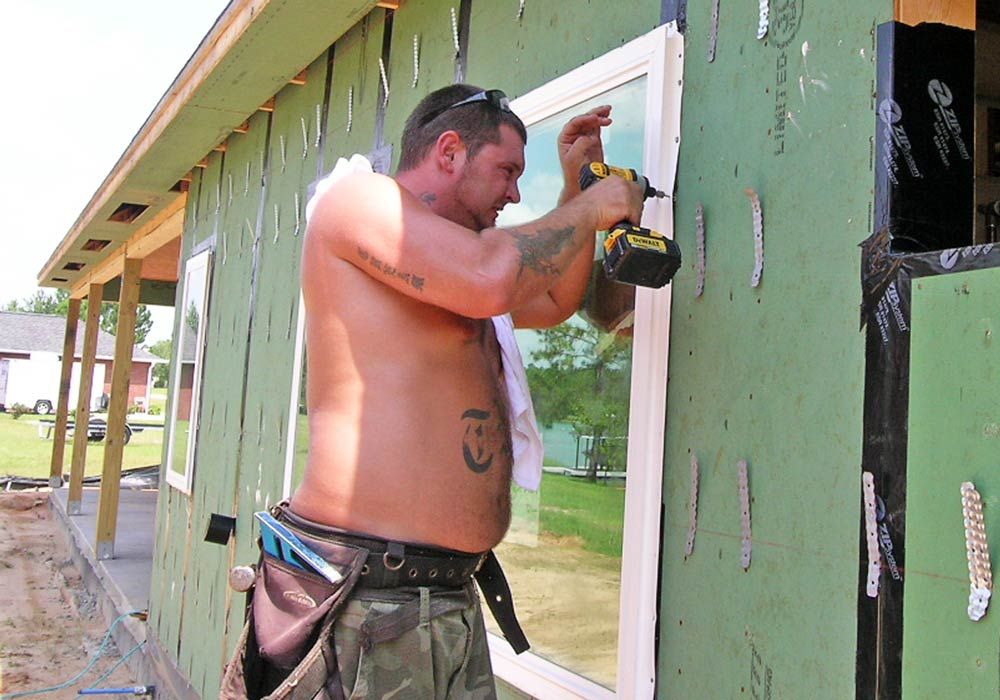
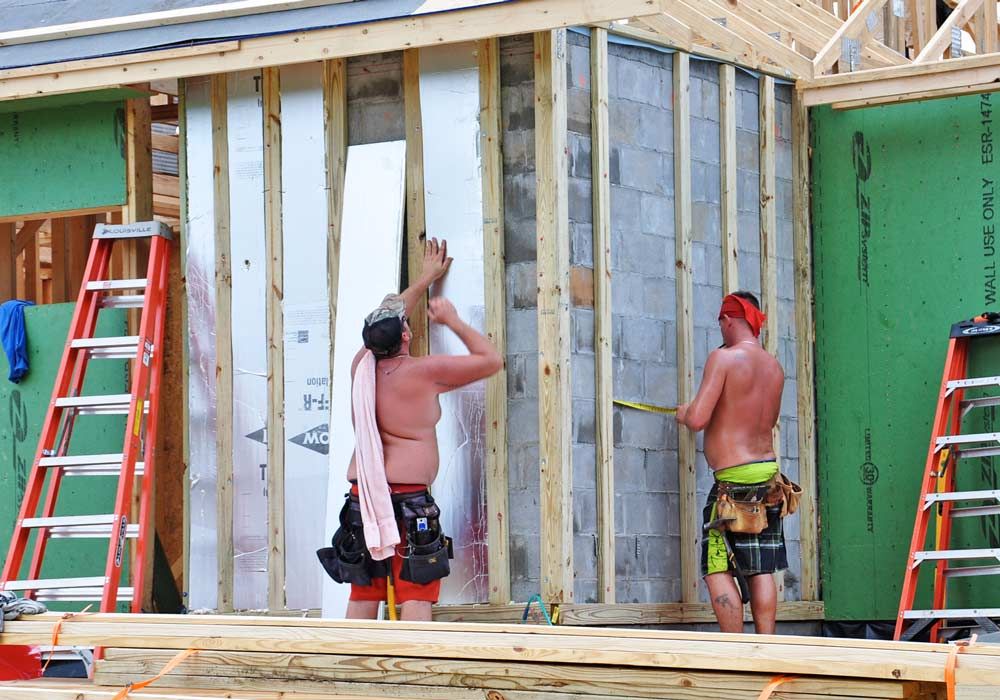
Green zip board wall sheathing creates an air tight, energy efficient, thermal envelope.
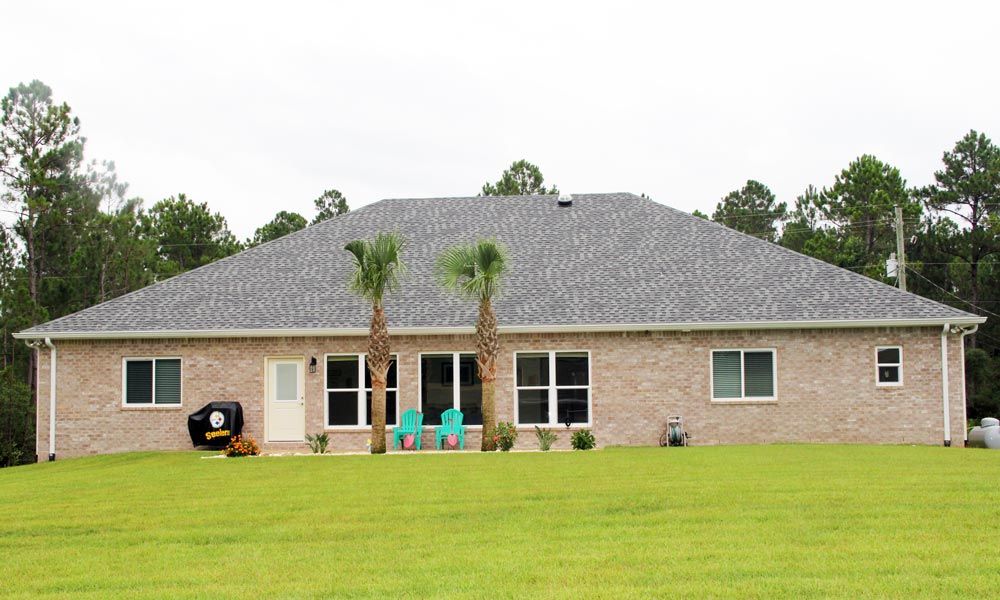
“Right here”, says Jim for the palm tree.
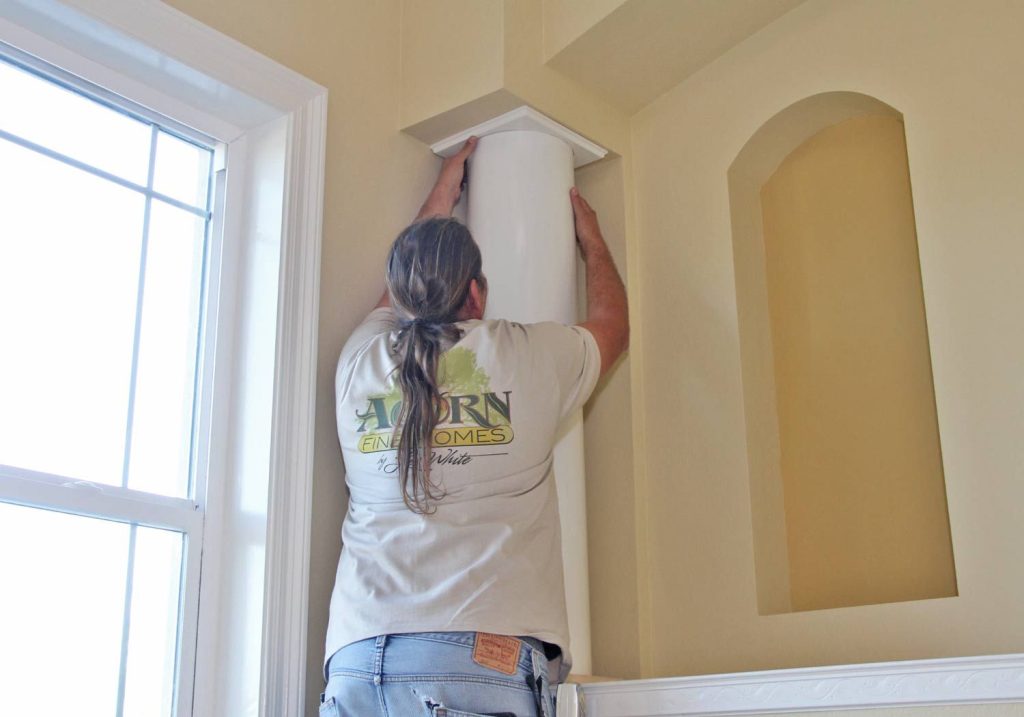
Gerry sets a column on the dining room built in buffet.
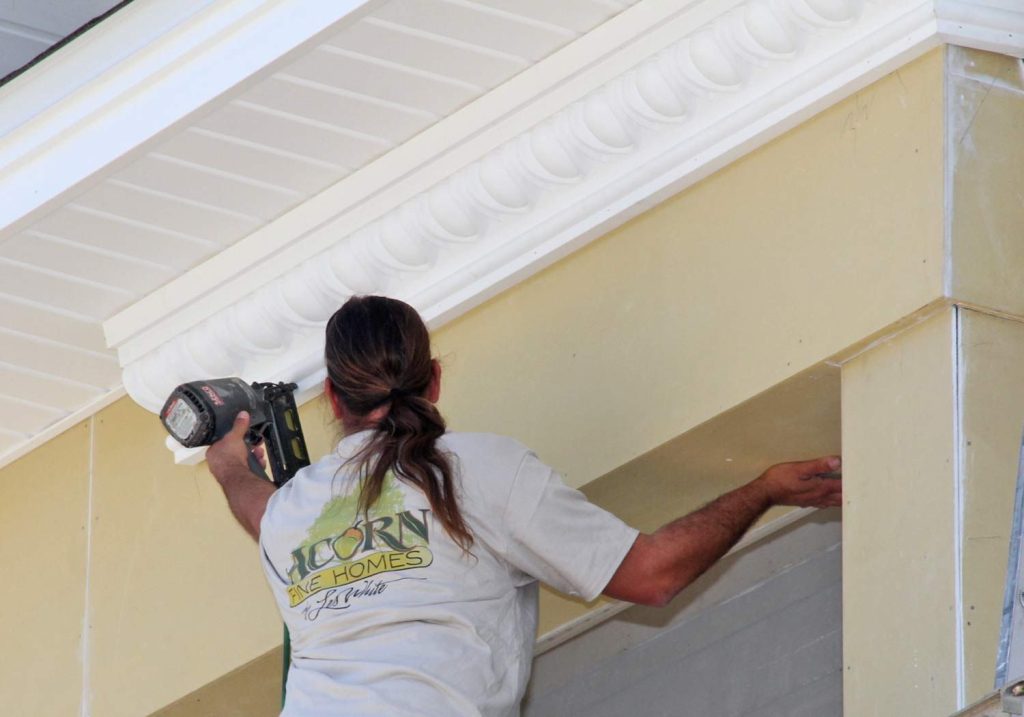
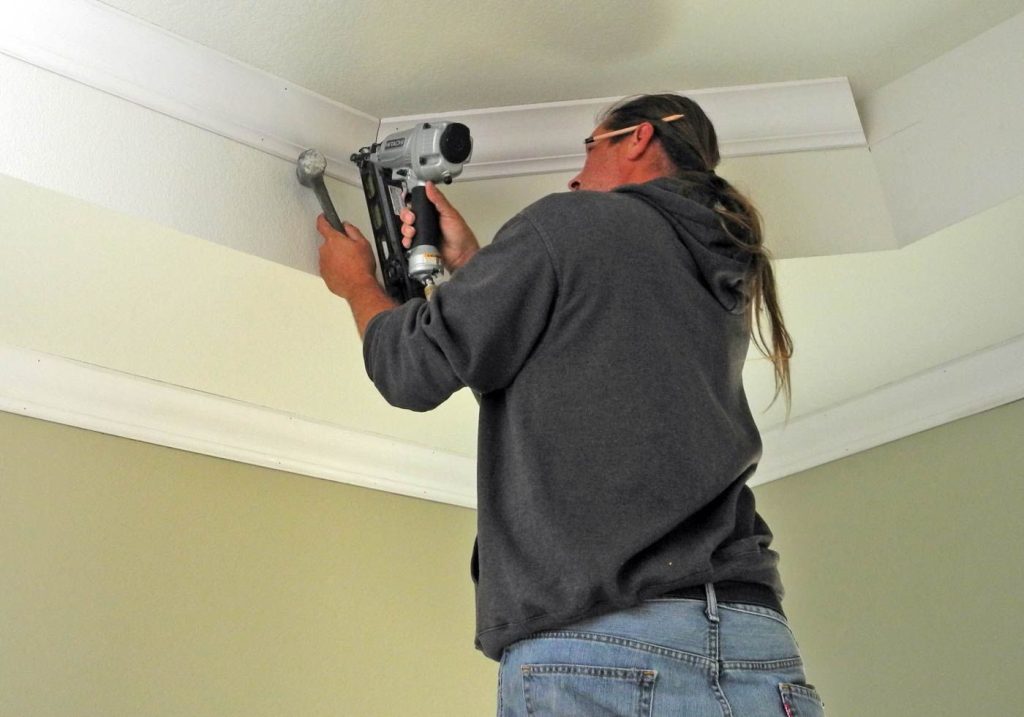
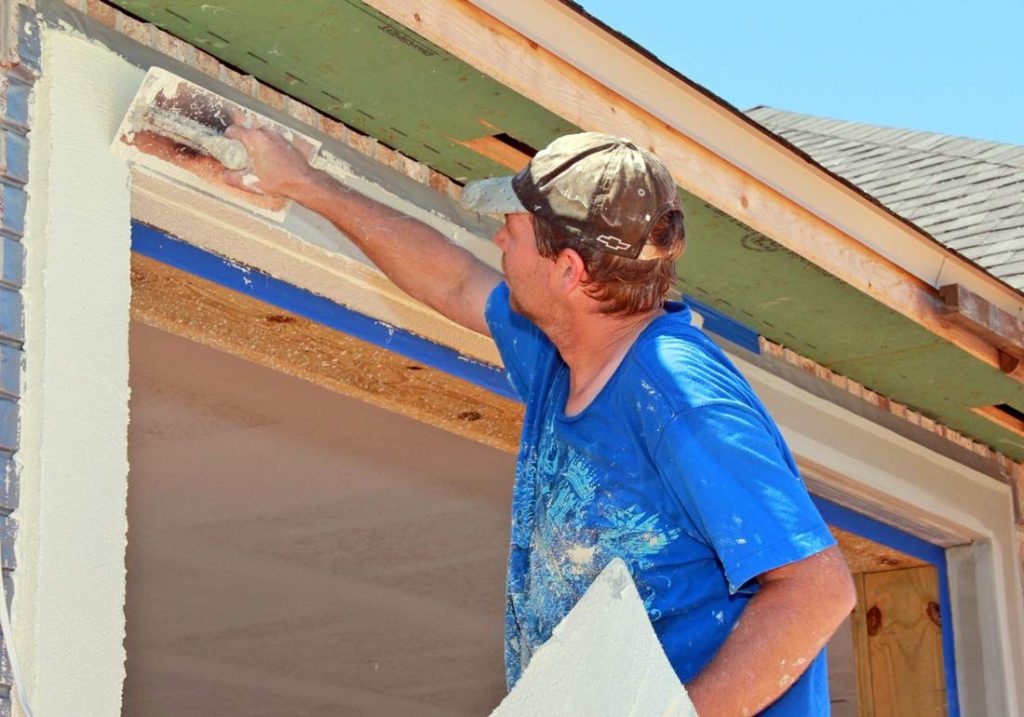
Gerry installs the front porch crown molding.
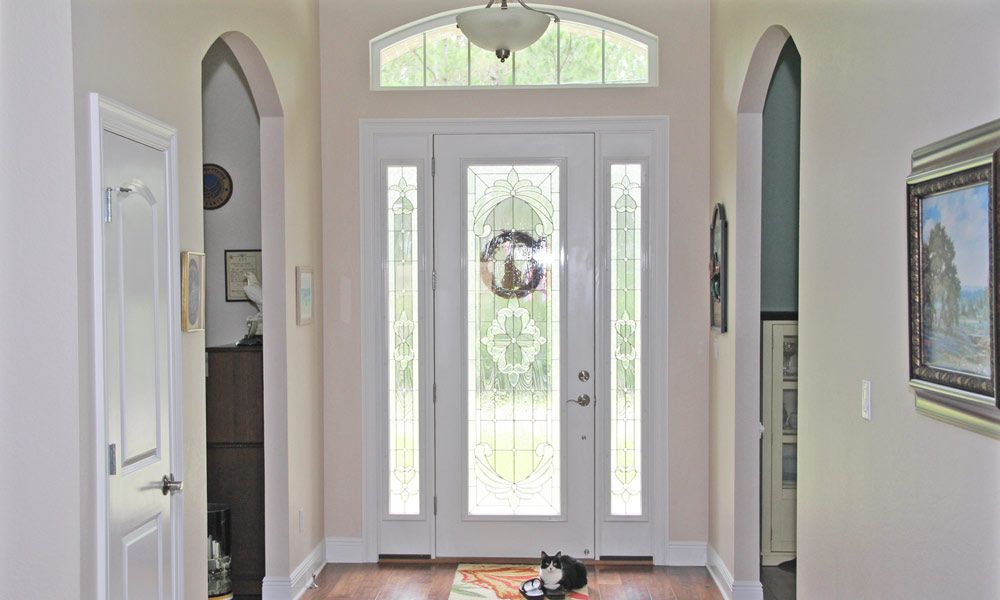
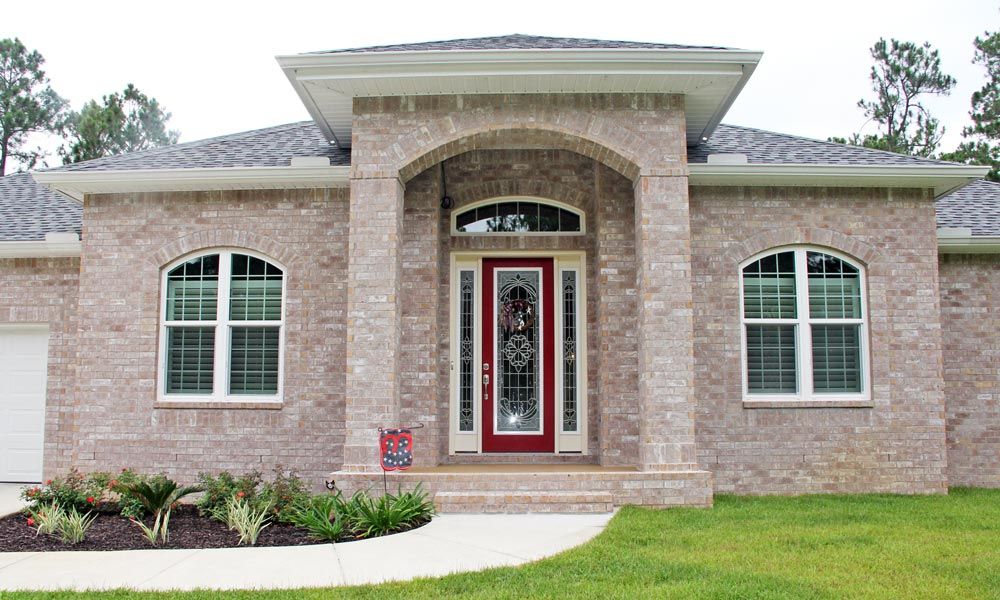
Foyer
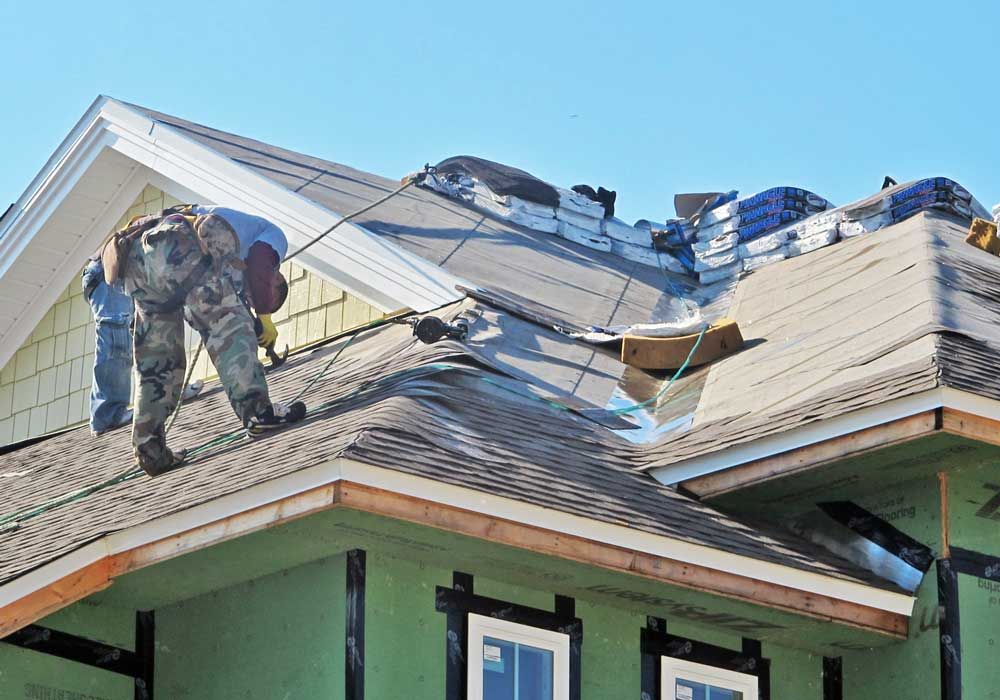
30 year shingles over a 50 mil peal membrane sub roof protects against water intrusion should a shingle be damaged. Metal valley flashing protects against leaks at a vulnerable part of the roof.
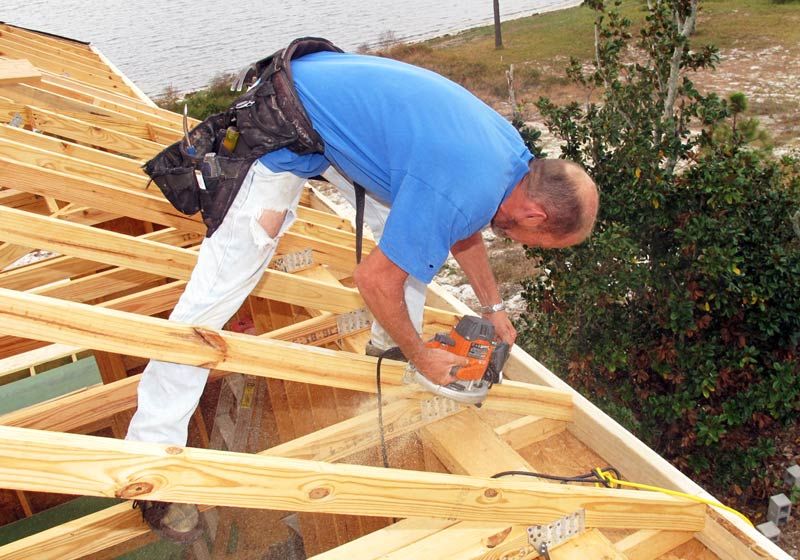
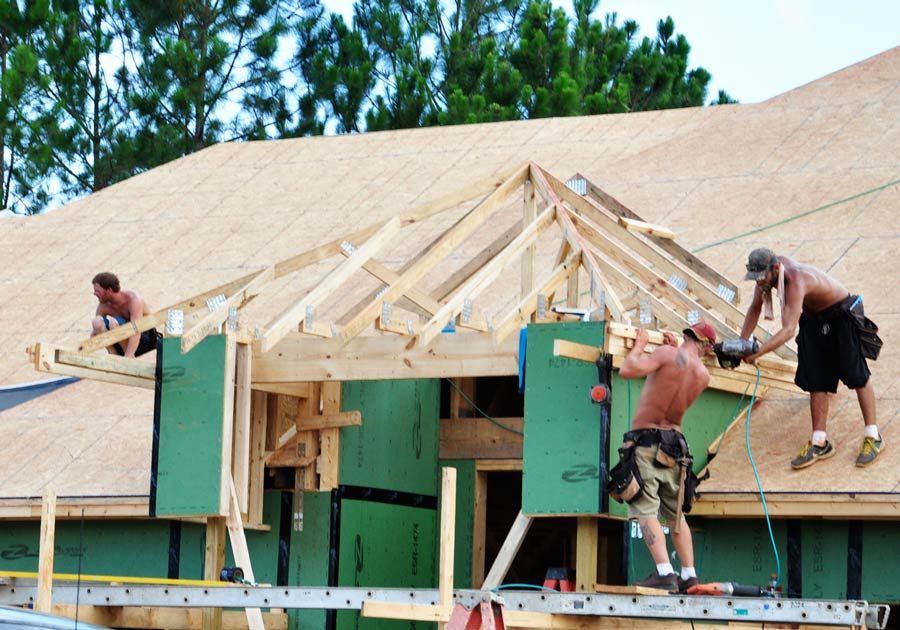
Steve planes out the top cord on one of the roof trusses for a perfect fit.

We use our door fan to measure air leakage at the framing stage and
again at completion. It’s not enough just to do all the right things
and hope for the best. It’s critical to test for success and find all
the areas that were missed and seal them up. We don’t just say we build
a high performance energy efficient home, we prove it!
The door
fan draws a 50 pascal vacuum on the building which simulates a 20 mph
wind on all 4 sides and top of the home and measures the number of air changes
per hour leaking into the home (ACH50).
We tested 1.45 ACH at the framing stage which would classify as Super High Performance Home
These are the national performance guidelines:
1.5 – 4 ACH = High Performance Home
4 – 7 ACH = Energy Efficient Home
8 – 12ACH = Standard New Home
11 – 21ACH = Standard Existing Home
18 – 35ACH = Standard Older Home
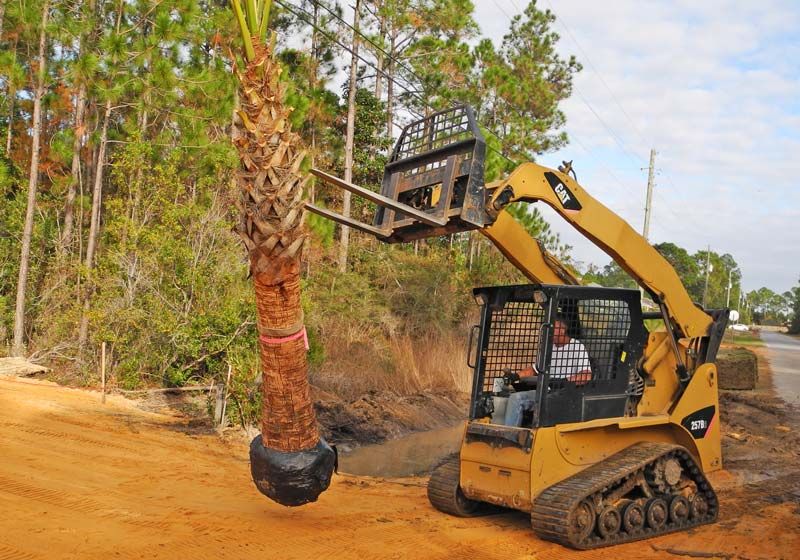
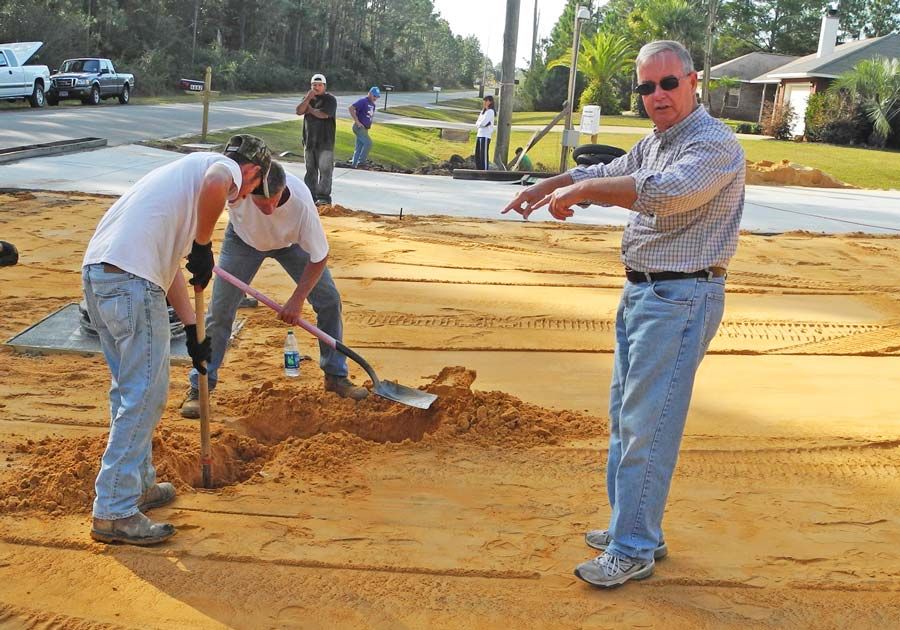
Jim and crew with Pinelands Landscaping plant a palm tree the front yard.
Gerry installs 5″ crown molding in the master bedroom.
Bill chisels off a high spot in one of the roof trusses.
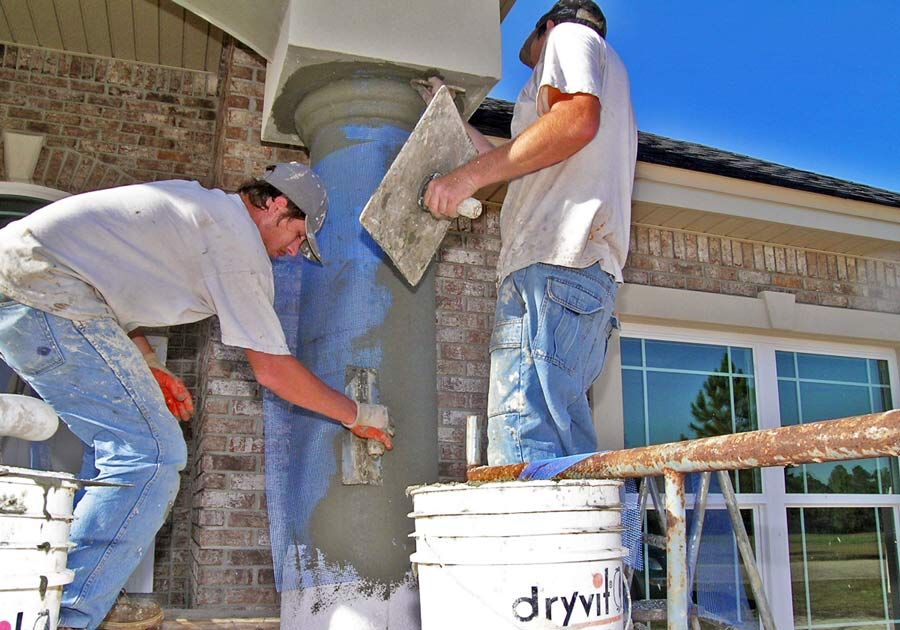
Chris and Robert embed glass fiber mesh into the brown coat to reinforce the front foam formed porch columns.
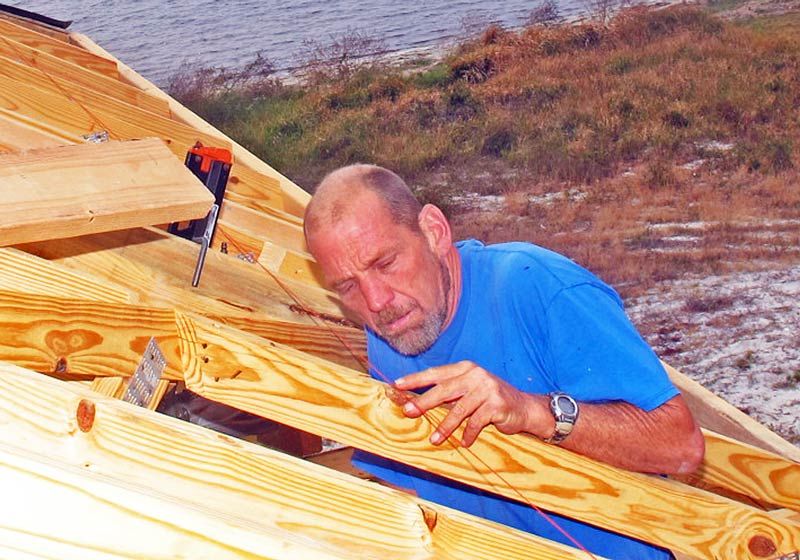
Steve checks the string line to assure proper planing of the roof trusses.
John Boy uses a chalk line to check alignment of the truss blocking.
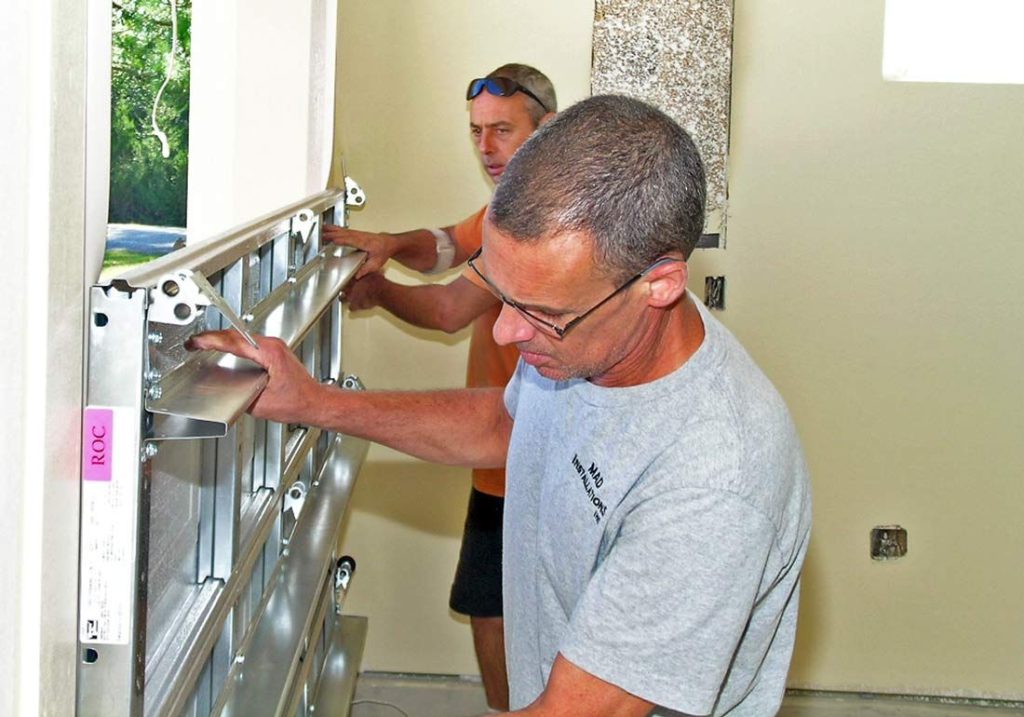
Mark installs the garage doors. The long horizontal bars strengthen the doors to 110 mph wind resistance.
Spraying foam in all the nooks and crannies of the thermal envelope is a very tedious job.
JP and Slim set the dining room window
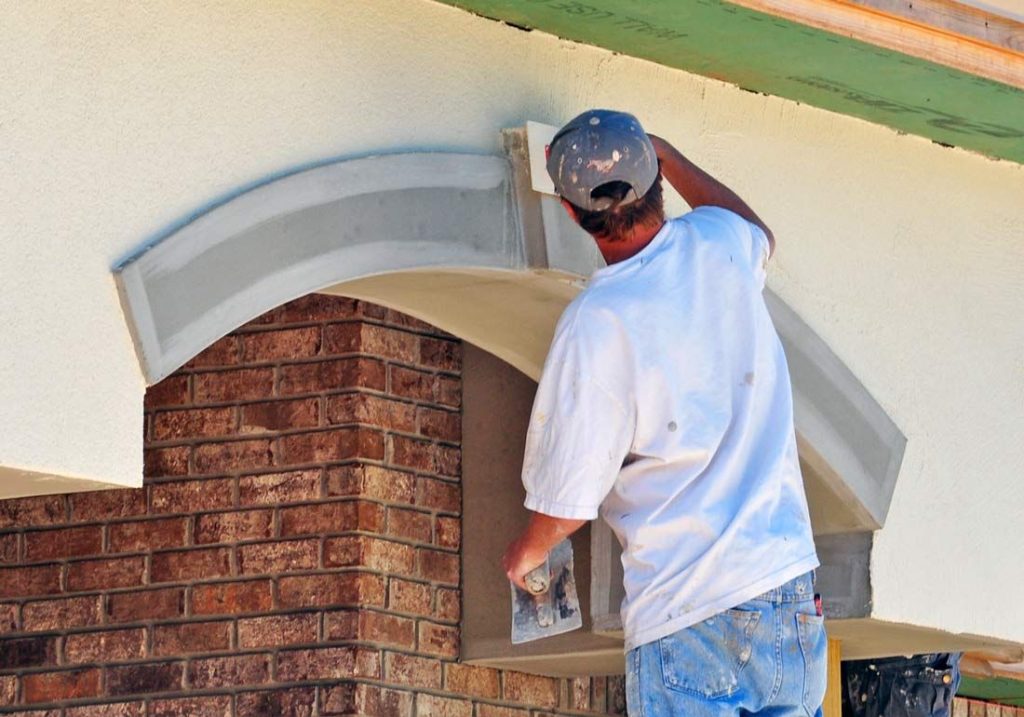
Chris shapes the arch key over the front porch.
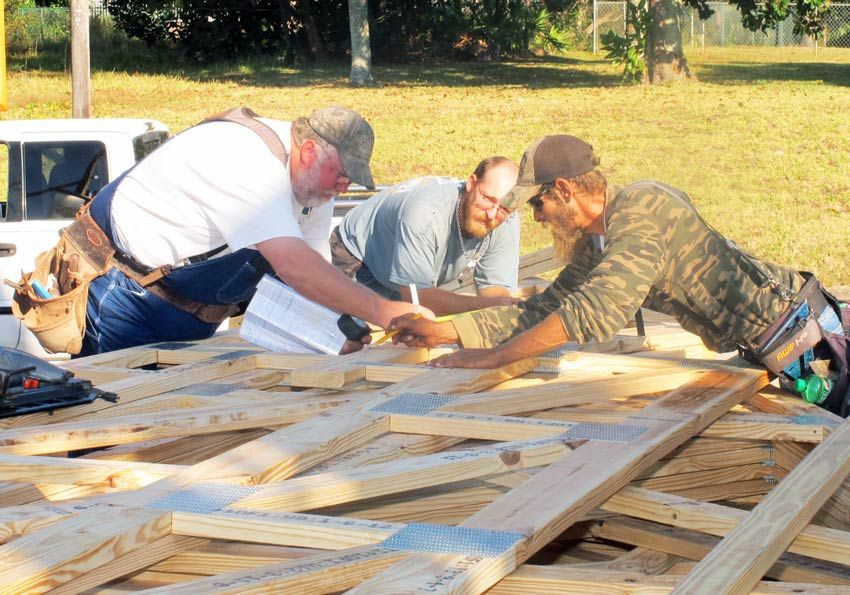
Robbie and Robert plan the truss installation.
Robert applies finish to the garage door trim bands.
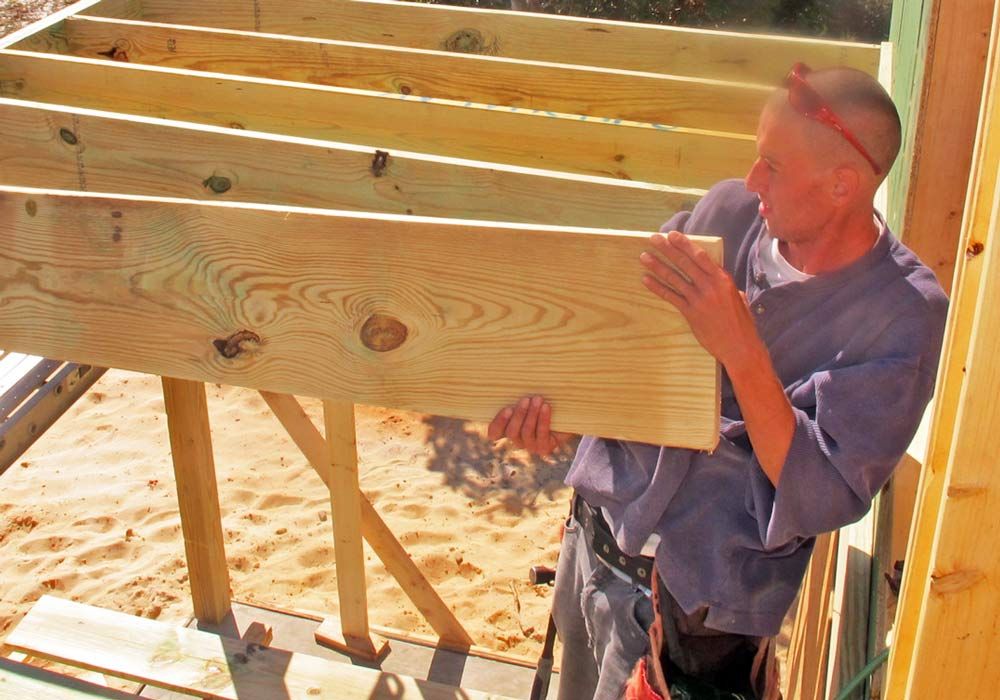
Slim checks the crown on the deck joists to make sure it’s installed crown side up.
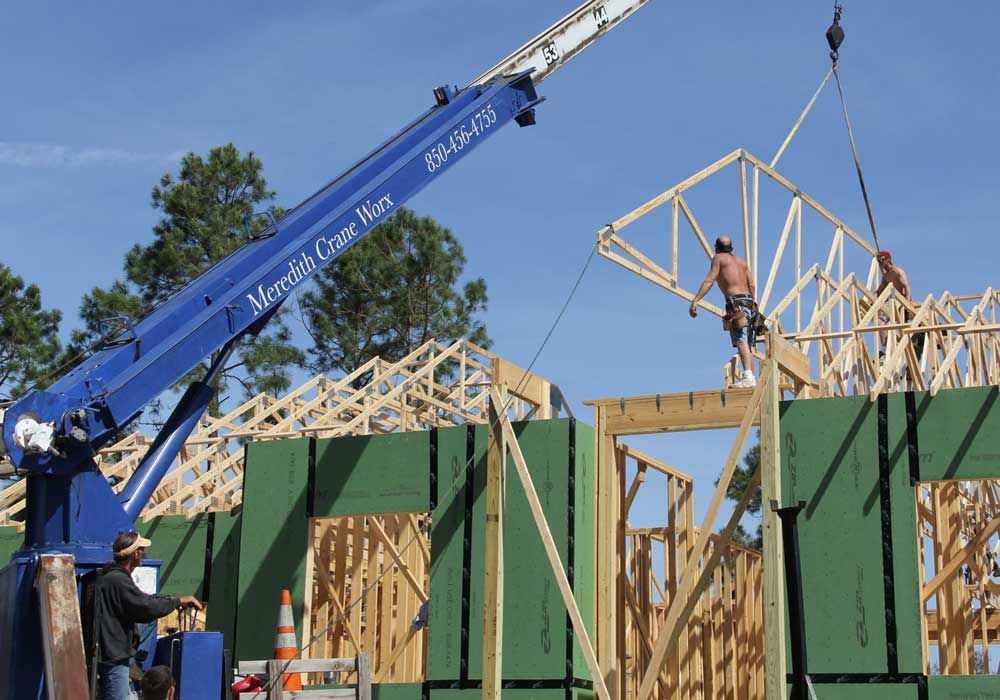
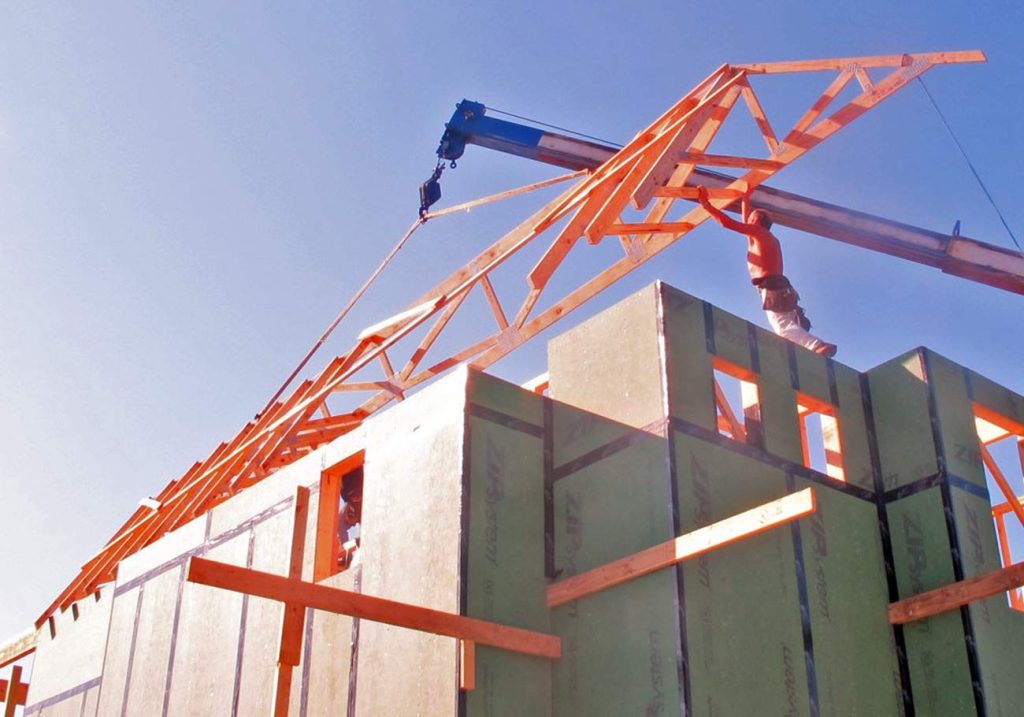
Setting the trusses
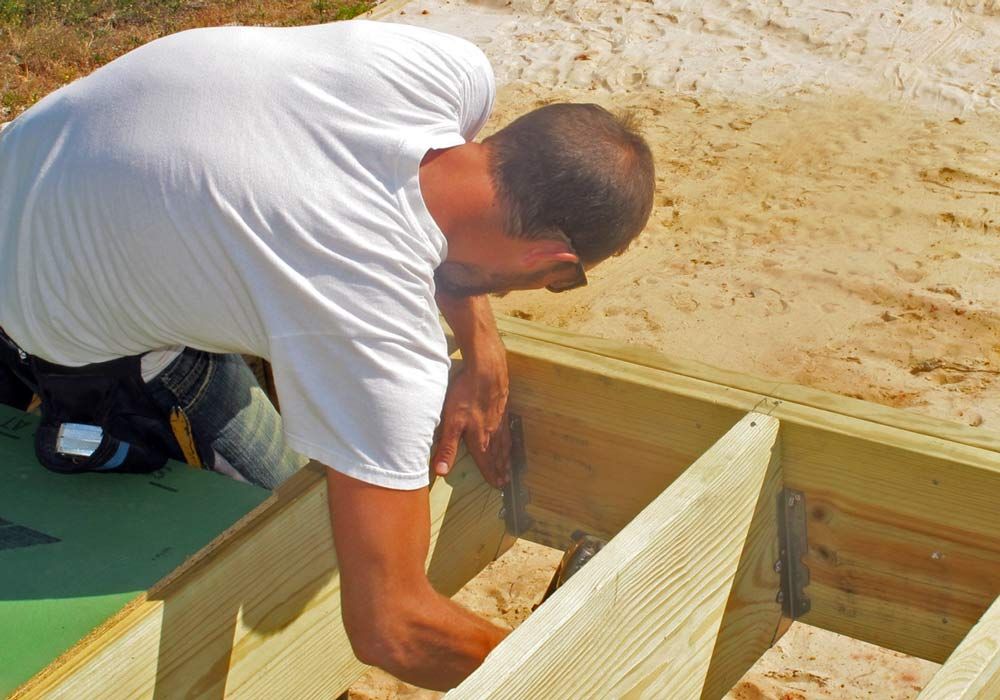
Chris installs stainless steel deck joist hangers. This is very important on the water front homes to prevent corrosion.
Brian pours the safe room walls and roof.

Robert brown coats the front porch archway.
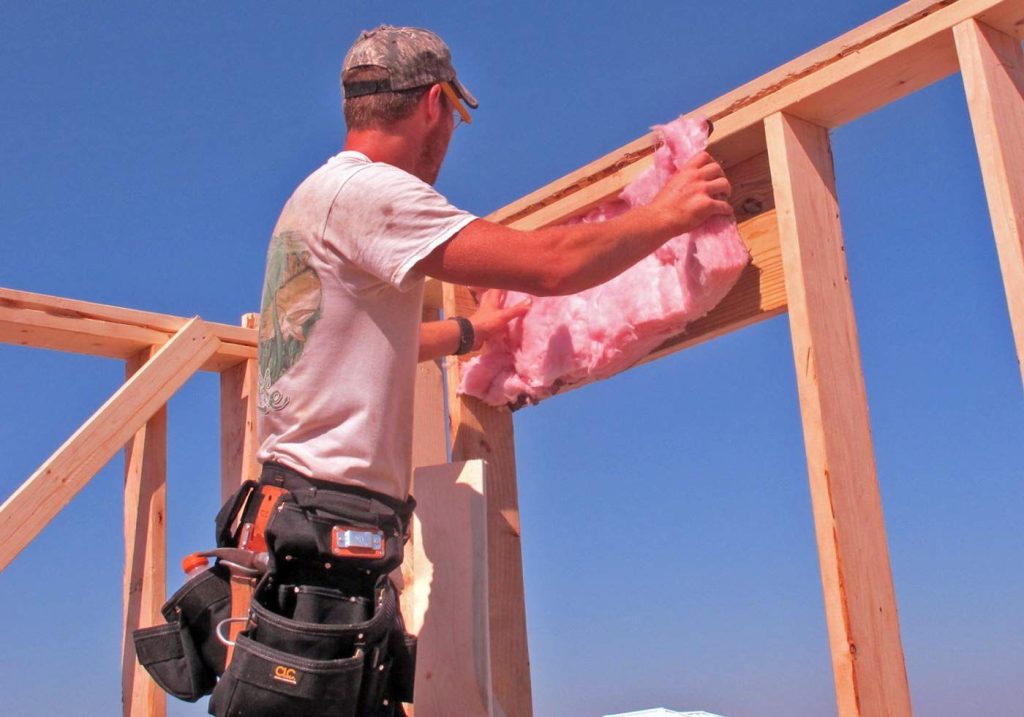
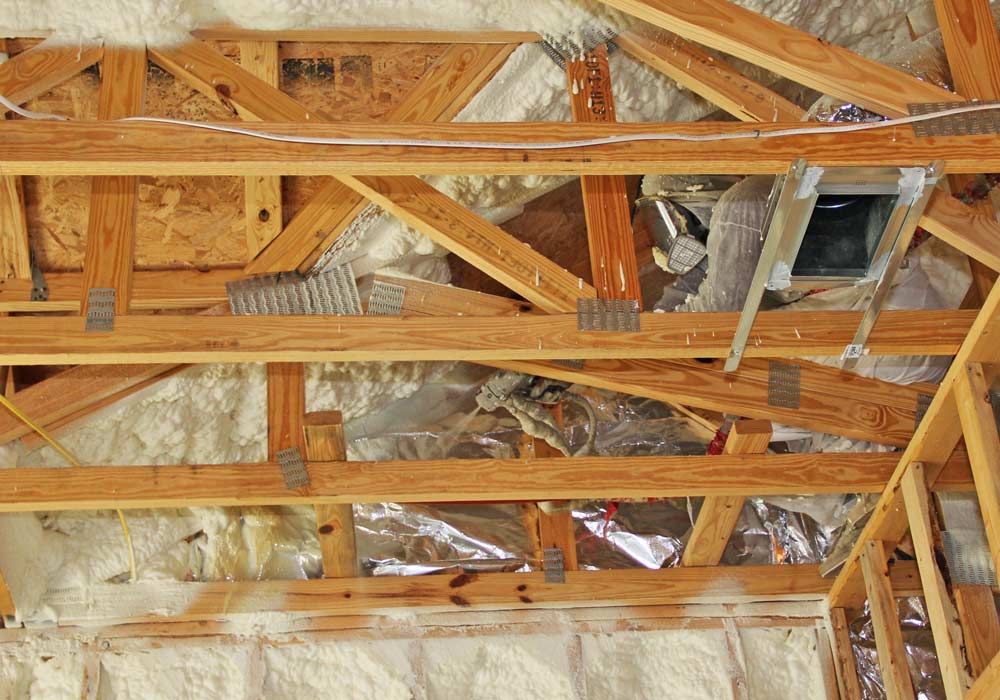
Nate insulates one of the second floor window headers.
Dennis sprays drywall texture on the ceiling in the living room.
The safe room is completed before framing continues
You can see the fiberglass batt hanging out of the bottom of this
header. We insulate our headers to reduce heat loss through the thermal
envelope. We will use about 3 rolls of insulation for the headers on
this job which adds quite a bit of energy efficiency to areas that are
not normally insulated. Imagine the impact of removing 3 rolls of
insulation from your home.
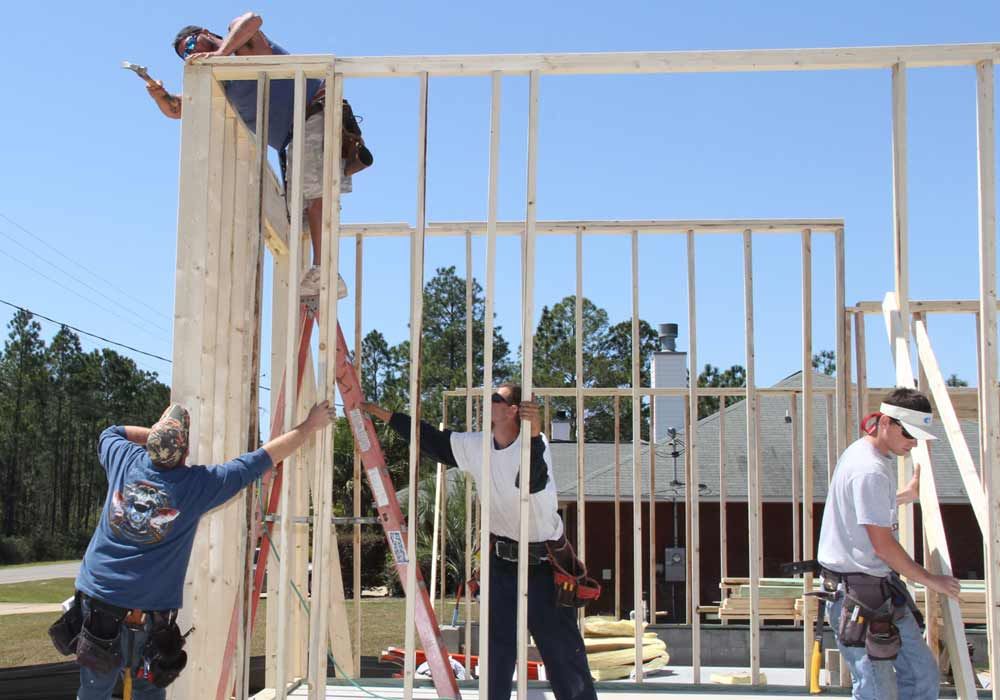
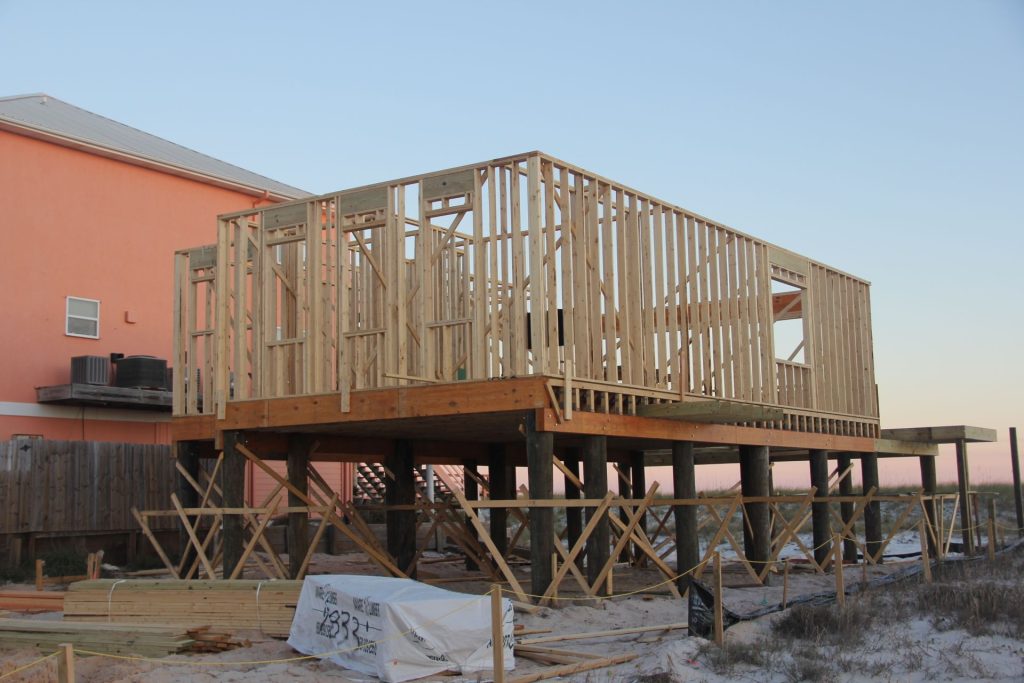
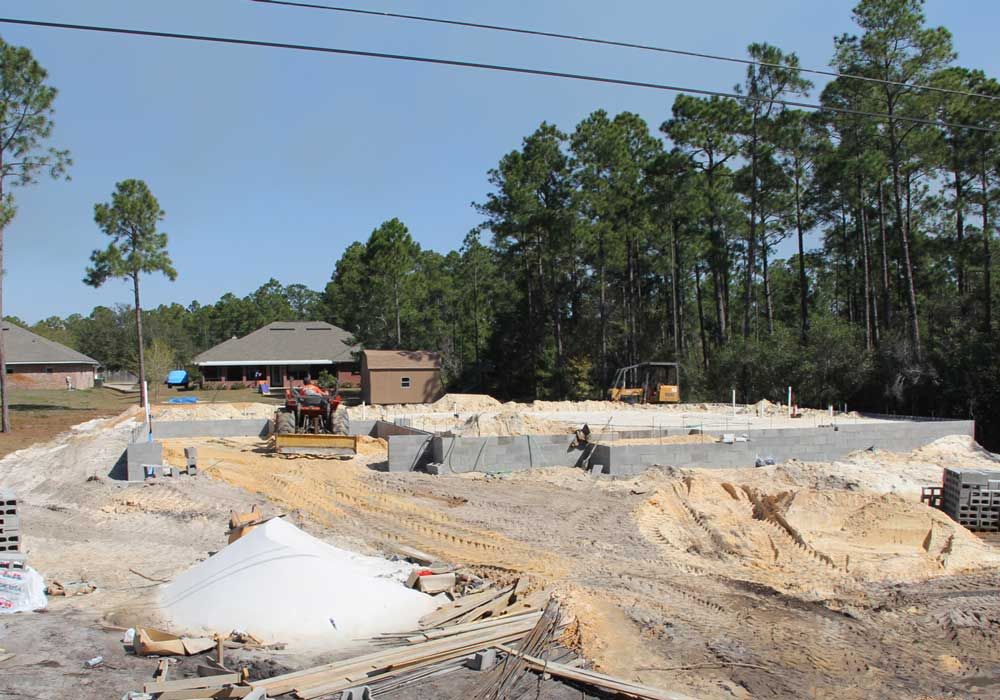
Standing up the walls
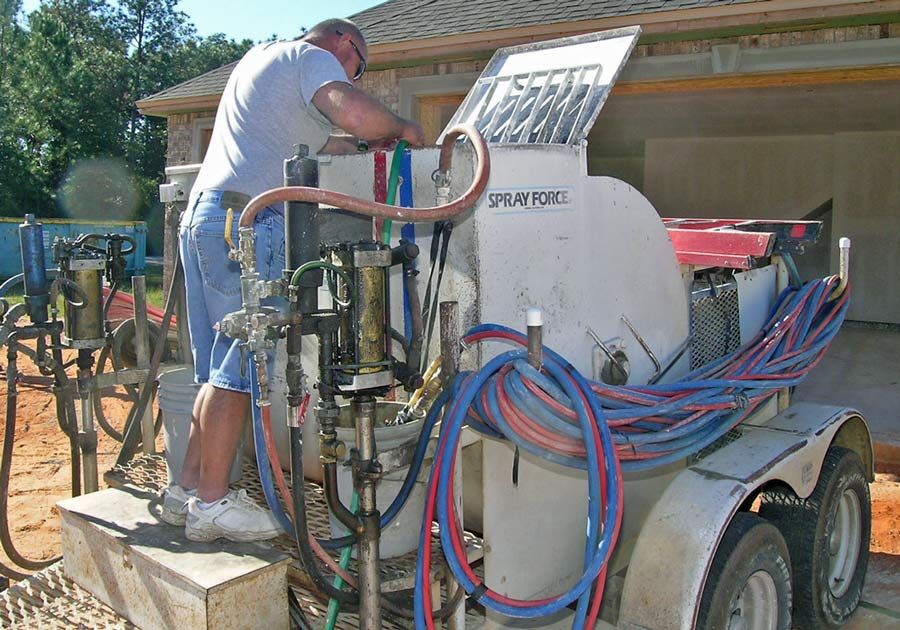
Dennis mixes drywall mud in his high pressure spray rig.

Jeremy builds the mail box.
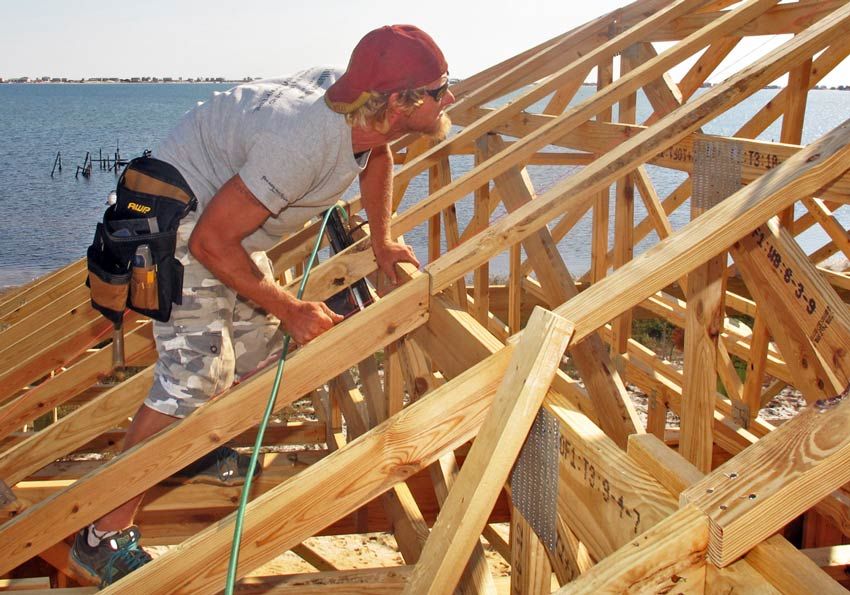
Steve guides a pre-assembled hip set into position on the second floor.
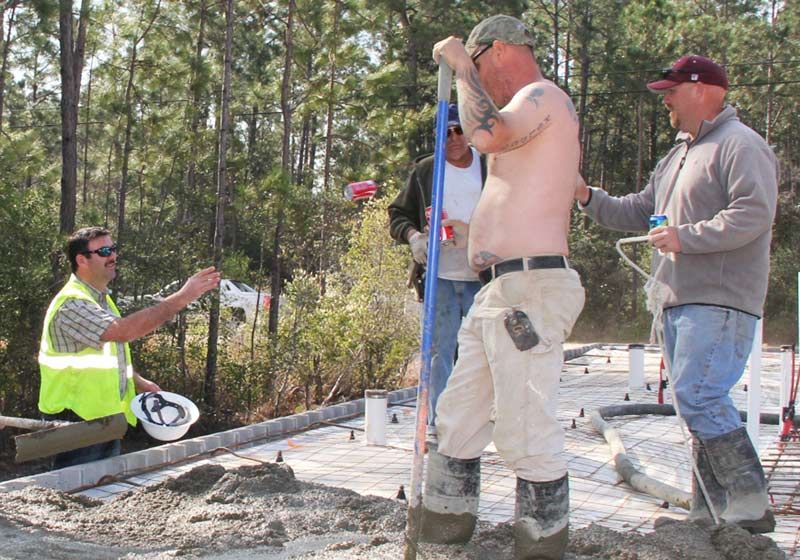
Brian Rainey sets the anchor bolts.
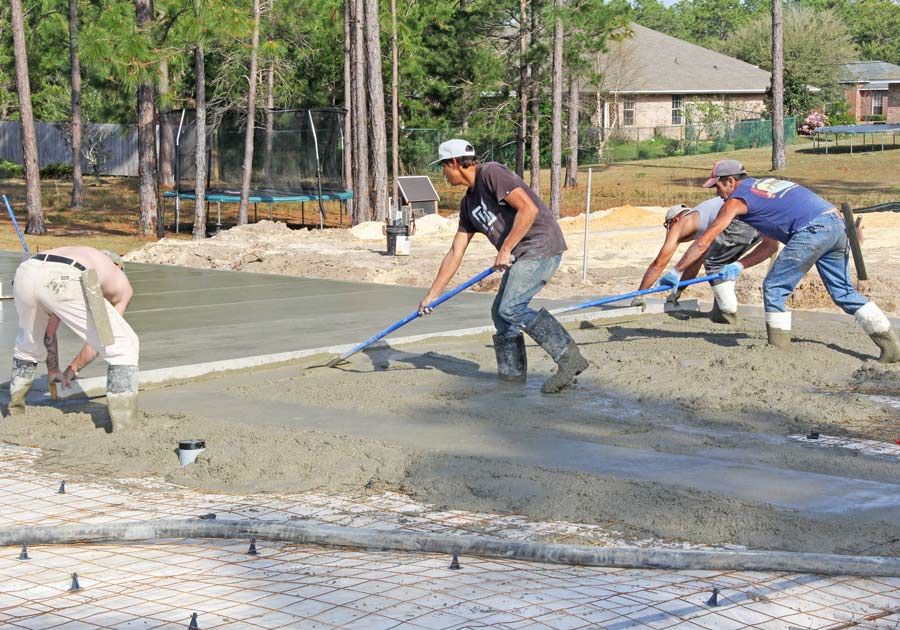
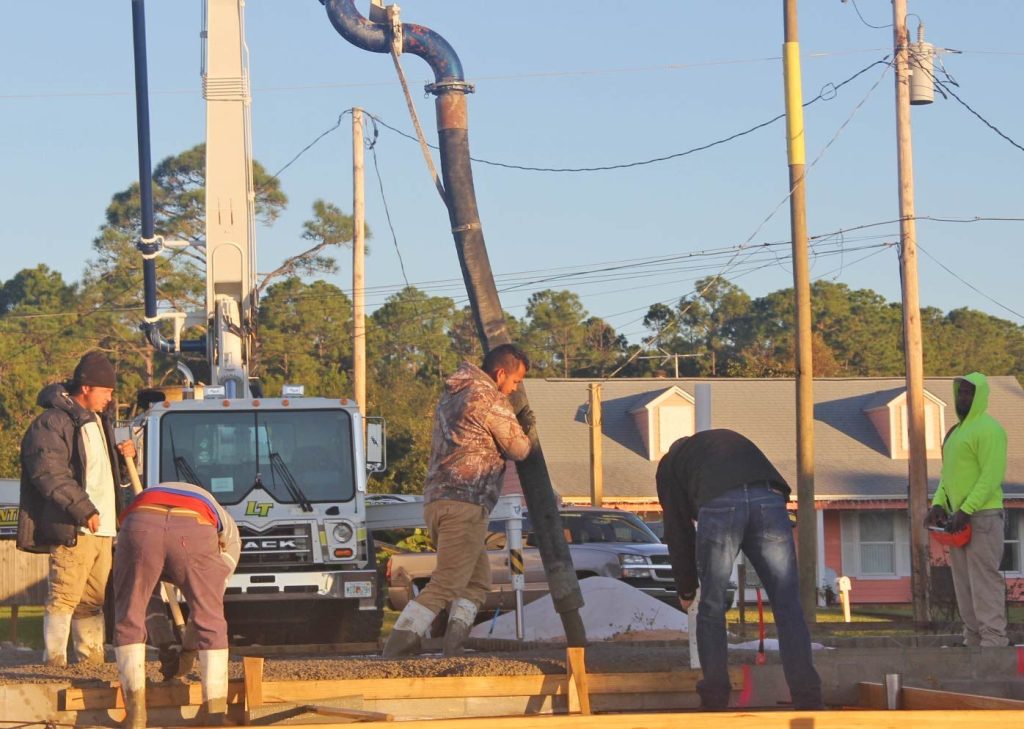
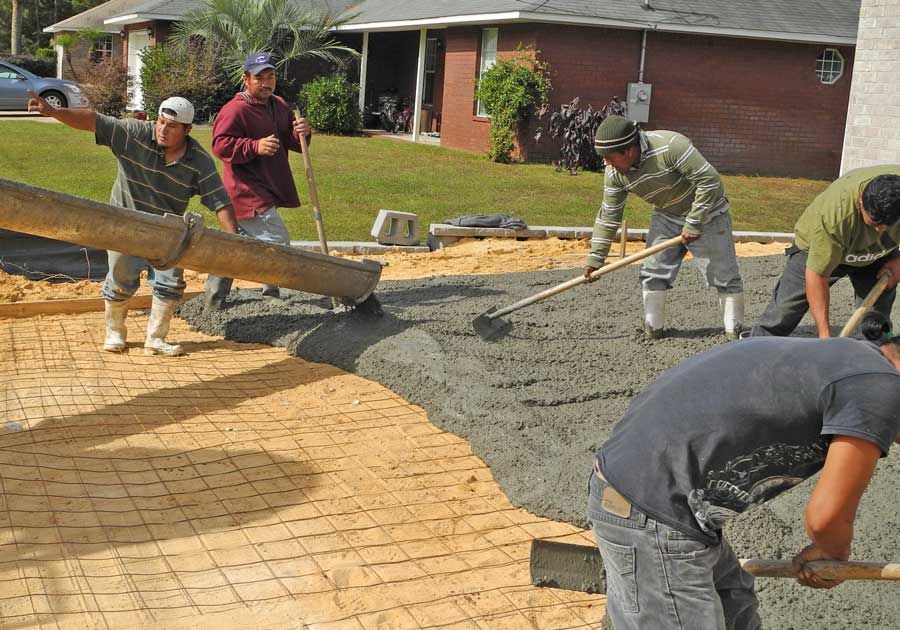
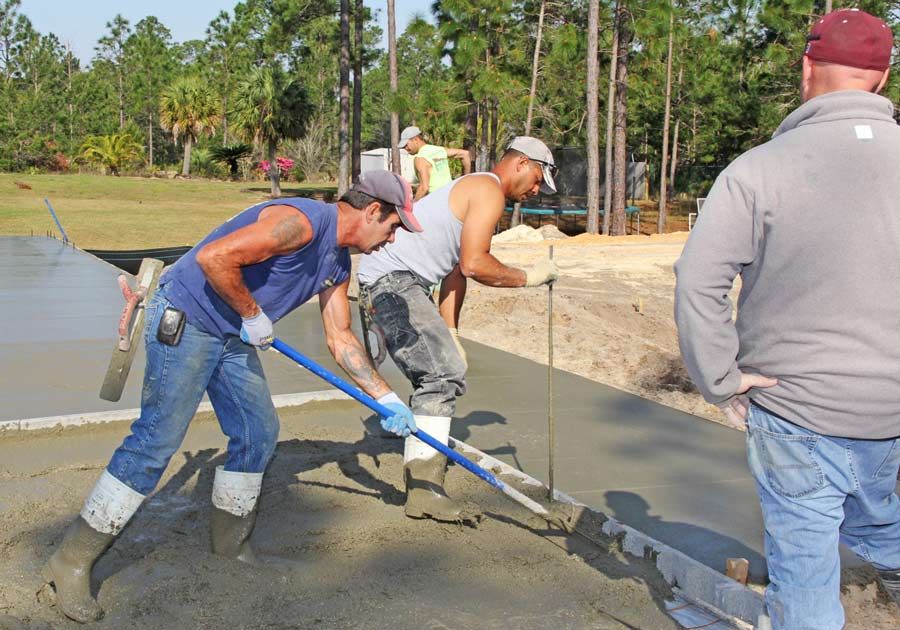
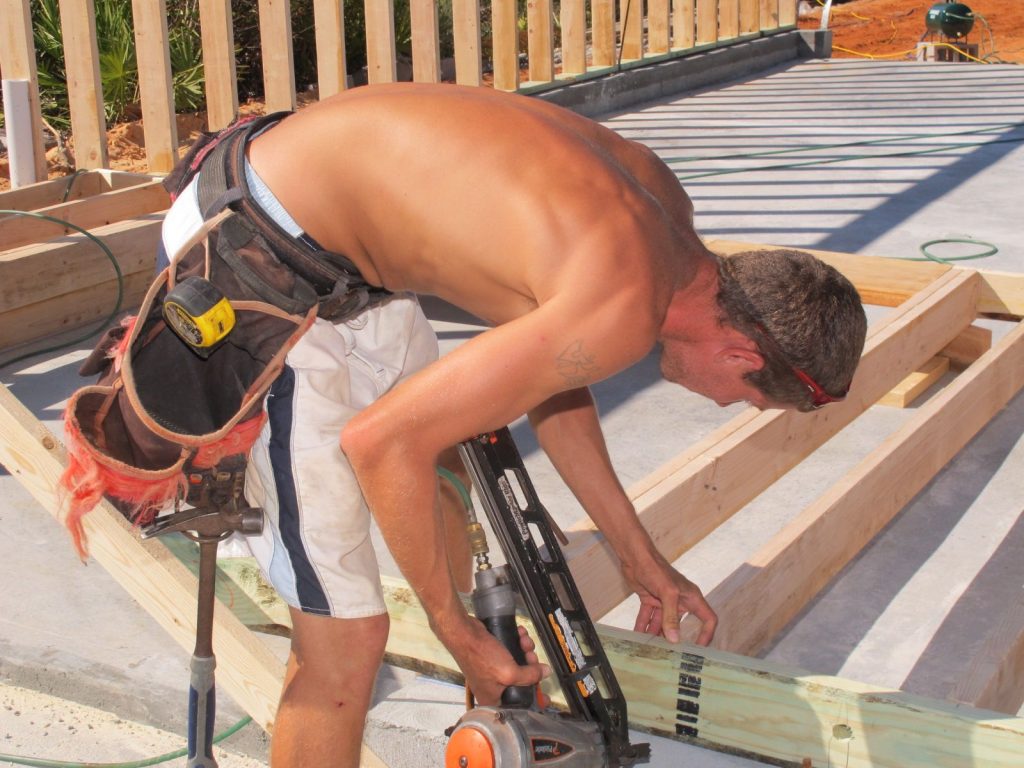
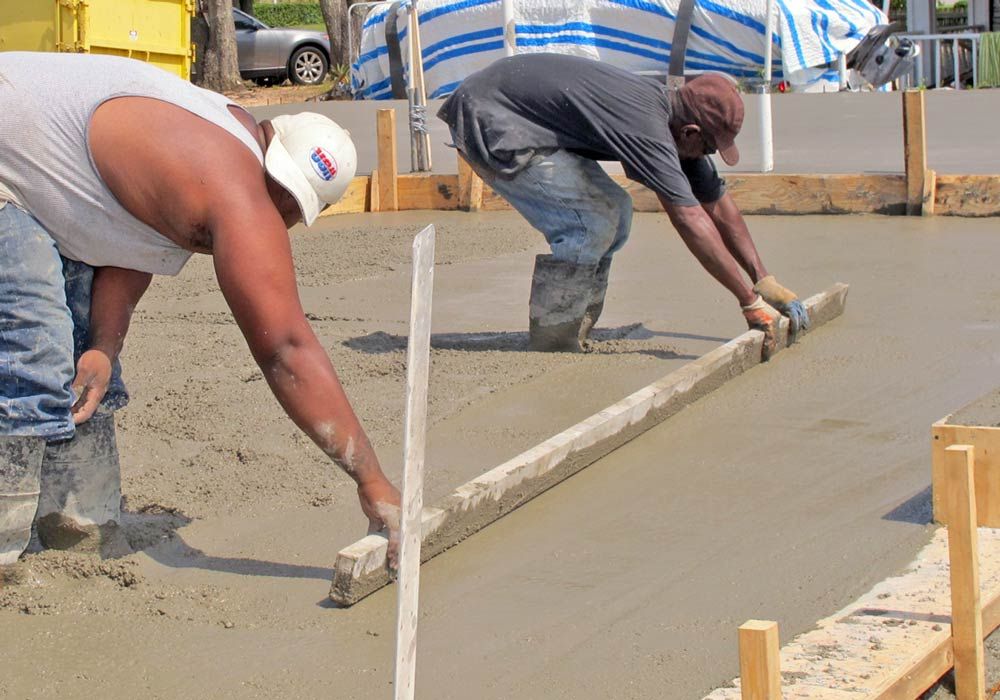
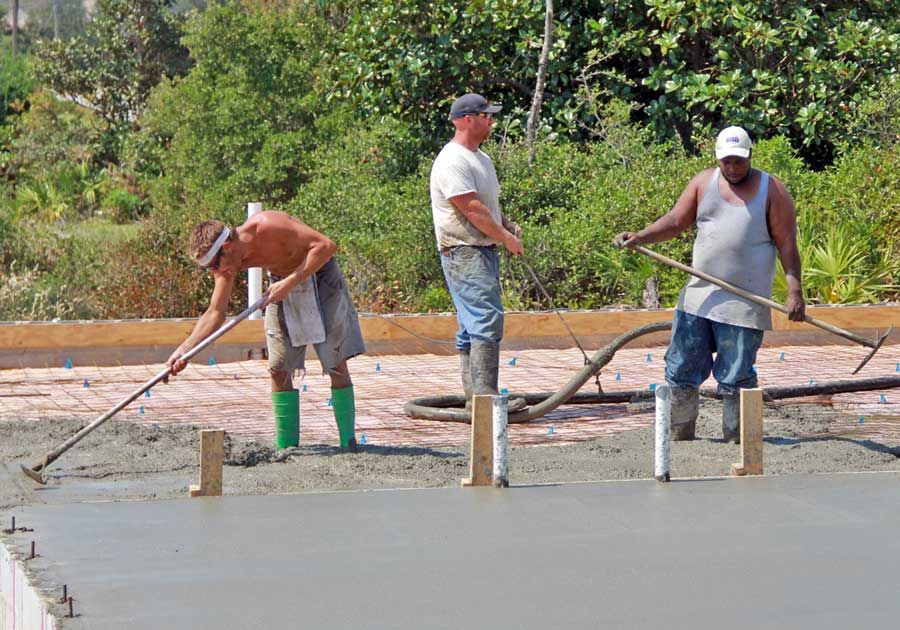
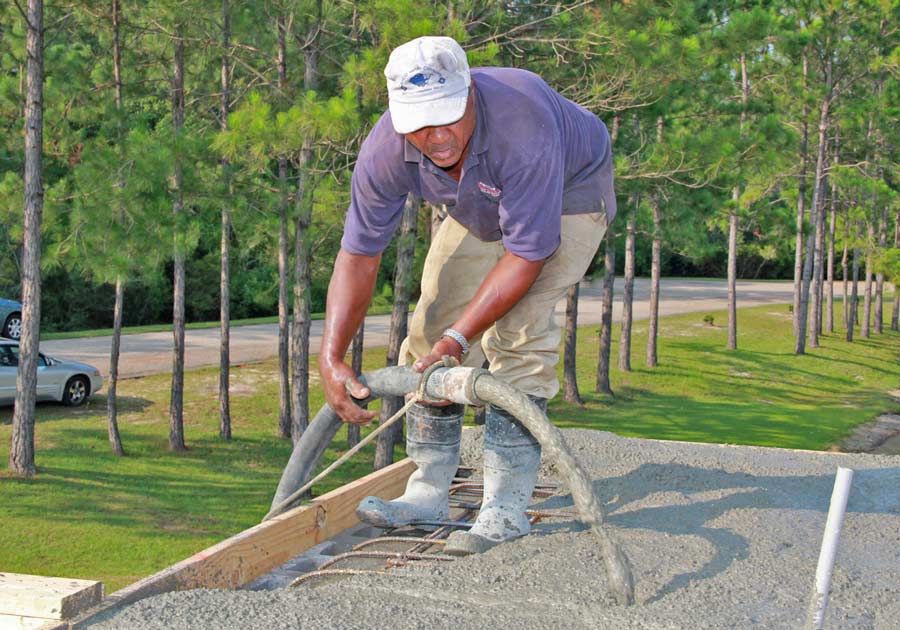
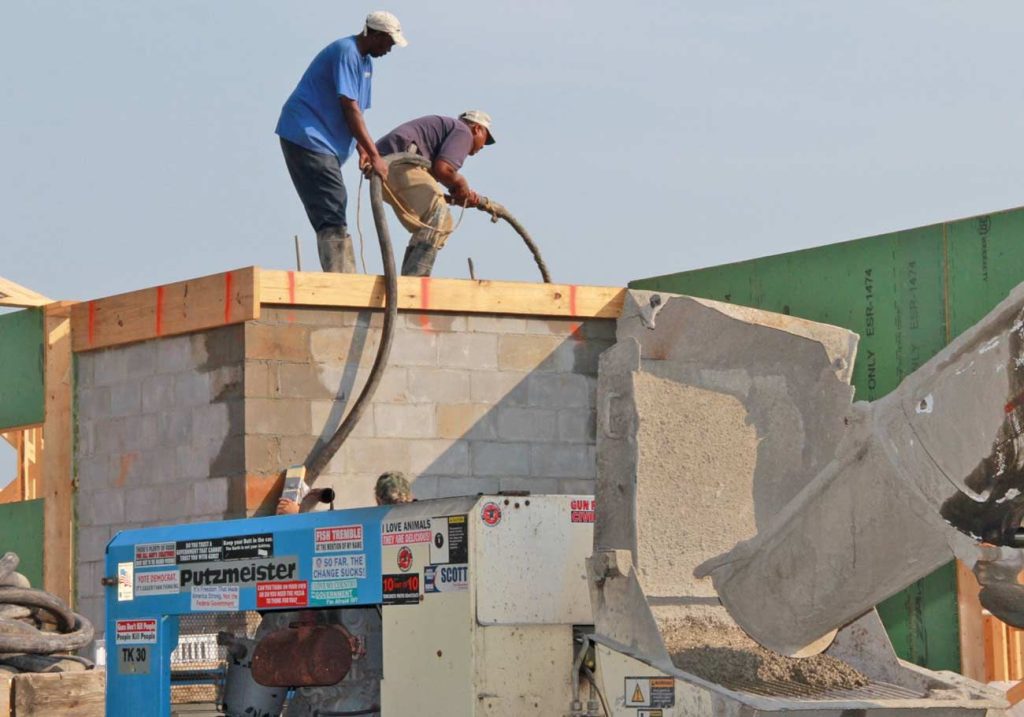
John, Chief, Roy, and Kurt screed the concrete.
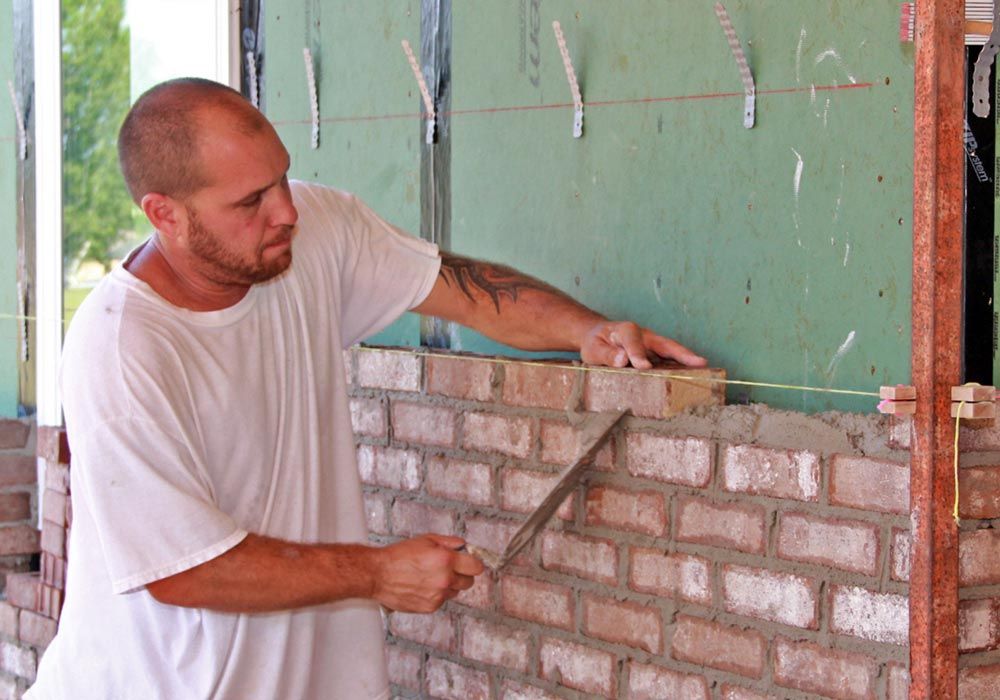
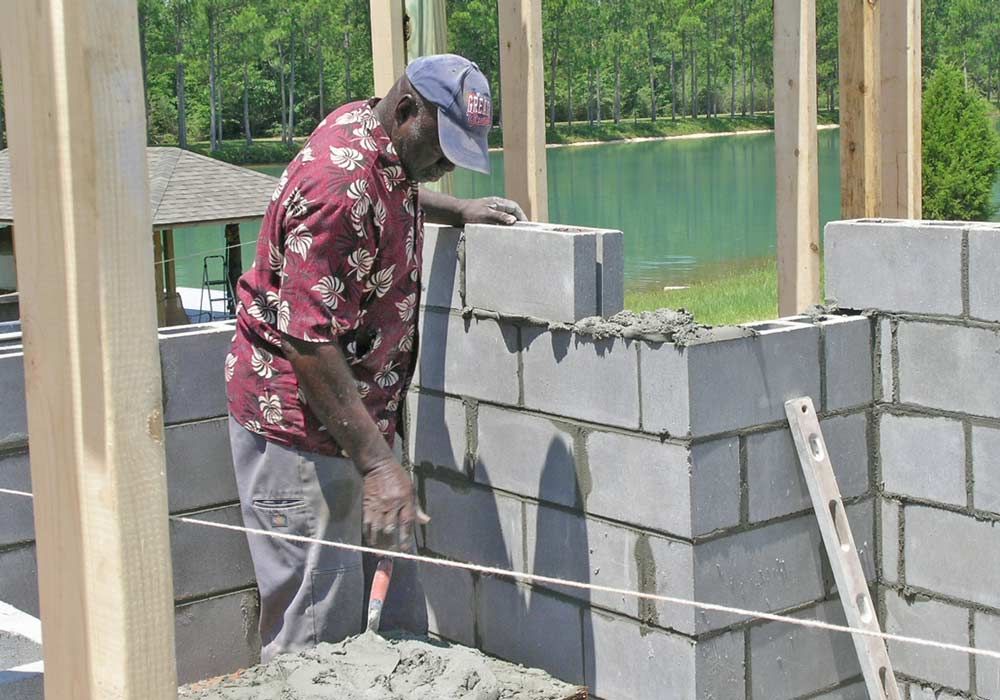
Jeremy lays up brick on the back porch.
John applies to the floor trusses to ensure complete adhesion of the floor decking.
Brian bull floats the back porch.
Open cell foam is sprayed in the attic to create a high efficiency, air tight, thermal envelope.
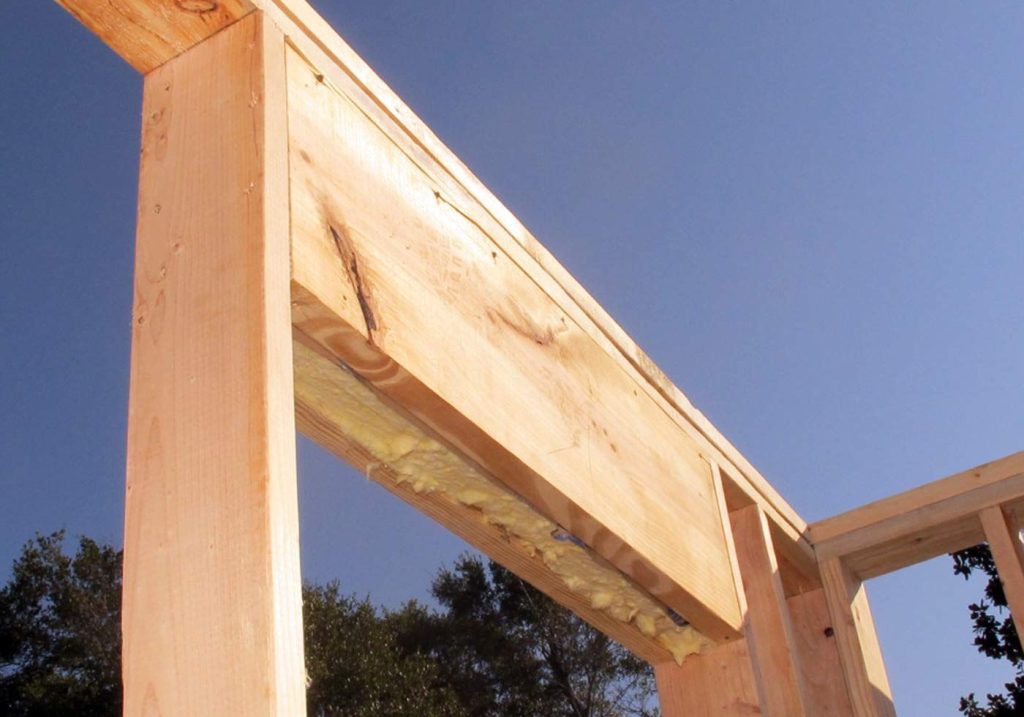
Robert builds an insulated header. You can see the fiberglass batt hanging out of the bottom of this header. We insulate our headers to reduce heat loss through the thermal envelope. We will use about 3 rolls of insulation for the headers on this job which adds quite a bit of energy efficiency to areas that are not normally insulated. Imagine the impact of removing 3 rolls of insulation from your home.
Roy, Kurt, filling in the back walls, Brian supervising.
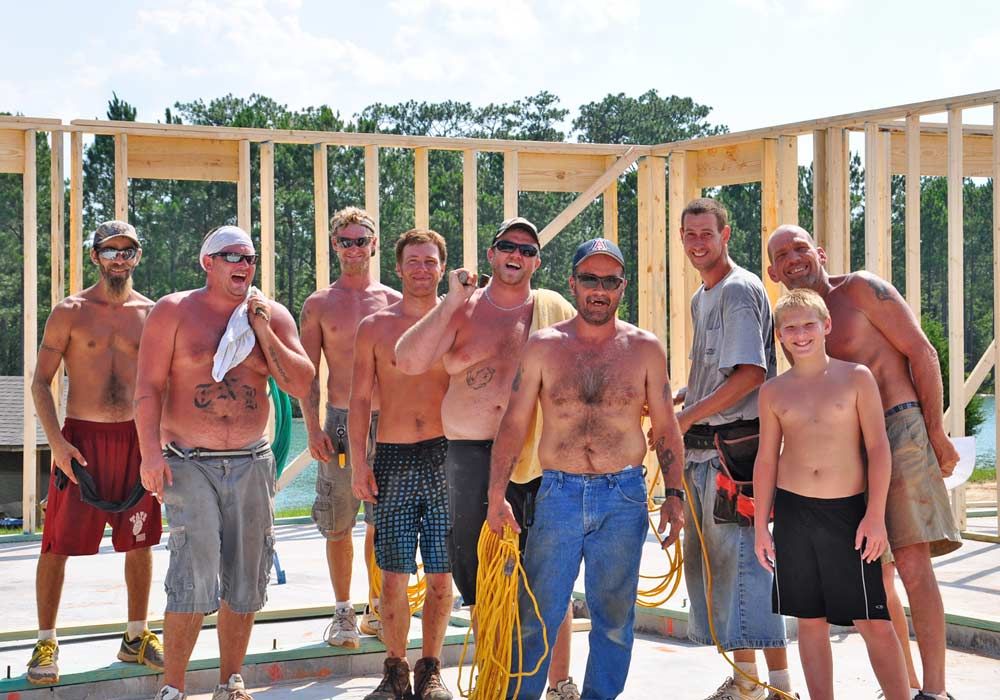
The wild bunch? Robert, Joe, John, Nate, Brandon, Dave, Slim, Steve, and Jordan.
Junior nails off the bottom plate
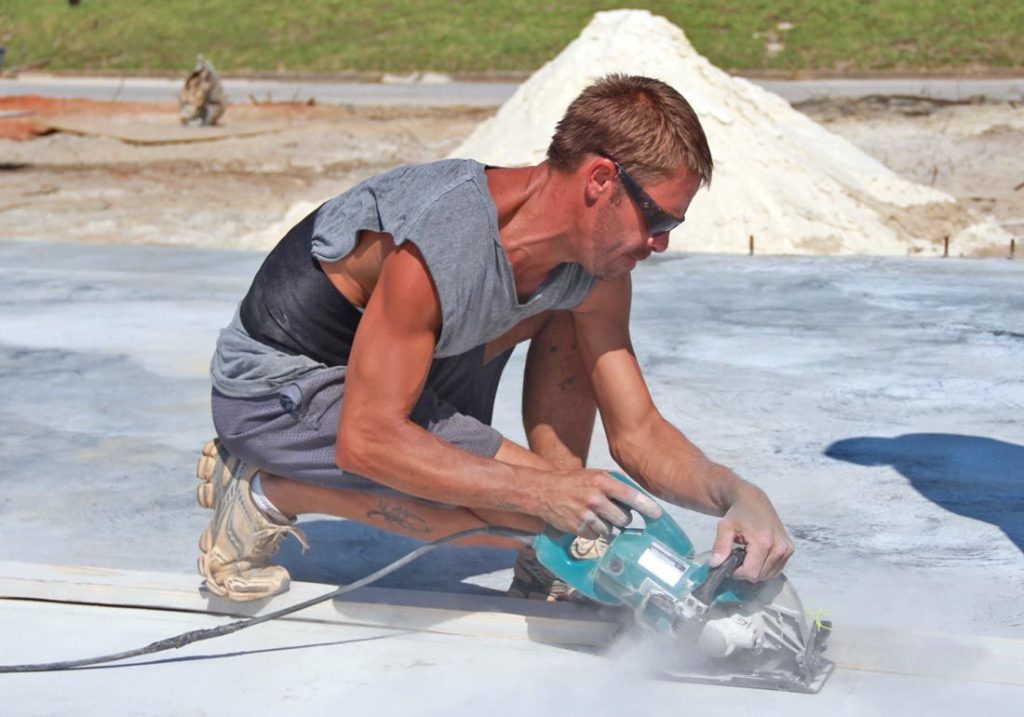
Brian cuts control joints into the slab with a diamond blade saw. These joints promote shrinkage cracking in designated areas.
Nate lines the window jams with moisture resistant flashing tape.
Noah with Ready Mix USA helping out with refreshments.
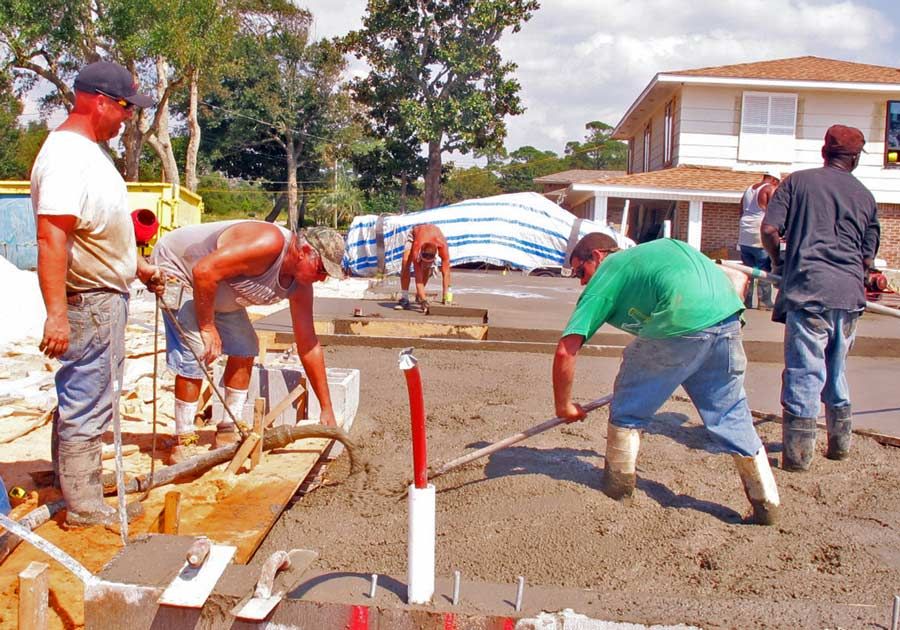
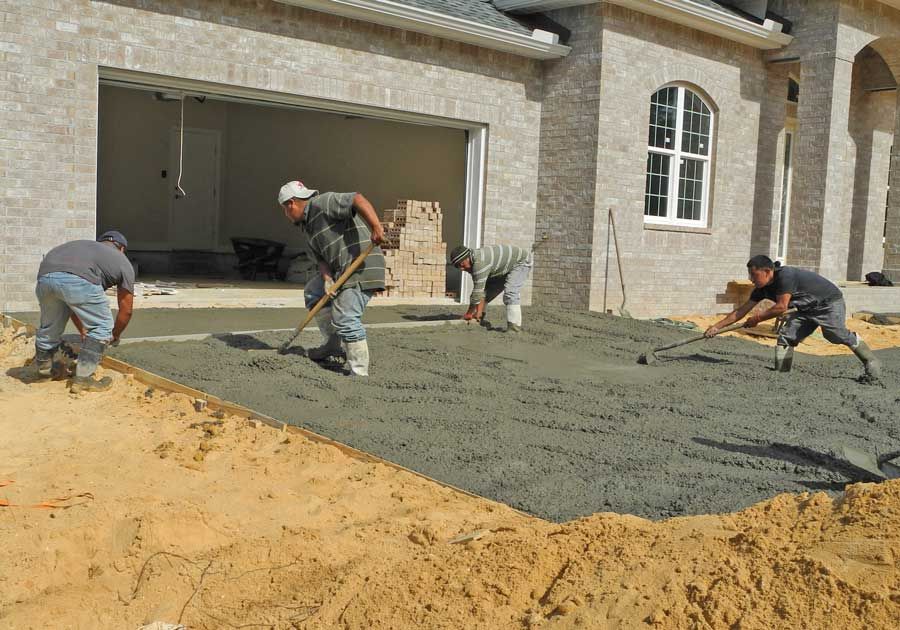
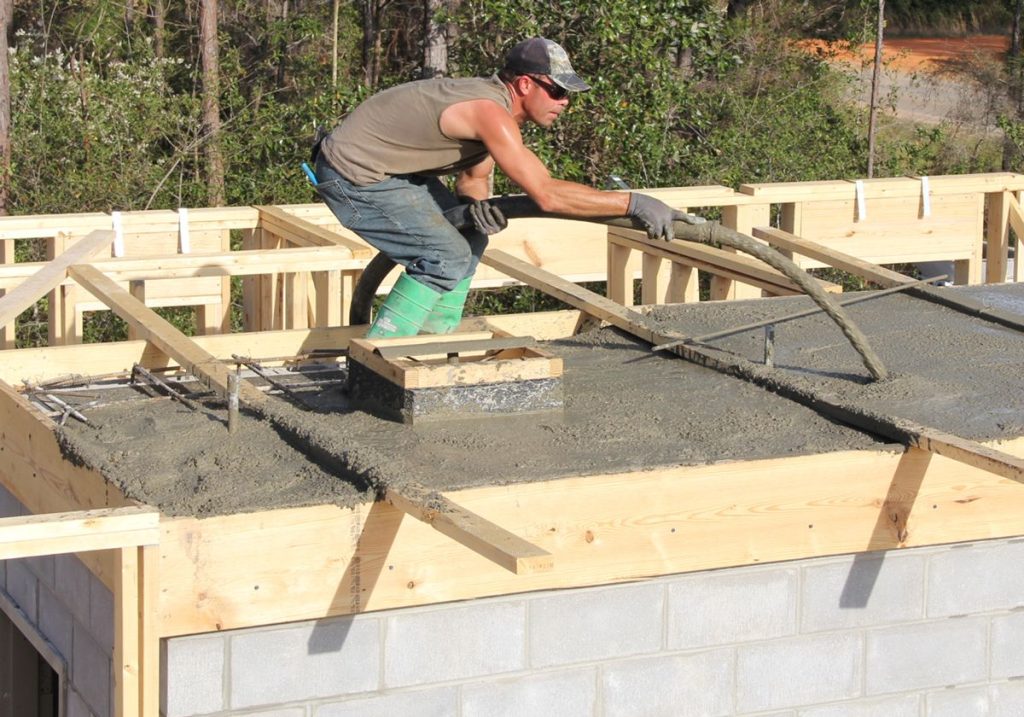
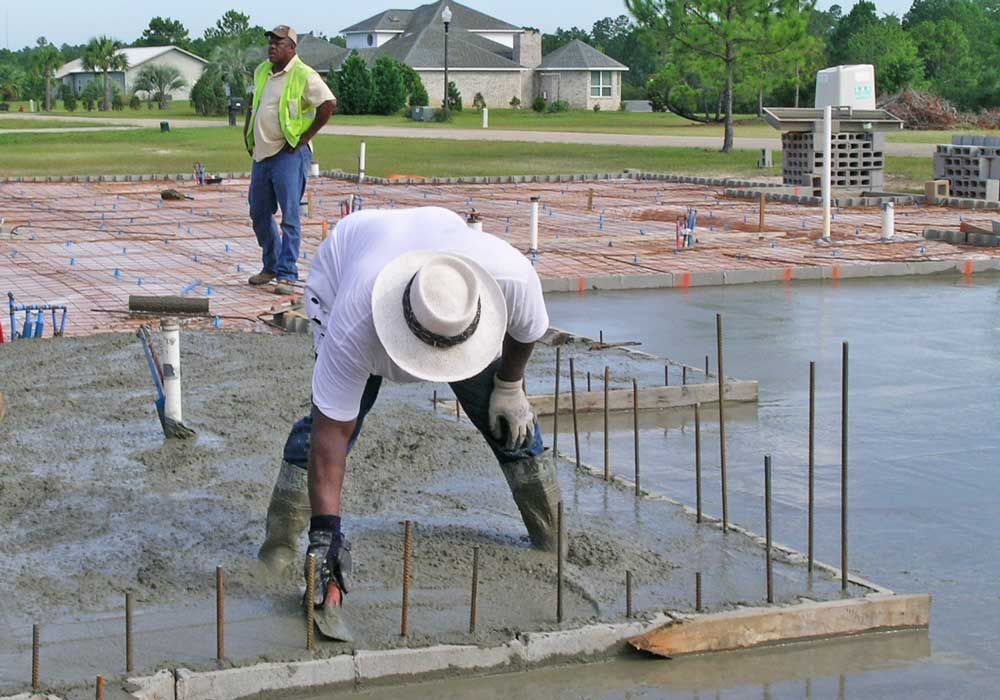
Brian, Mike, and Brian place and finish the concrete.
Joe screws off the impact glass windows with stainless steel hex head screws. Laminated impact glass protects your home from hurricane damage, intrusion, and it’s a lot quieter inside.
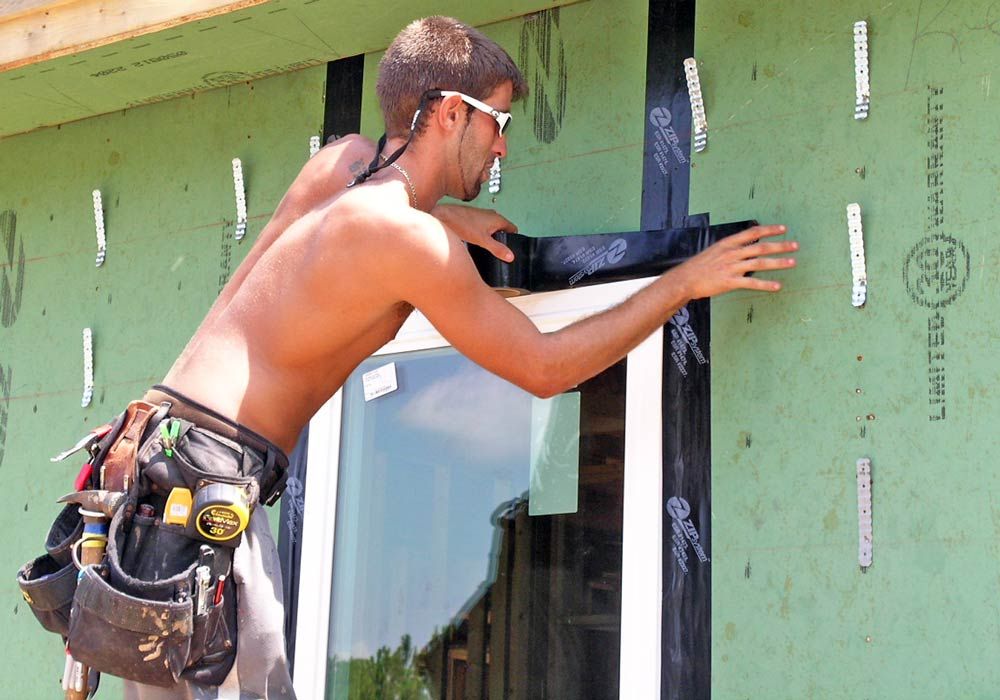
Josh installs flashing tape around the window flanges. This window will never leak.
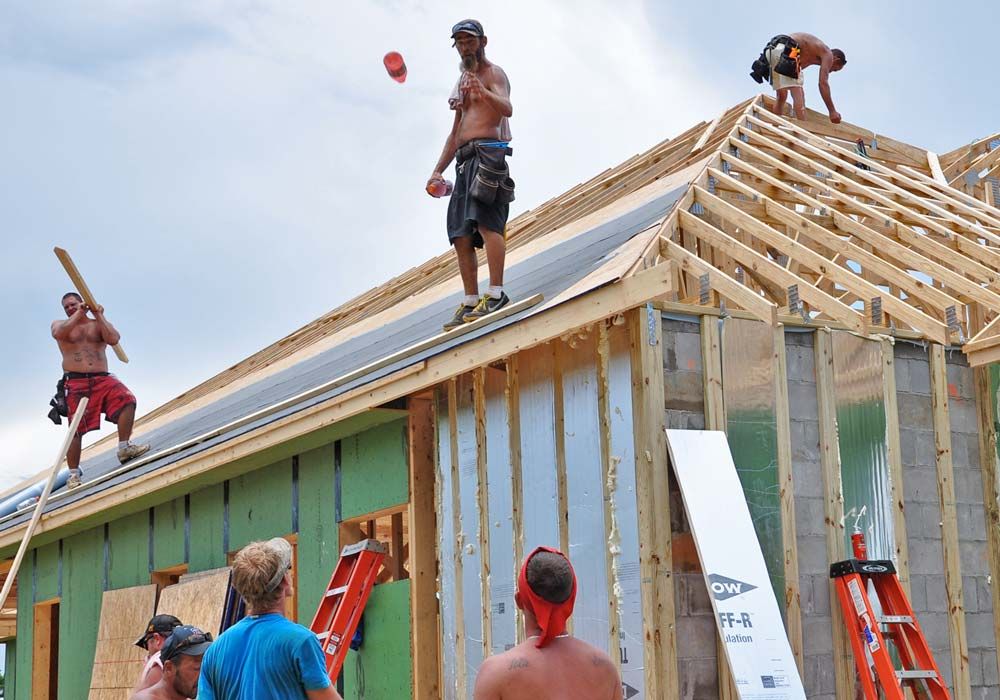
Heads up gator boys! John tosses gatorade up to Robert.
Brandon and Roger cut and fit foam insulation in between the firring strip cavities to insulate the outside walls of the safe room.
John and Robert build the triple step front porch cornice.
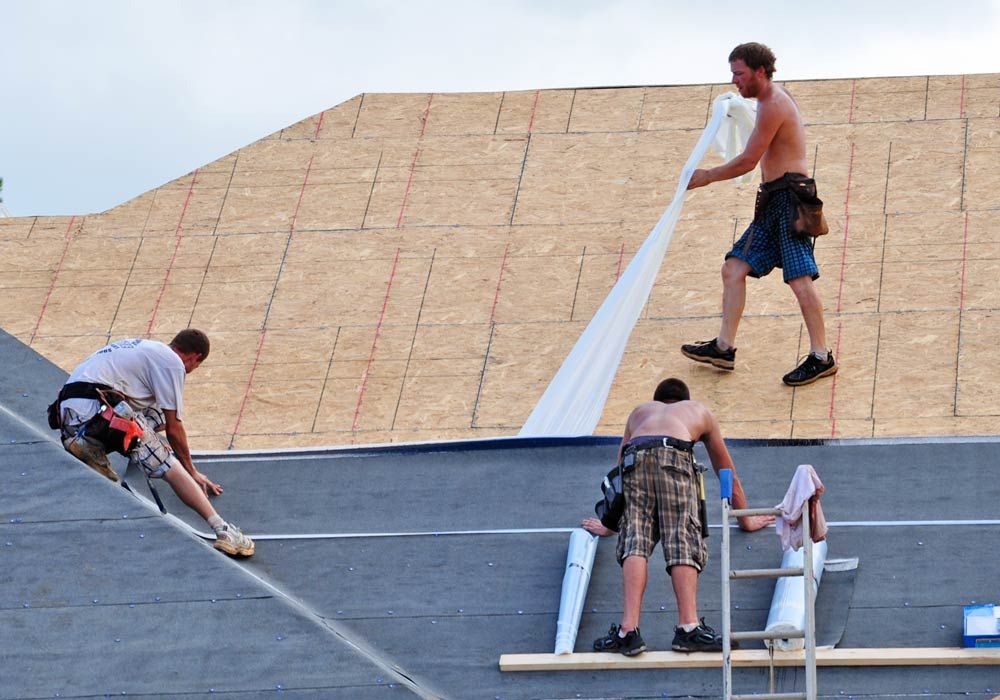
Slim, Brian, and Nate install 50 mil peal and seal underlayment. This helps maintain the water tight integrity of the roof should any of the shingles be damaged during a hurricane.
Nice view of Ski Lake in Milton. They should have named it Ski Heaven. Kay’s in it practically every day. Pretty soon her toes are going to start growing together.
Willie pours the roof on the safe room. Note the steel reinforcement bars. This safe room is engineered to withstand 250 mph winds and 100 mph misslie impacts. The house can completely collapse around the safe room and the occupants will be protected.
Concrete is poured into the hopper of a line pump, then it’s pumped through a hose up to Willie who directs the concrete down into the walls and roof. This safe room is engineered to withstand 250 mph winds and 100 mph missile impacts. The house can completely collapse around the safe room and the occupants will be protected.
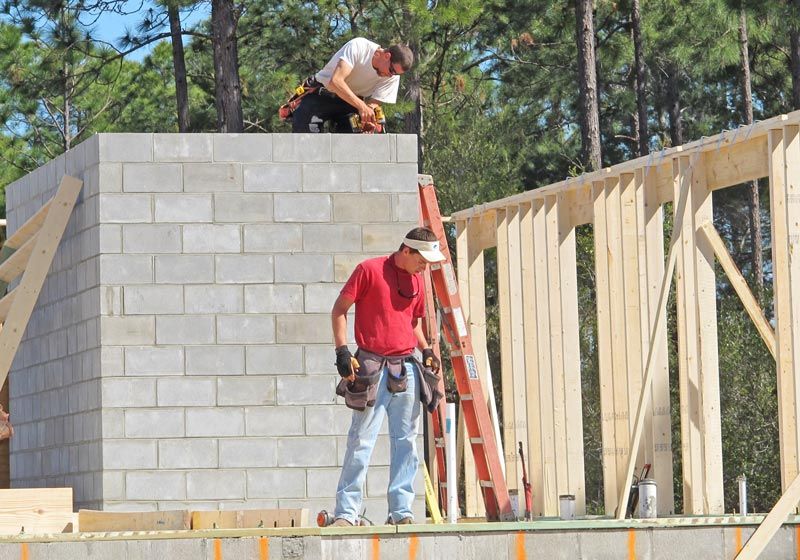
Laying up block in the safe room. In this case the safe room is also the master closet. Steel bars will be placed inside the block cells and then poured solid with concrete.
Joe is pretty happy about this pre insulated Tee. If you add up all the exterior tees, corners, and window headers that normally are not insulated in a code built home it amounts to about 2 full rolls of insulation on a 2000 sf home. Imagine removing 2 rolls of insulation from your walls and how that would affect your utility bill and comfort level of your home.
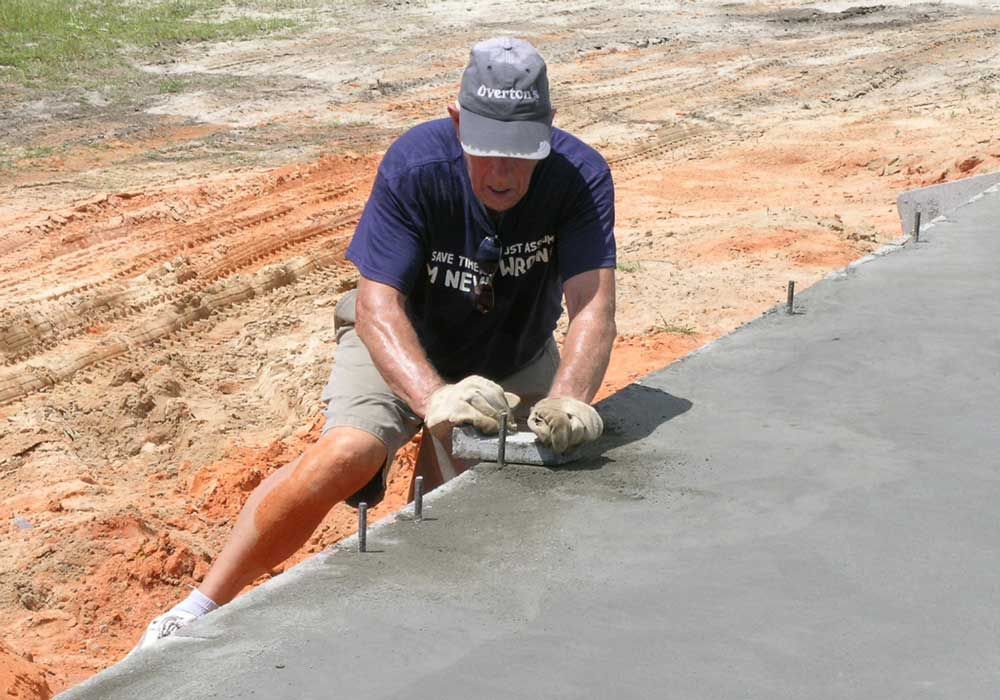
Joe uses a rub rock to smooth out the slab around the anchor bolts.

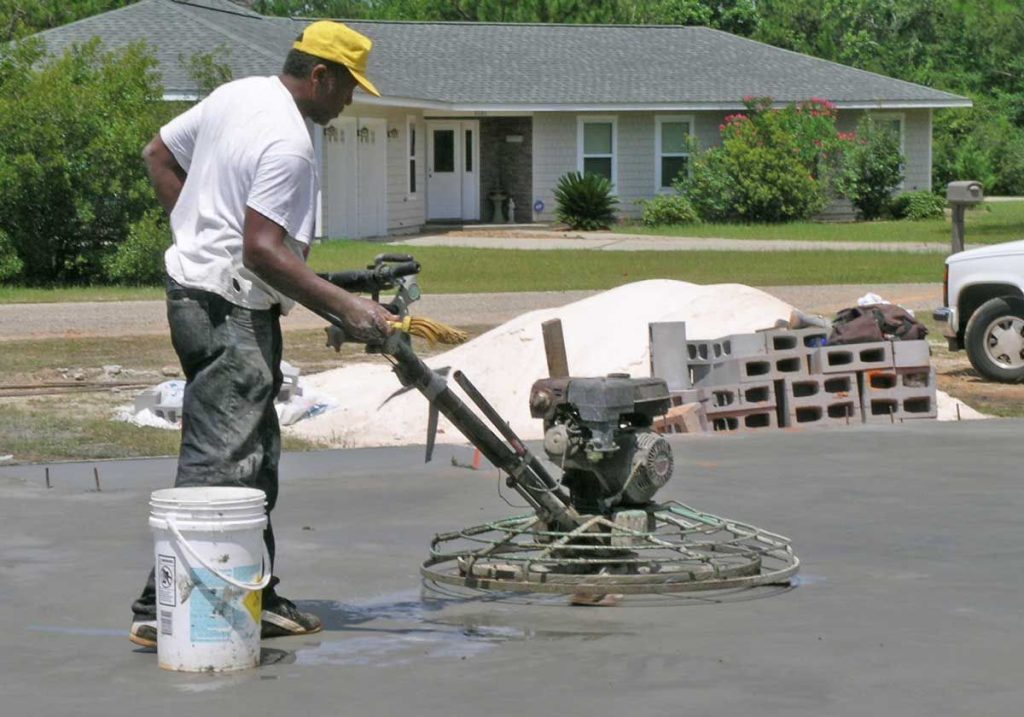
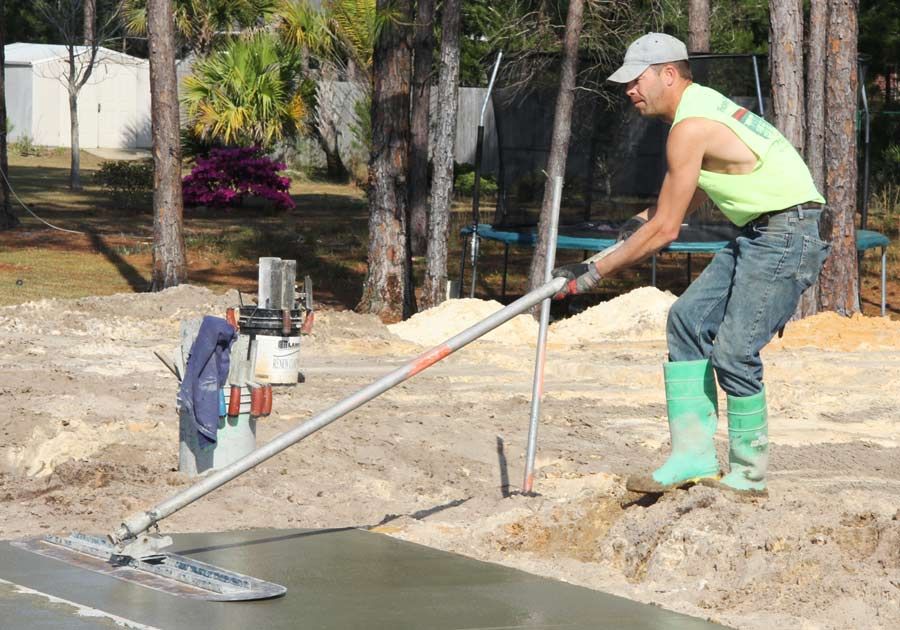
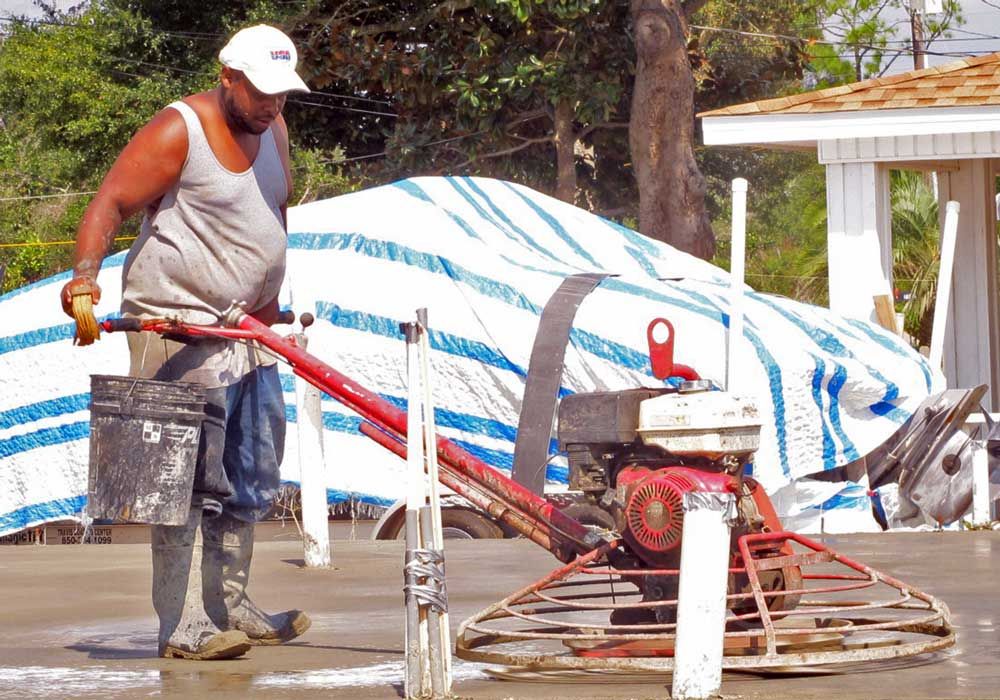
Willie operates the rotary trowell.
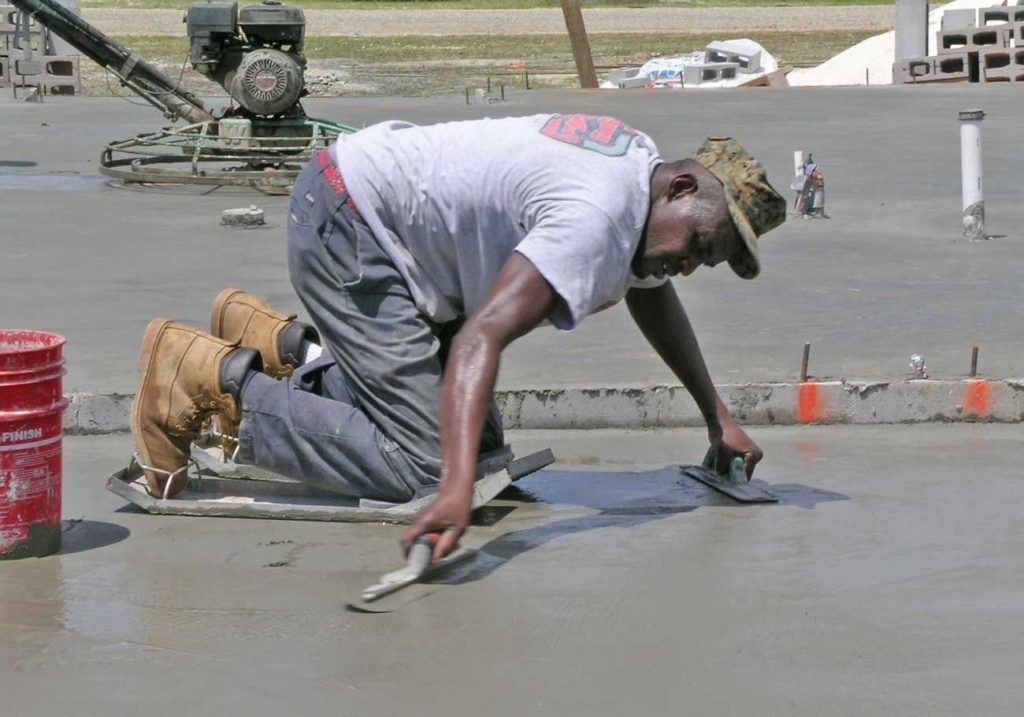
Snake trowells the slab.
Calvin finishes around the dowell rods that will anchor the safe room walls to the foundation.

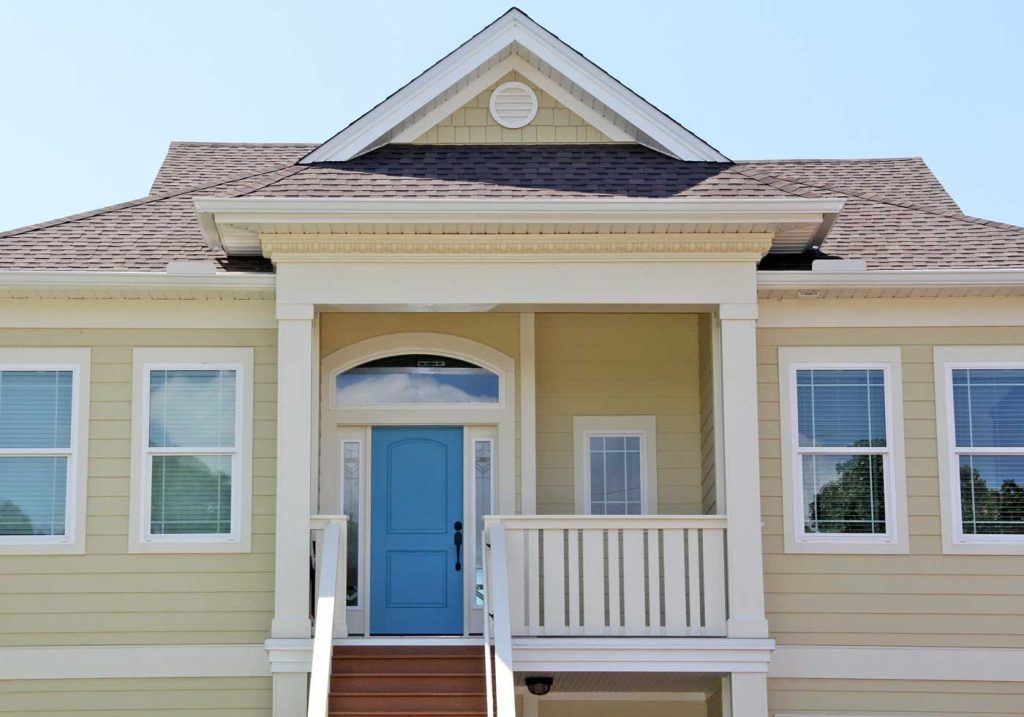
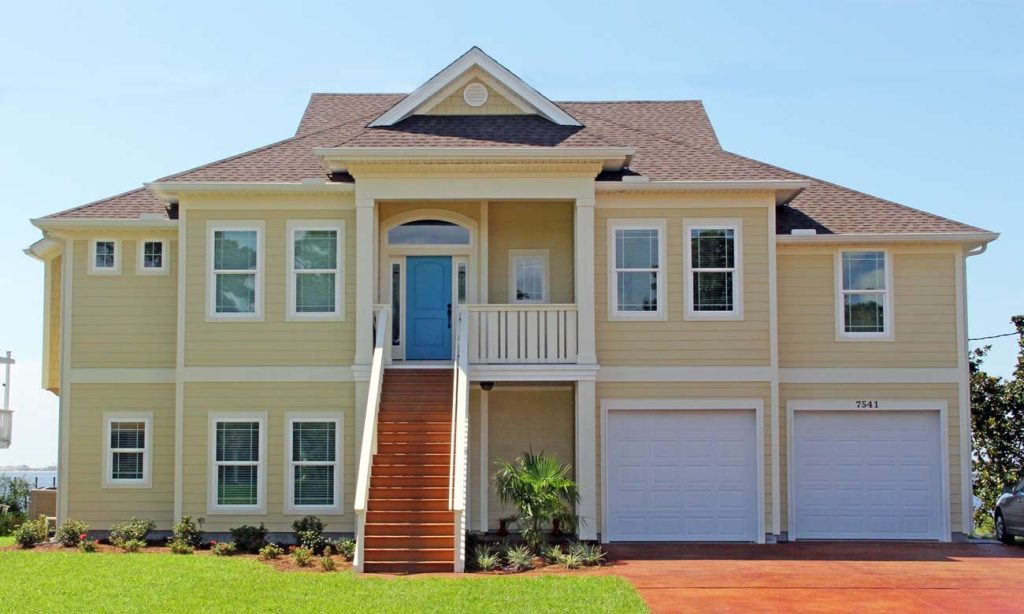
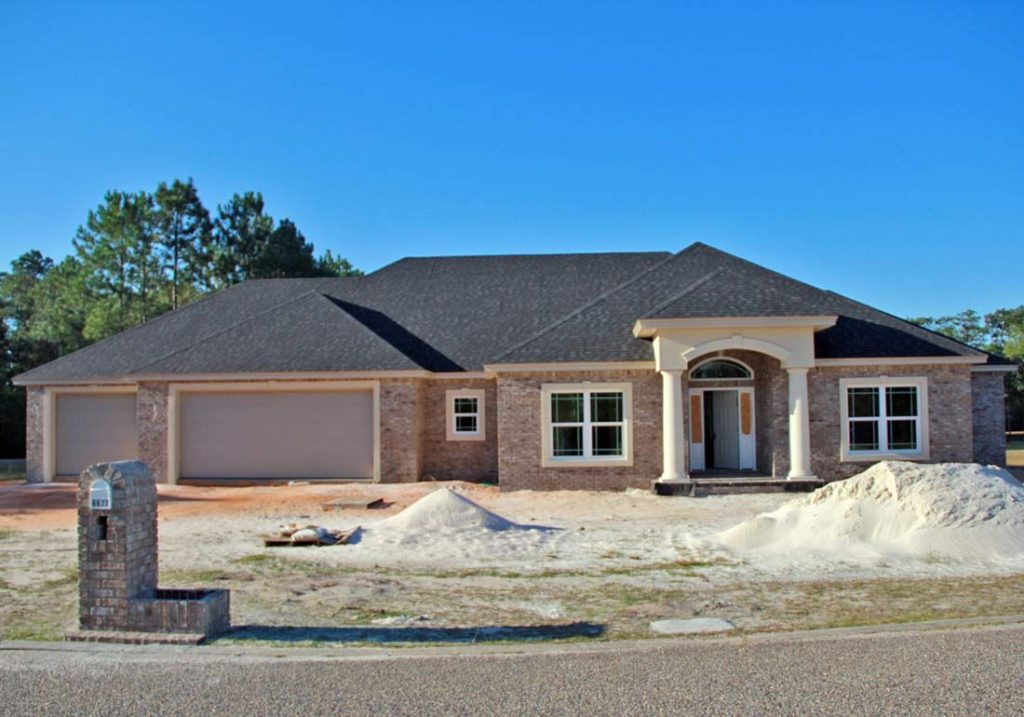
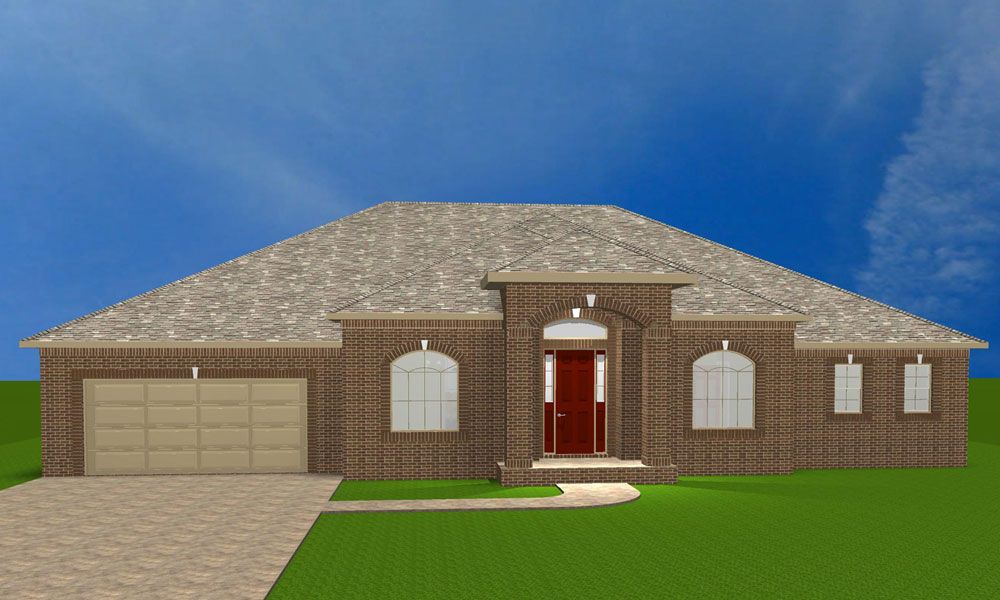
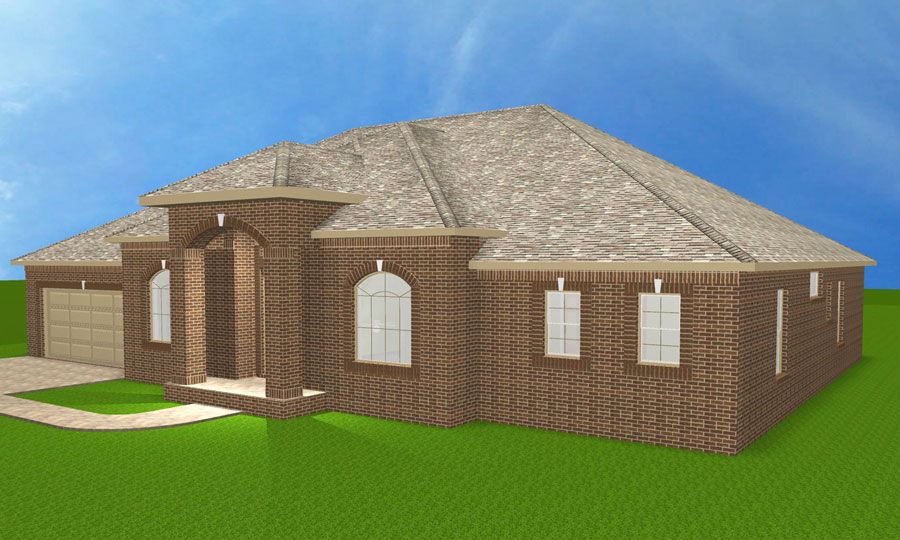
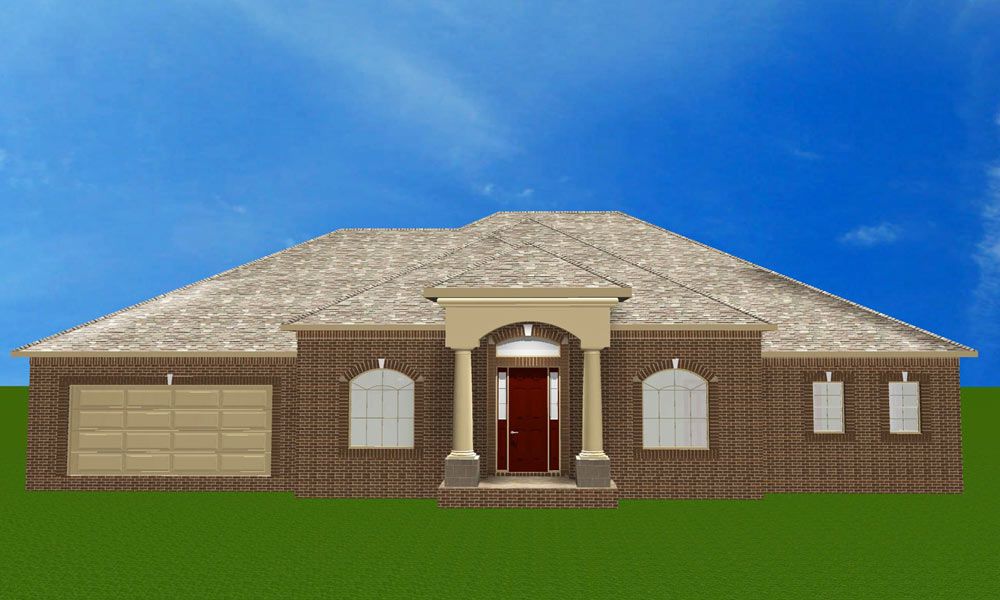
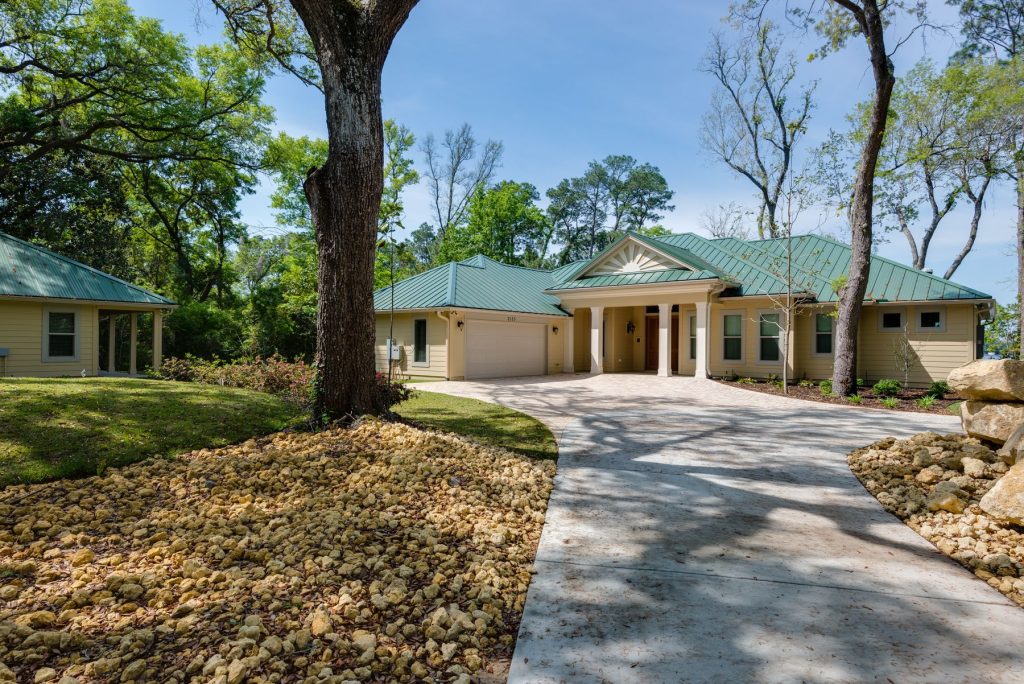
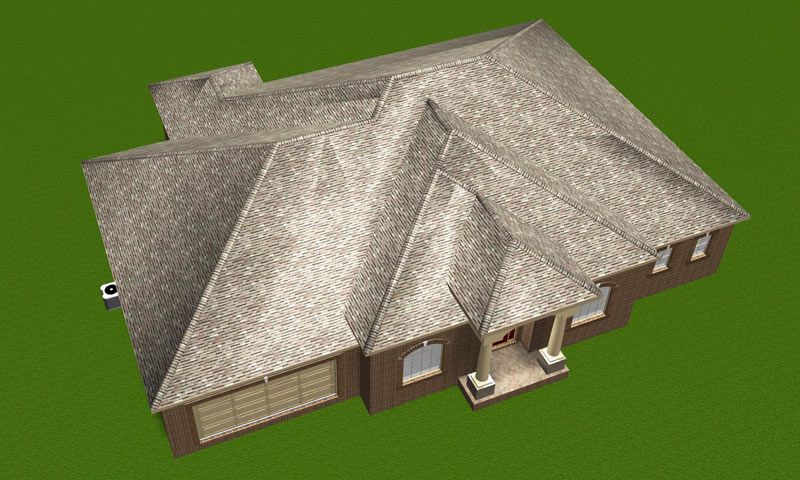
Front view
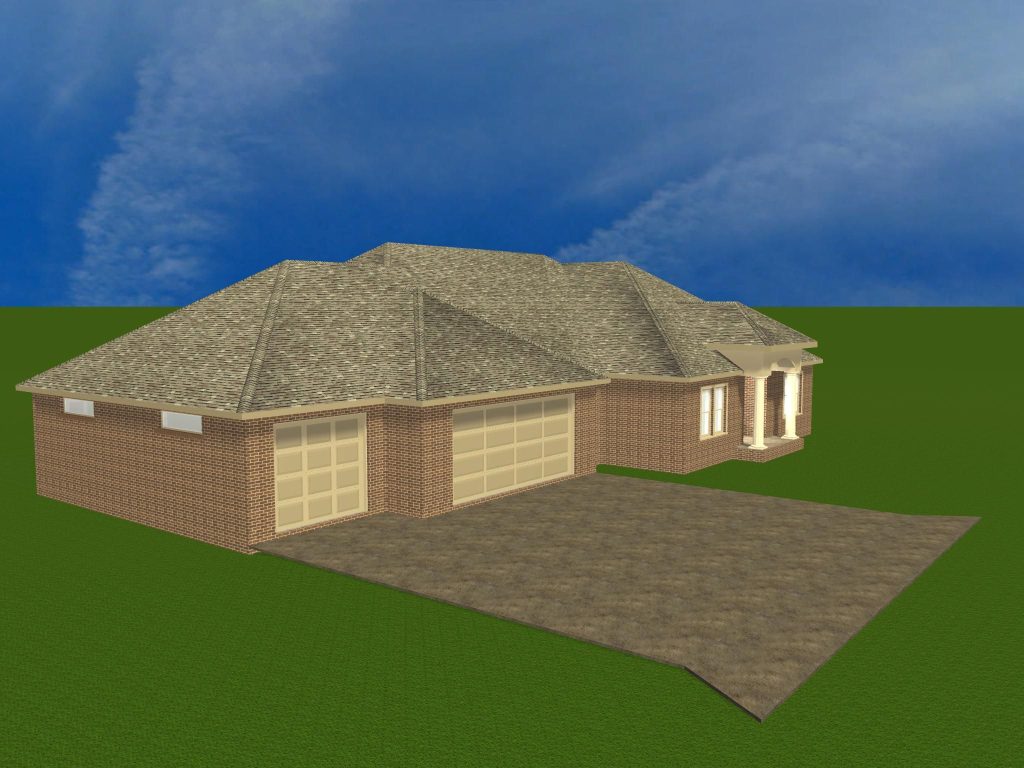
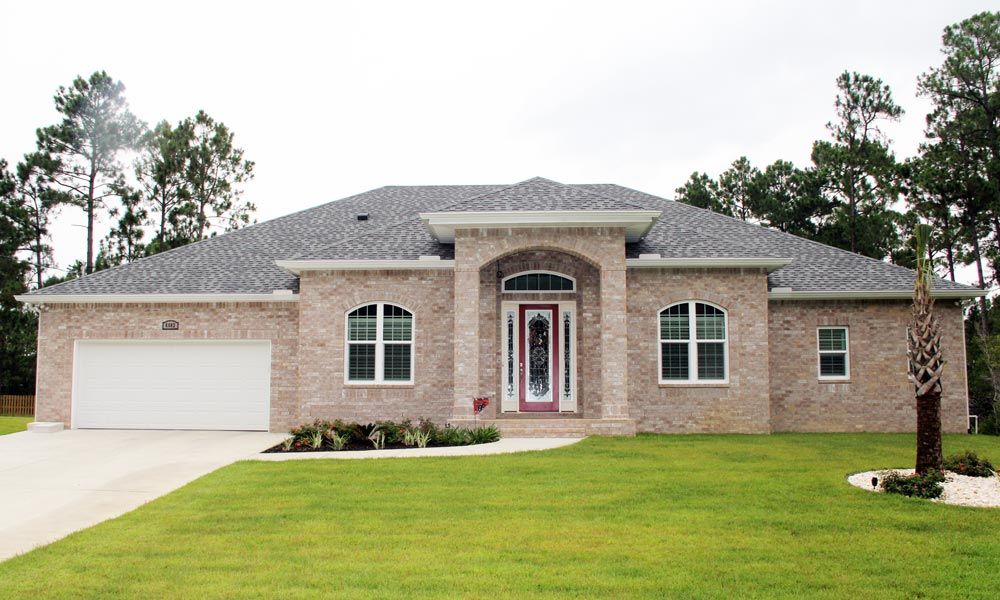
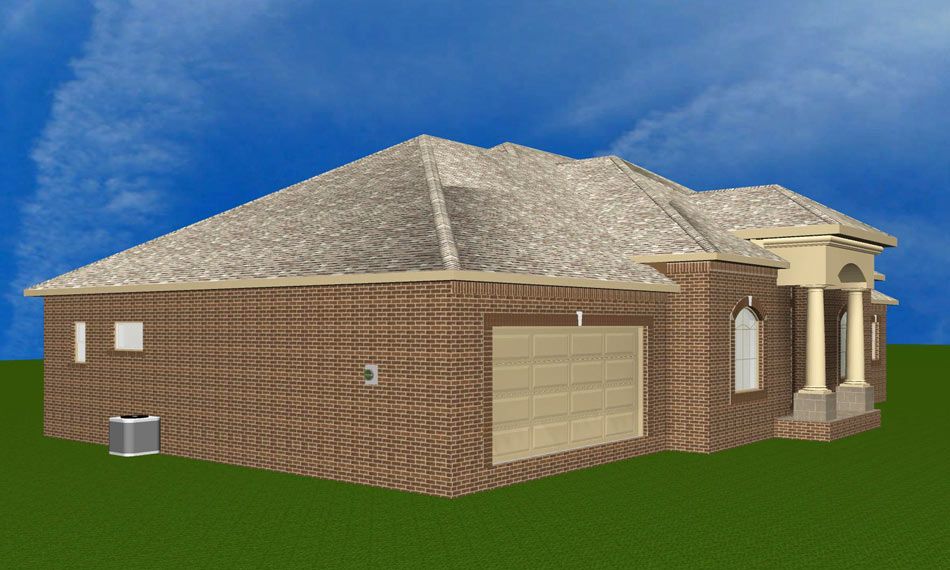
Left front view
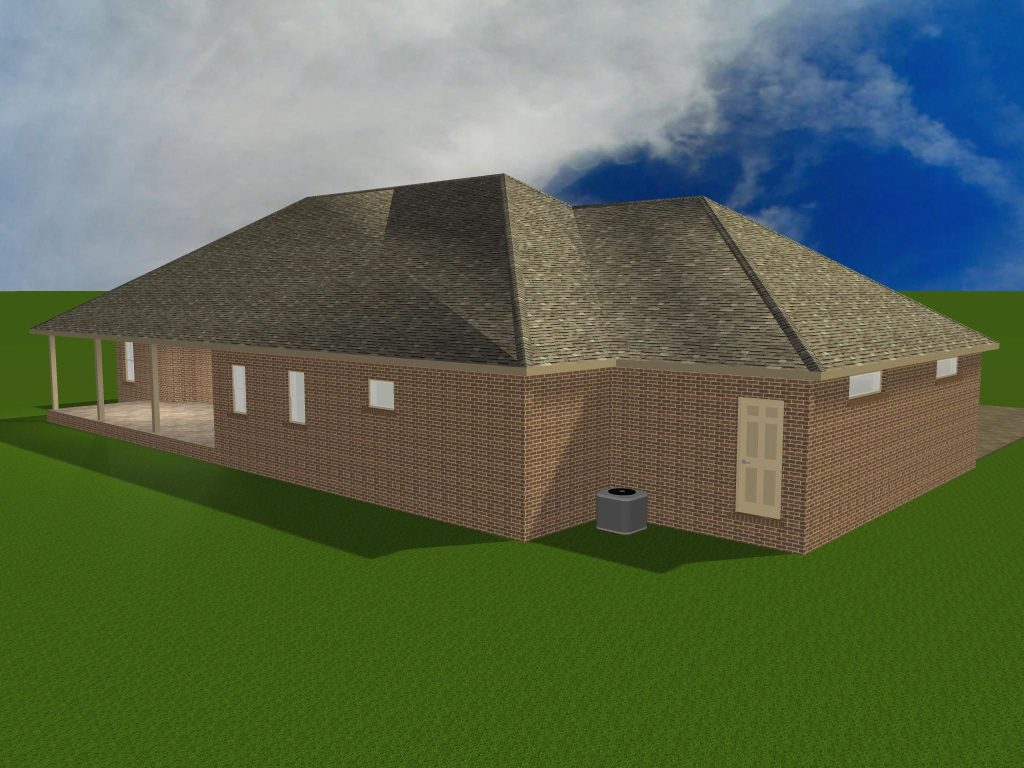
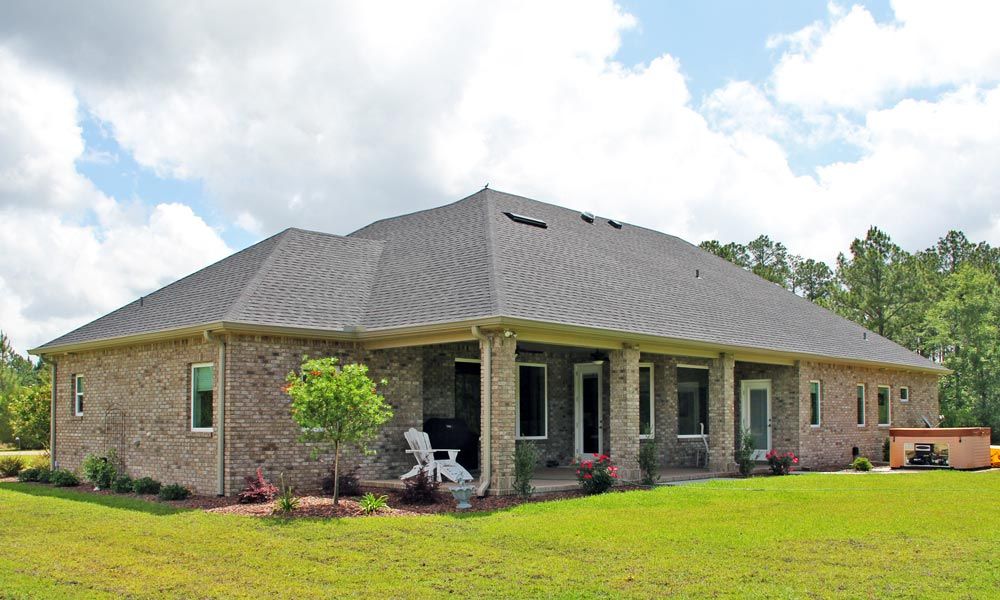
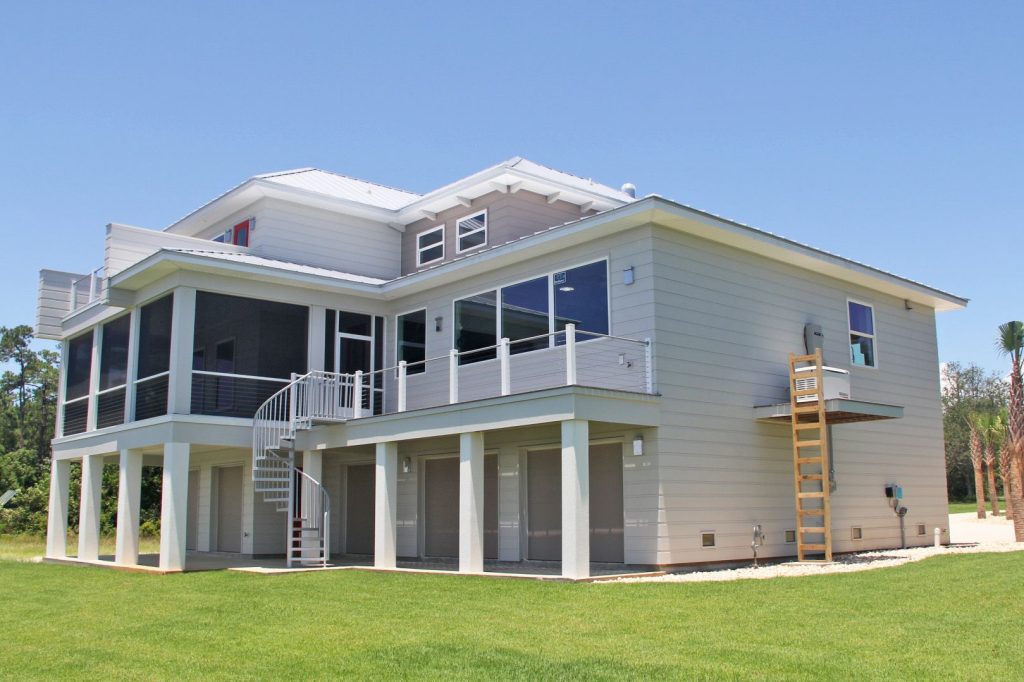
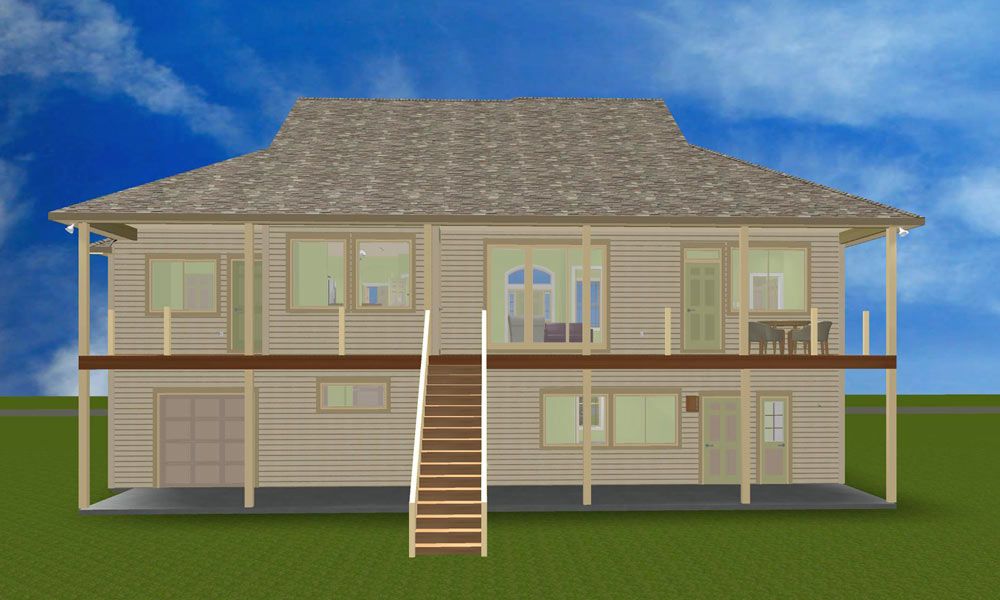
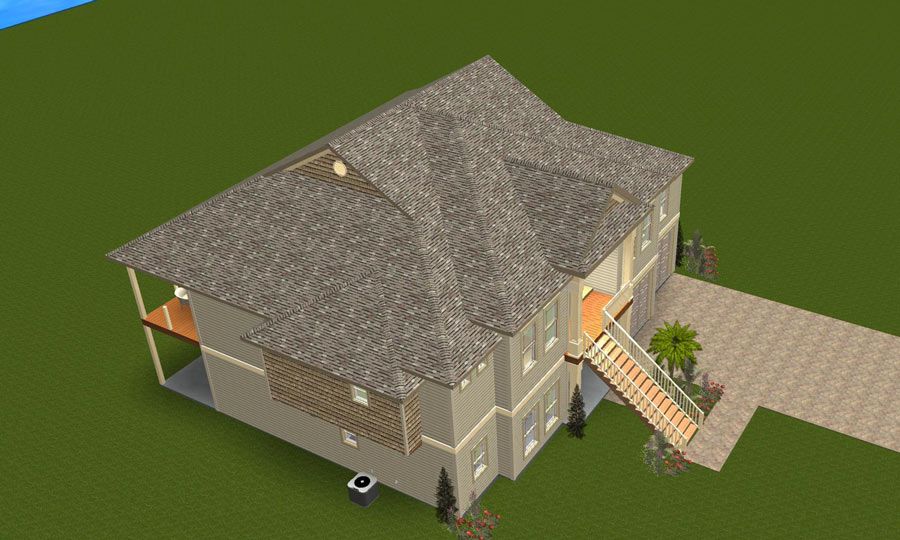
Left rear view
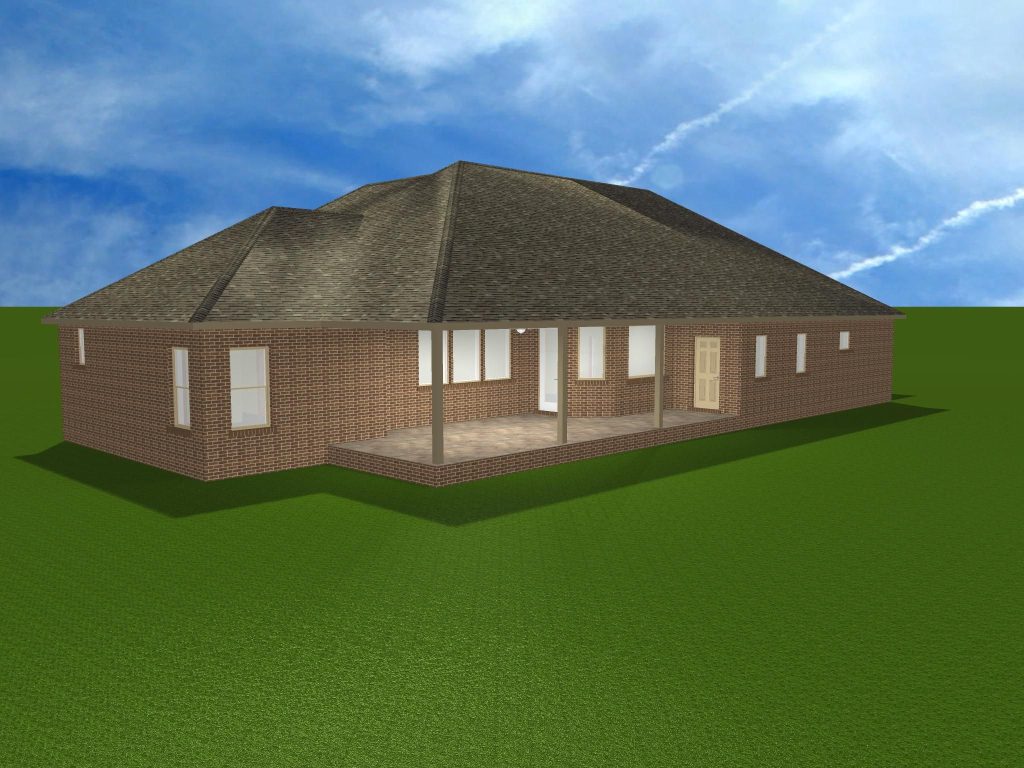
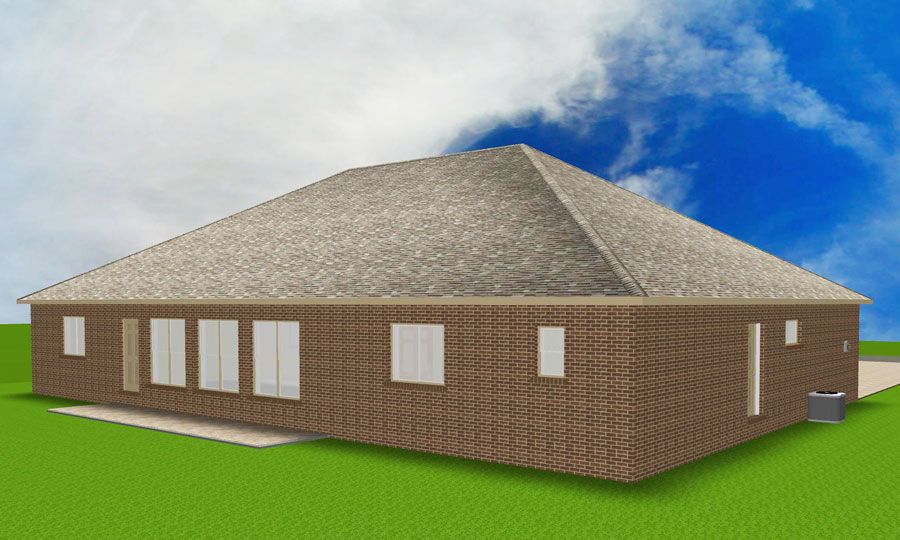
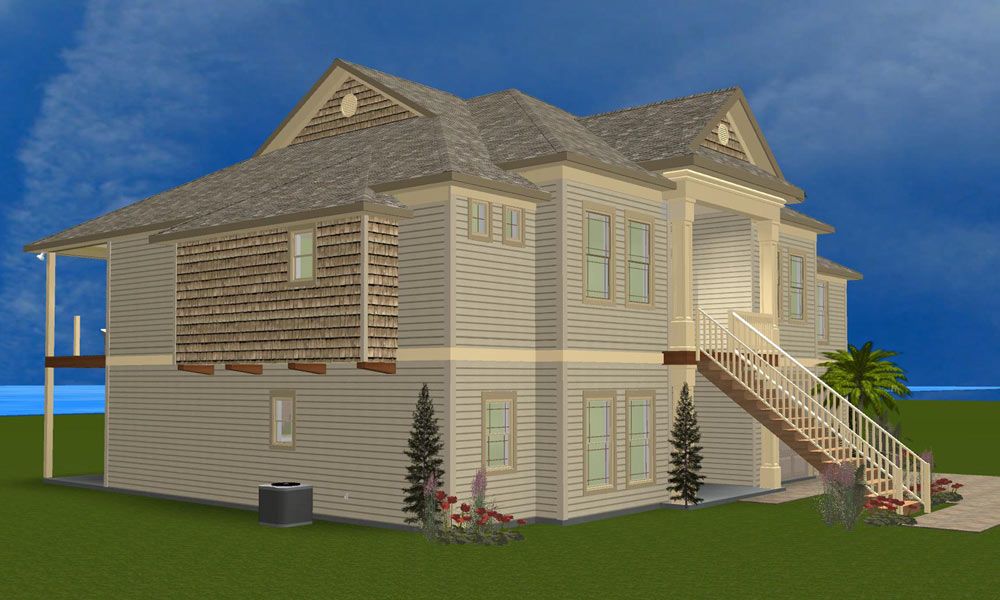
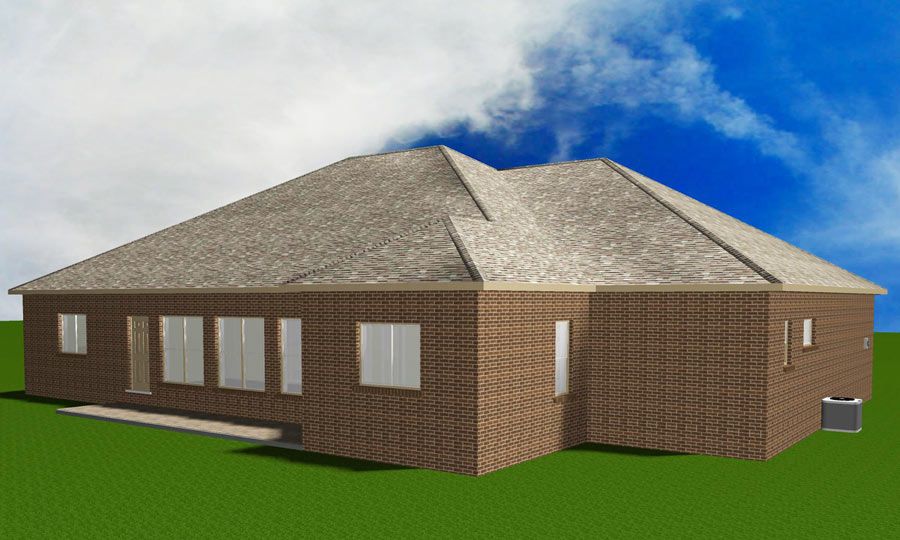
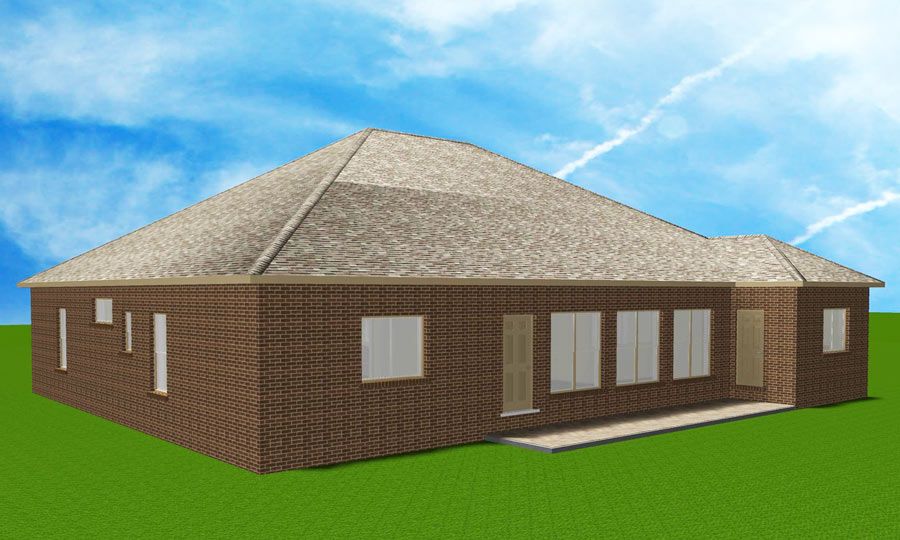
Right rear view
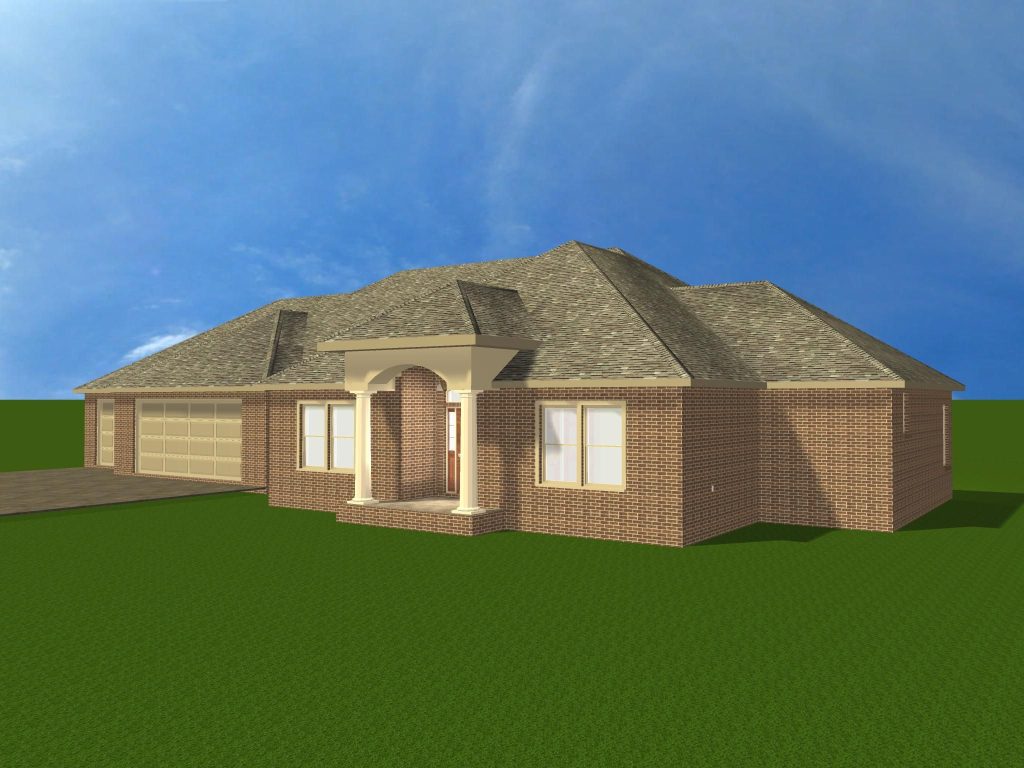
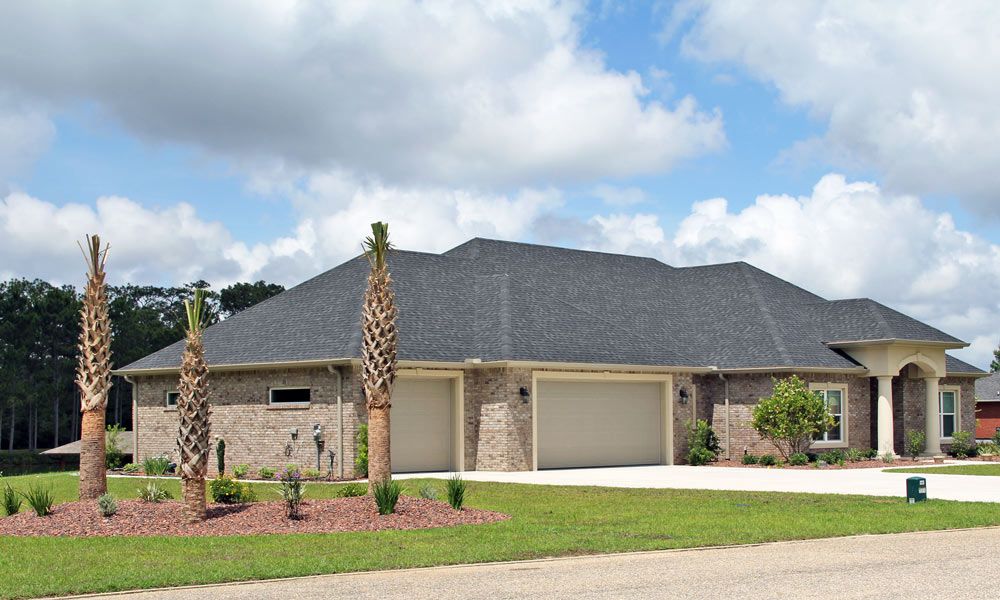
Right front view
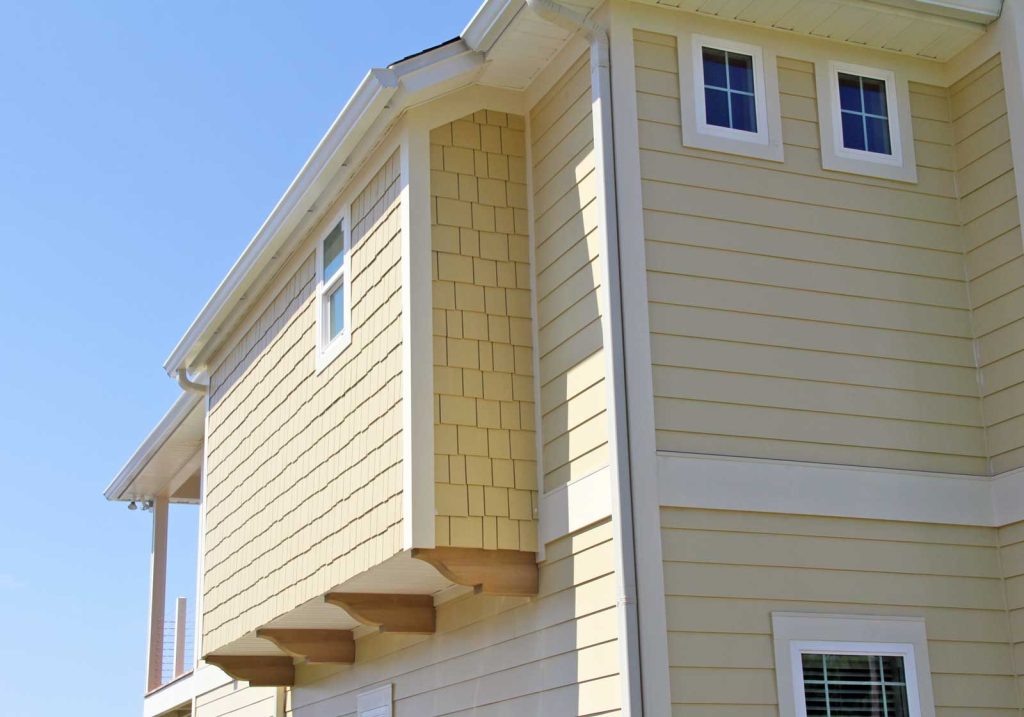
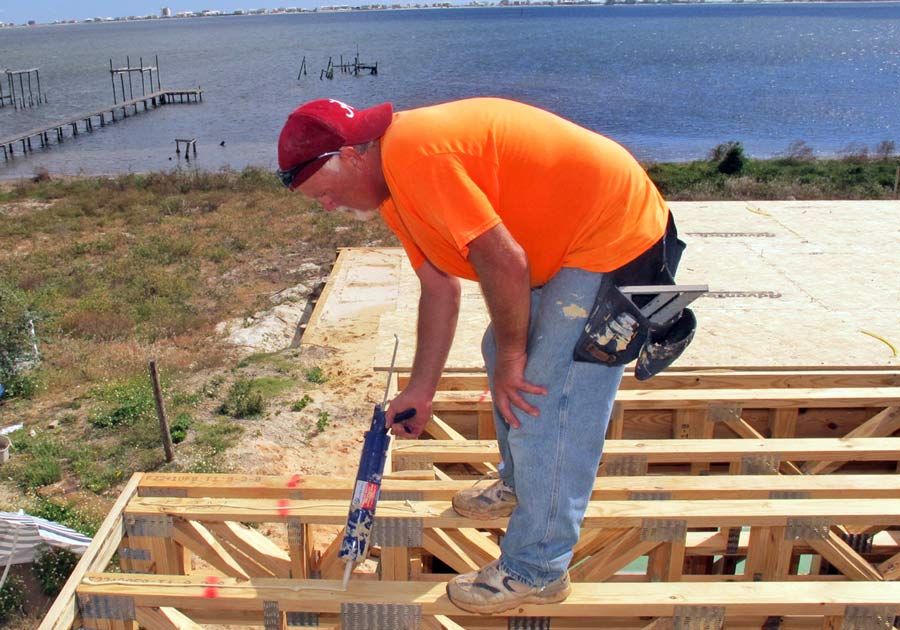
Installing the vinyl soffit and aluminum facia.